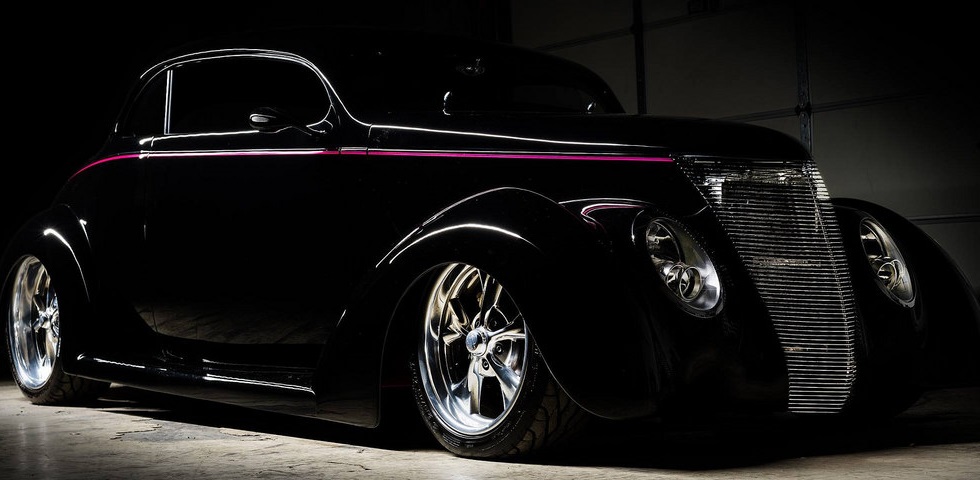
We have been fortunate to have had the opportunity to work on many very nice cars over the years, and this 1937 Ford Coupe replica was no exception. This vehicle was something a little different than what we normally see, and I could not wait to get my hands on it.
The owners contacted me because they could tell the paint was in need of some work. This vehicle lives the typical “show car lifestyle” which consists mostly of being wiped down with lower quality towels. Over time, the improper maintenance has taken a huge toll on the beautiful jet black paint and had left every panel covered in a tremendous amount of swirls and a lot of heavier scratches. We had decided on a two-step paint correction process to remove the majority of surface defects while drastically enhancing gloss.
The following video was shot while we were working on this vehicle. It will walk you through our exact correction process used and will also provide some general instruction that is applicable for any paint correction job, so please check it out!
As seen in the video above, this paint correction process consists of a heavier cutting step, followed by a fine finishing step… hence the term two-step correction process. The goal here is to first level the defects with a more aggressive cutting pad and cutting compound. This process should remove everything but the deepest defects, however it will likely leave the paint looking hazy and dull. This is why we then follow up with a fine polish to restore clarity and depth.
Notice the damaged finish with a dull reflection. Pay attention to the fact that you can barely see the outline of the light stand in the reflection.
After compounding, it is easy to see that almost all of the original defects have been removed. The reflection is getting clearer, as you can now easily see the outline of the light stand, however the finish has a grayish appearance due to all of the marring/haze that is a result of the aggressive cutting process.
Finally, after polishing the haze is removed and a brilliant black finish is revealed. There are some deeper defects that remain, but the overall difference in optical clarity and color is dramatic.
This time intensive process yields stunning results when done properly. The car now looked like a rolling mirror, and the owners were happy to see their prized possession looking so good. We demonstrated proper rinseless washing technique using Optimum No Rinse, and they purchased everything they need from Detailed Image to keep it looking great for years to come!
(If you found the video content in this article to be helpful, please share your feedback in the comments section below! We would love to try to do more videos if it is something our readers are interested in seeing.)
Buy Products From This Article
Related Posts
- 2008 CLS 63 AMG – Low Mileage Luxury Beast: Paint Correction & 22ple VX3 Application
- 2014 BMW 750 LI: Removing Dealership Holograms
- 1999 Porsche 996: Paint Correction and 22ple HPC Coating
- 2016 BMW M4: Paint Correction Detail & 22ple Mistico Elemento Application
- 2015 Range Rover: Paint Correction and Gtechniq Crystal Serum Light Application
