The difference a Professional Detailer can make.
by Marc Harris & Jacob BunyanWe were contacted by an owner who feared his beloved BMW was damaged beyond repair by another detailer. Although this other detailing service was highly recommended to the owner of this 740iL, their lack of experience and know-how led to horrible results. With this article, AutoLavish Fine Automobile Care will show the difference competent professionals bring to your vehicle, and how we brought this stately 7-series back to life after a butchered polish job.
Upon arrival, we could tell the vehicle didn’t seem right.
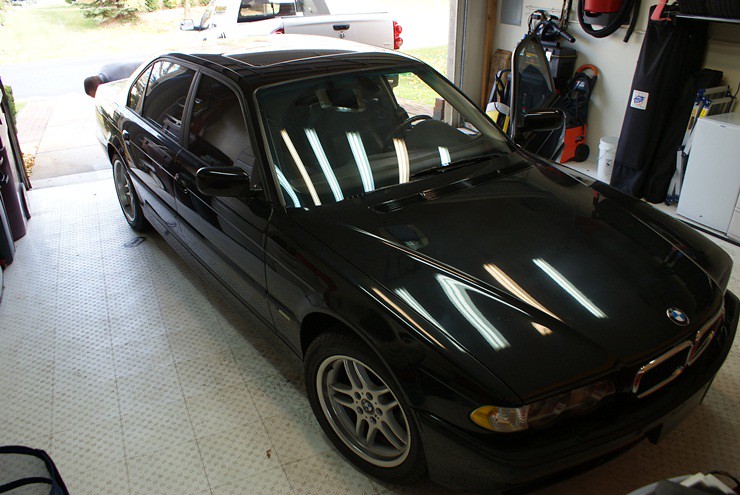
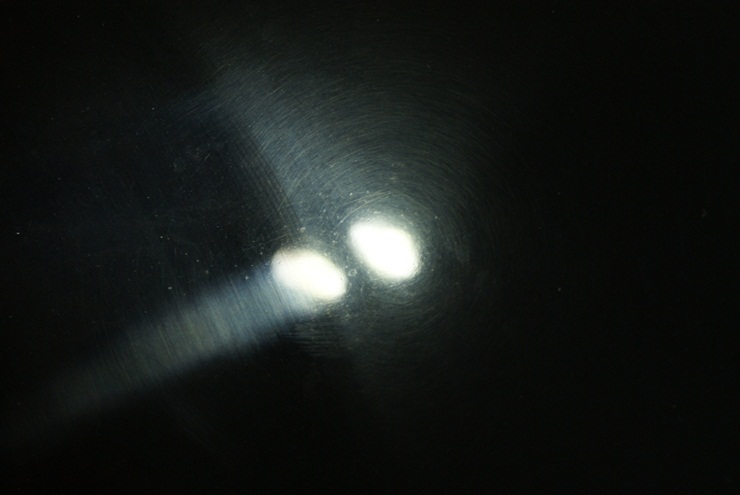
Inspecting the finish with our Brinkmann Dual LED, we could see a LOT of evidence that things didn’t go right with the other guy.
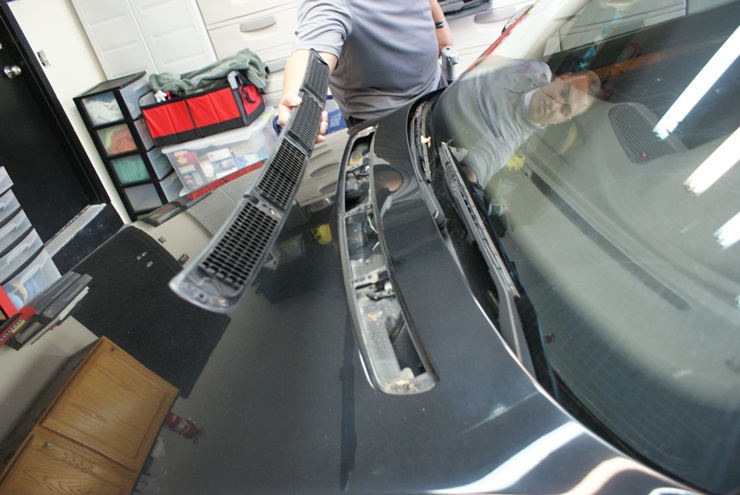
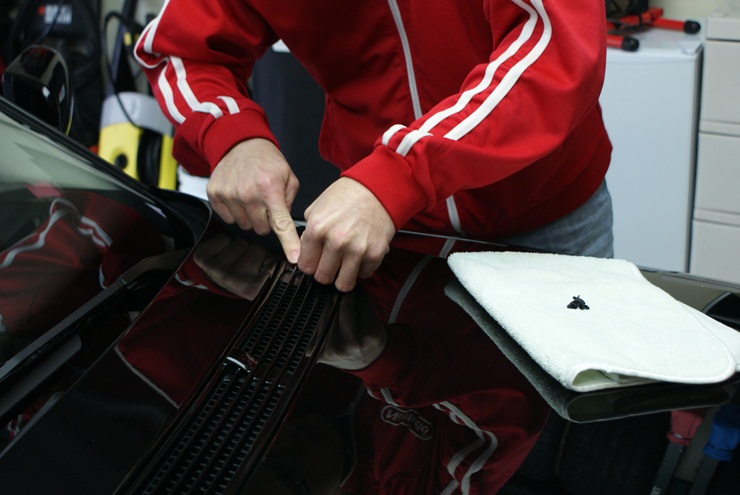
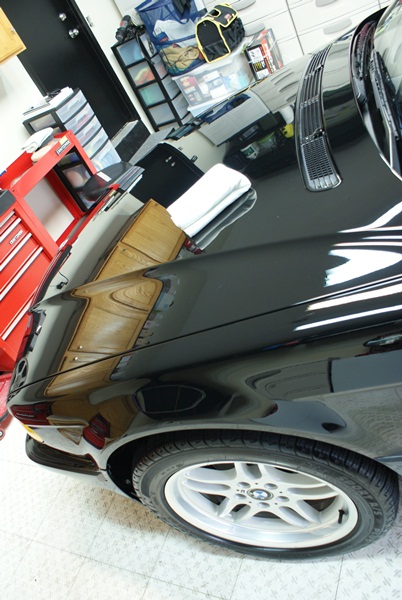
One of the first things we spotted that raised concern was the loose grill on the hood. It was missing the clips that hold it in place, all of them. We don’t know how this happened or when it happened, but we did know it needed to be addressed. We made a call to our local BMW Dealer and the new OEM parts were on their way.
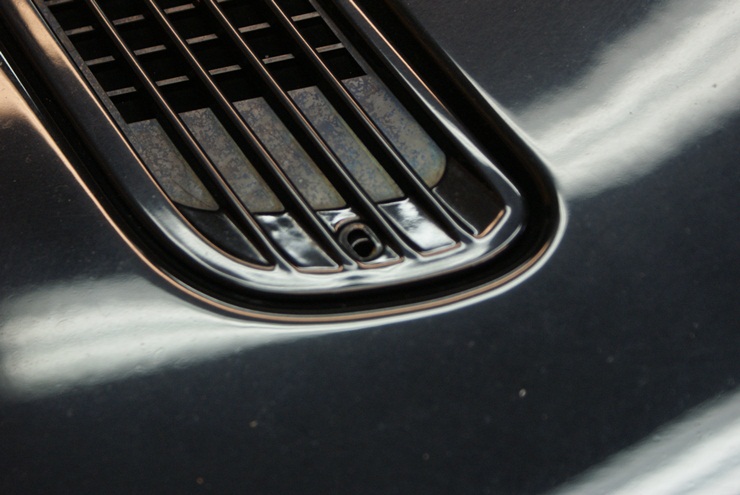
A horribly cloudy finish and a free floating grill? Unacceptable.
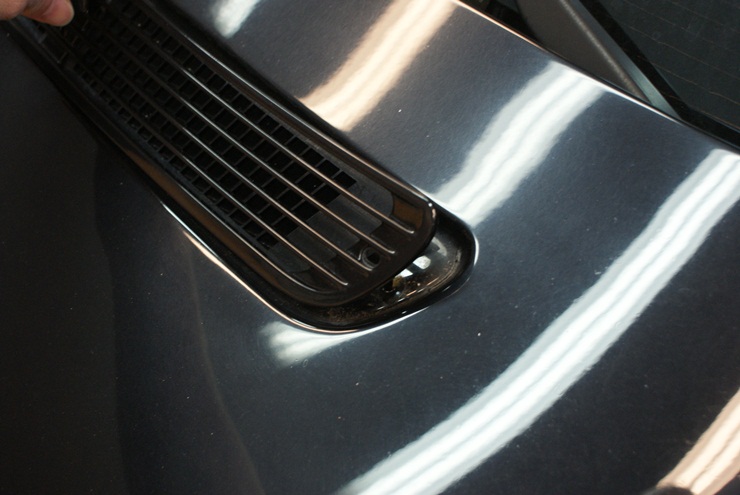
Being easily removed with one hand, I have no idea how this piece wasn’t lost on the way over.
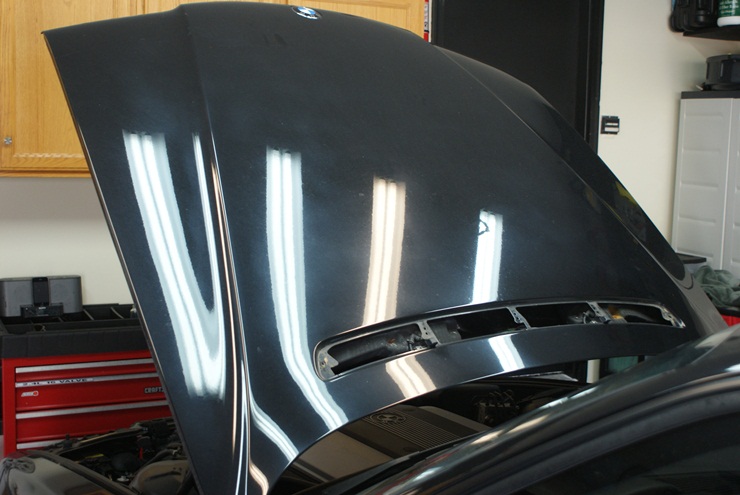
The sad state of the hood:
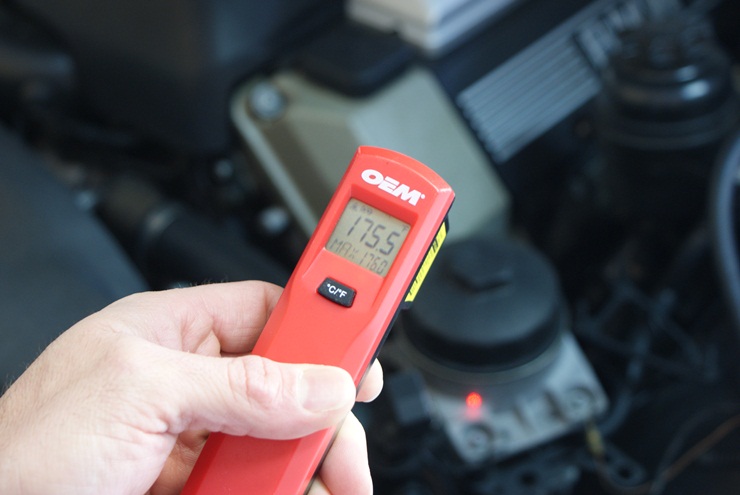
Because the vehicle was driven to us, we wanted to make sure that we wouldn’t begin work until all parts we properly cooled off. The engine and brakes were the biggest concern for heat, and you can make out in the picture below that the highest temperature reading we got was 176 degrees Fahrenheit.
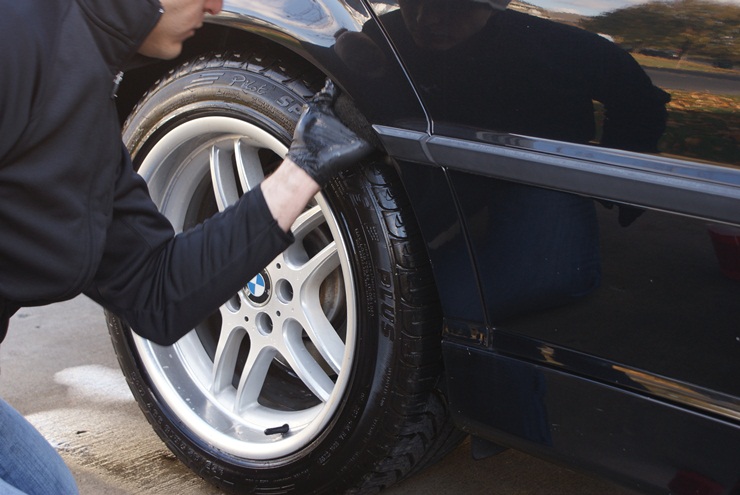
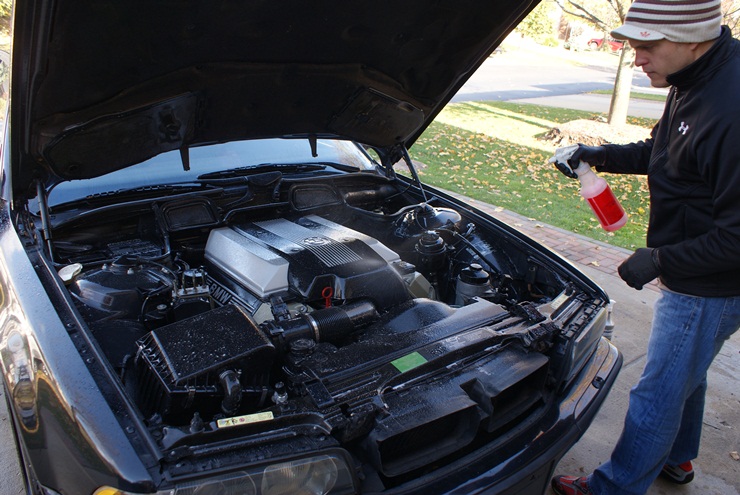
Once cool enough, cleaning began the usual way; wheels, tires, arches, and engine bay first.
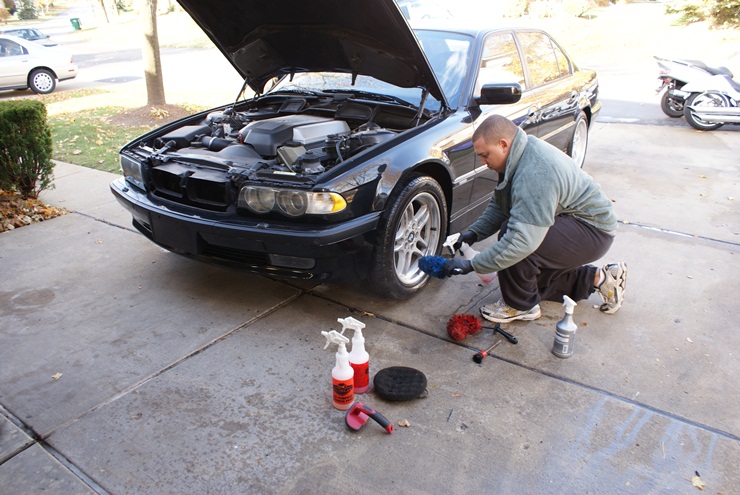
Chemical Guy’s Diablo Gel and an E-Z Detail Brush worked wonders on the wheels.

While I handled the wheels, Jacob began with using Meguiar’s All Purpose Cleaner Plus on the tires, wheel wells, and the engine bay.
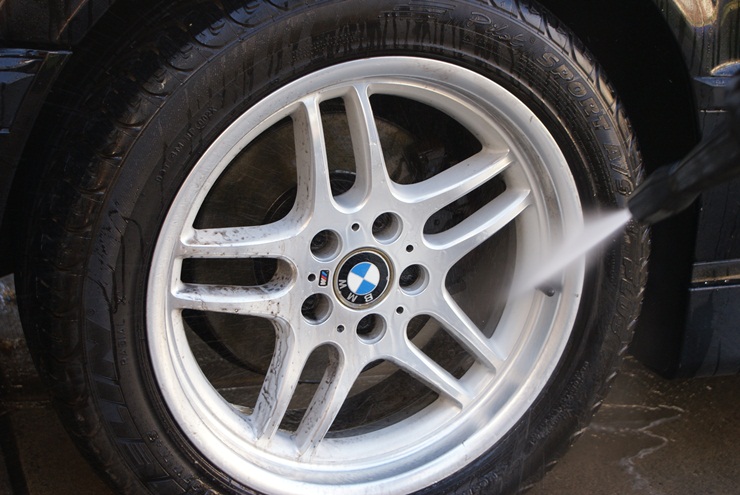
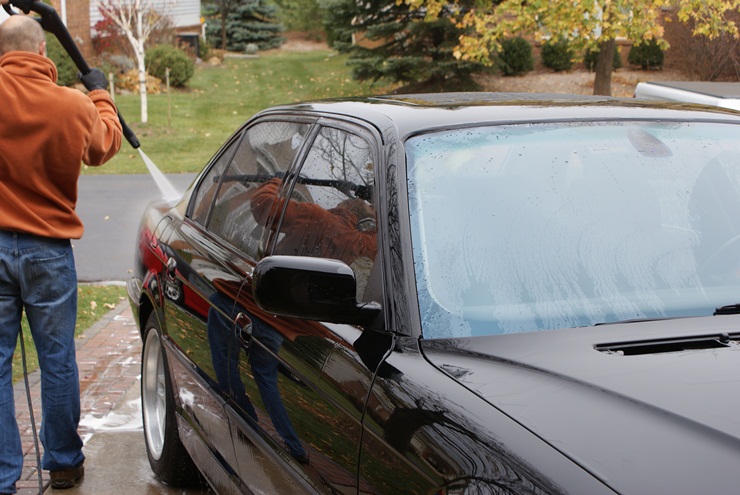
Rinsing with the pressure washer:
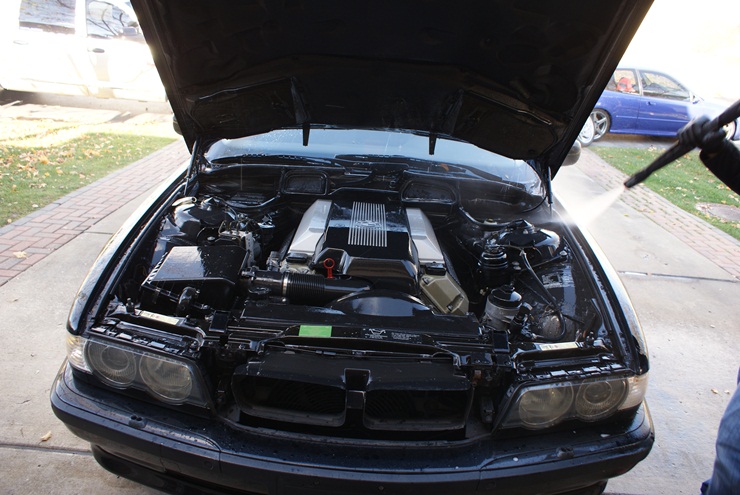
Certain areas of the vehicle were pre-treated with Meguiar’s All Purpose Cleaner Plus and gently agitated with a boar’s hair brush such as the hood (where the grill was removed), and on rear end (where the license plate had been covering). License plates should always be removed to allow for complete cleaning, polishing, and sealing.
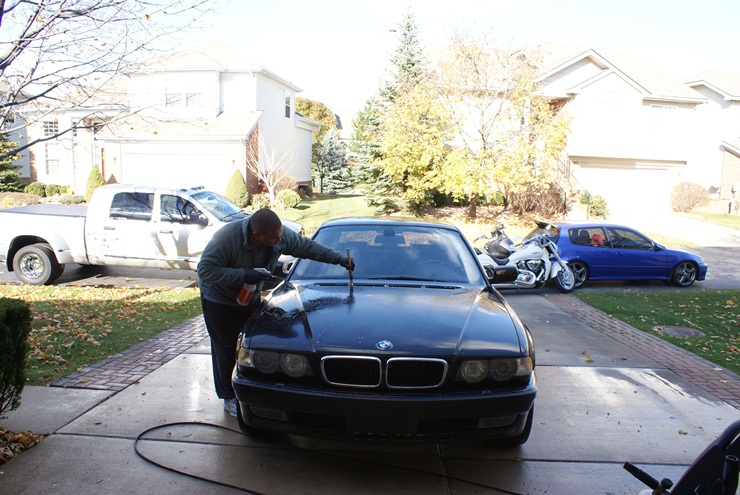
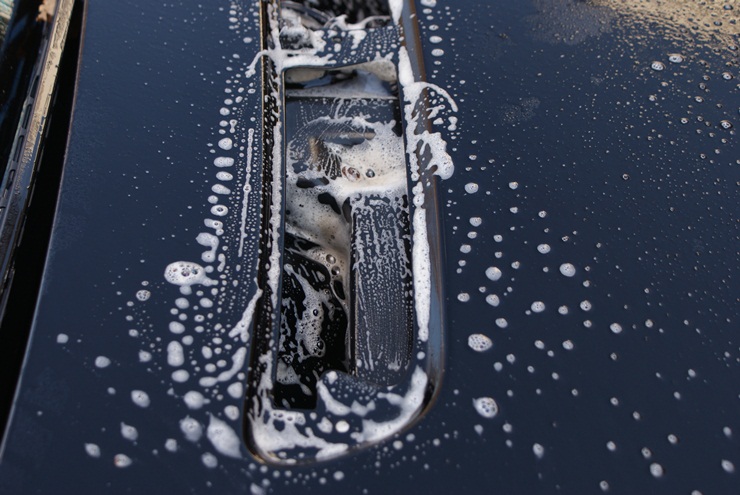
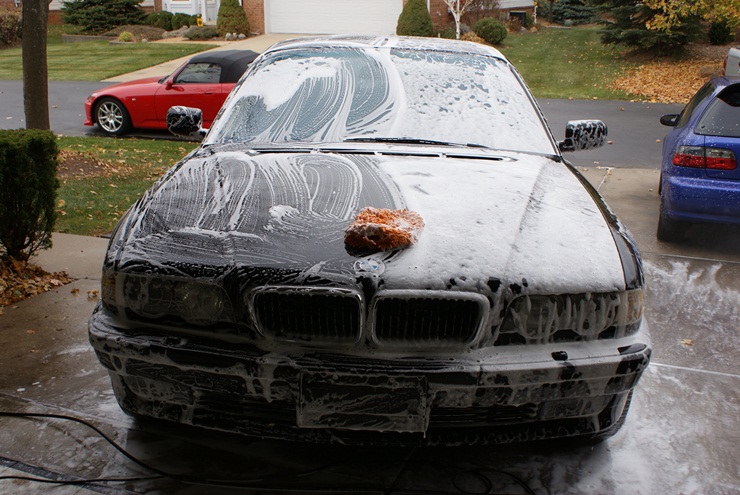
The next step was to give the 7 series a foam bath to pre-soak the car’s surface with car wash shampoo that would help to loosen grime while providing lubricity to float away some of the grime on the surface.
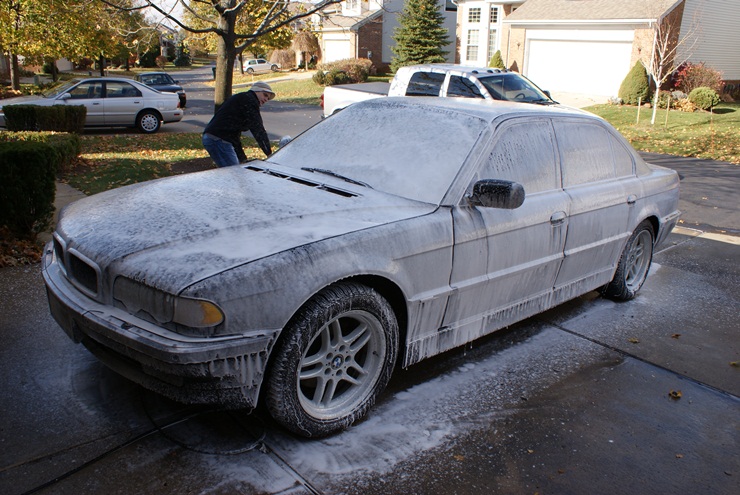
Allowed to dwell for 5-10 minutes, the remaining foam was rinsed off. Whatever wax or sealant was used must not have been very strong, as the initial foaming and rinse left no evidence of beading. The water was laying flat on the car, showing there was no protection left from the “detail” work that was just a few weeks prior.
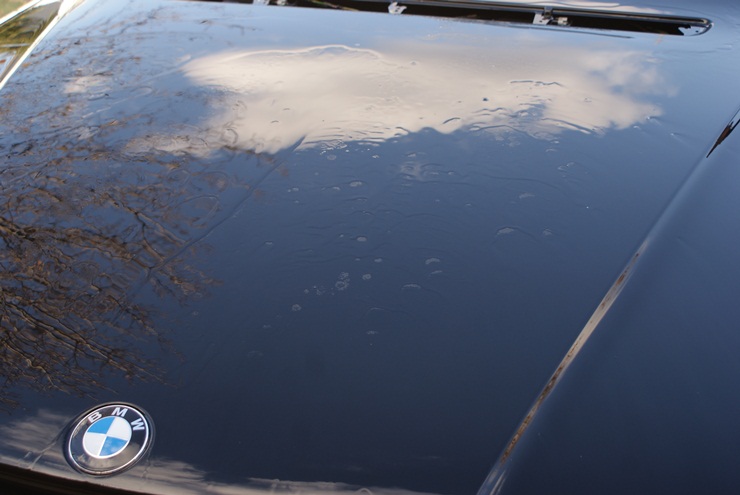
The BMW was then re-foamed…
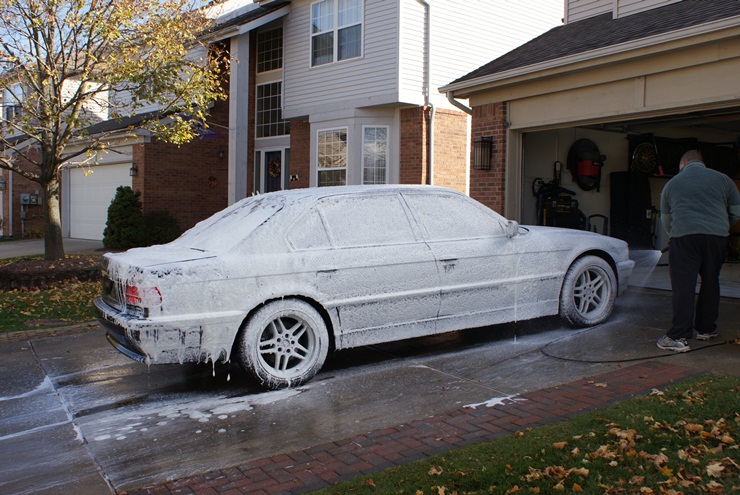
And washed in a safe manner: notice I am not going over the lower portions of the body yet. I will leave these dirtiest-of-areas for last, reducing the risk of any entrapped debris causing swirls or scratches during the wash.
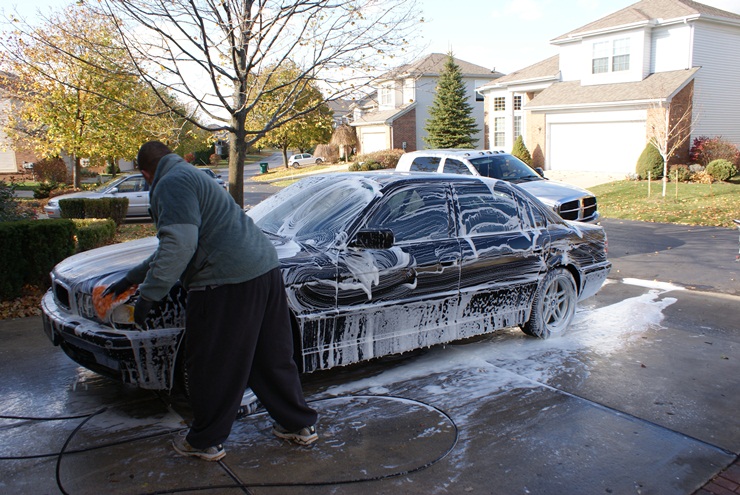
We use our two-man system to our advantage as much as possible to make our work more efficient. While Jacob began with the rinse, I began claying.
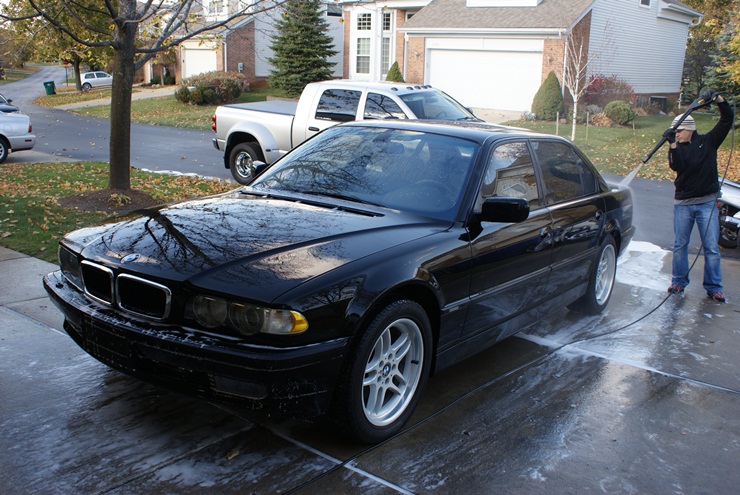
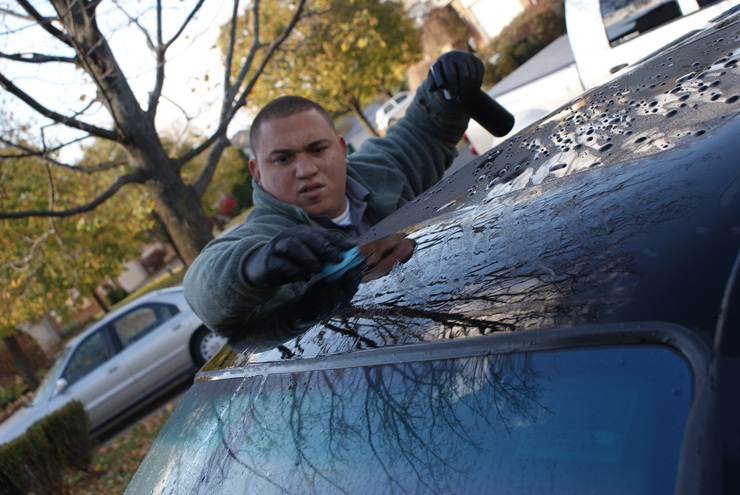
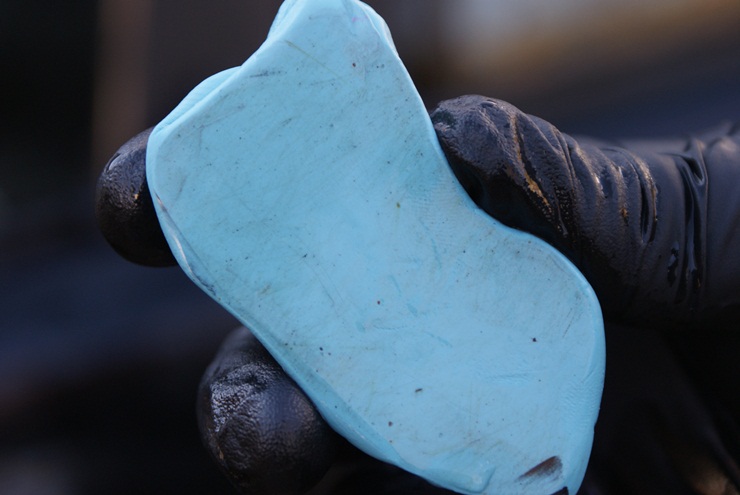
After claying most of the hood, this was the contamination that was removed from that section of the vehicle. Not the standard we’d hold ourselves to if this was a car we detailed less than a month ago.
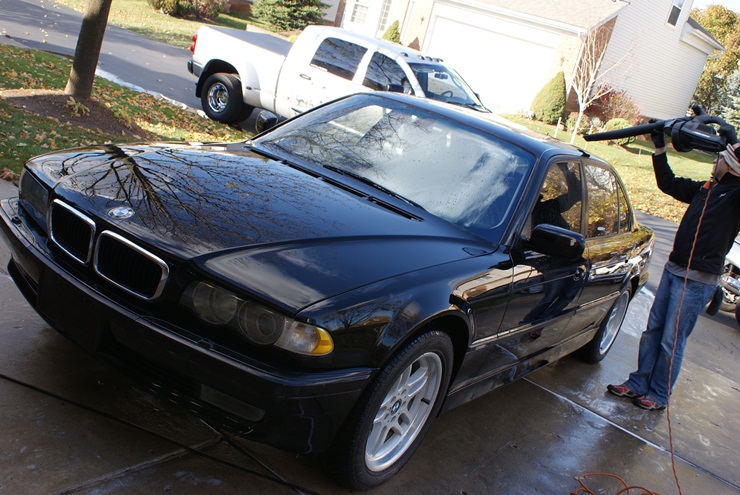
Re-rinsed and dried with the combination of an electric blower and waffle-weave microfiber towels.
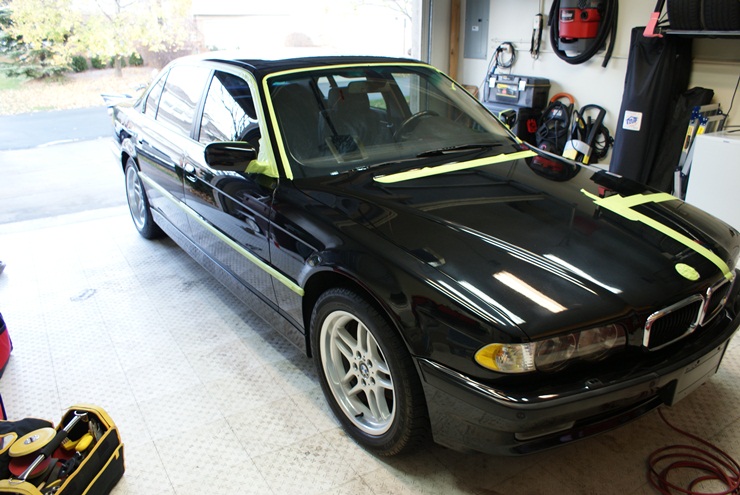
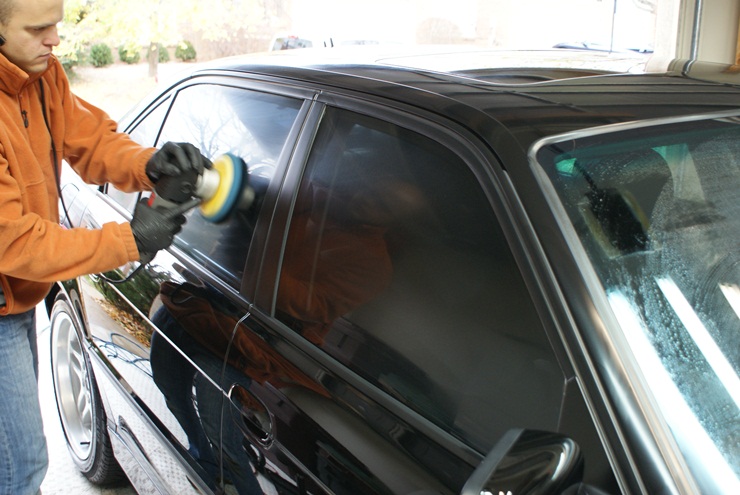
Pulled into the garage, we carefully taped off trim and other things that could potentially be damaged by a buffer. Notice the lower right side of the hood taped off and ready for a test section to begin. Jacob continued taping around the passenger side of the vehicle while I got started on trying to find the right polishing combination for this Jet Black BMW.
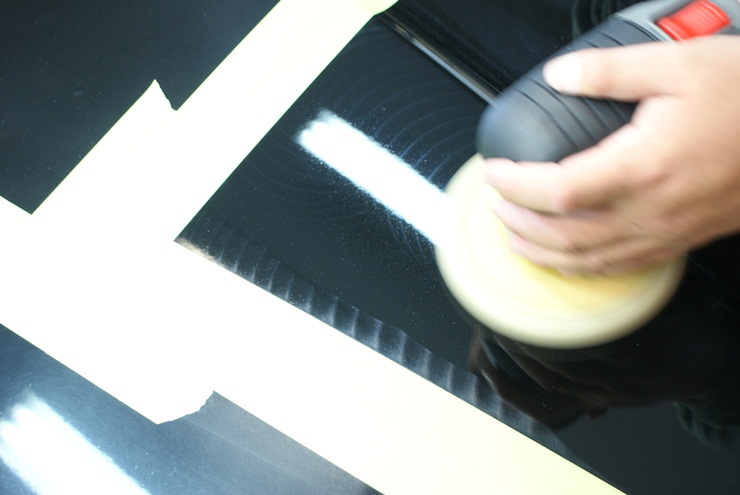
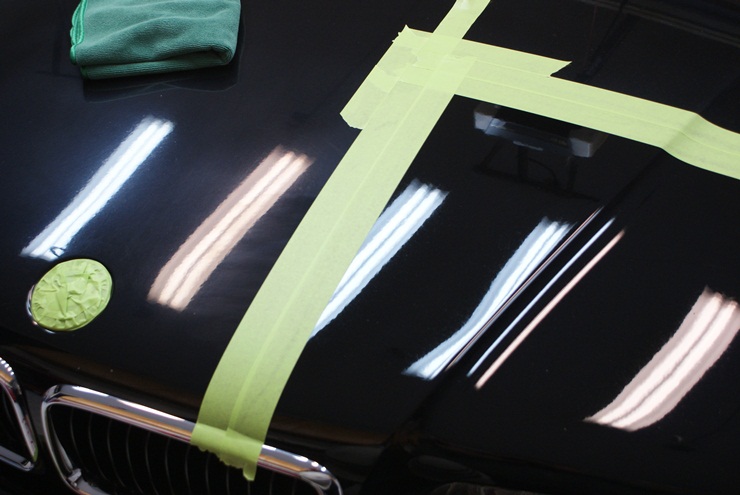
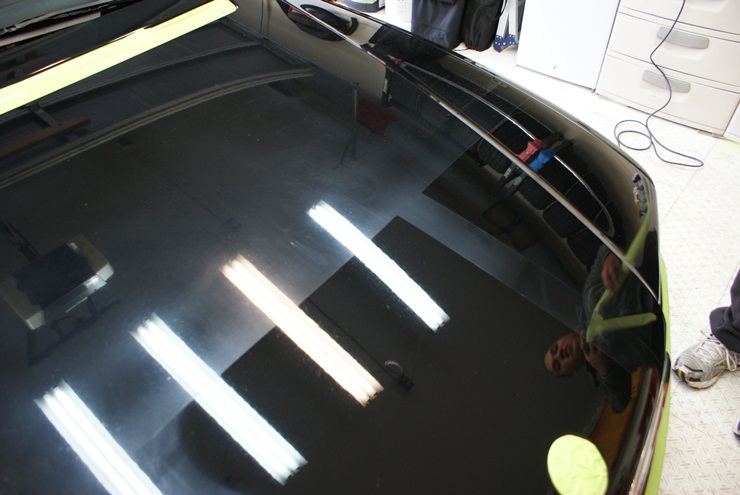
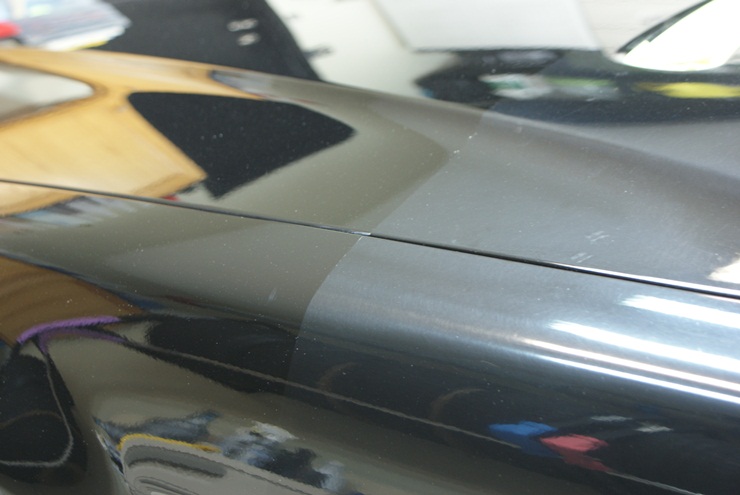
While the difference was already huge, we still weren’t satisfied with our results. In turn, we taped off more of the front of the hood to compare pad+polish combinations. Once we felt we had the right combination, we began taking the painter’s tape off to document the difference in the finish.
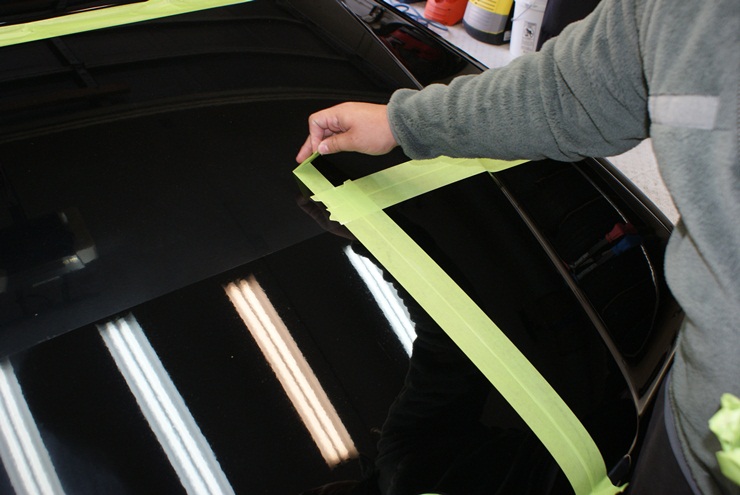
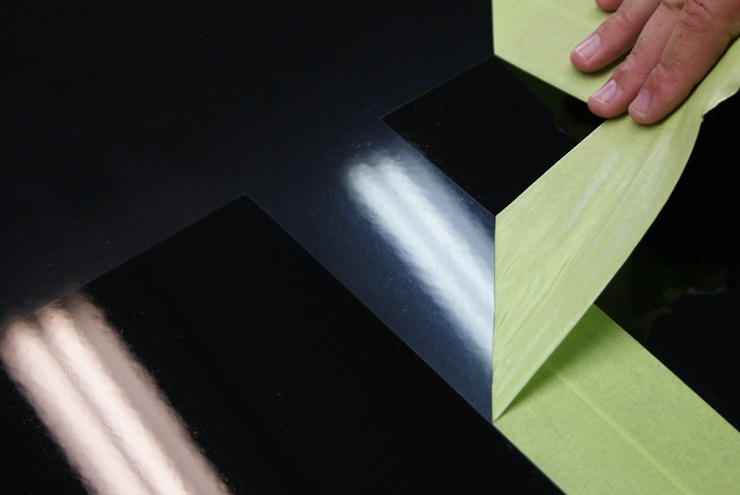
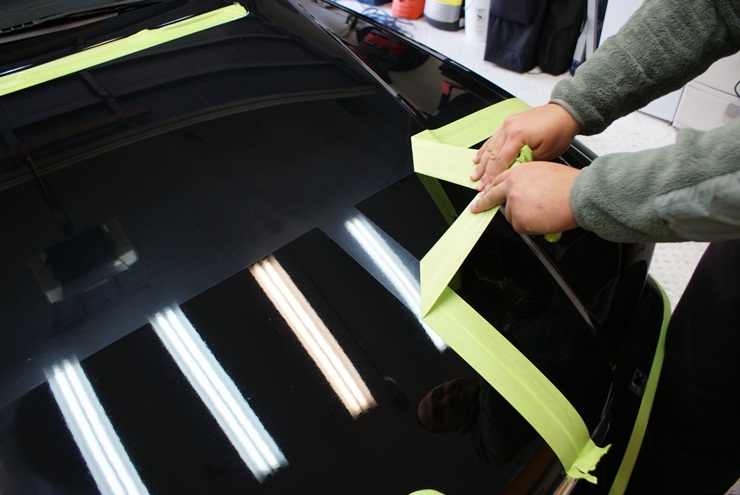
Now the real test… can you tell which sections have been fixed? 😉
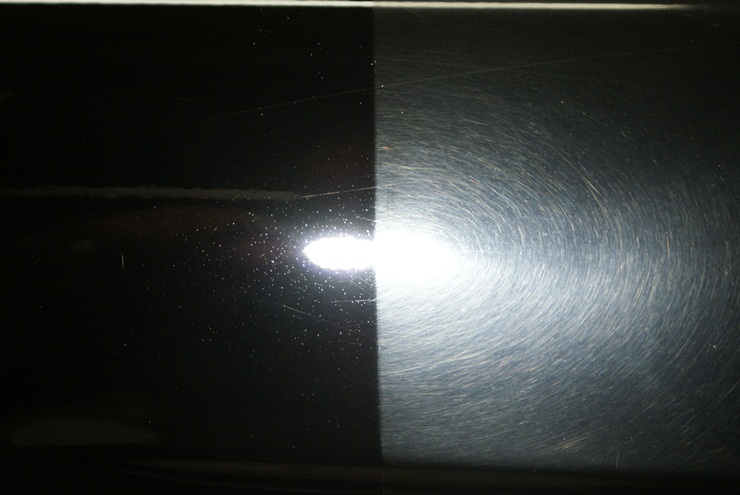
Under the Brinkmann Dual LED the results are even more dramatic. The slight speckles are what naturally happens to the front ends of vehicles over time; rock chips /debris marks that don’t go all the way through the clear-coat or paint, but rather cause pitting.
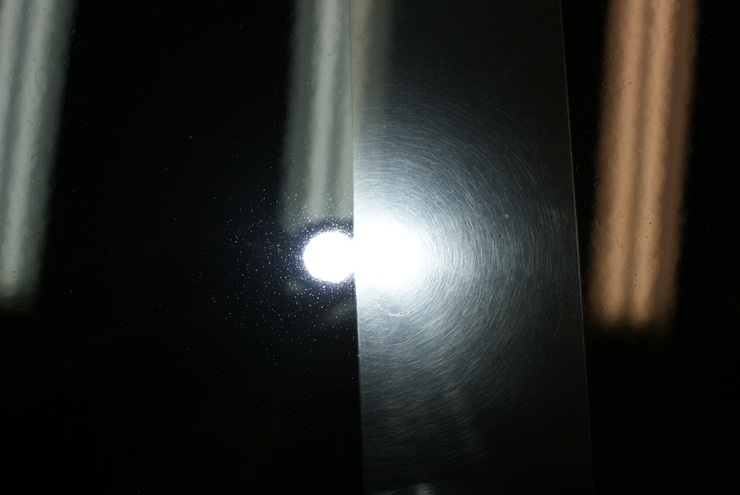
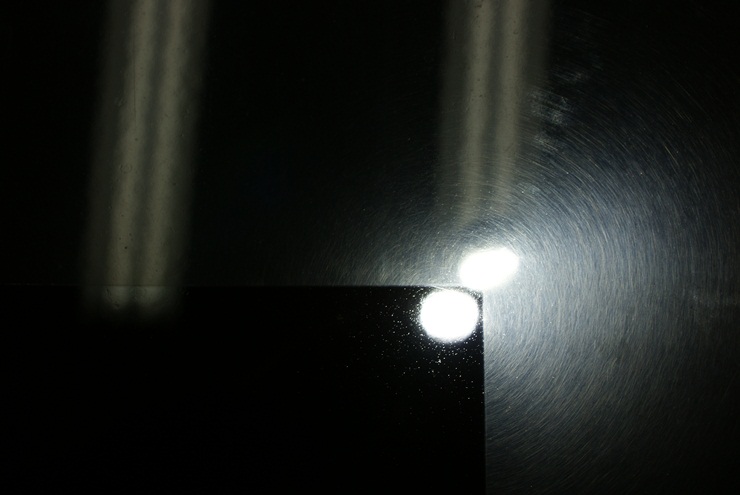
The fender (bottom) and hood (top) under normal lighting. This shows the HUGE difference that is made to the naked eye. The difference in clarity is impossible to not see.
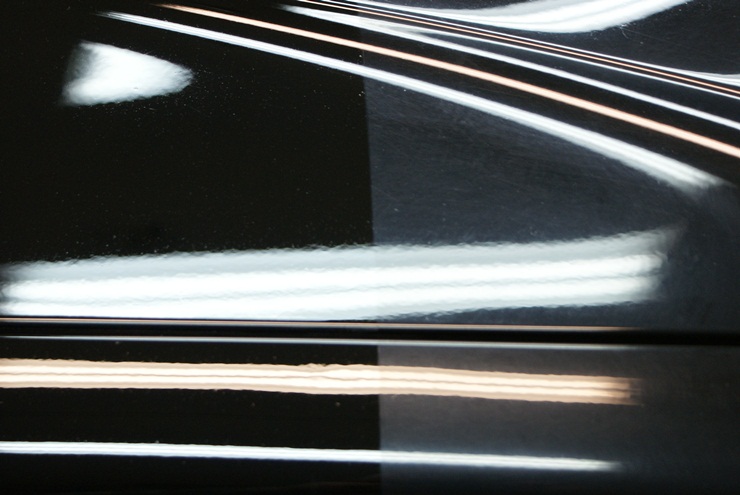
A quality professional earns their keep, but allow me to remind readers of a quote I like to tell others who think cheap service could somehow be near equal in result:
“If you think the professionals are expensive, you should see what the amateurs can cost you.”
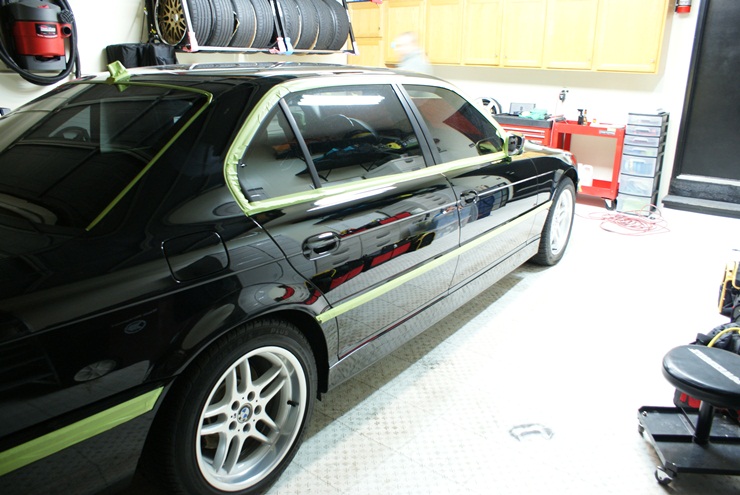
Coming along and finished for the night…
The next day we continued, and after further polishing, pulled the car out in the sun to take a look at how things were progressing…
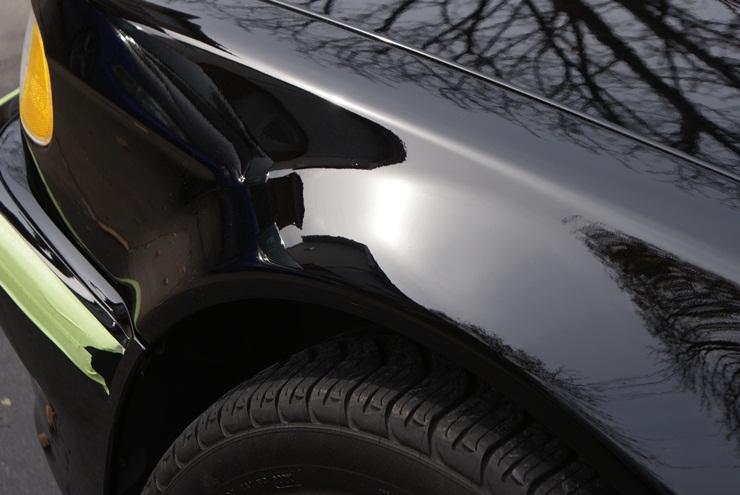
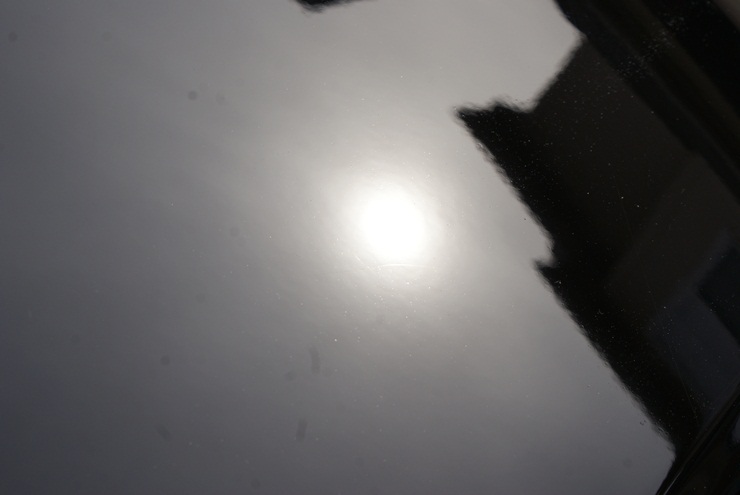
…just as we expected: she needed one more polishing step. After further refining with an additional polishing step, we washed the vehicle to rid the finish of any oils and dust.
Jacob applied Blackfire Wet Diamond Paint Sealant to the entire exterior of the vehicle, to include the windows (dramatically helps to increase visibility out the flanks during raining), while I applied Aquapel to the windshield.
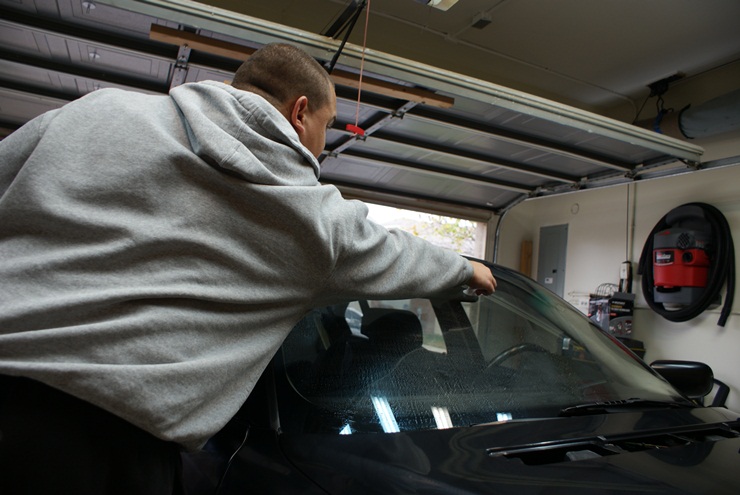
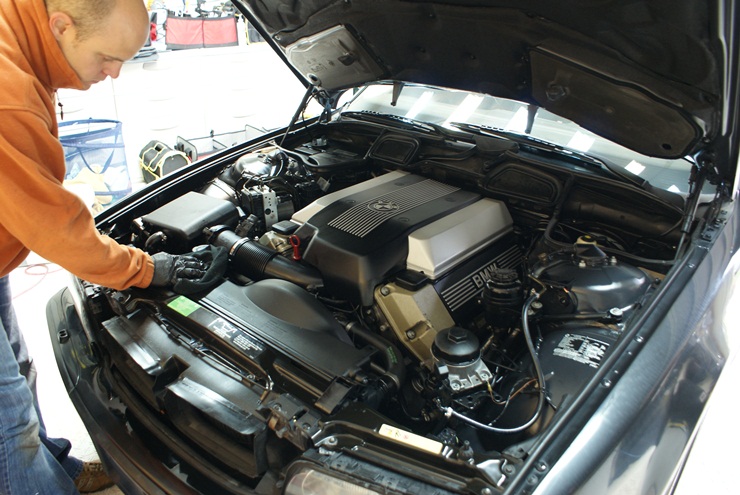
Blackfire still setting on the finish (just take a look at the driver’s side fender), the engine bay is wiped down with Chemical Guy’s Bare Bones to help protect from the coming Michigan Winter.
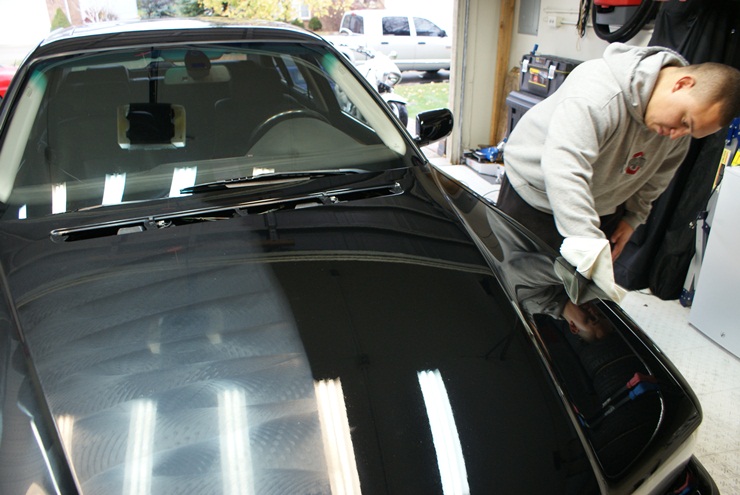
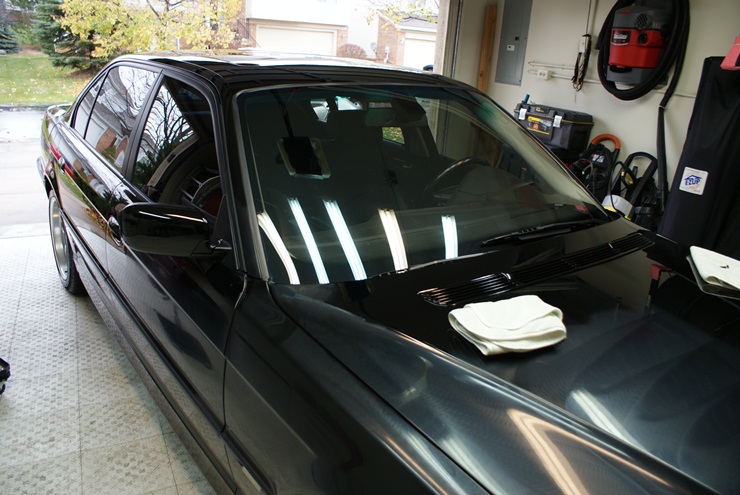
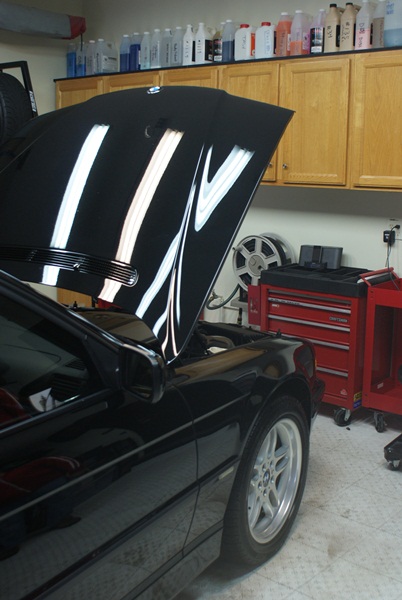
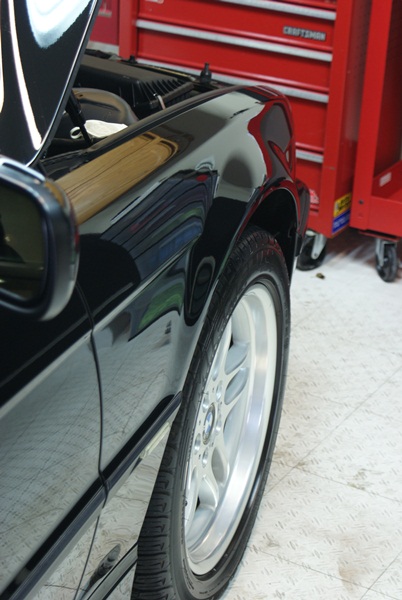
Wiping the set sealant off, the finish is now slick, protected, and deep.
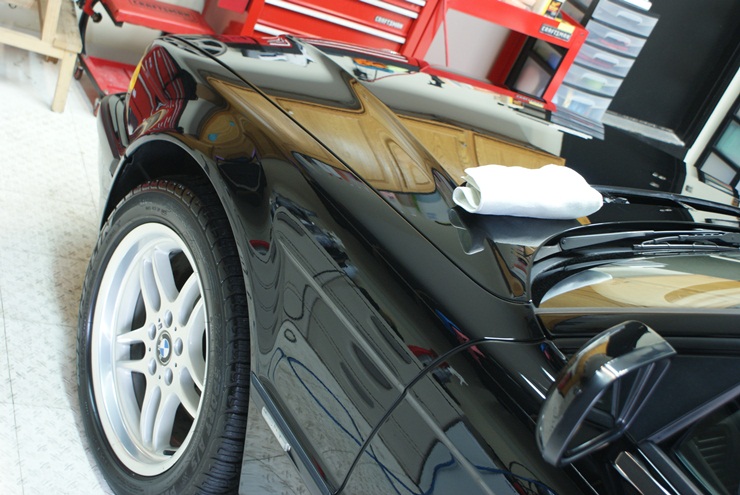
Installing new clips from BMW to properly secure the grill.
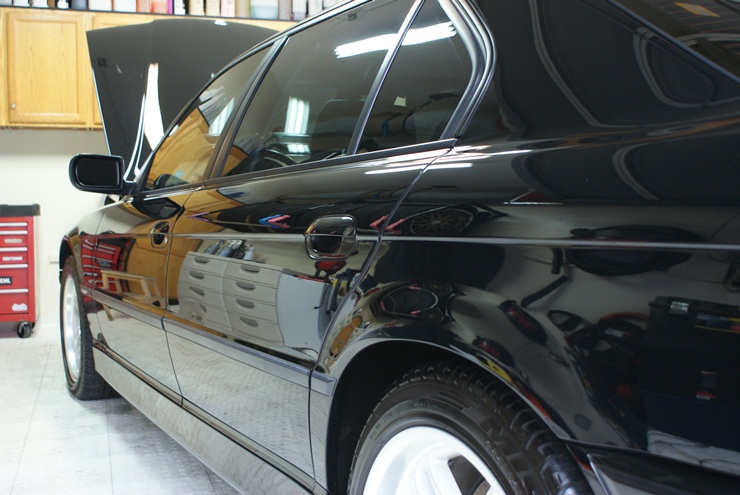
The driver’s side C-pillar before:
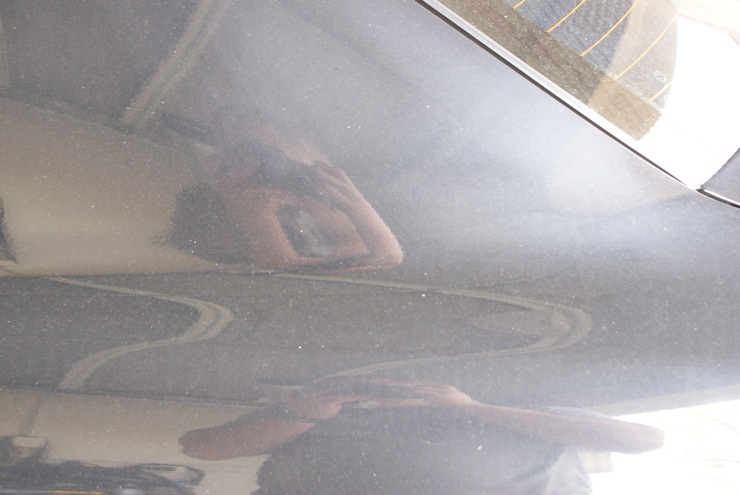
The driver’s side C-pillar after:
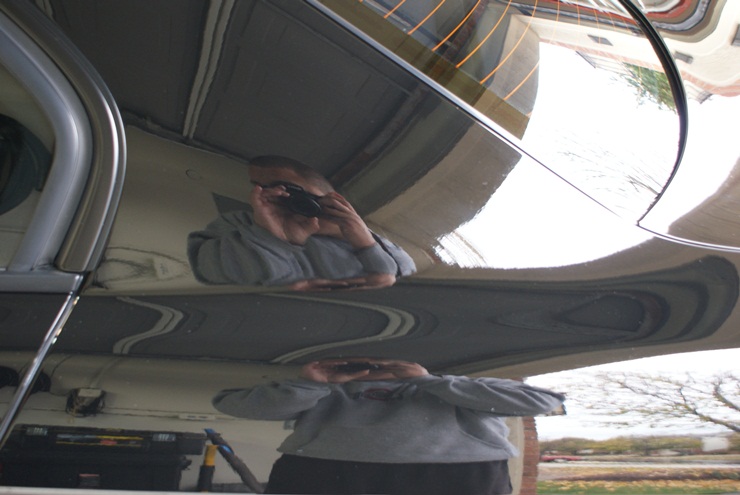
I really like this following picture: which section is the glass sun roof, and which section is the black paint?
You can help avoid such an ordeal by using the AutoLavish Tips to choosing a professional detailer article.
Thanks for taking a look and happy detailing!
-Marc and Jacob of AutoLavish
Related Posts
- Full Detail and Paint Correction: Ferrari 458 Italia by Todd Cooperider of Esoteric Auto Detail
- Lamborghini Murcielago Paint Correction
- Italian Excellence: Ferrari 430 Scuderia Paint Correction and Detailing by AutoLavish
- Ferrari F40: 60 Hour Restorative Detail by Todd Cooperider and Craig Reed
- 2008 Cadillac STS-V, Major Paint Correction


Marc and Jacob,
Great article guys! It’s unfortunate and true that there are people working the controls of a buffer that simply don’t know what they are doing, and the end result is what your client experienced on his 7-series. We see this all too often.
Some of it is lack of proper training, some of it is an old-school approach thinking that one combination fits all cars, and then finally some of it comes down to the fact that many doing this kind of work simply don’t care about the quality of work that they are producing.
It’s fortunate that the owner of this fine car found you guys, and you were able to fix it properly. AutoLavish clearly understands what it takes to be a top-level detailer and professional.
Keep up the great work, and thanks for sharing your knowledge and experience for all to learn from.
~Todd
All too true Todd. I hope this sheds some light on the difference a competent professional can make, and the dangers of trusting your vehicle to someone that doesn’t have enough experience in this type of work. As it’s said:
“If you think the pro’s are expensive, you should see what the amateurs can cost you.”
-Marc
Wow! That car really got violated by the previous detailer! Wool pad anyone? 🙂
Great save guys!
Thank you Rasky. It’s too bad to see a car that has so much potential in such shape, but I’d like to remind readers that many vehicle’s aren’t as lucky and potentially need paint work.
Hope things are well in MN!
wow. that is truly something!!! great work guys!
so what was the magic combination you ended up using for the car?
Dave
Thank you Dave! We ended up using one of the most killer and effective combinations possible: Meguiar’s 105 with a Surbuf pad followed by Meguiar’s 205 on a white pad, and finally 3M Ultrafine Machine Polish with a blue pad. All pads were Lake Country, and the results speak for themselves I believe. Thanks for taking a look and be sure to look out for more great articles and reviews coming soon.
-Marc
Great work guys. Amazing job!
Thanks for taking a look Stelian 🙂
Great job on the detail guys. I’m sure the customer took a sigh of relief when he saw his car was back. One question on the motor cleaning. Do the German motors tend to be a bit more sensitive to being wet? I noticed you are using a pressure washer which puts out less water than say, a hose.
Well done guys! Total Save!
Cheers,
GREG
Mike,
Thanks!
In general German cars have very well built engines and bays, electronics and wiring. There are some reports of people having issues when washing their engines with Land Rovers, Jags, Lexus. So far we have never had an issue. Use good judgement and you should be fine. The pressure washer is a must for engine cleaning, more for the power than for the amount of water. I can’t imagine water getting into somewhere to be better or worse either way. If it is not tight, water will probably get in regardless of the hose.
Beautiful job for sure – but can I ask what was the pad+polish combination that you found? thank you so much for documenting such a sucuess with great pictures!
Hey there and thanks a lot Ed-ward. I posted just above while responding to another poster as to what we used: https://www.detailedimage.com/Ask-a-Pro/the-difference-a-professional-detailer-can-make/comment-page-1/#comment-6917
Thank you for taking the time to comment!
So Marc, what do you think the other detailer did?
Do you think it was from washing or from only using a compound?
Tim
Tim,
Thanks for the great question. The inexperience of the other detailing company led them to use a machine+pad+polish combination that was way too aggressive for this finish. The great amount of haze is caused by abrasion to the clear-coat. In addition, the spotty nature of the finish shows an inconsistent polishing technique. Basically they used something way too aggressive way too fast. I’m just happy they didn’t remove all too much clear-coat as paint thickness readings were quite normal.
Excellent save. I still love those old 7 series. Wish I could find a nice old 740i.
And thanks for the memories! I have this visual in my head from when I was 17 or 18 at a detail shop in the Bronx…
…3 guys with screaming Milwaukee polishers and wool pads nailing some poor guys Ford Probe. They applied globs and globs tan 3M heavy compound from the 1 gallon bucket with nylon bristled paint brushes before the buffers even hit the car. Compound was slung all over the shop walls, floor, and ceiling form the 3000 rpm of the 8″ wool pads. I actually had to walk outside as wet compound was landing all over my clothes and into my eyes. The “polishing” was complete in just a few minutes and the “craftsmen” took pride in trying to line up all their holograms evenly along the sides of the car. Then it was off to the hot water pressure washer for the first wash. Yes, these guys polished dirty cars.
Justin,
That is the most horrific account of “detailing” I’ve ever heard of. I’ve had nightmares that weren’t as scary as the scene you just painted 😀
Wow, absolutely stunning results. Gotta be thankful for amateur “detailers” to keep the rest of us in business.
As long as they don’t ruin paint to the point I can’t save it and the vehicle needs to be painted instead, I agree Kevin 😉
M&J,
great article, and awesome to see that you guys took care of the client properly.
I had a recent 335 save from a “high end” detail shop…(I mean, they cook you lunch while you wait, they have to be good right? and they hold meet and gatherings there all the time….makes them great right???)
Its funny that some people think this is the normal and acceptable, and then when you show them the real difference in a pro vs just some “friend of a friend” detailer how they will always be blown away!
NICE SAVE!!!!
Thanks Eric and you are certainly right. I’d recommend anyone to be careful of any place that prides itself on food and not their work!
Hey guys awesome job and way to save the paint.
What foam gun did you guys use?? And at what ratio did you mix ur soap to get that thick layer of soap on the car??
Thank you Yeison for not only taking a look, but for commenting as well. The foam cannon attachment is pressure washer specific, and thats the main reason it can produce the very thick shaving cream style foam. Only 4 or so ounces of Chemical Guy’s Citrus Wash shampoo was used.
Thanks again and happy detailing!
love your post. Just wondering what pressure washer you used and psi. Thank you
Marc,
Beautiful work and great pics that ‘tell the tale’ each step of the way. The pics of the hood, showing sections that were corrected next to sections that were not corrected, are incredible.
In a couple of the pics it looks like ther might be RIDS. If there were, did you do anything special for them, or leave them be due to the overall age and condition of the car?
Thanks
Eugene,
You’re spot on with your observation. Random Isolated Deep Scratches are always an issue – especially on a jet black car in which you can see every imperfection.
The truth of the matter is we polished in a way to not only remove the hazy appearance from the vehicle’s finish, but to also lessen the amount and appearance of RIDS as well. The owner wasn’t interested in trying to get 100% correction, and we didn’t have the budget or goal to try to achieve that type of perfection. Our goal was to get in the 95-99% correction rate, and if you were able to inspect the vehicle, you’d see we achieved that goal.
Hey Guys,
Great Work! …I was curious. Can you not also apply Black Fire Wet Diamond Paint Sealant to the front windshield? Thanks!
Micah
Micah,
You surely can apply Blackfire to the windshield! It will greatly help with viability in rain or snow as the slickness helps to quickly clear the field of view once you’re at speed. In this case, we applied a product called Aquapel to the windshield as it seems to work even better and longer (many call it Rain-X on steroids).
Regardless of what you use on your car for protection, don’t forget to do the windows and windshield!
This is a very helpful article, it pretty much tackles everything I love the part with the tape to show the difference, thats such a perfect example of detail work
Thank you for the kind words Adam. We appreciate you taking the time to not only read, but to comment on this article. There’s nothing better than receiving feedback from a fellow car enthusiast!
I didn’t realize wet diamond is good on the windows and windshield, i always used it on the headlights and taillights but I didn’t attempt the windows, i was always afraid to get it near the windows, Good to Know!!!
You’ve been missing out Adam!
You’ll love it – I can promise that.
Good morning,
Just purchased a 02 bmw 525I- The car itself is in excellent shape. 1 owner who really took care of the car as best as she could. 7k a year was all she drove it but its time to really give this 5 a great detailing.
Thanks for the pictures and some advice and excellent job- now, please move to NJ!
But the one question I have is about the old grit and grim on the rims. I have read about people using small amounts from a clay bar to other compounds to remove the caked on grim! I dont mind scrubbing or putting in the work, I just want a product that will help to remove this and bring it back to new. Any ideas on products and advice would be great
thanks
Joe
Joe,
Thanks for the comment and congrat’s on the BMW! I’m sure once you spend a little time with it, that 5 series is going to look even more outstanding than it does now.
One product I’d recommend adding to your collection is something like Tarminator made by Stoner: https://www.detailedimage.com/Stoner-M20/Tarminator-P127/14-oz-S1/
The tar and grime that builds up on the inside of your wheels will come off much more easily when using a product like this. Just be sure to keep it away from the wheel weights or you’ll risk it loosening the adhesive!
I hope this helps and happy detailing!
If you
[…] We have a great article about this exact topic here – https://www.detailedimage.com/Ask-a-P…iler-can-make/ __________________ DetailedImage.com – Your source for auto detailing supplies | 10offG35 – 10% […]
hi i just wanted to know what soap and power washer tip compination you used to get the soap to foam like that.
Thank you
Chad,
Thank you for taking a look at our article and for leaving a comment! We almost always use Chemical Guy’s Citrus Wash for stripping paint, we utilize a normal electric Karcher pressure washer, and the foam cannon is an Italian manufactured unit that has been popularly been re-branded by various companies.
Great job.. although you’re making me think twice about detailing my own car. I just got a Porter Cable and I’m waiting to use it. I have similar defects on the hood of my BMW e46 330i and I’m praying that I can correct it myself without making it worse.
Marc/Jacob,
I know these products have been brought up more than once, but could you tell me the exact model Karcher pressure washer you were using? Or at least the PSI and GPM it has to produce that type of foam wash? I’m currently in the market to get one, and I’d prefer just getting an small electric pressure washer rather than a big gas one.
Thanks
Awesome detailing.
3rd time reading this article and each time it has been like I am reading it for the first time. amazing work guys
Thank you Richard and I hope articles like this inspire you to better care for your own vehicle(s)!
Great job team,car looked great.One questions though,I’m in the process of learning paint correction while actually doing it for the folks that want me to do it,I was curious on where I can find a “paint thickness device’ to check my work?Also how can I check the paint thickness level on my work while I still don’t have one.