Restore Your Heavily Oxidized Headlights
by Kevin GeorgeIt is nearly impossible to go anywhere and not see a vehicle with headlights that are in very poor condition. Headlight restoration is going to remain an important task for anyone in the detailing industry. With most of the cars on the road today having plastic lenses, it is very common as they age to become hazy or have a yellow look to them such as the set in this example. When your lights begin to look like this you are losing a majority of the lighting output, which is safety concern.
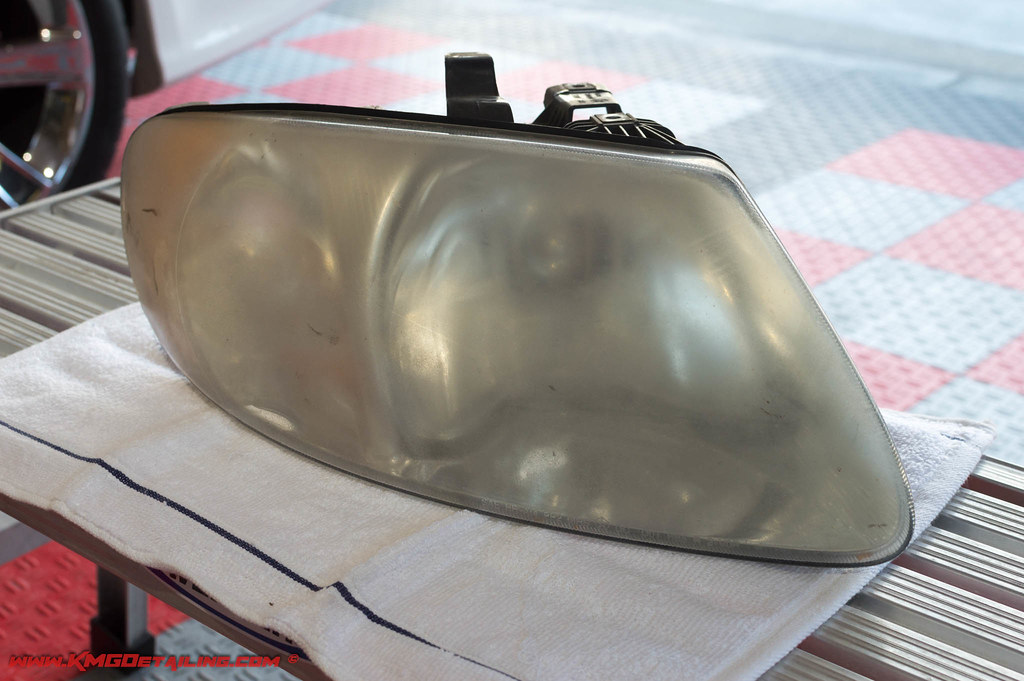
For this example I had a set of Chrysler Voyager headlights that were in very poor condition as the lens was heavily oxidized. This picture of the headlight is prior to me starting the restoration process. It should be noted that you do not need to have the headlights removed from the vehicle in order to perform this task. The owner of these removed them as this was the only thing I was doing on the vehicle, making it easier than giving me the whole vehicle.
The Sanding Process
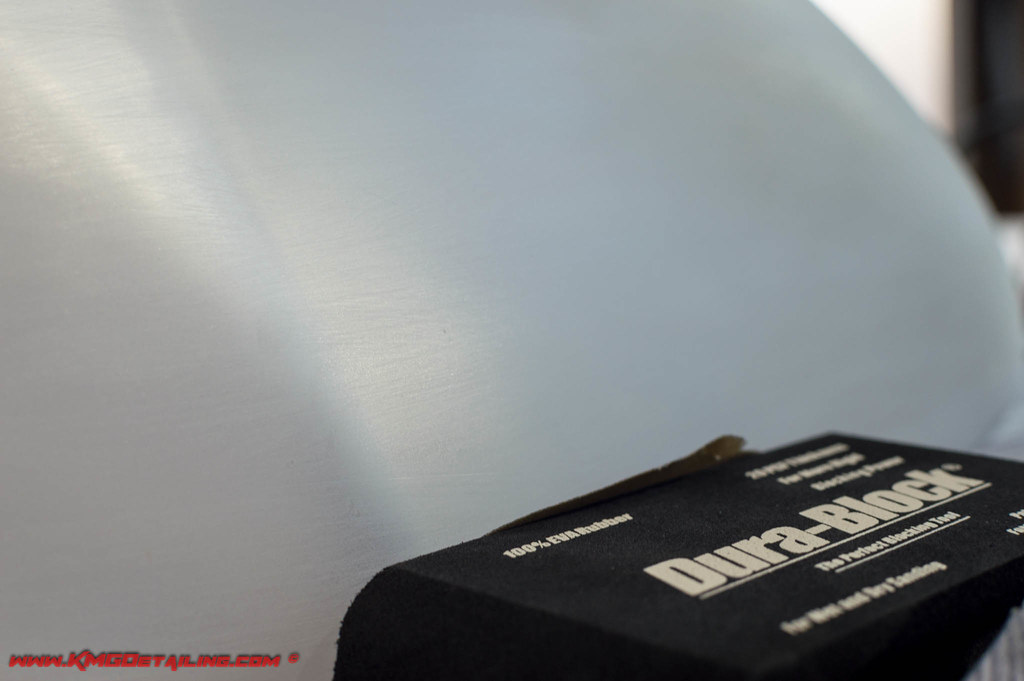
If you’re working on the headlights while they are still on the car, you will want to tape off the paint around the outer edges of the headlights to protect it while sanding. Due to the condition of these lights I started with a fairly aggressive 320 grit sand paper. For this step you will want to dry sand using a sanding block and work in one direction, horizontal or vertical. As seen in the picture above I worked horizontal across the light on this step.
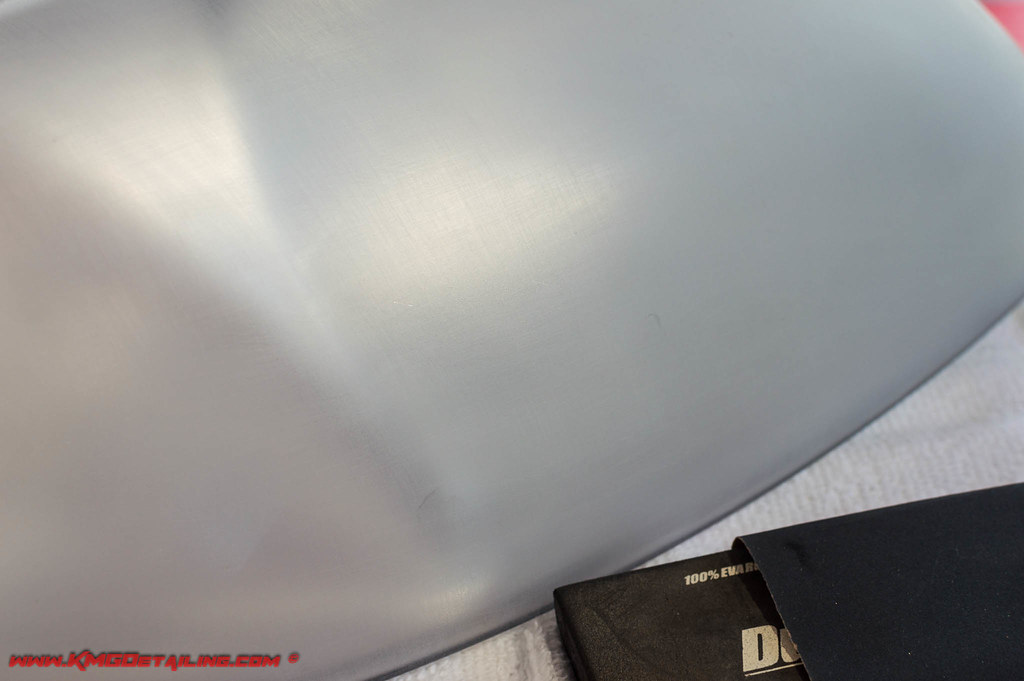
After doing the whole surface with 320 grit, I followed that up with 600 grit paper in the opposing direction. You will want to alternate the direction in which you sand as your progress your way from course grits to finer grits.
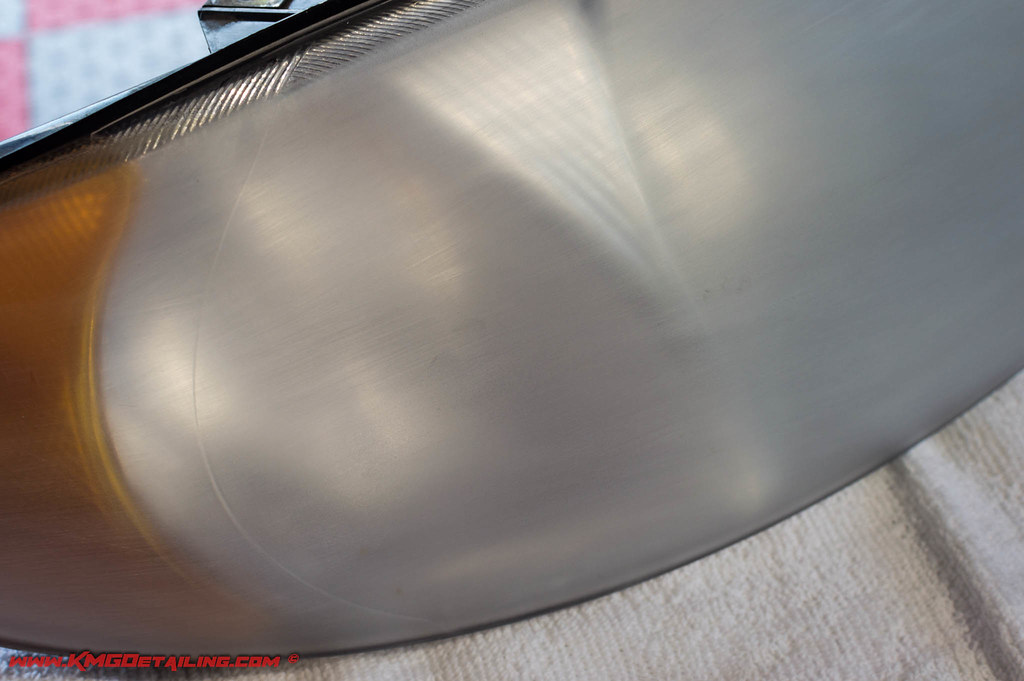
This was followed up with 800 grit paper, which was done with horizontal passes. This will be the last step in which you will be dry sanding. The next few sanding steps you will be wet sanding.
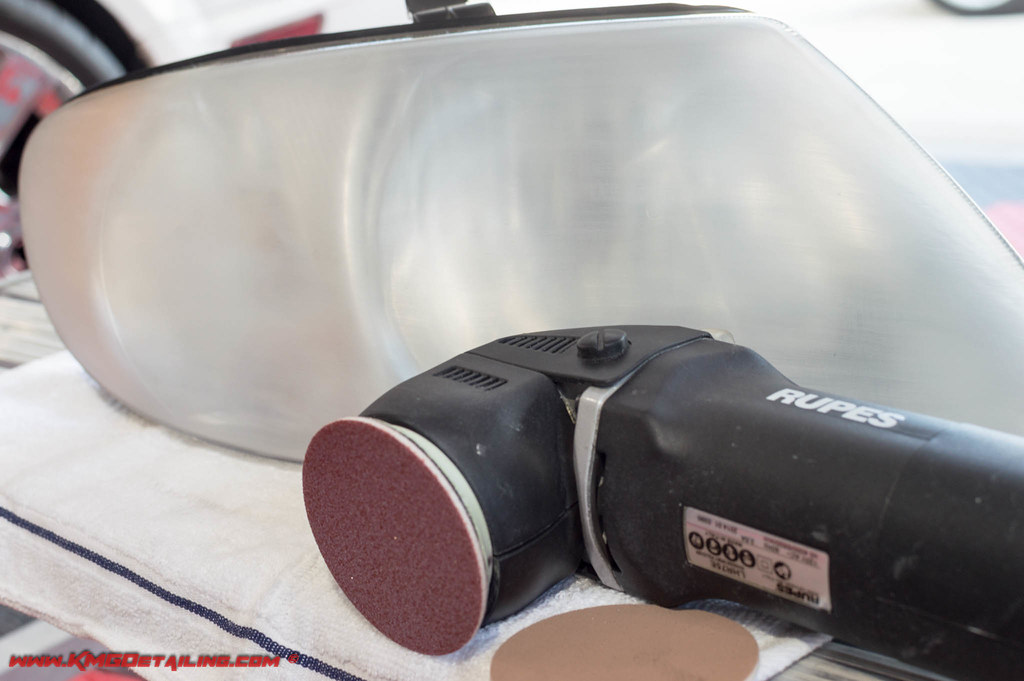
For the remainder of the steps I used my Rupes LHR 75E, which really speeds up the last few steps of the process. I keep the speed set at a lower level when sanding, for the Rupes I keep it between setting 2 and 3.
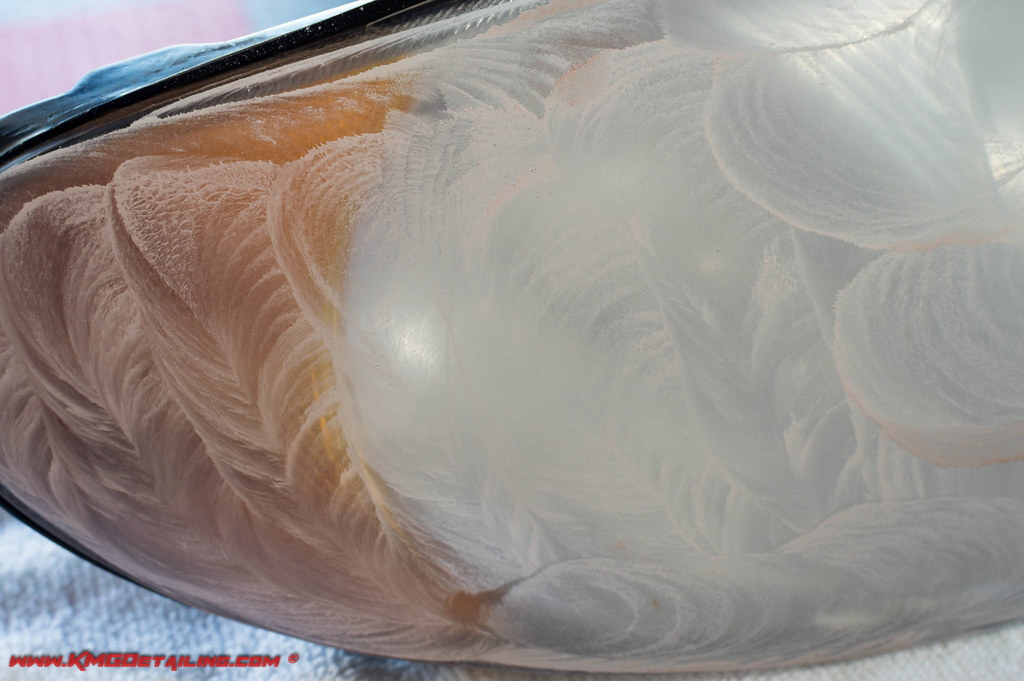
For the first step of the wet sanding process, I am using a Meguiar’s Unigrit 1000 Foam Finishing Disc. I like using one of the DI 4 oz. spray bottles, however you can use any small spray bottle filled with water to mist the surface to keep it wet while sanding.
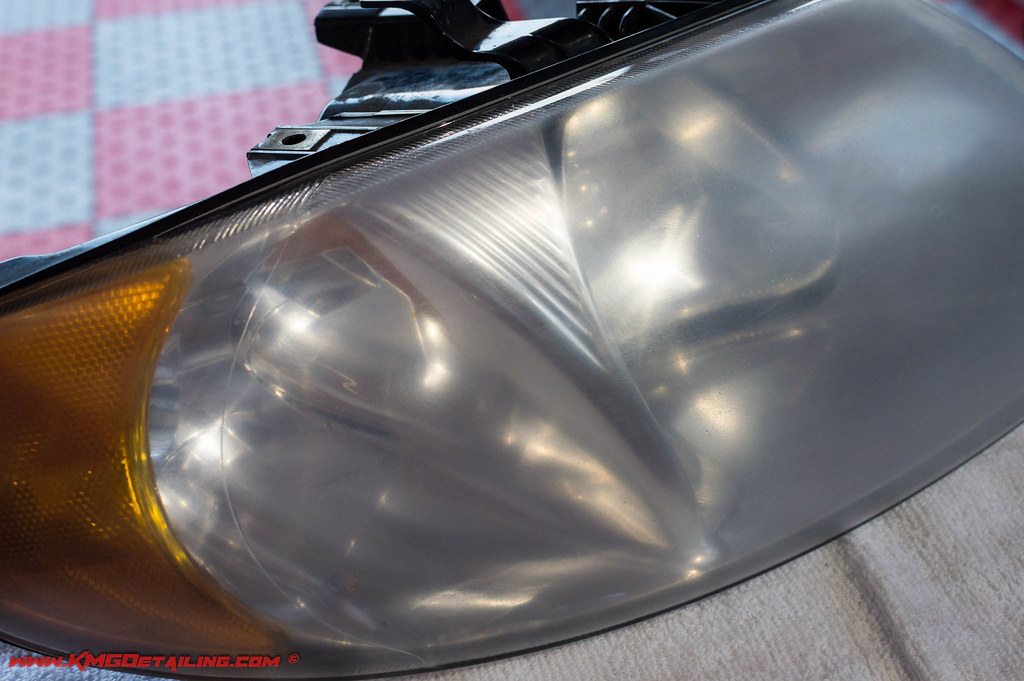
As you progress through the steps, you should be able to see the lens improve in clarity as the surface becomes further refined. The above image shows the surface after being wiped cleaned.
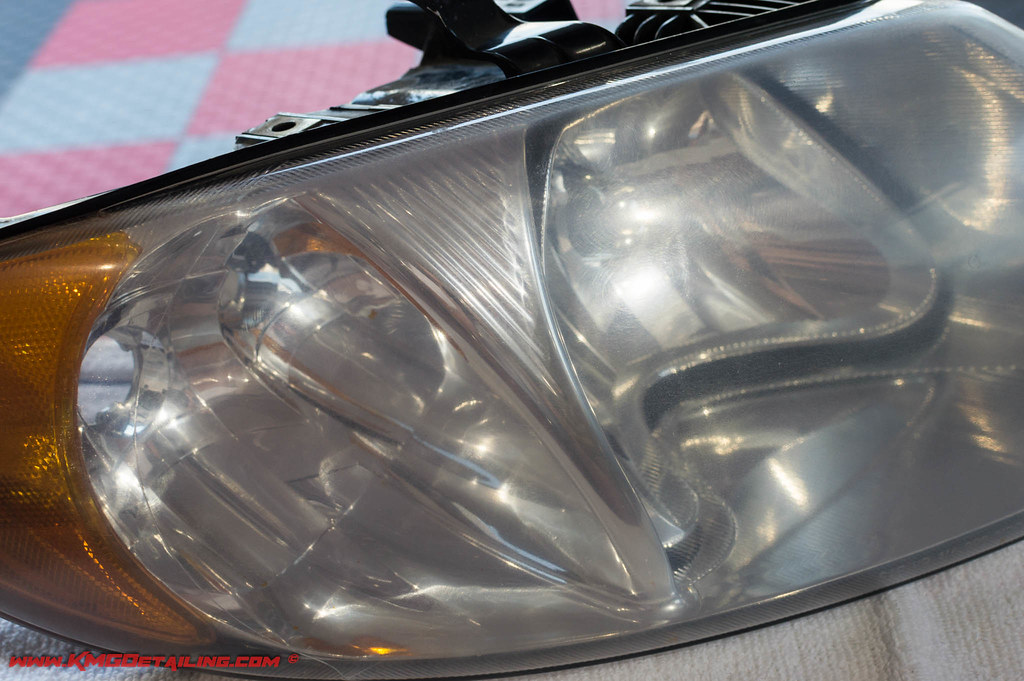
This was then followed up with the final wet sanding step. A Meguiar’s 3000 Unigrit Foam Finishing Disc is used with a spray bottle again, which really cleans up the surface. At this point a majority of the defects are now gone leaving a nice flat surface. You are now able to proceed to the compounding and polishing process.
Compounding & Polishing Process
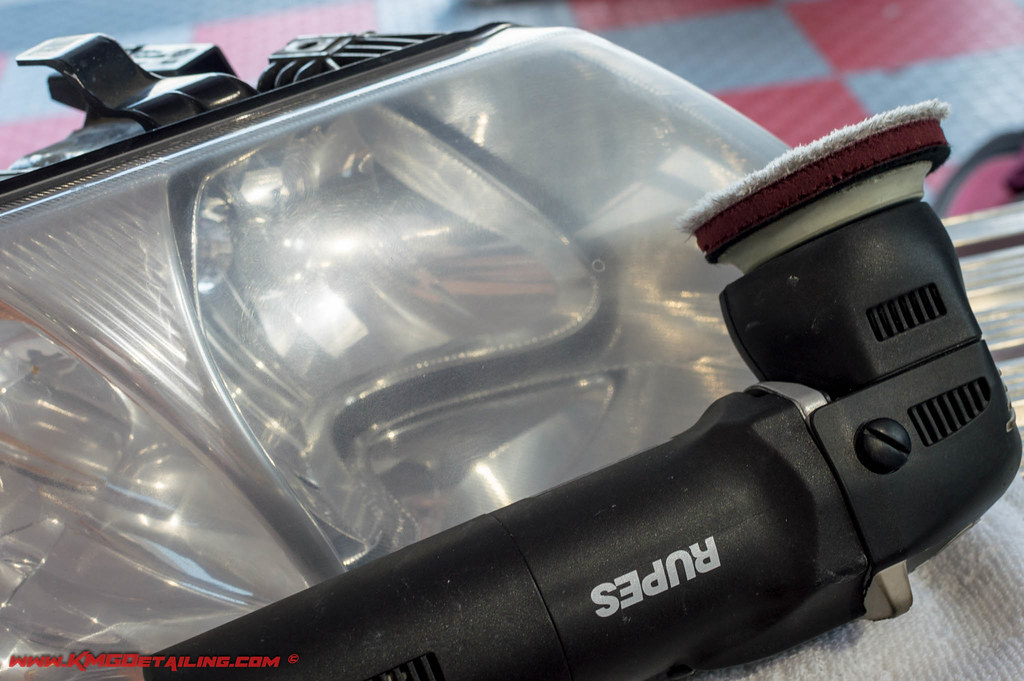
Once all the sanding is finished, you can begin the compounding process to remove the sanding marks from the previous steps. I typically like to use a 3″ Meguiar’s MF Cutting Pad with my Rupes Mini. My favorite compounds to use are Meguiar’s M105 or Optimum Hyper Compound, however you can use any compound that you have on hand. You will follow this up with a finishing polish such as Meguiar’s M205 or Optimum Hyper Polish on a foam finishing pad. For this example I used a yellow Rupes 4″ Foam Polishing Pad.
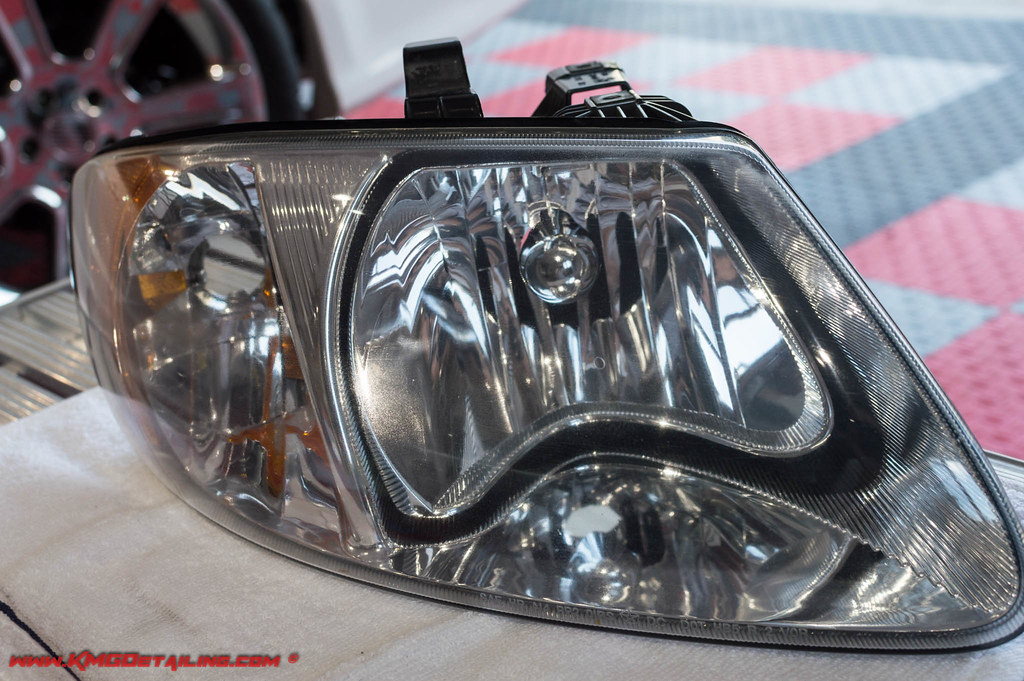
After finishing up the restoration process, you will want to clean the surface with Carpro Eraser or an IPA wipe down to remove any polishing residue that may be present before applying a sealant or coating over the lens. On this set of lights I used Carpro DLUX Plastic and Wheel Coating, or another alternative could be a sealant such as Carpro Reload. You will want to use some type of protection on the lens following this process. If protection is not used, the lens will quickly yellow again due to the removal of the coating during the restoration process.
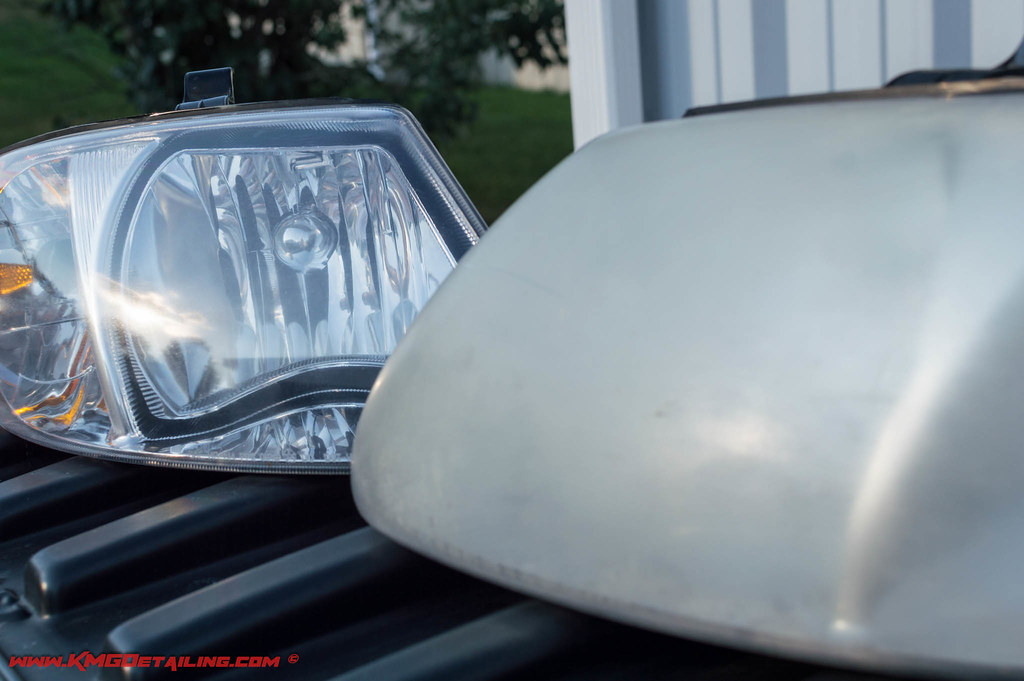
Follow these simple steps to take your headlights from yellowed and dingy to nearly new condition in less than an afternoon. If you think they look good in the daylight, they will look even better at night when all your hard work truly shines.
If you are looking for a simple all in one kit to begin restoring headlights, give the Meguiar’s Professional Headlight and Spot Repair Kit a try.


Wow, heck of a restoration there, Kevin! Those things look like new. Nice work.
Thanks Zach!
Great work, the meguiars headlight set detailed image sells is a great starter set. It gives you everything you need to restore oxidized headlights excluding the coating and a machine. The rupes 75mini is a great machine for headlights! About how long do you see the durability of Dlux last on headlights. I was thinking about using glasweld, but I prefer to buy from DI as much as possible.
Greg, the 75 is a great machine for headlights. As for the durability of DLUX on headlights, I really can’t give you a definite answer but see no reason it shouldn’t last a few years. I really have not been able to observe any of the lights I have done for long term durability, nor have I received any complaints on ones that I have done.
Unfortunately I’ll say that DLUX won’t hold up quite that long based on my personal experiences on my own vehicles. DLUX will provide a solid 5-6 months of protection, but light haze/oxidation started coming back after that. Still leaps and bounds better than just wax, but the life of a headlight is a rough one, and protecting it requires constant attention once the OEM protection is gone.
Thanks for the response Zach. Obviously the best solution would be to respray some clear over them once they are fixed.
Wow…..that is a dramatic restoration. Really enjoyed the article!
Great article! My only recommendation to it would be don’t mess with sealants on headlights, only use a coating. From my experience sealants just don’t hold up as well or have the UV repellant that coatings do. Does the new version of Reload have UV repellant in it?
Thanks.
I use basically the same process only finer grit wet sanding 1500, 2000,3000 and use Meguiars 105 and 205 then Menzerna ultra fine polish. Great results.