Quick and Easy Headlight Restoration
by Ivan RajicWe haven’t seen such an article here lately, so I wanted to touch on it as it is normally fairly simple to do and greatly improves the look of any car. While headlight lenses can get severely faded and require extensive restoration, many times they can be quickly improved to provide the finishing touch on any detail job. I’ll mainly let the photos do the talking here, but I will start off below with a little about our process.
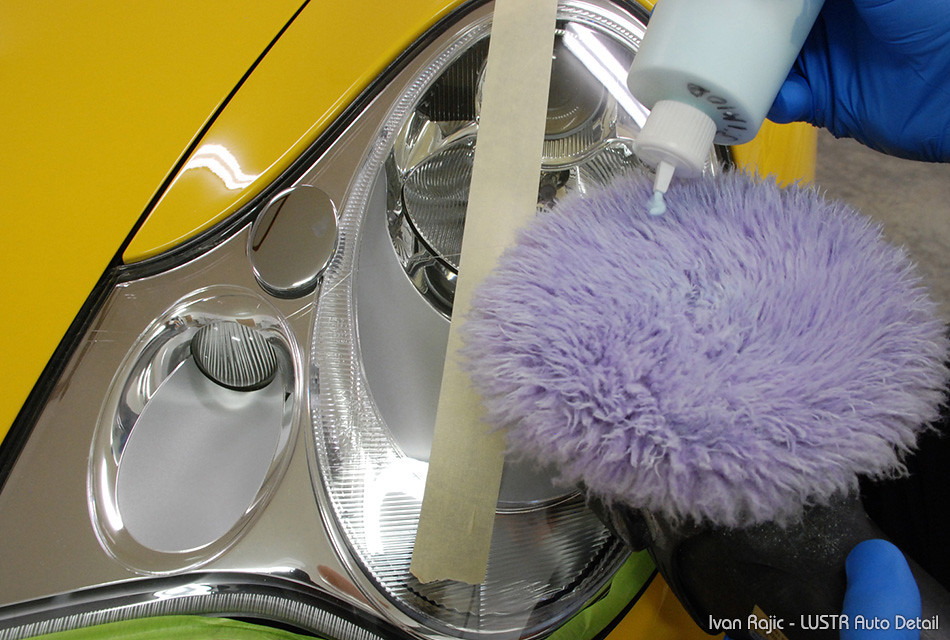
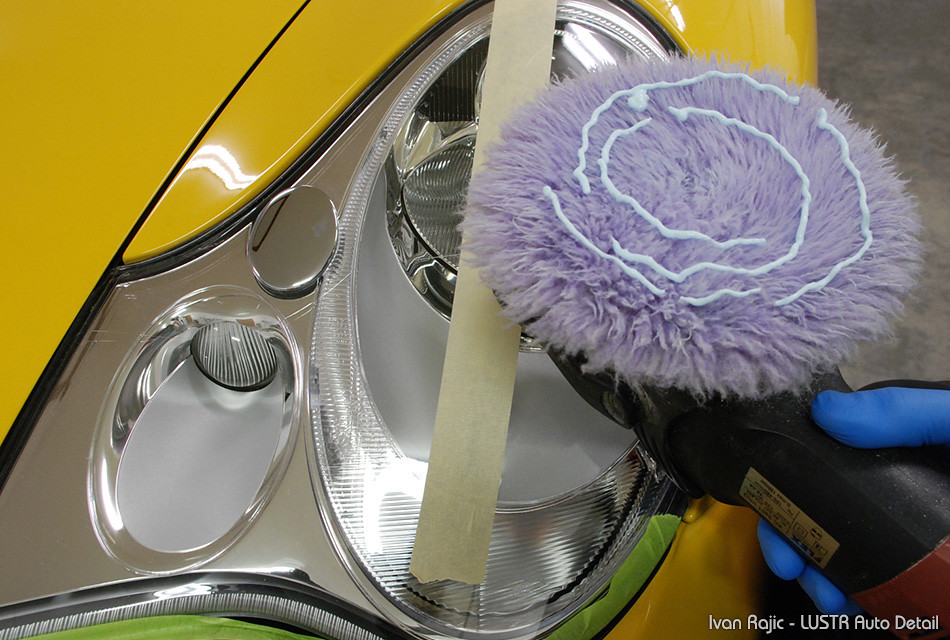
Normally we use the Flex 3401 polisher, so unless the headlights are an odd shape or hard to reach, we will simply stick with the 3401 and use a 5″ Lake Country Purple Foamed Wool Pad with M105 or M100. Even a quick few passes with this combination will correct the lens really well and leave a great finish, so we try to do it on every detail job where the lenses seem a bit swirled or hazed. As mentioned, below are some of the photos we took recently while doing a paint correction on a gorgeous yellow GT2. Sorry in advance for the half-decent photos, for some reason they didn’t come out well inside the garage.
Before condition
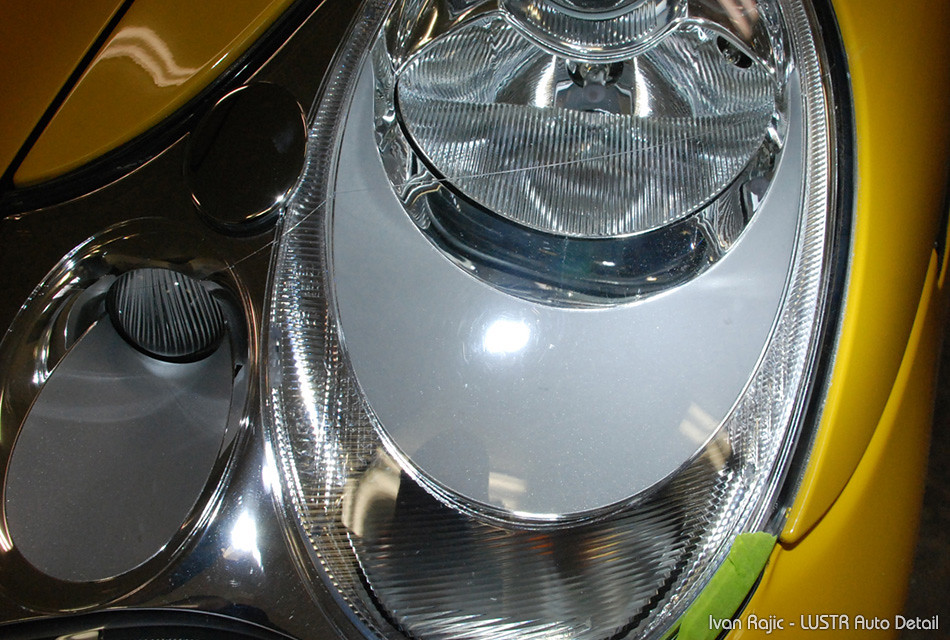
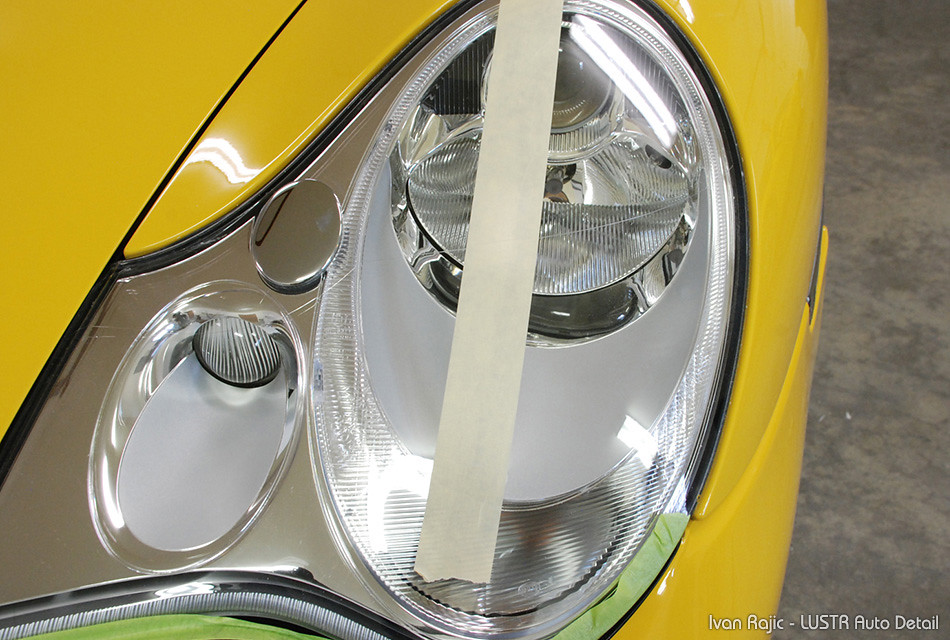
Taping to show half/half
M100 applied to the purple foam wool pad on the Flex 3401
After only about 1 minute of polishing
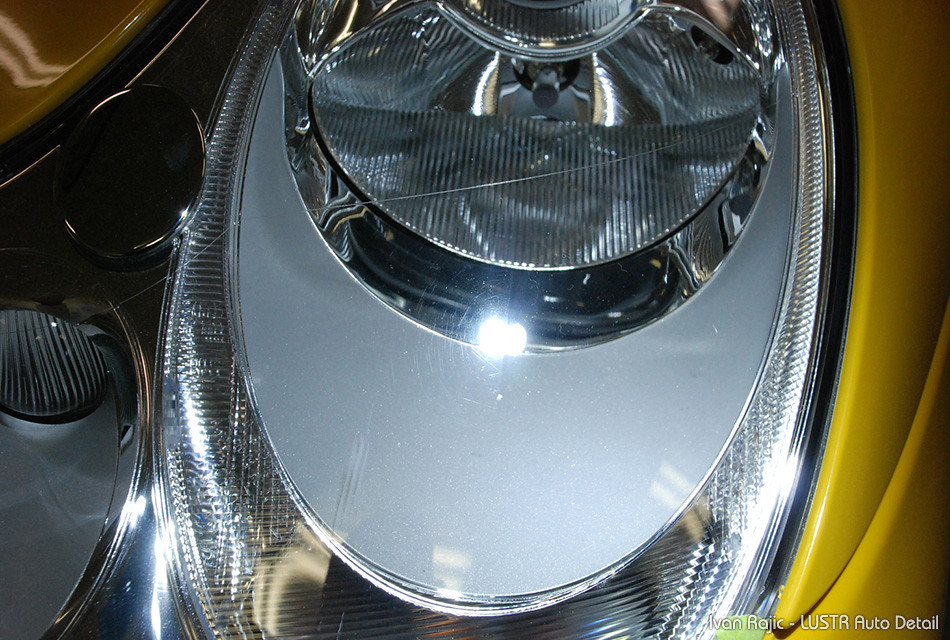
Results are amazing and no reason not to do this along with polishing the paint
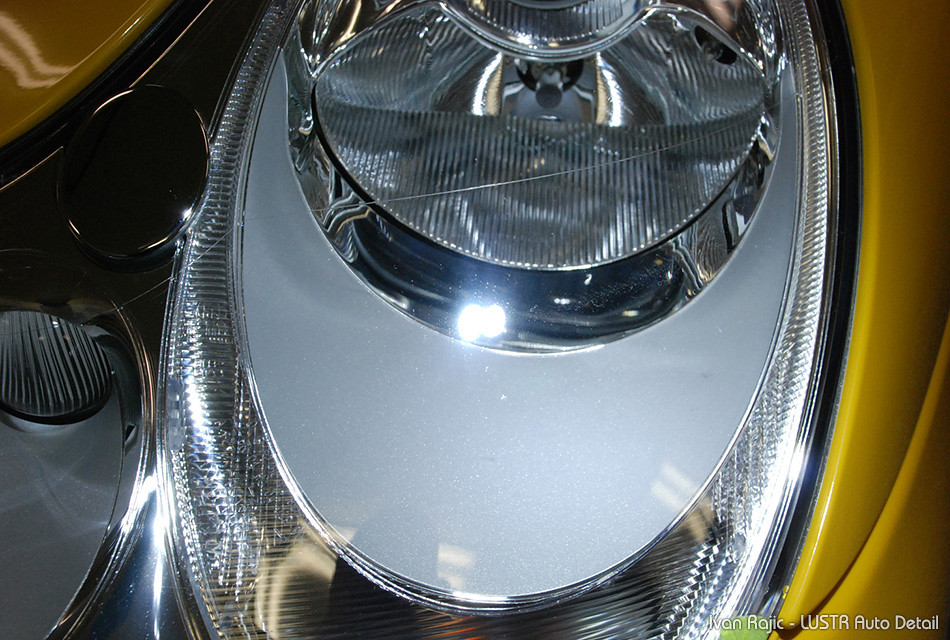
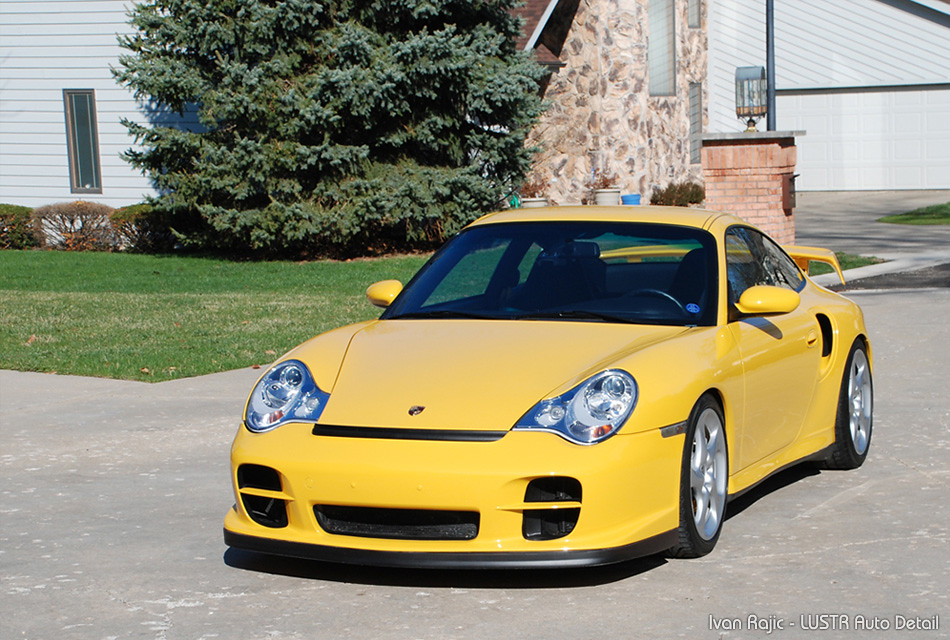
We didn’t tape off any of the paintwork because we were polishing the paint with the same pad & polish combination, but we did the headlights first to make sure no marring is left on the paint. Below is a photo of the whole GT2 after two stages of paint correction and application of Opti-Coat.
Now that you’ve seen the fancy car, let’s show you a real garage queen :). Below is a used and abused Nissan with severely faded headlights, but it was greatly improved with the same process we performed on the Porsche. Some polishing and the headlights quickly went from this:
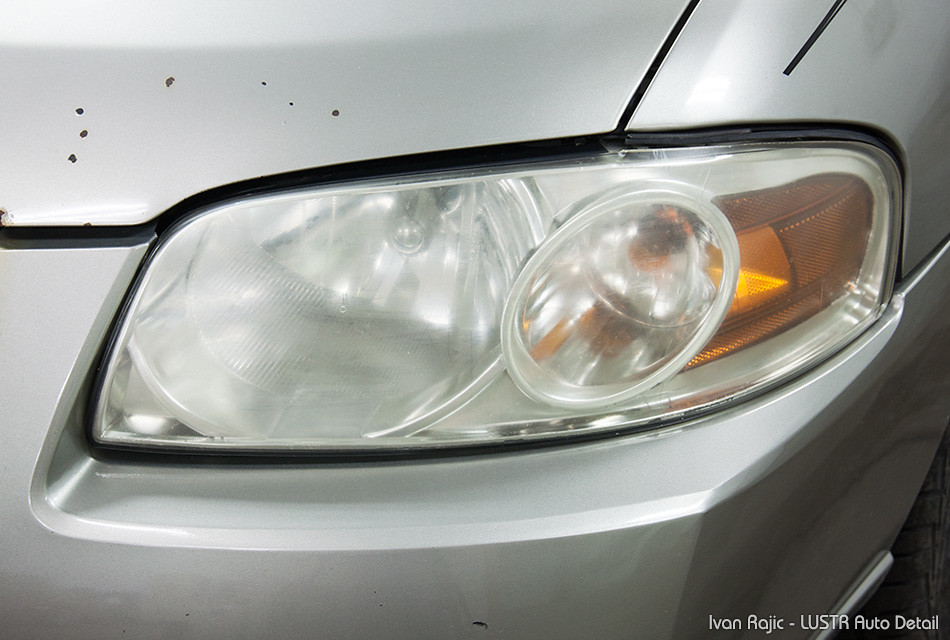
to this

to this!

The level of clarity was night and day and the owner also reported the light output being noticeably higher driving home that night.
That’s all for now, my only intention here is to show that a very simple and quick process can result in better looks, clarity and a great increase in light output for safety. I hope to soon cover a more detailed headlight restoration article utilizing wet sanding, polishing and coating for durable protection.
Buy Products From This Article
Purchase the products used in this article individually or in one convenient package here!


What speed are you using on the Flex?
Dave I was using it as I normally would on somewhat harder paint, starting at 6 and finishing at 4.5, with about 5-6 passes over the entire headlight.
What do you normally seal them with? Opti Coat?
Robert yes we normally use OptiCoat or OptiLens, but have also used 22PLE with good results.
Can you use a Porter Cable 7424 with a lake country orange pad?
Sure Dan, but I wouldn’t expect the same results from that compared to using something like wool and a Flex 3401 or rotary polisher.
If I used my PC 7424, what pad and polish combination do you recommend?
Vince, you can use this same pad/polish combination or try a different one if you already have something and see how it works.
Great work, Ivan. I’ve used this method before but using the LC Orange pad. The results came out superb. Wanted to ask – since the purple wool pad is definitely more aggressive than what I currently use, how does this affect the clear coating on a headlight? I’m sure there is only so much you can keep polishing before the headlight starts to lose its clear coat correct?
Alejandro normally yes it will affect the coating on the headlight, but usually when they’re bad enough the coating is damaged to the point where it could use a refresh. If the headlight is fairly new and only has light swirl marks, a less aggressive method would be better to try and minimize the coating removal.
Ivan:
can this same procedure be used to clear up scratched &faded convertible top rear plastic window? if not do you have a procedure that you would recommend ?
Charlie unfortunately I don’t have a great suggestion at this time for that, but soon will be experimenting with some products and techniques on my wife’s convertible top and window so will post as soon as possible.
Good Morning. Do you recommend following up with a lighter polish after the Meg’s 100, or is this the only step necessary?
Yes you should definitely follow it up with a lighter polish Tyler. I didn’t clarify that in the photos since I was hoping to show only the fact that a quick process on the headlights while doing the paint can do wonders, didn’t really get into the specifics. Normally we use whatever finishing polish/pad is used on the paint to finish up the headlights.
Do you think using a medium clay with a careful hand would remove the yellow film?