Product Review: Scangrip Multimatch R
by Mike CardenasOnce upon a time, lighting in detailing was mostly comprised of Halogen Flood Lamps and hand held Xenon lights. LED technology has certainly changed lighting and how its used in detailing, especially with the introduction of Scangrip and their products. Scangrip in Denmark has been manufacturing tools for over 100 years with a variety of lights that are designed to perform to the needs of professionals and especially considers the needs of Detailers. Most of the Scangrip lights used by Detailers vary from a pen light to the popular Scangrip Multimatch 2 or the newest Scangrip Multimatch 3 , it now introduces a smaller, portable version of those lights. The Scangrip Multimatch R High CRI+LED work light with ALL DAYLIGHT is the latest from Scangrip, offering an affordable version with high end features and performance that truly delivers! Upon arrival, the first thing you will notice is how small the box is. Being used to the larger Multimatch lights, I have to admit that I was a bit concerned about what type of performance this little light could muster. The box contains one Multimatch R light, adapter with cord and a battery/treatment booklet.
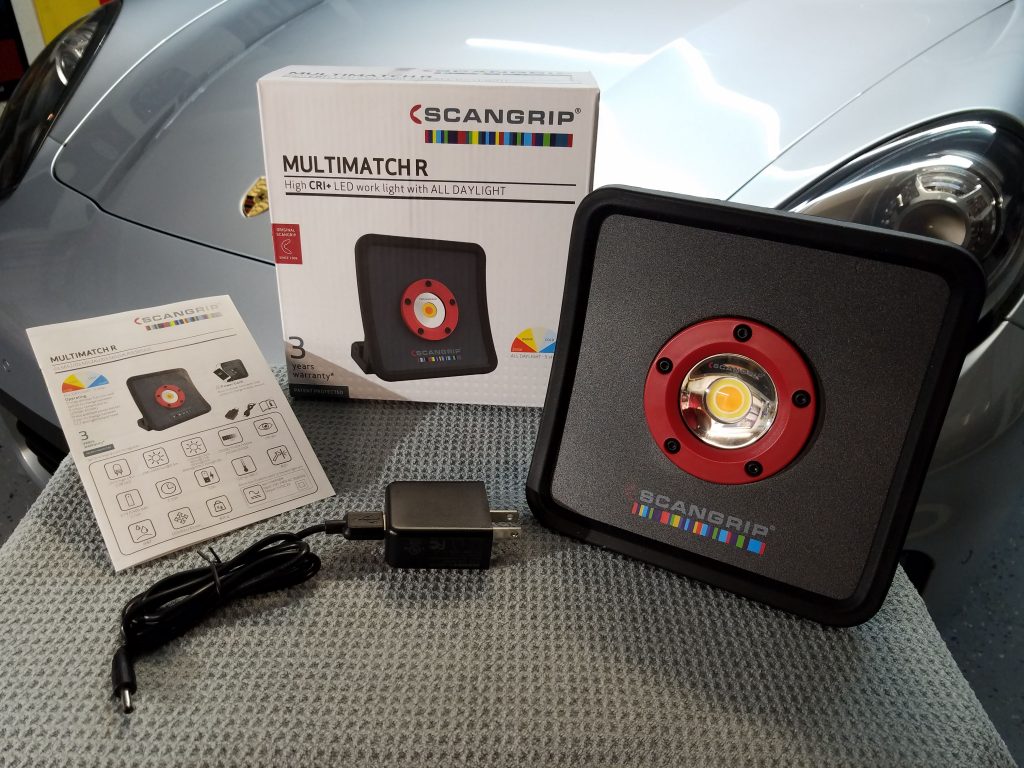
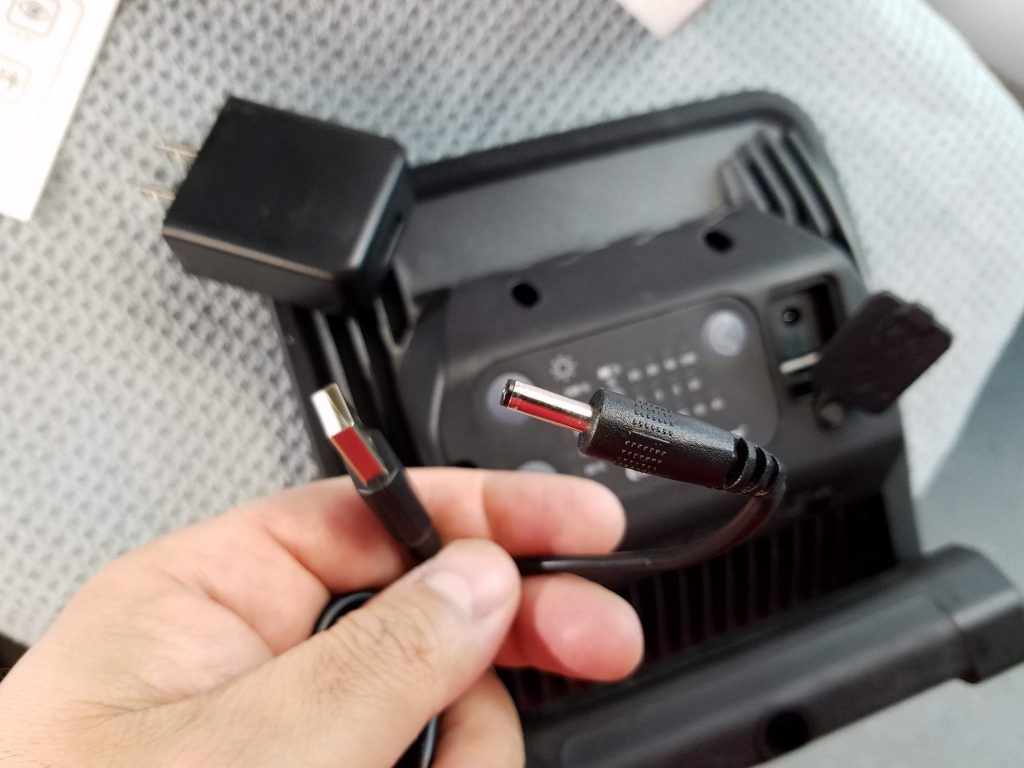
The light is what you would expect from a Scangrip light, its built with the same rugged approach as all other Multimatch lights. Die-Cast aluminum with the familiar curved front and shockproof outer seal. The lens is a glass lens that is replaceable and is also resistant to solvents and is sealed to resist dust and moisture. The cord is certainly different in design to other Multimatch lights and plugs into the adapter via USB.
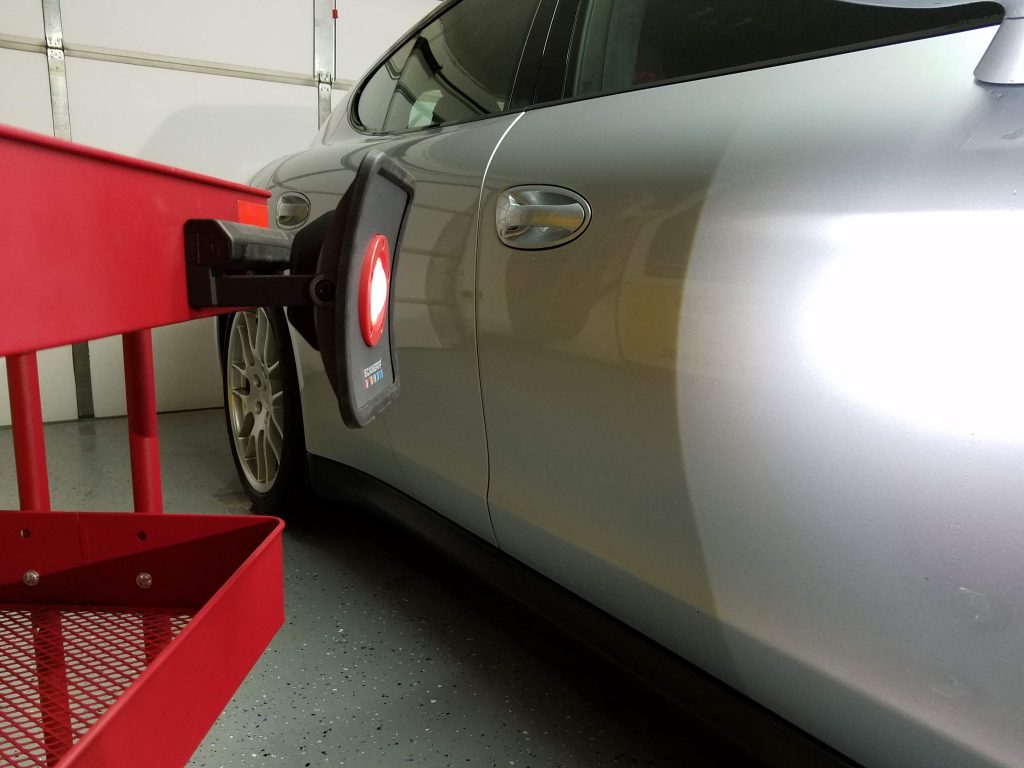
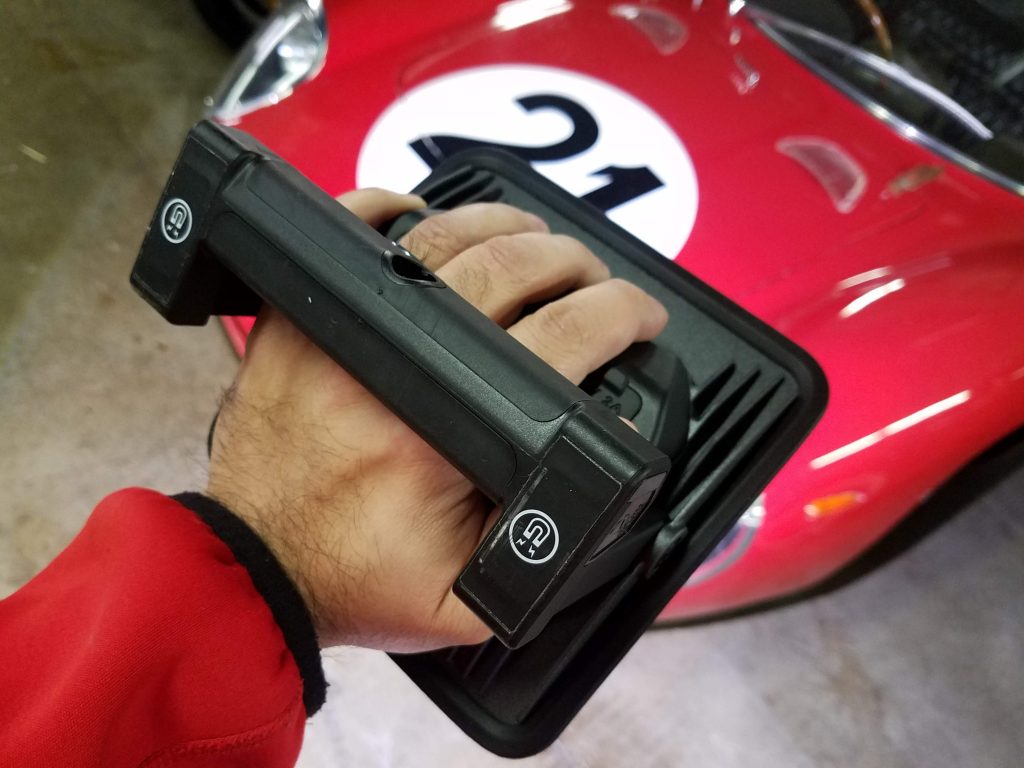
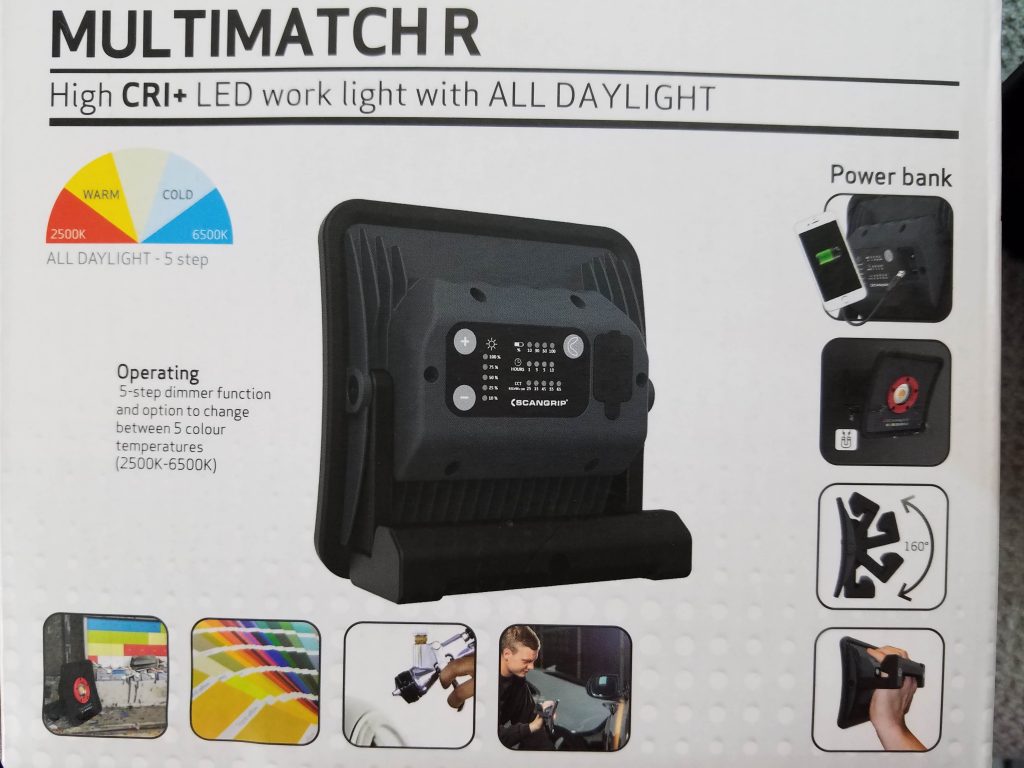
The Scangrip Multimatch R has a sturdy and rugged built handle that is adjustable to 160 degrees. Upon inspection, I noticed that the handle is equipped with magnets that are integrated into the bottom section of the handle. For those who own the Scangrip telescopic TRIPOD or the Scangrip Wheel Stand , the handle on the Multimatch R is designed for direct mounting on those stands. Giving even more flexibility along with it’s built in magnetic handle. I had to check for myself how strong the magnets really were and I was happily surprised to feel that they were strong indeed. This only adds to the flexibility of the light in my opinion and I stuck it onto an aluminum sign on a wall and then to the side of my cart. This has certainly been useful to me as I worked with it on a project recently and it gave me the ability to work the sides without any issue.
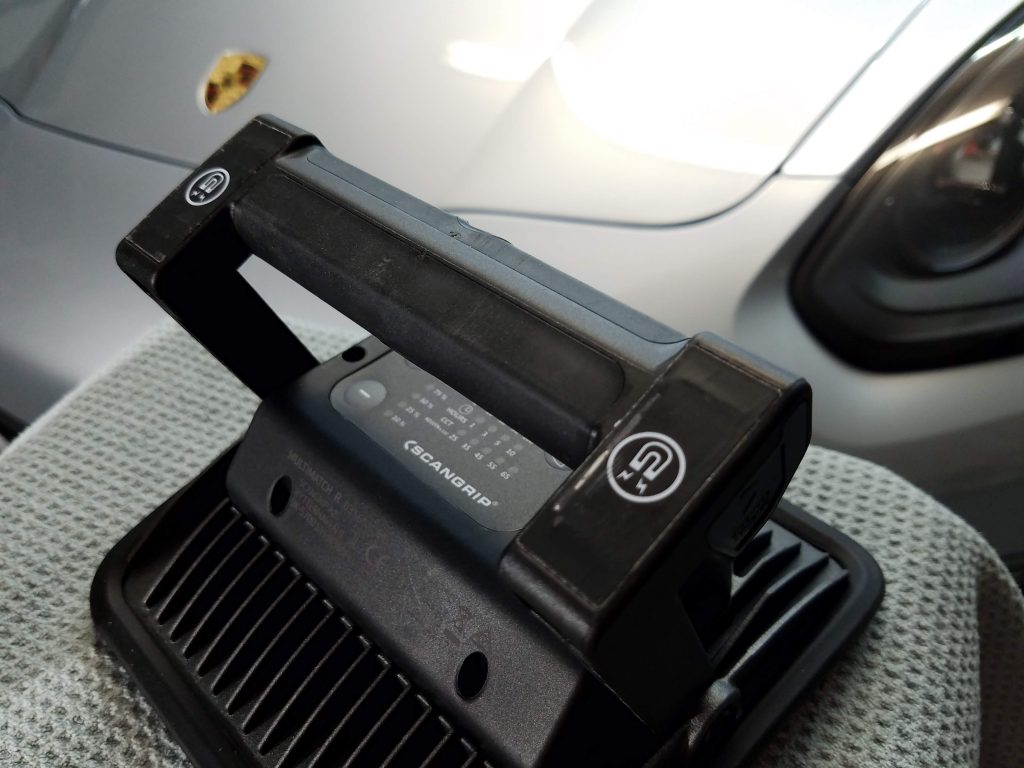
Scangrip has certainly made various design and construction improvements to their handles and this one is certainly a well thought out design with sturdy construction. The grip has a rubberized feel to it and according to Scangrip, it was ergonomically designed to fit comfortably in your hand and safely, making a great light for those final inspections.
The first thing you will notice upon starting up the Multimatch R for the first time is that the light does not immediately blow your socks off. You will notice that the light is about the same as the common halogen light. Not to worry! The light comes set to a certain temperature for maximum battery life. This is something that you will have to adjust to the temperature of your choice. On the rear panel, you will see 4 display bars running horizontally showing you (from top to bottom display) 1. battery life 2. battery hours and 3. CCT or Temp in Kelvin x100. Running vertically is the meter for intensity going from 10% to 100%.
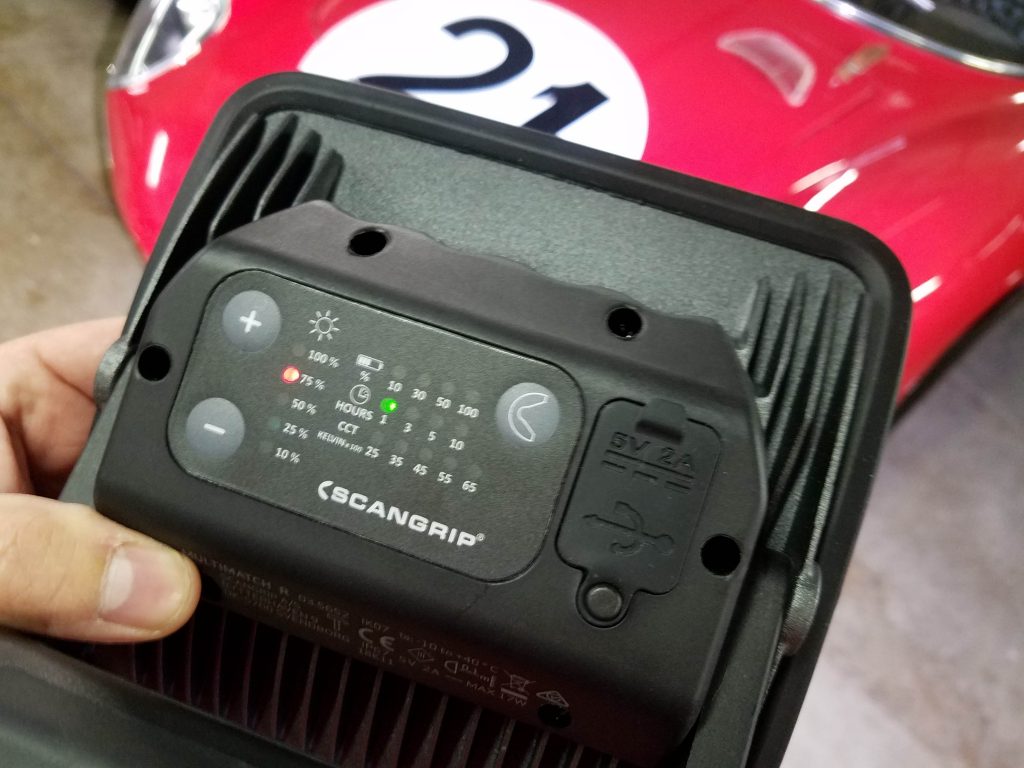
Now here is where I feel this article will be helpful to those looking for additional information or operation info on the MMR. This is in regard to adjusting temperatures on the Scangrip MMR which can be very confusing at first. I had a chance to show some of my fellow detailers this light several weeks back and they loved it but when it came to adjusting the CCT on it, they were totally baffled because you only have a “Power” button and a “+” and “-” to adjust the intensity. For those who have are not as familiar with this set up, here’s how to adjust the temperature on the Scangrip MMR.
Operating and Adjusting CCT settings
Changing temps and operating the Multimatch is extremely simple once you become familiar with adjusting the settings. Let’s go through this simple operating procedure.
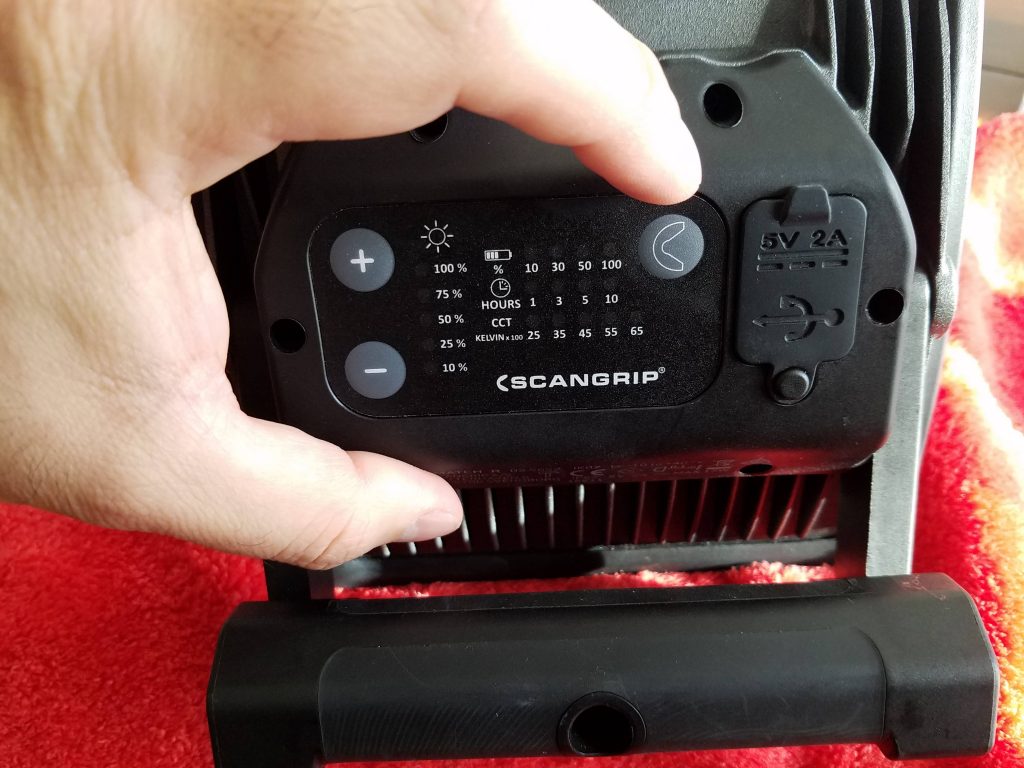
1. With the Scangrip MMR off, you will first turn on the light by pressing the “Power” button once.
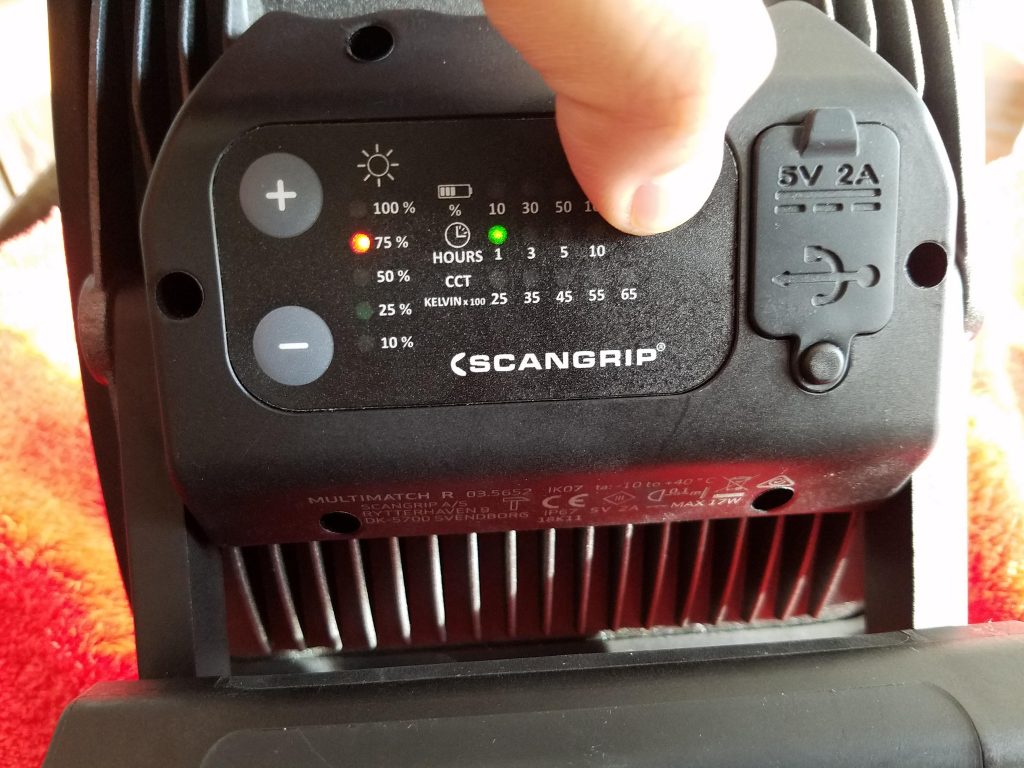
2. Once the MMR is on, hold the “Power” button for approximately 2 to 3 seconds.
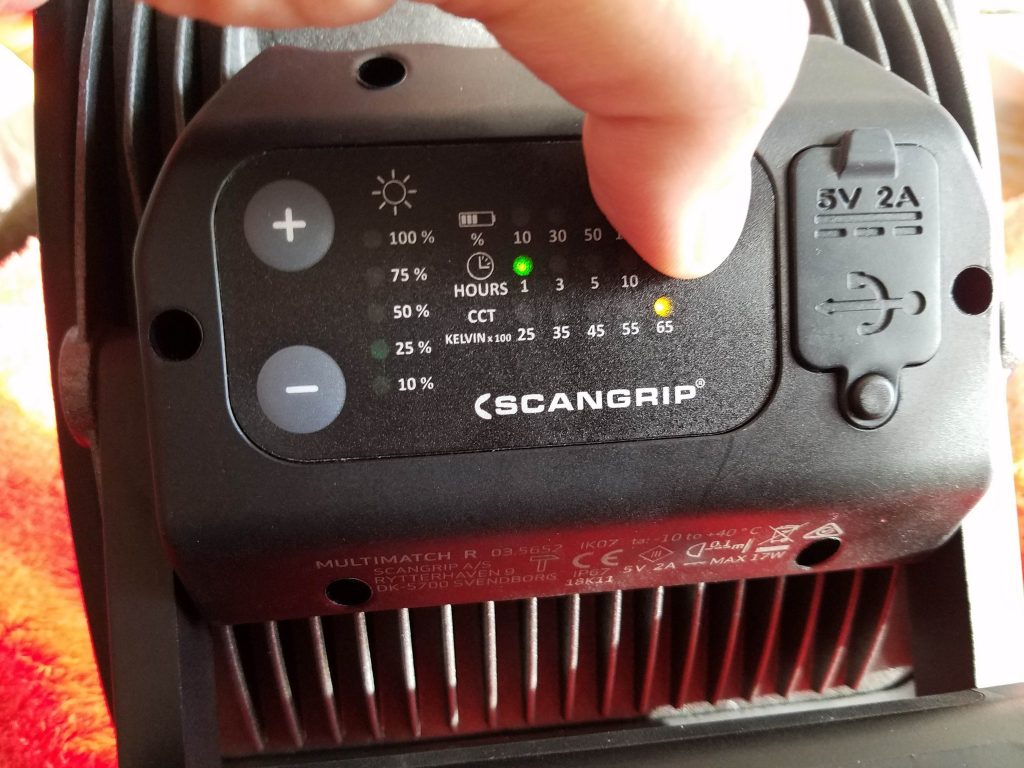
3. You will now see an amber light on the CCT display, this now activates the ability to change temperature settings on the MMR.
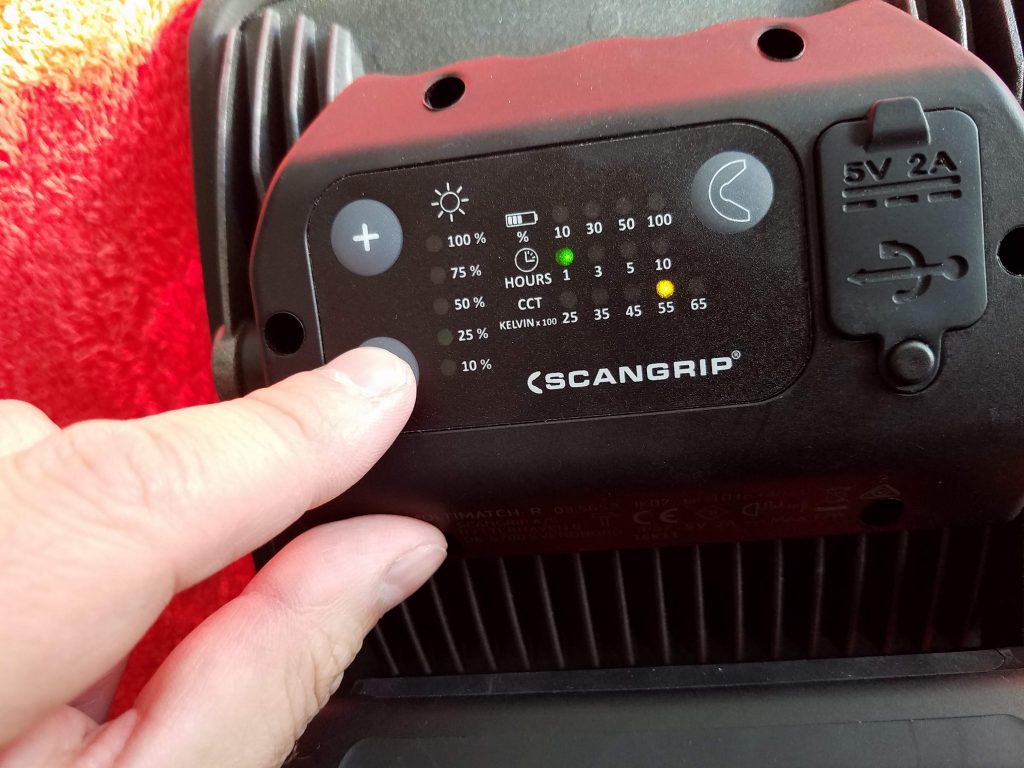
4. Using the “+” or “-” buttons on the left, you can now adjust your Scangrip MMR CCT settings from 2500 to 6500.
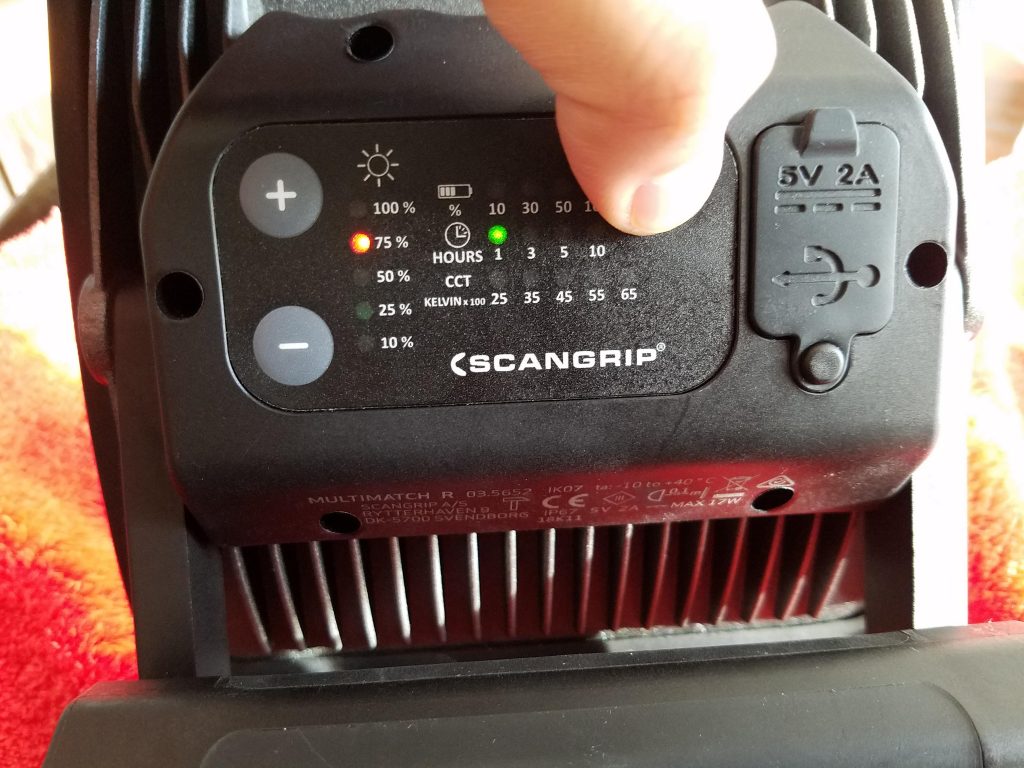
5. Once you have selected the desired light temperature, simply hold the “Power” button and the light will store that setting and go to its normal setting. You can now adjust the intensity of the CCT setting by using the left “+” and “-” buttons.
It’s that easy. Unfortunately, the information provided with the light does not describe how to go through the functions or how to change between functions. It took a detailer with working knowledge of Scangrip lights a bit of time to figure how to do this on their own. So I hope this section gives you an easy explanation on how to get going with your Scangrip Multimatch R quickly and easily! Once you set up your temps, its easy to adjust after that. Keep in mind that battery life is greatly affected by the settings you select. For example, if you are running at 6500 Kelvin and 100% then you are looking at about an hour of operating time. Charging time on the Scangrip Multimatch R is about 3 and half hours to full charge on its rechargeable Lithium Ion battery. Like all Scangrip lights, you can keep the MMR plugged in for continuous use without disruption. When running on its own battery, the MMR will turn the light off once momentarily to let you know that the battery is running extremely low and needs charging.
Once the battery is charged, it can give up to 10 working hours on its conservative settings. The lumens on the SG-MMR can be adjusted from a minimum 250 Lux to an impressive illuminance of 2500 Lux, giving you a great working light for a variety of projects.
The Scangrip Multimatch R is one mighty little light in my opinion. I recently had it one hand at a project we worked on for the Indianapolis Motor Speedway Museum and the MMR had more than enough light to show RIDS, scratches and various types of paint imperfections. The picture below shows the MMR and its ability to light up this massive 1928 Mercedes-Benz Cabriolet Limousine.
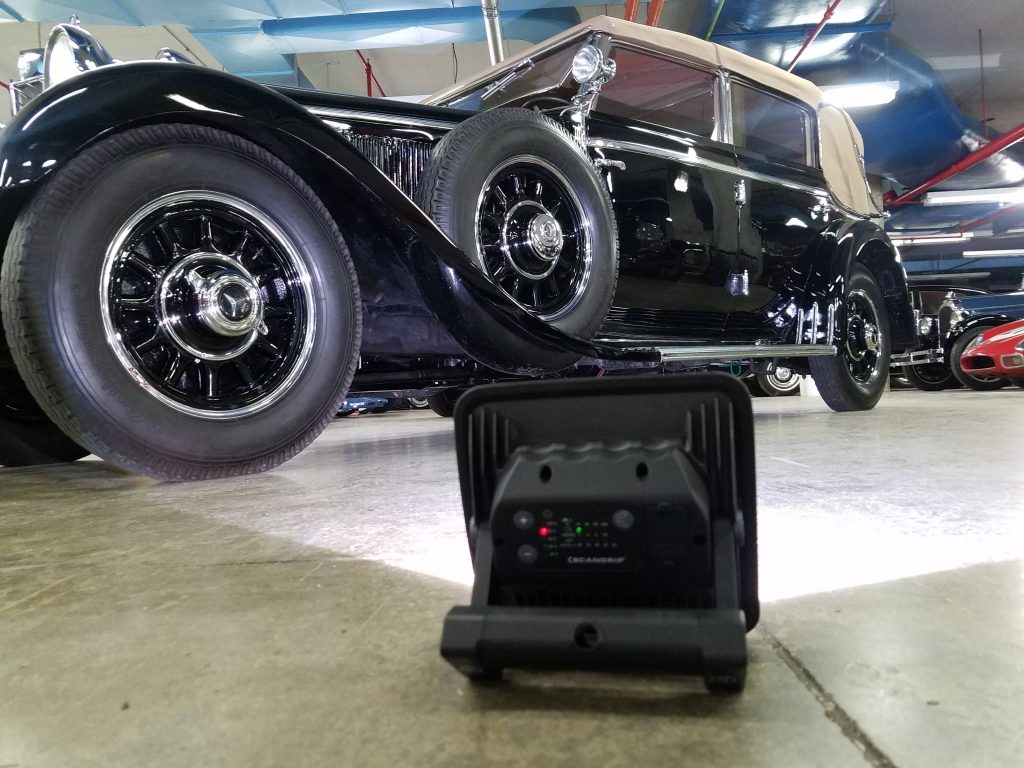
Overall, the Scangrip SG-MMR Multimatch R light is a great portable light that can serve various purposes for both professionals and enthusiasts alike. For the budget-minded, the SG-MMR packs a lot of features for the price. Features such as its built-in USB charging station, temp color controls, intensity adjustments and magnetic base makes it a useful tool on any job. Pair it up with a Scangrip Telescopic Wheel Stand or a Scangrip Telescopic Tripod Stand and now you’re in business to take on most projects. Don’t let the size fool you, the Scangrip Multimatch R is one mighty little light.


Thank you for the excellent review! I’m a little confused. You said that you stuck the light to an aluminum sign on your wall. Are you saying the magnets attached to aluminum? Magnetism works only on ferrous metal and it would have to be an extremely strong magnet to have an effect on aluminum.
I’m sure he meant to say a metal sign… Great review, I gained quite a bit of knowledge. Thank you!
Can this be used while it’s charging?
Yes it can.
Brand new and doesn’t seem to turn on …can’t imagine I’m doing something wrong..plug it in and turn it on…nothing.. I’m so upset.it’s for my son’s bday
This was a great description. I looked all over the internet until I found you. Why Scangrip does not include directions is mind boggling. Thank you again. We need you! EWG.
Thank you!
I’m on the fence between the MMR or the sun match 3. They seem to be roughly the same price. What’s the difference between the 2 lights other than the size?
Is a colder temp typically what you would use for red paint? What guidelines can you offer for other colors and the ideal color temp?