Preferred Pattern When Polishing by Machine
by Ivan RajicI’ve been getting the question on my preferred method of polishing a section of paint, so decided to write another simple article with a bunch of self-explanatory photos.
For this article, I chose to use the Porter Cable 7424XP Random Orbital Buffer because it’s the most user friendly and safest machine for those new to paint polishing. I use it here with Meguiar’s 205 Polish and a Lake Country Crimson Pad. For those who would like a bit more info on the polisher, I invite you to check out my Porter Cable 7424XP Assembly and Review article.
Onto the pattern I use while polishing, as well as few pointers I’ve come to find handy over the years.
I start by spreading the polish over a section of paint at speed 3. I always like to outline the area that I’ll be polishing so I start that immediately when spreading the polish…
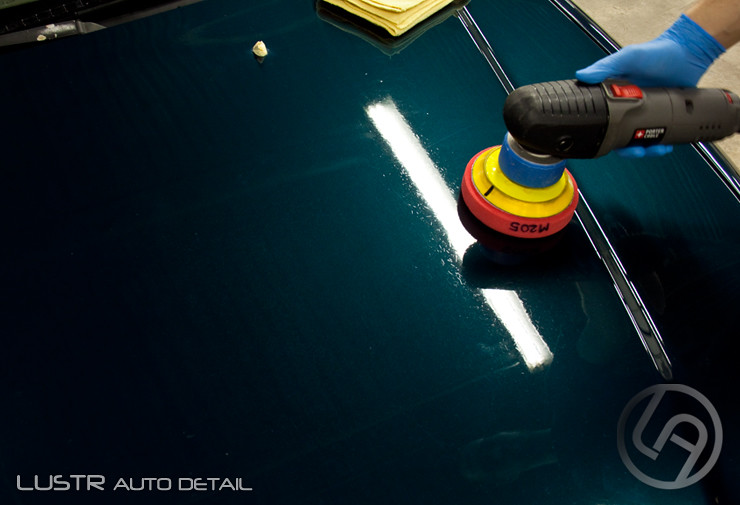
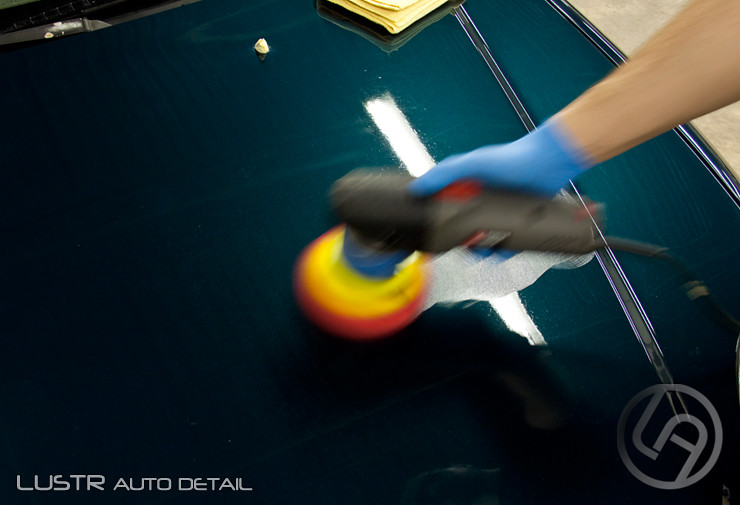
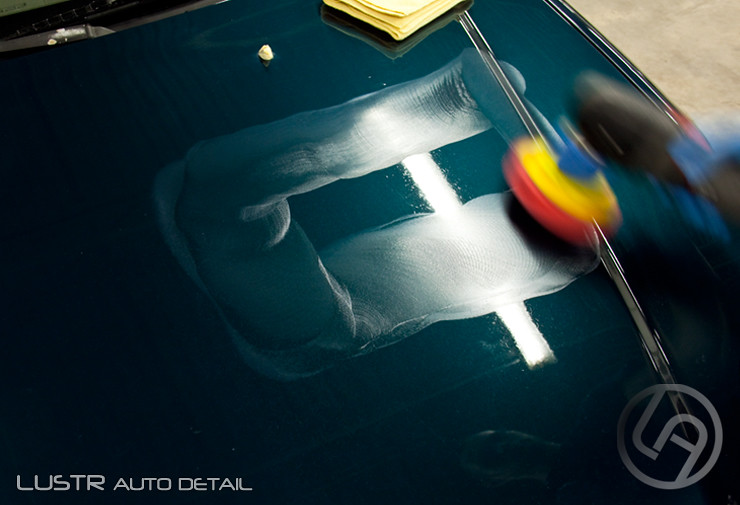
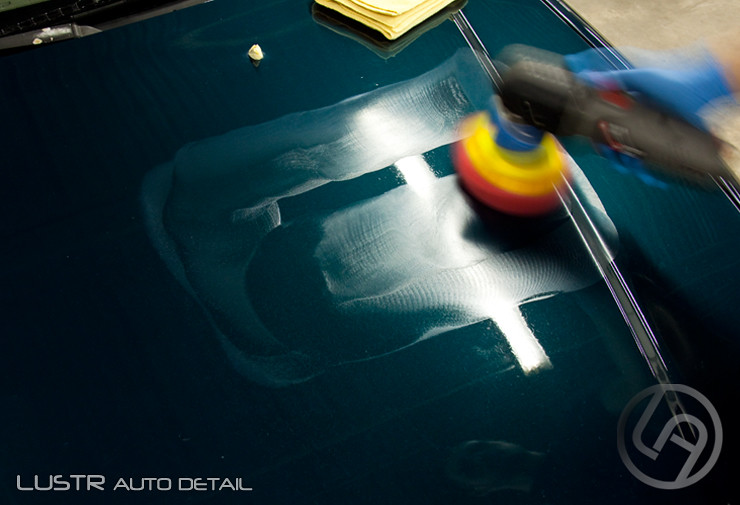
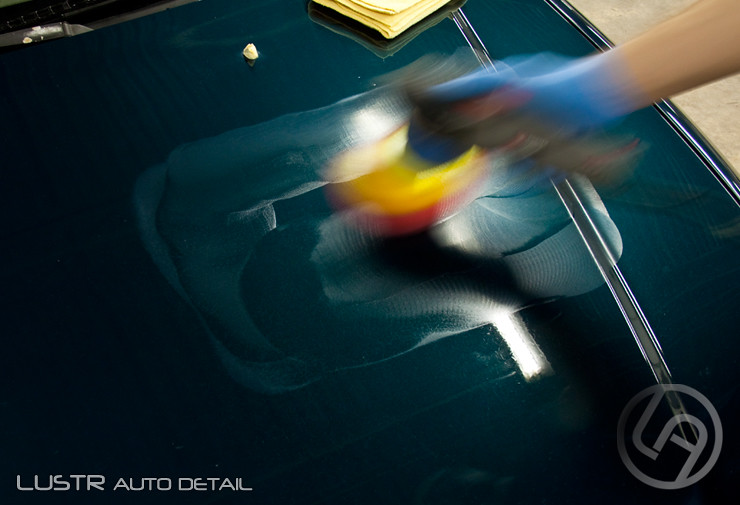
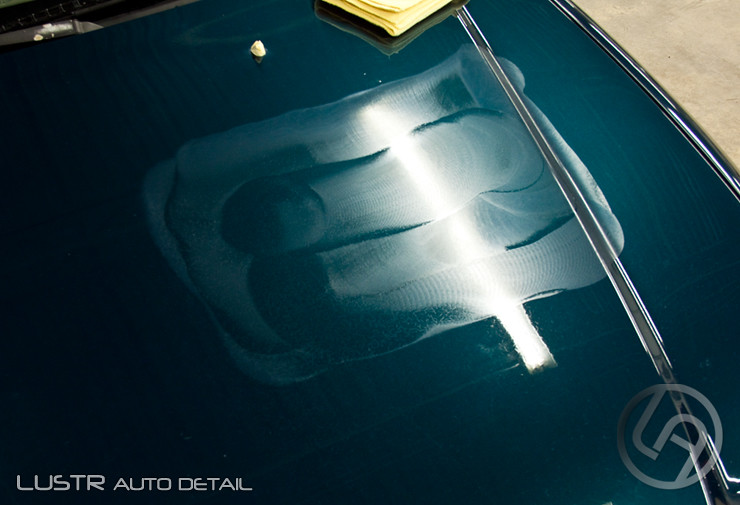
After spreading the polish over the specific area, I will bump up the speed to whatever is necessary and go in a left to right pattern. On all the following passes, at higher speeds, I will again outline my area because I want to make sure every square inch of that area gets polished adequately. If I was to simply go left and right, there would be small sections on my imaginary, rectangular area that would not got polished due to the circular pad. This way, I ensure the whole section is polished in a straight line at the edge, which makes it much easier to know where to overlap a bit later when I move to the next polishing area.

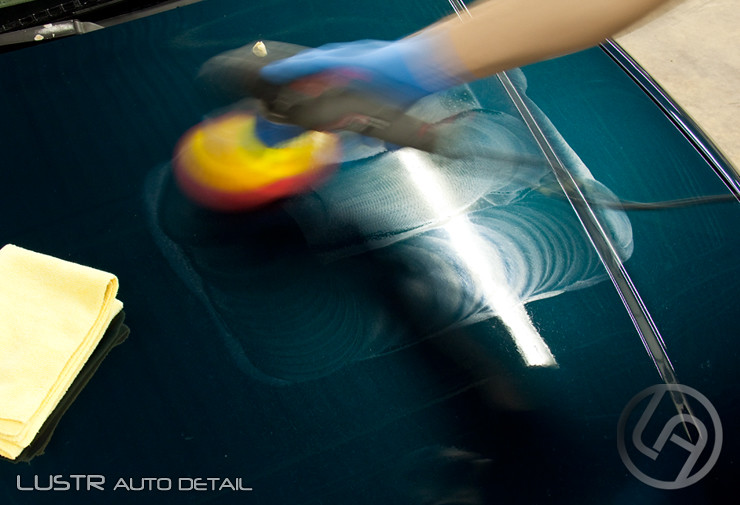
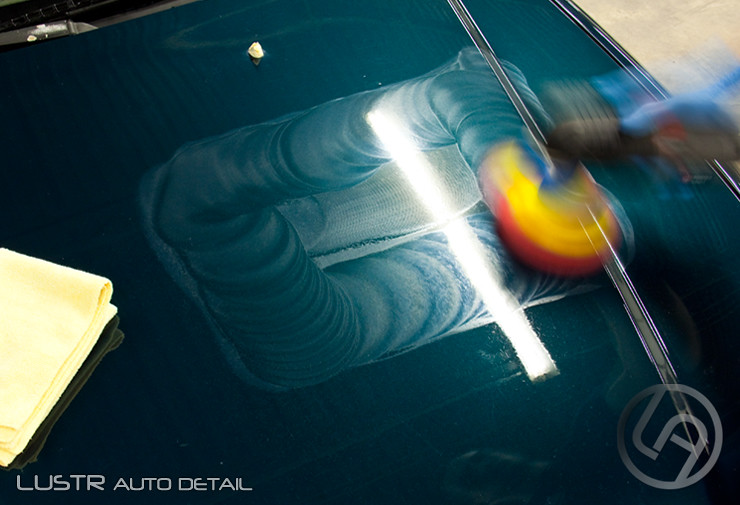


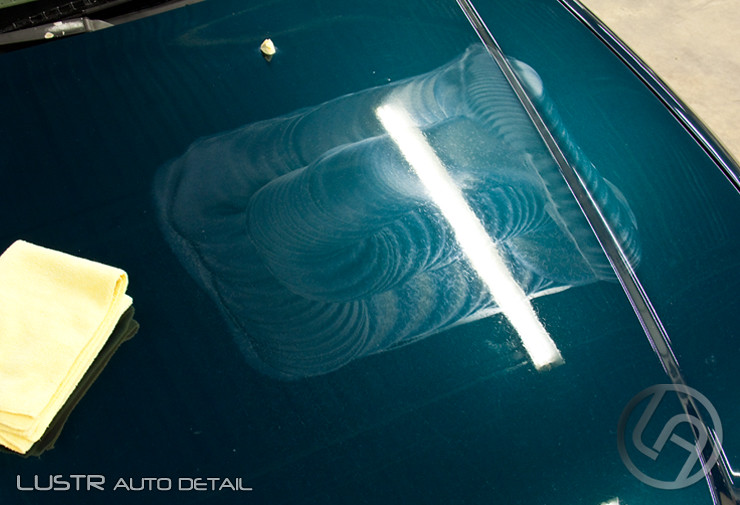
After completing the left to right pattern on the first pass, I start an up and down pattern on the second pass. As you notice in the following photos, I will once again do a bit of an outline around the edges before proceeding with the up and down pattern.

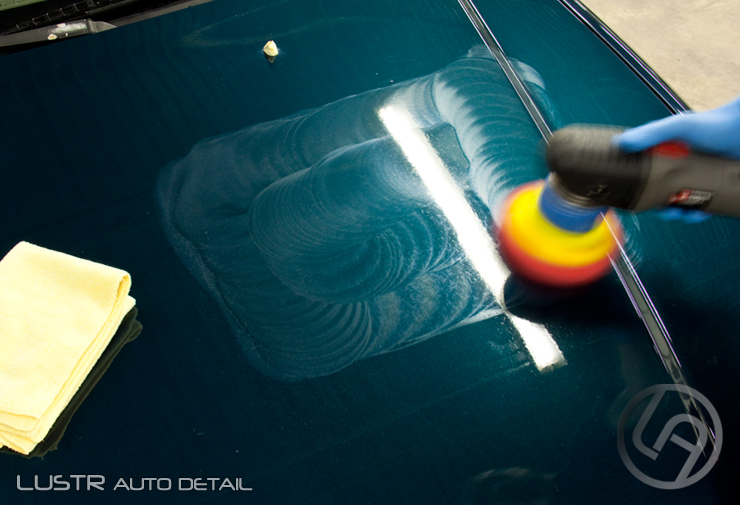
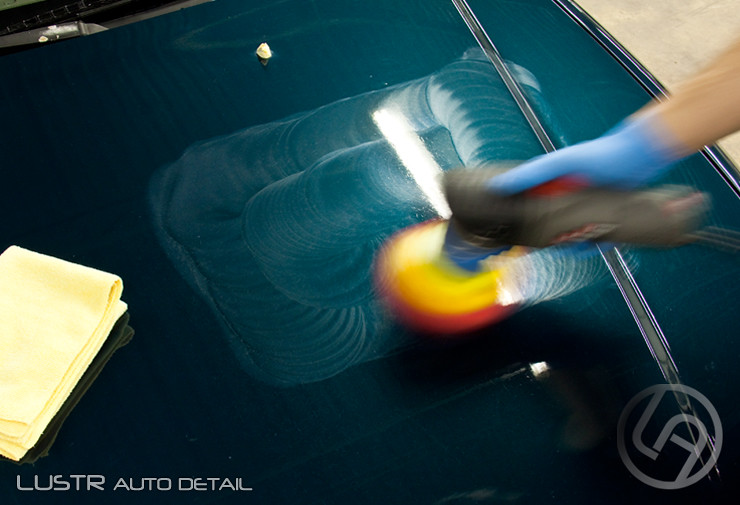
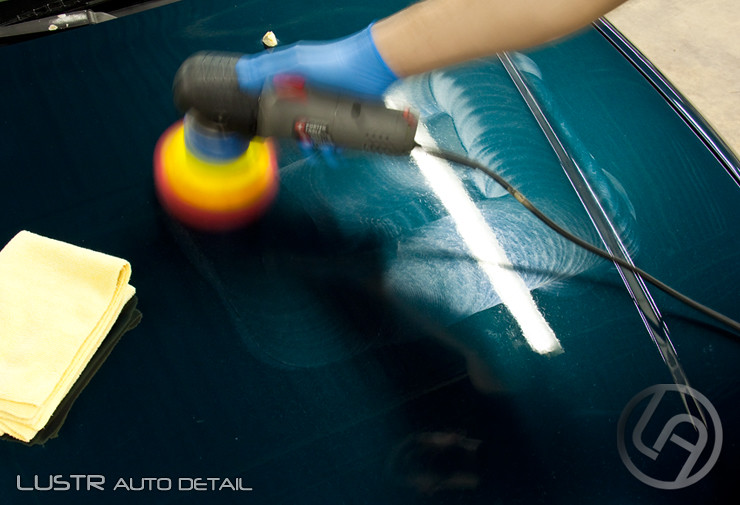
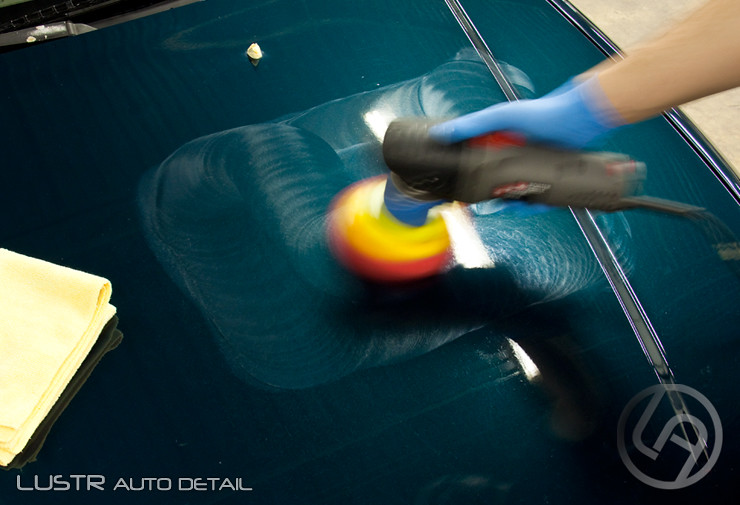
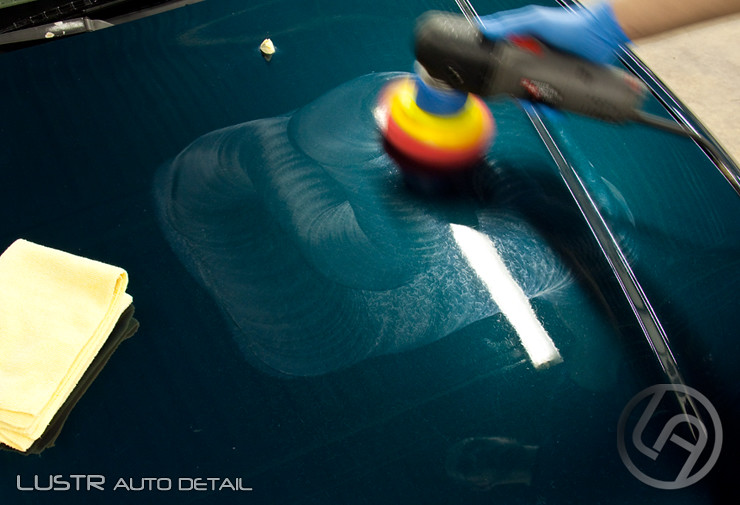
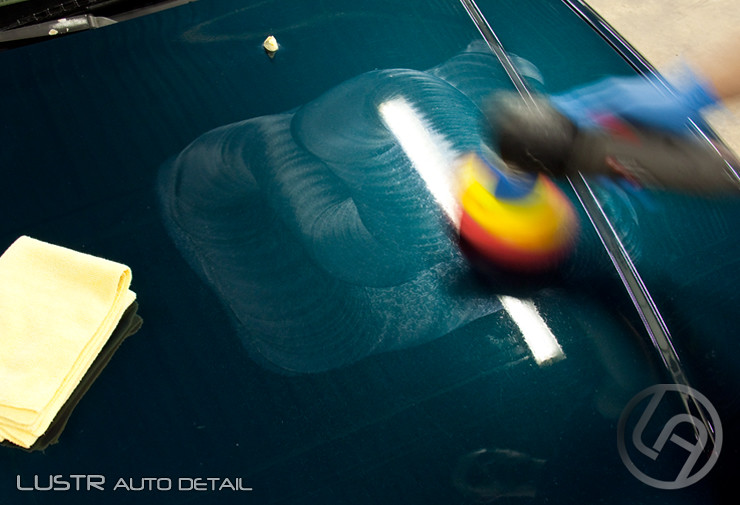
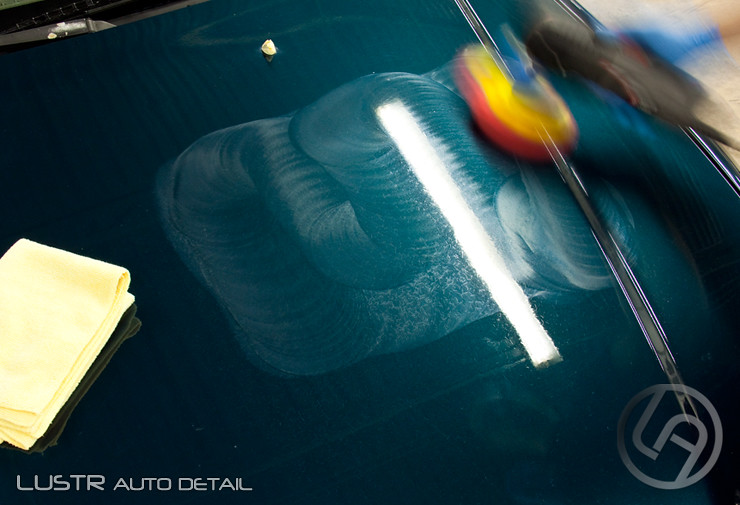
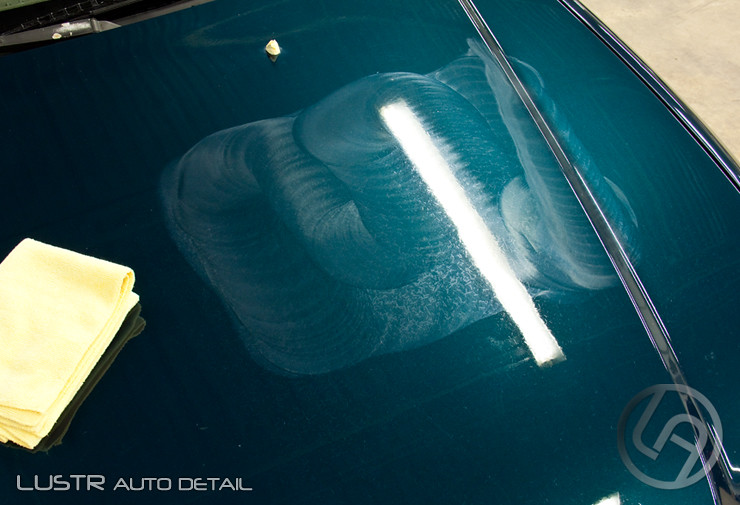
That’s after the second pass on this specific area. For this article I stopped after each pass to photograph the pattern of the polish, but I don’t actually pull the polisher off the paint while working.
The following passes are all done alternating the above patterns. As noted above, I’m a big fan of outlining a rectangular section on the paint as it helps with guiding me on that current as well as the following areas I’ll be polishing.
Outlining an area while first spreading the polish at a slower speed helps me on such areas as the one photographed throughout this article, but it’s almost a must on harder, vertical areas. Fenders, for example, come in all different shapes and sizes, so I usually divide them into 2-3 “polishing areas” by first outlining them while spreading the polish.
Soon I’m hoping to do a follow up article focusing on polishing a harder area such as a fender or bumper, so stay tuned!
Thanks for reading!


Nice one, Ivan! So, tell me, do you consider (1) left-right + (1) up-down = (1) ‘Section Pass’, or do you consider each direction pass equivalent to one ‘section pass’. Speaking of which, how many section passes would you do in this particular example (M205 + Crimson LC flat pad)?
Thank you,
Thanks Jon,
(1) + (1) in this case does equal (2)
What I mean is that (1) left to right is (1) section pass and (1) up and down is a 2nd section pass. I don’t count the initial spreading at a slower speed as a pass.
As for how many passes, I typically do anywhere from 6-9 passes with Crimson/M205 but there are way too many variables for me to tell you how many you would require. I would recommend just trying out different techniques and pressure/speed until you find the best combination. This is especially easy and helpful if you are working on a personal car in that you can tape off many different sections on different panels, then try out different techniques. You can try only 5-6 passes and vary the pressure, then step up the passes while keeping the pressure the same, etc.
Hope that helps!
Good info. One question…that seems like an awful lot of polish you are working with. Did you use extra polish just for this demo so u could see the polishing pattern better or do you always use that much when usong 205??
Good eye Dan! You are correct that I used extra polish (basically primed the pad twice!) for this demo so it comes up clearly in the photos. I normally wouldn’t use nearly as much.
Oh My Gosh! I am stuck with a car that has such an oxidation coating I am a bit confused. I have been around automotive finishes, use of buffers etc. However, the daunting task of the whole car is not my idea of a fun weekend or more… And just how many buffing pads am I going to need? I just want to get the finish half way decent so I can sell the vehicle…
Hi Diane,
It’s very tough to estimate the amount of pads you’ll need not knowing the car type as well as how bad of a condition you need to fix. Normally for any decent polishing to be done, you’ll need about 6-8 pads at least to complete a polishing step around the car, probably more if it’s oxidized and the pads will get saturated very quickly. That or you can do it in sections over the course of a few days, in which case you can wash and dry the pads after each day. Hope that helps and best of luck with the project!