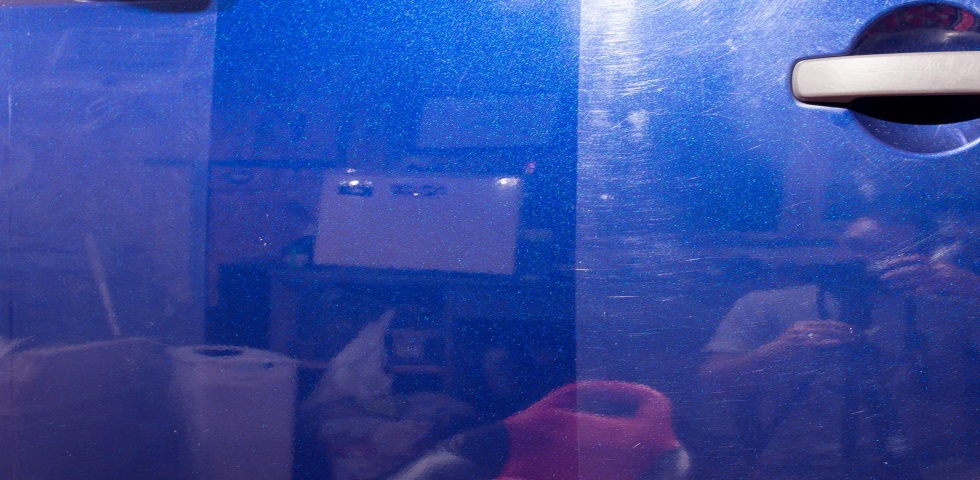
You commonly see the term single-stage (one-step) or two-stage (two-step) or even multi-stage used when describing the paint correction process. This is describing the steps required to achieve the desired level of correction and/or finish prior to the application of the protection you will be applying. This is an area that can always tough to decide just how in depth you will go with a project, however, in most occasions it is decided strictly by the clients budget. Most daily drivers I would typically recommend a one-step service, especially on lighter colored vehicles. However, on darker colors, especially black vehicles I will almost always recommend a 2-step if their budget will allow it.
In my experience, the one-step corrections seem to be the most common, as they are a great bang for your buck service. A one-step should remove all light swirling on the finish, leaving behind any deeper defects such as random intermittent deep scratches (RIDS) behind. Typically one-steps are done with a polish such as Optimum Hyper Polish or Meguiar’s M205 and a light cutting pad like the Lake Country Orange pad or a polishing pad like the Lake Country White pad. Paints that have a lot of metallic flake or lighter colors such as silver or white, you can typically get away with using a slightly more aggressive product for greater correction. The goal for this type of service to achieve the maximum amount of correction while still achieving a nice clean finish free of marring.
Here is an example before and after photo from a one-step job I had done a while back.
The above was done with a Rupes 15 with an orange lake country pad and Optimum Hyper Polish
This is the finished product following the one-step correction shown above.
Two-step or Multi-step correction are usually needed for finishes that have been very poorly maintained with deeper defects. Typically you will start with a heavier compound such as Meguiar’s M100 Pro Speed Compound, Griot’s Garage Fast Correcting Cream or Sonax Cutmax that will remove deeper surface defects such as random intermittent deep scratches (RIDS) or heavy swirling. I like using microfiber pads during the cutting process. Meguiar’s Microfiber Cutting pads do an amazing job with removing heavier defects fairly quickly, however, in most cases you will notice significant marring of the surface when using these pads paired with a heavier compound. I like using Meguiar’s Microfiber Finishing pads or Griots Boss Microfiber pads which typically finish down much nicer with minimal marring, however if a more aggressive cut is required Lake Country’s Purple Foamed Wool work great for heavy defect removal but will leave heavy marring on the finish. On a multi-step correction, this really is not much of an issue as you will follow up the compounding stage with a polish that will clean up any marring created during the compounding process. Below are pictures from a black Range Rover Discovery I worked on a while back showing the multi-step process.
This is the paints condition prior to starting any polishing. It should be noted that this is a fairly new vehicle that was only a few weeks old.
The above was done with a Rupes 21ES with a Meguiars MF Cutting Pad and Griots Fast Correcting Cream. Notice how the paint is left hazy looking due to the marring caused during the compounding process to remove deeper swirls and moderate scratches present on the surface.
The final step was completed using my Rupes 15 mkII with a yellow Rupes pad and Carpro Essence Xtreme Gloss Enhancer. As you can see this multi-step correction process leaves basically a flawless high gloss finish with amazing clarity.
Here is the finished product following the multi-step correction along with the application of CQuartz Professional Ceramic Coating leaving this beautiful black Range Rover looking like a mirror on wheels.
Often the deciding factor for which level of correction will be performed comes down the clients budget. There WILL be times while doing one-steps where it may be hard for you to resist going more aggressive in order to remove deeper flaws, however unless the client is willing to pay for the additional work required for a better finish you will need to learn to live with deeper flaws being present. In most instances the deeper flaws may not even be visible once the vehicle is pulled outside under natural lighting.
