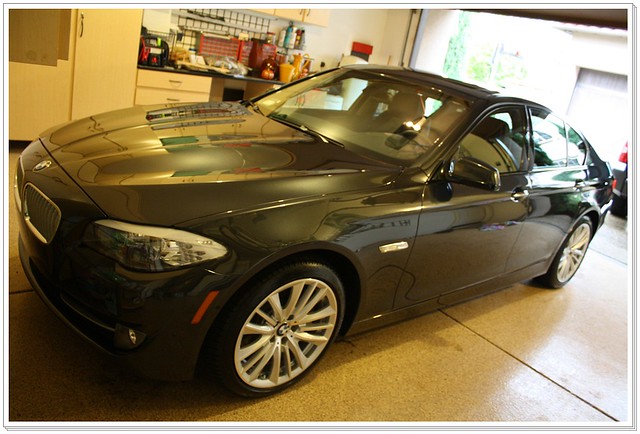
My New Car Prep Process: BMW 550
by Eric SchusterCongratulations…you are in the market for a brand new car that you plan on taking care of for the remaining time you own the car, but how should you go about that? Here is a process that I do for all my clients new cars and what I tell them they need to do, or have me do, in order to keep that car looking like new for as long as they own the car…
First things first, DO NOT allow the dealer to perform the new car prep! 9 times out of 10 the dealership detailers will (improperly) use a rotary polisher and fill the paint with holograms and buffer trails which will require much more work to restore the clarity and gloss from the paint via proper polishing steps.
Now that you have brought the car home and it’s in your garage, it’s time to get things organized and get your plan together on how you want to give the car its first true detail of its life. Here is my process step by step. (I will list it at the end as well without pictures.)
Step one: wheels and tires
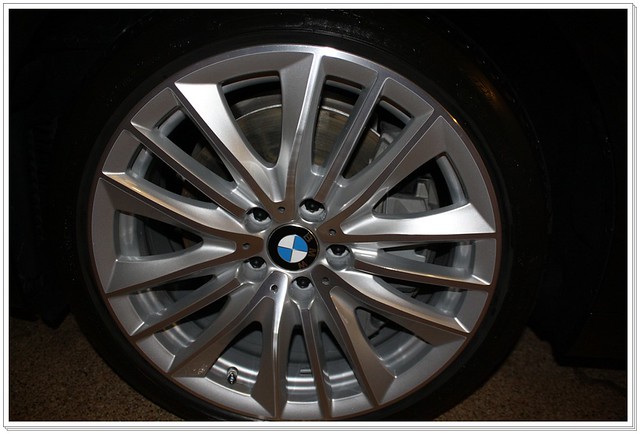
First thing you want to do is pre-rinse the wheels, tires and wheel wells in order to remove any loose dirt and debris. Then, get a quality degreaser like Meguiar’s Super Degreaser and spray liberally onto the tires and wheel wells and allow to soak and break up the grime and oils. While that is working, clean the wheel from the inside out using a variety of brushes for different areas. I have three brushes I use: a long wheel face brush, EZ Detail brush for the wheel inners and a skinny lug nut and tight area brush. At this point the wheels shouldnt be caked with brake dust as its a new car, but if they are, use something like Chemical Guys Diablo Wheel Gel or P21S Wheel Gel as both are safe for all wheels and pH balanced. Do each wheel individually and rinse them thoroughly!
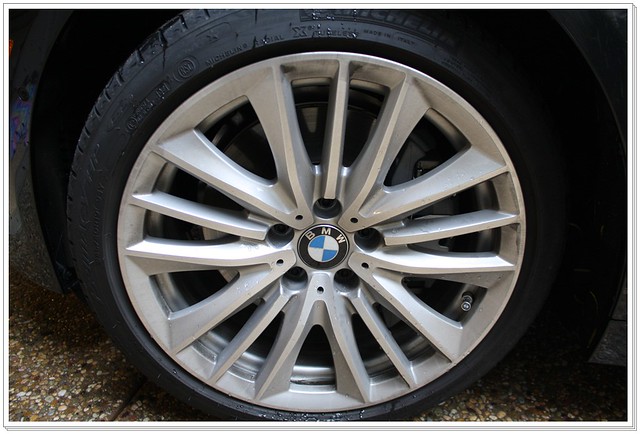
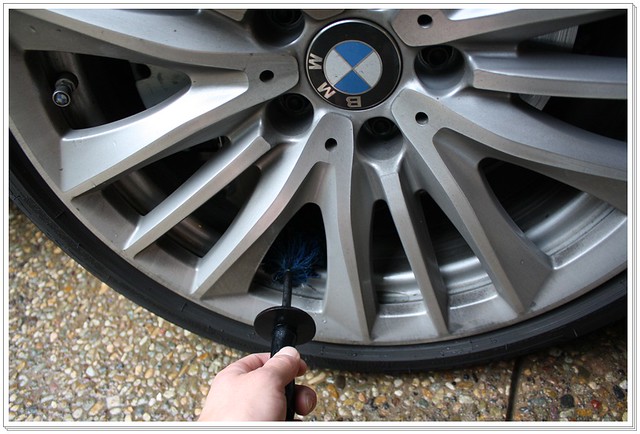
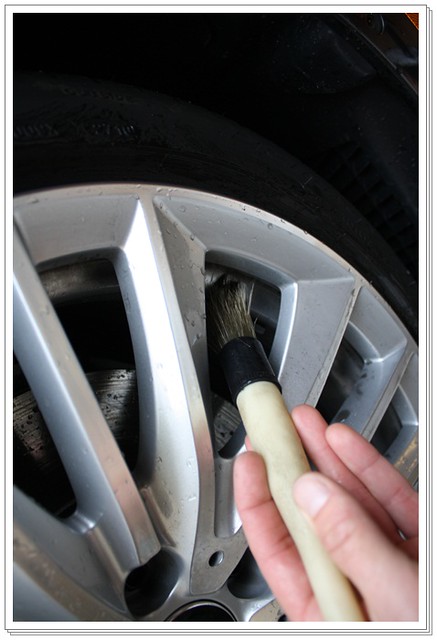
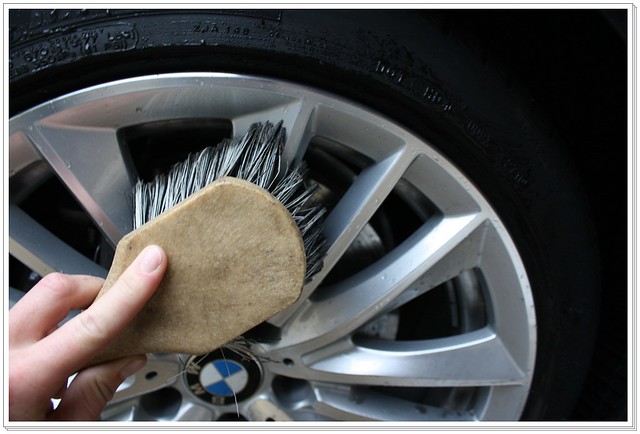
Step two: Wash the car
After the wheels are done and cleaned, wash the entire car with either Dawn or Chemical Guys Citrus wash as both products are going to remove any surface oils, protection, or grime leaving you with a bare surface to work on for the remaining steps. Work from top to bottom and use the sheeting method to remove as much water from the car as possible to reduce the need for towel drying (less marring). Use the high quality Waffle Weave drying towels from DI to dry the car. Usually two will dry any sized car with the right technique.
Step three: Claybar treatment
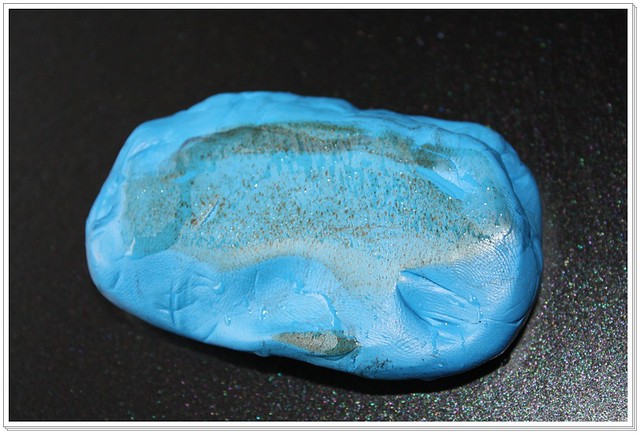
After washing off all the loose and surface debris from the paint, its time to make it really smooth and remove the deep down embedded dirt from the paint. You would think that you wouldnt have to do this step on a new car, but you would be surprised by the amount of debris in the paint from either the railroad or boats shipment method to get the car to the dealership, or from driving the car around the dealership on test drives or whatever else. I use the DI fine grade clay with Meguiar’s Last Touch or ONR mix for clay lubricant. After finishing the clay process, its time to re-wash the car or at least do an IPA wipedown to remove the residue from the clay step.
Step four: Tape and prep trim
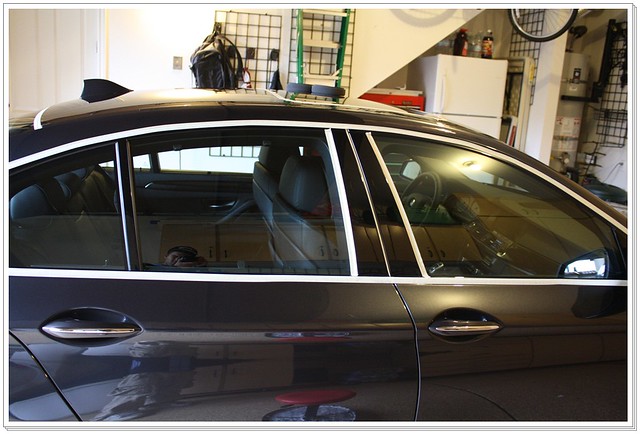
What you want to do here, and this is an optional step as it may not necessarily be needed but I do it anyway “just in case”, is tape off all the trim and areas you dont want polish on. Its very simple to do, especially with Meguiar’s .7″ tape since its pretty manageable and “bendable” for going with one long piece around curves instead of 4-6 pieces around corners.
Step five: Polishing the paint
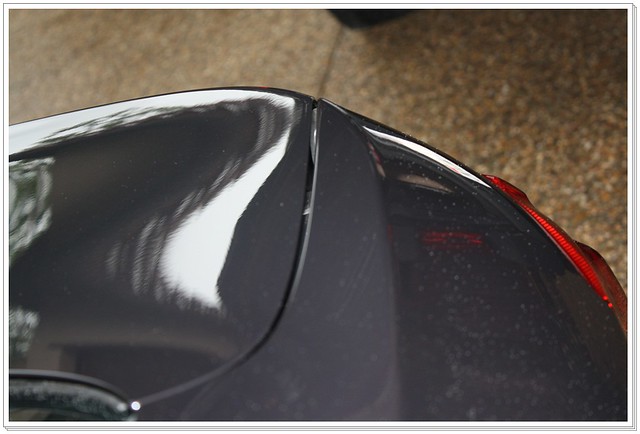
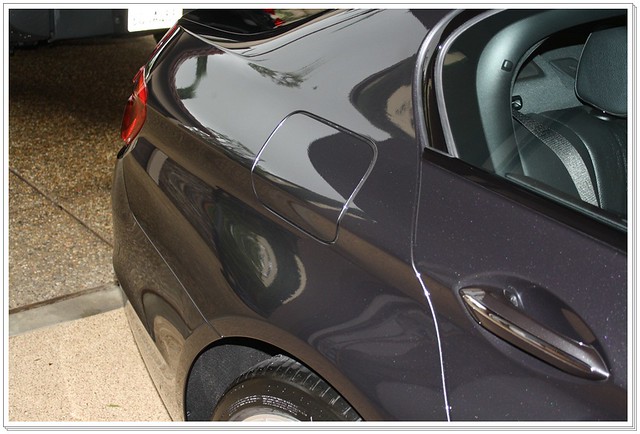
Did you really think that a new car had to maximum gloss coming from the paint just because its a new car? If so, you are wrong! There is so much more potential to gain more clarity and gloss from a new paint job just by using the right pads and polishes. In this case, I used Menzerna 85rd and a black polishing pad on the PC. It was a little hard to capture, but you can see a difference below in the fact the truck lid has been polished and the rear quarter has not been touched at this point.
Step six: Paint work cleansing
Now that you have polished the paint and restore the max gloss, its time to remove any polishing oils that may have been left behind. I really like Chemical Guys EZ Creme Glaze for this step as it removed the polishing oils and darkens the paint and makes it more wet looking. I apply with a PC on speed 6 with either a blue or a black pad going around the whole car before removing it. Without doing this step, or at least an alcohol wipe down, the sealant wax will not properly bond to the paint and give you its full term durability.
Step seven: Protecting the paint
For this step, my go to product has been Blackfire Wet Diamond for the last 100+ cars. I love this product as its one of the easiest on and off products I have ever used! A little goes a long way which means more bang for your buck, not to mention the durability and slickness that blows other products away! Combined with a blue pad and the PC on speed 4, this stuff spreads evenly and you can get around the car in about 5 minutes with very thorough and good coverage. I will do half overlapping passes in order to ensure complete coverage. LEAVE THE SEALANT ON FOR THE NEXT STEP TO LET IT BOND TO THE PAINT.
Step eight: Interior protection work
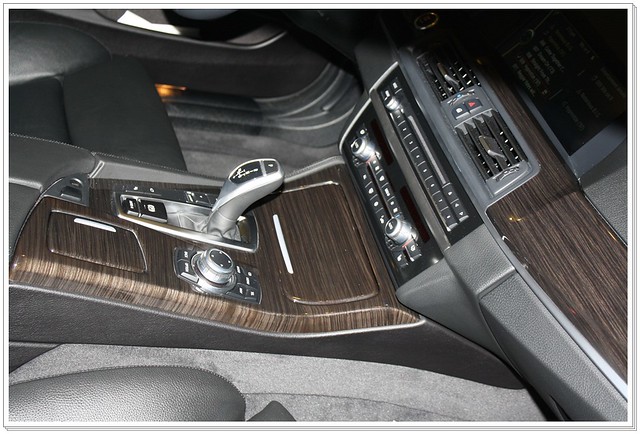
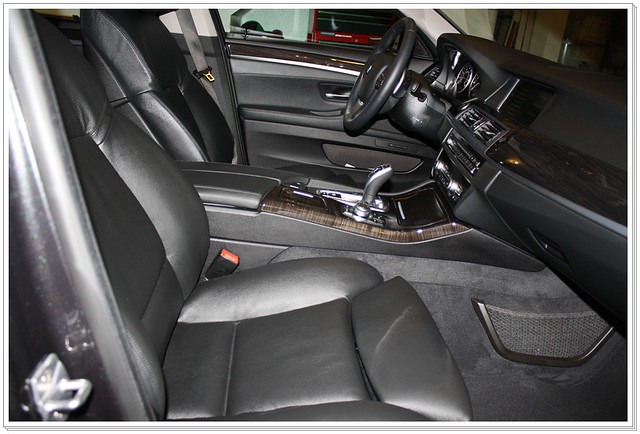
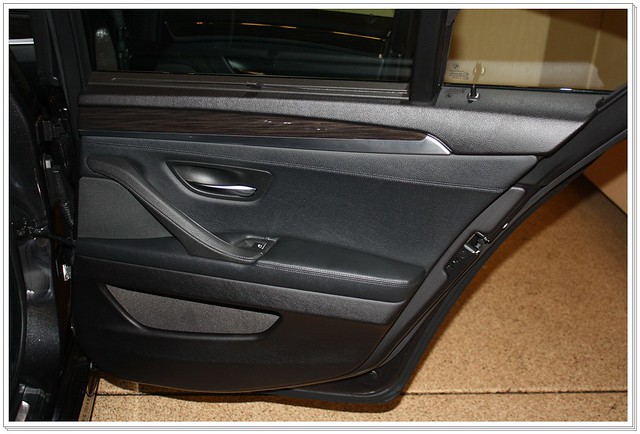
First up, dust the car in all cracks and crevices so that when you vacuum, you are getting everything in one step instead of having dust and debris fall back on a just vacuumed floor. Work from top to bottom just like you would on the exterior for a wash. Using a product like 303 Aerospace, you want to protect all interior plastics, vinyl and rubber. 303 will not leave a sticky residue or attract a lot of dust, and it also leaves a low matte look. It will darken the appearance of whatever it is applied on as well. Next, address the leather with a conditioner like Leatherique or chemical guys leather conditioner. Both are easy on and off and will leave the leather new, not greasy. Nobody wants to get into a greasy car! Go back over the entire interior with your dry microfiber towel and wipe down all surfaces to ensure no streaks and everything is drying flat.
Step nine: Door jambs
You can use a quality quick detailer or a spray wax for this step. I recommend Optimum car wax or Chemical Guys synthetic quick detailer on a microfiber towel. Simply spray down the panel and wipe/buff until the product of choice is removed and you are left with a glossy protected surface. do this step on all door, trunk, gas tank area, and hood jambs.
Step ten: wipe off sealant
By this time, the sealant should have been on the paint for about 45 minutes or so. This is PLENTY of time for the sealant to bond to the paint making the removal of the residual extremely easy to remove. Take a fresh and clean microfiber and simply wipe off the sealant from top to bottom, flipping and swapping out the microfiber towel often.
Step eleven: Windows
I use Meguiar’s glass cleaner concentrate at a ratio of 15:1 (water to product). At this ratio, streaks are at a minimum if any at all, and those streaks are easily removed with a fresh towel on the second pass. I will spray product around ALL the windows at once (saves time in the end) and just make the first pass over all the windows first, then come back around with a new towel and make a second pass to remove any streaks leaving the glass haze free!
Step twelve: Final wipedown
As you work your way around the car, its inevitable that you might have bumped the glass with your forearm, rubbed on the paint with your hand, or had your shirt rub on the car so you need to do a final wipe down to remove any finger prints or smudges. Taking a clean, unused microfiber towel, re-wipe the car from top to bottom.
Steps in order:
Wheels
Wash
Clay
Tape trim
Polish
Clean paint
Seal paint
Clean, Condition, and Protect interior
Wipe down door jambs and crevices
Wipe off sealant
Windows
Final wipedown
NOW GO ENJOY AND DRIVE YOUR FRESHLY DETAILED CAR!!!!
Thank You!


Great job Eric. I was wondering if you can use the Chemical Guys Glaze before topping with a carnauba wax or use it only for sealants?
“Usually two will dry any sized car with the right technique.”
Could you elaborate a little more on this? Thanks!
Hey Tom, you can certainly use CGEZCG before a carnauba wax. It will do the same job!
Justin, if you use the sheeting method there will be very little water left on the car to towel off. Combine that with using one towel for the first pass, and then another towel for the final wipe/dry pass and you will be able to dry the whole car with just two towels. I have done escalades and ferraris with that process and two towels never let me down. If the first one is picking up too much water, simply wring it out and continue as normal!
would pb black hole work as well to get any left over oils
Nice article Eric…thanks for sharing your new car prep process!
Hi Eric,
Thanks for the well written documentation. This question goes to either you or Todd: would a pre-wax cleanser such as CGEZCG or Poorboy’s Black Hole be more effective at removing polishing oils than IPA?
Nice Eric. I like Blackfire Wetdiamond too.
Wish I would have read this before I bought my brand new G37! didn’t know, the dealership did the detail and sure enough like you said, they put holograms and buffer marks in the paint, I new it didn’t look right! They didn’t do anything for me either when I confronted them, even went to Infiniti HQ, nothing! I’ve never seen my car with a perfect looking paint job the way a New car should look.
Keep going back and threaten to return the car! I have had a few clients have me detail their car and gave the bill to the dealership because the detailers there screwed up the paint and told my client “thats how black paints are supposed to look”. I dialed it in, he took it back and showed the manager, and even the manager was shocked at what the SA said…money refunded to the client!
Ironic that’s what they told me, “that’s how black cars are supposed to look, it’s okay we’ll use this good glaze to fill it in real nice” so stupidly I chose that and decided to go my own way, It’s been a year and a half since I bought it, I let it go a long time ago it was my own inexperience. I asked for a new paint job, a new car, and my money back and they said no we will not comply with your requests. and that’s how I found DI because I knew my car wasn’t right.
I recently picked up a new Black Sapphire Metallic over Beige leather 135i. This new car prep/guide will come in handy. Thanks for the great article Eric!
Dealership detailing can be hit or miss. I’m actually the detail manager at a large dealership in South Jersey. I’ve been detailing for over 28 years now. EVERY car that goes out of the shop, new, recon, or customer pay, is personally inspected by myself or my lead tech. Polishers are not allowed to be used unless the tech has my permission. I charge the dealership more money for black or dark colored cars as they DO need more work to make perfect. I’ve seen new cars that need more work than a well cared for, low mileage, garaged used car! And yes, if you purchase a new car and it’s not “right”, take it back. Dealerships are paid a decent amount of money for new car prep and it SHOULD be done correctly!