Source: YouTube
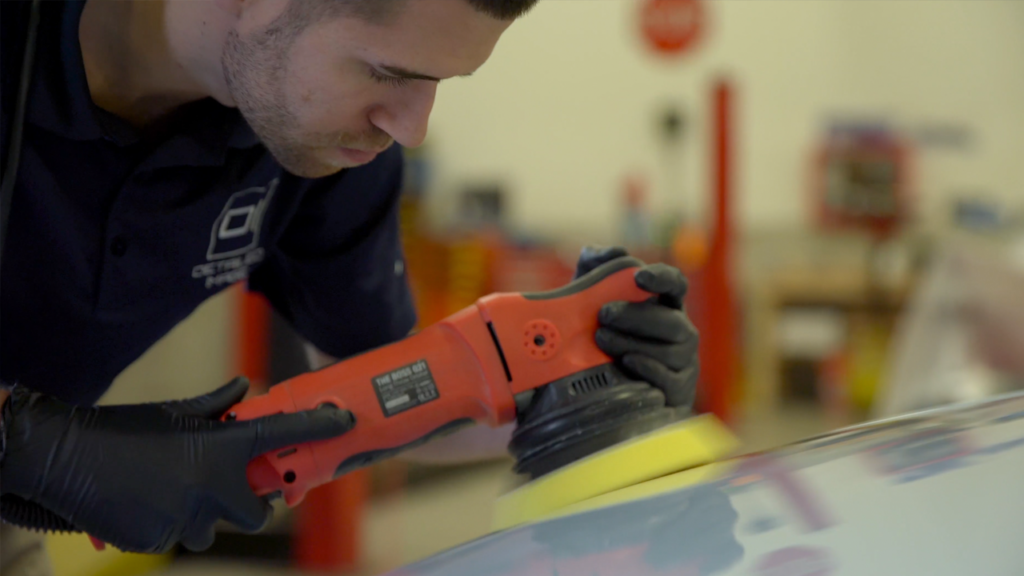
Polishing is the step in the detailing process that yields the most dramatic difference in your paint’s appearance. The objective of polishing is to remove imperfections in the clear coat that cause the paint to look dull. Surface imperfections can include swirls, scratches, water spots, etchings, industrial fallout, oxidation, etc. These surface imperfections cause light to fragment instead of passing directly through the clear coat yielding less gloss and depth. When these imperfections are removed, you will reveal the true potential of your vehicle’s paint. In the video above, James Melfi shows you how to properly polish your car paint!
Detailing Guide
Ask-A-Pro Posts
-
Polishing How To with Meguiar’s M105 / M205
- Assessing paint condition and deciding on a correction process
- How The Compounding To Final Polishing Looks
- Analyzing Your Test Spot
- More Polishing Articles!
Video Transcription
Hey, James with Detailed Image. Polishing your paint can be an overwhelming process with so many different tools and products available. I am going to show you an easy one-step polishing process on how to significantly improve your paint. Today we will be working on a brand new vehicle and the first thing you want to do is inspect the finish with LED lights. To polish the paint safely you can measure the paint with a paint thickness gauge. Let’s set up your machine, and pad and polish combination. Apply 4 dime size drops of polish right on the pad, and to avoid sling tap the pad onto the panel. Work the polish in at speed 3 to 4 across a 2 x 2 section using overlapping passes. To get the best out of your polishing step, use medium pressure and slow arm movements. After 3 to 4 passes, wipe off with a microfiber towel and inspect. My last point is this, as you move from panel to panel, clean your pad often to remove paint and polishing residue.
Buy Products From This Article
Related Posts


