How To: Gyeon quartz Q² One
by Jeff McEachranThis how-to article is written by Jeff McEachran, the national brand manager at Gyeon USA and owner of Detail Force and Denver Auto Shield in Denver Colorado.
Gyeon quartz Q² One was released at SEMA 2017 and is the top dog in the Gyeon quartz Enthusiast line. All of the Q² coatings now have very specific designations in terms of the user they are intended for:
- Enthusiast: Q² CanCoat and Q² One
- Professional: Q² Pure, Q² Mohs, and Q² Syncro
- Certified Detailer: Q² DuraBead, Q² Mohs+, and Q² DuraFlex
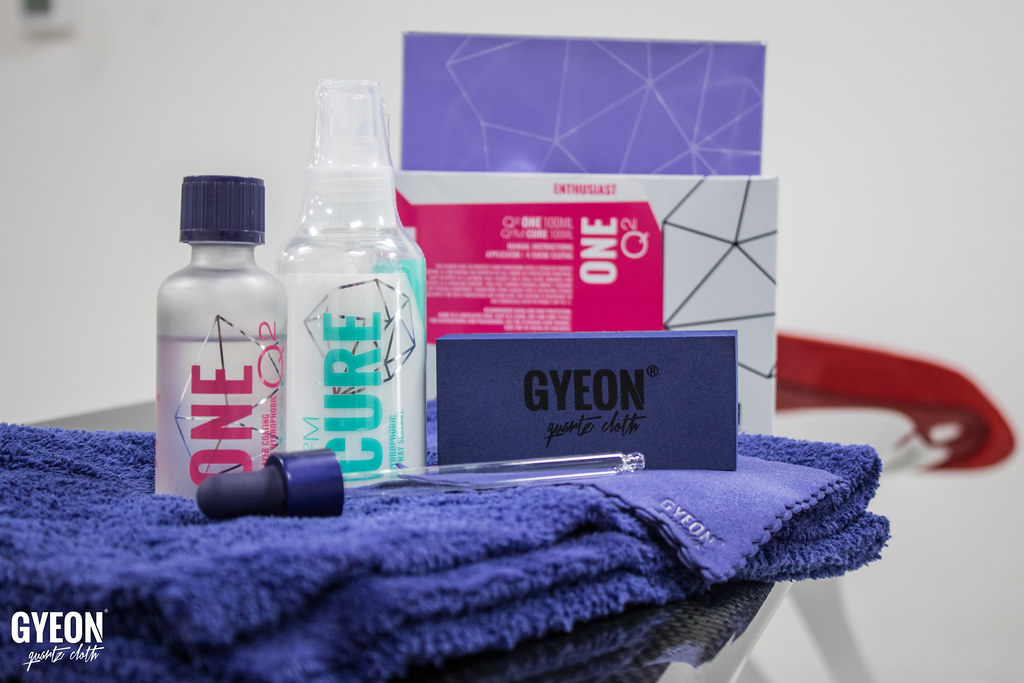
Gyeon Q² One is designed for DIY users who are ready to make the jump from a wax or sealant into the world of coatings, and want something a bit more substantial than Q² CanCoat. Q² One is intended for at least 12 months (or 12k miles) durability. It delivers a 110-degree contact angle, a very candy-like gloss, is ph tolerant from 2-11, with a pencil hardness measure of 9h.
Q² One is a SiO2 based coating with a concentration by volume of 55%, landing right in between Q² CanCoat (35%) and Q² PURE (80%). It is this concentration of SiO2 that determines its installation and performance characteristics. The higher the concentration the higher the performance. With that comes the characteristics of installing a purely SiO2 based coating. I make a point to mention that here, because if you are used to installing Q² Mohs this (and Q² Pure) needs to be approached much differently.
Any coatings installation characteristics will be based on the quality of the carrier solvents and the ratio of solvents to silica/silazanes. There are also installation characteristics that are specific to each coating base chemical. In the Gyeon line mainly the difference between the silazane base of Q² Mohs and the silica base of Q² One, and the fact that products like Q² One are designed to be installed in a single layer where Q² Mohs is designed for 2 layers, but we can dive into that in another article.
A SiO2 based coating like Q² One will always feel “thicker” and require more intention in removal than something like Q² Mohs. So we need to pay attention to variables like humidity that will speed up the flash/removal time of Q² One as well as control the size of our application area so applying and removing the coating is very easy.
Let’s get started!
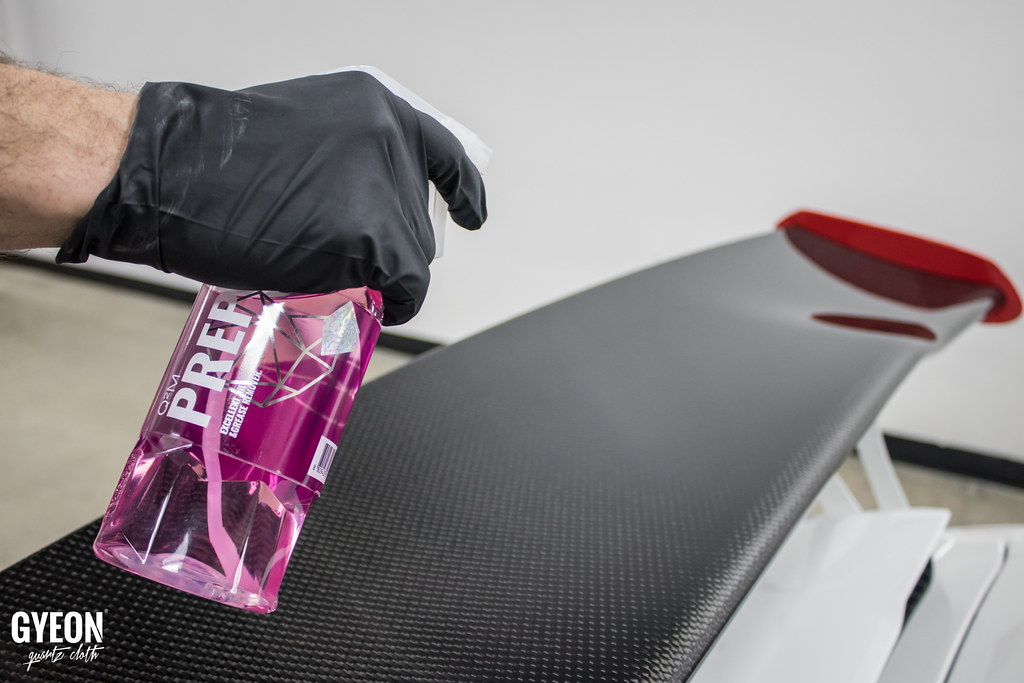
We always want to perform a “degreasing” stage with Gyeon Q²M Prep which will help remove any polishing oils or lubricants from a previous detailing step.
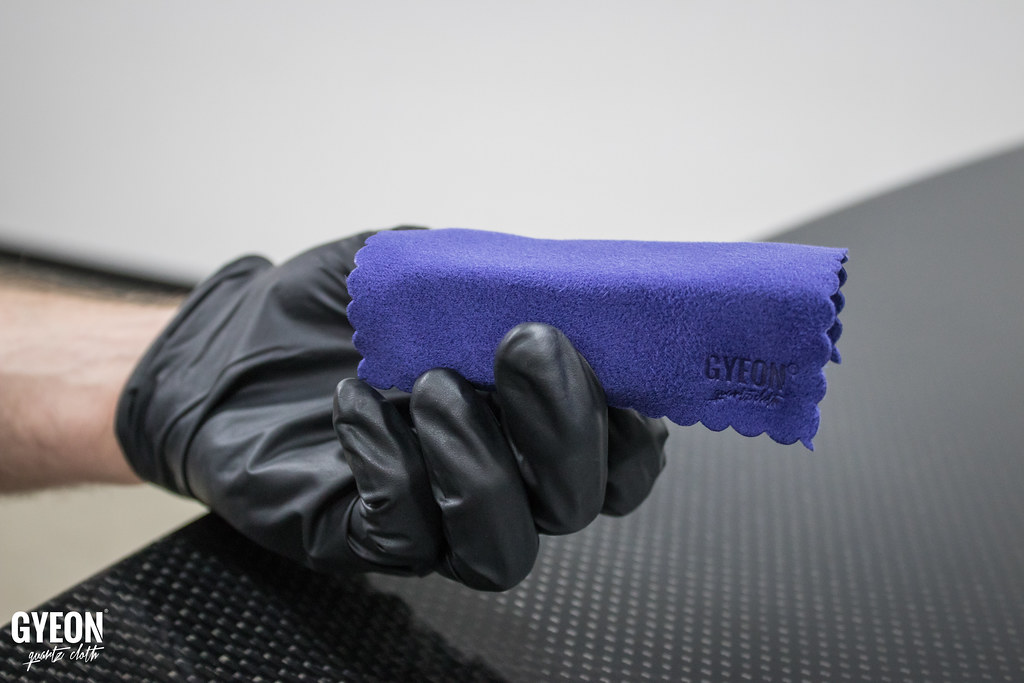
Once the surface is prepared, combine the included suede applicator with the foam applicator block as shown.
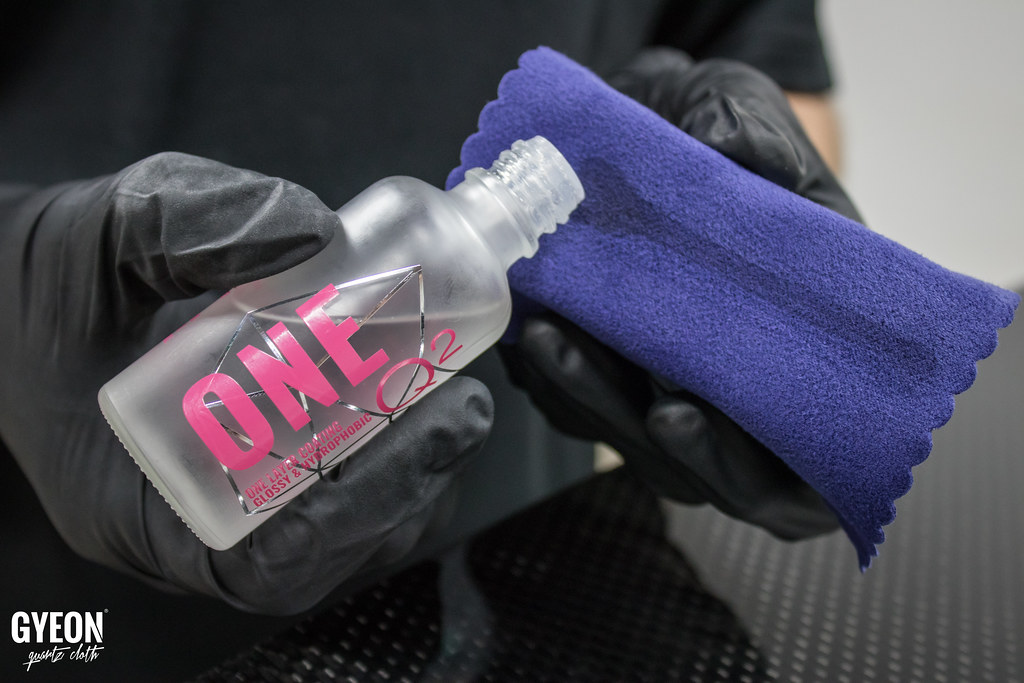
Apply a moderate amount of Q² One to the applicator. I like to run an even line across the suede, but you can use the included pipette or the dropper installed in the bottle to apply several drops.
Choose a small area to install where you can define a clear start and stop point. I like to use a shoulder width area and choose a body line to end the section with. We are applying Q² One to a gorgeous Porsche 997 GT3RS. Apply the coating in a cross hatch style pattern with 50% overlapping strokes, performing 2-3 passes to ensure a nice even layer.
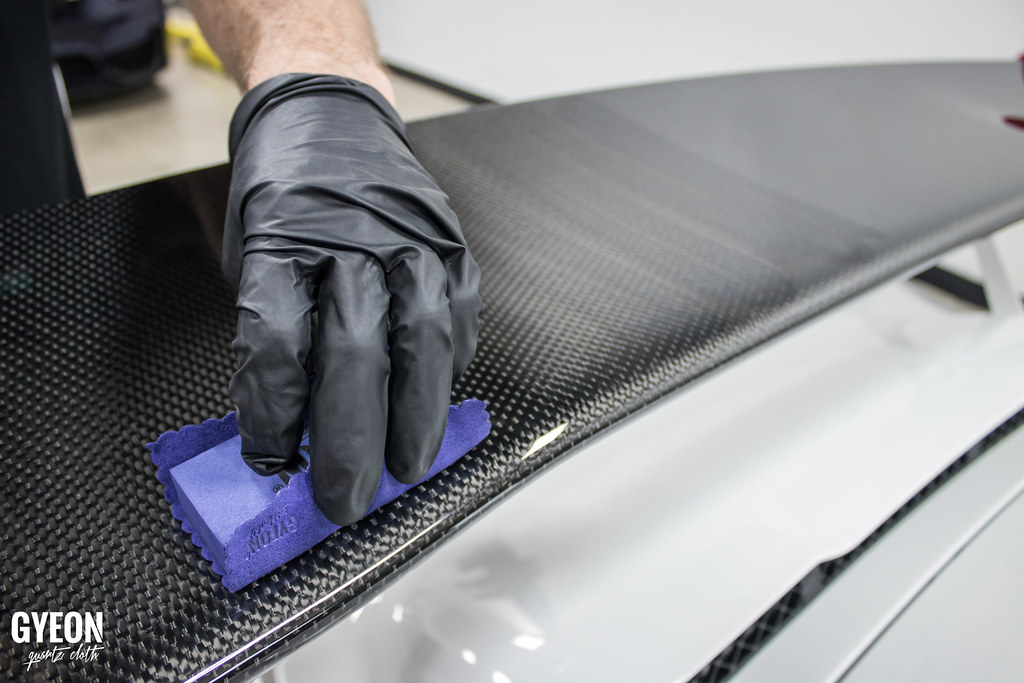
Totally personal preference, but lately I have been using a tight-knit microfiber like Gyeon Q²M BaldWipe for my removal process. They are highly absorbent and the tight-knit allows me to level the coating even further, where my brain is wanting to evenly move the product across the panel and let the carrier solvents work vs absorbing or removing the excess like I would with a high pile or plush towel. But that’s just my brain.
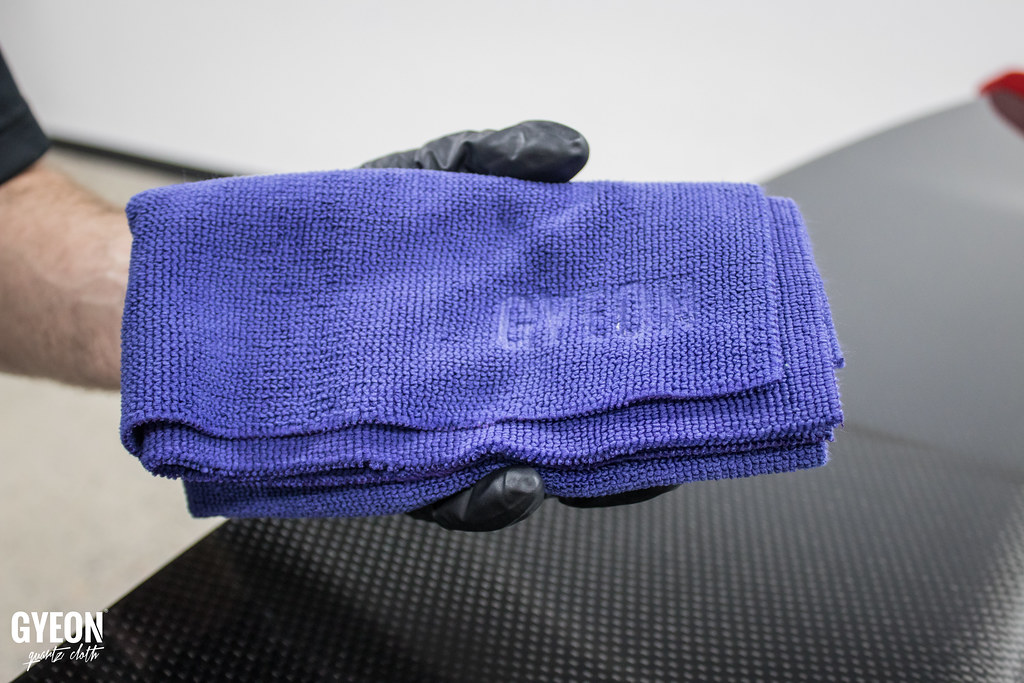
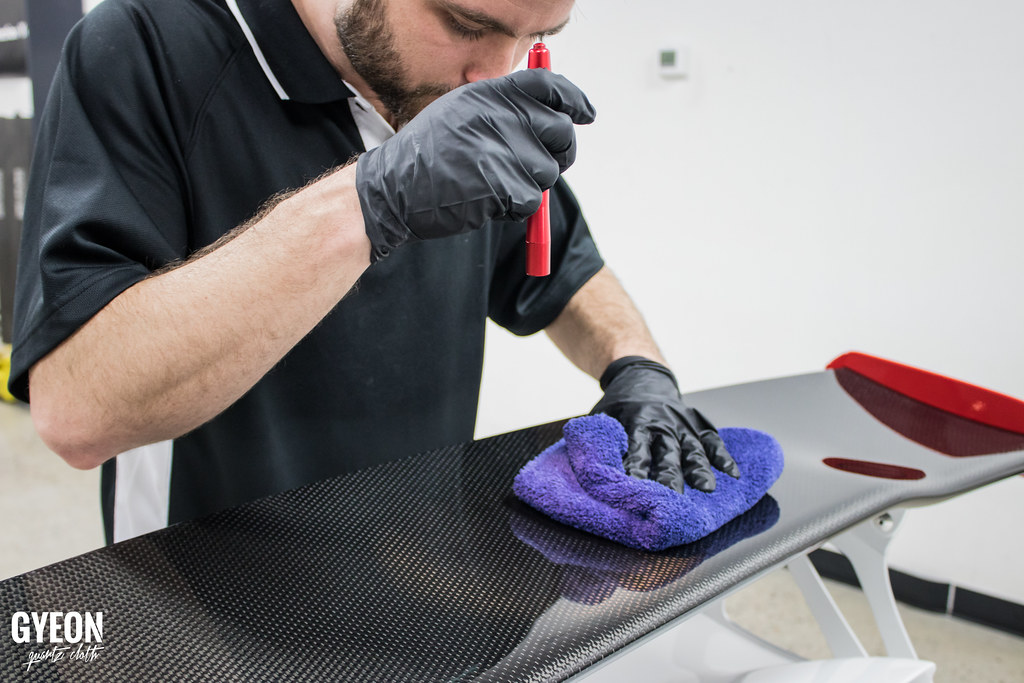
This is the stage where we need to consider the humidity of the working environment. The higher the humidity, the faster the solvents will flash and the sooner we need to remove the coating from the surface. The Gyeon coatings bond to the surface within the first 3-5 seconds. If we remove at 10 seconds or 1 minute we are not affecting the long-term performance of the coating, just finding the easiest and most efficient “sweet spot” for removal. The longer we wait in a high humidity environment the more “wipey” or “grabby” the coating will feel during removal. I like to use a handheld light so I can see when I have removed the excess completely as there will be no distortion in the light.
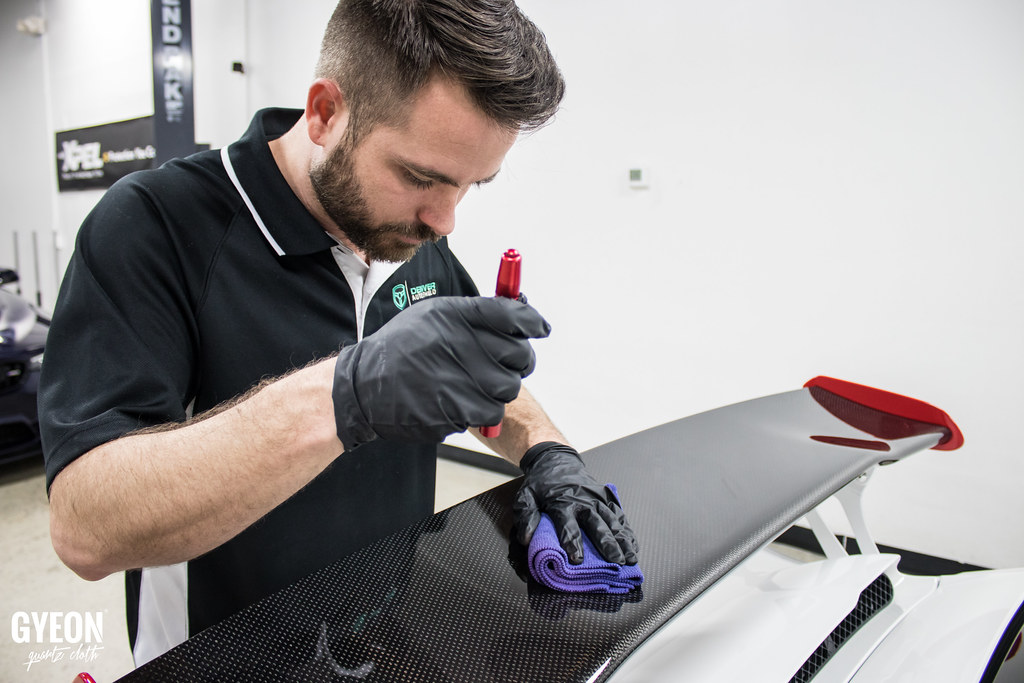
For this installation, the humidity was low on a nice and dry Denver day and it came off as easy as anything I’ve ever used. I’ve also installed this on a high humidity day and it certainly felt more tacky and grabby. If you are in this situation we have an alternate application method that helps a ton, leveling the coating out perfectly before wipe off.
In this method, only place a single “dot” of Q² One at the TOP of your suede applicator as shown. We do not want the entire suede saturated in the coating.
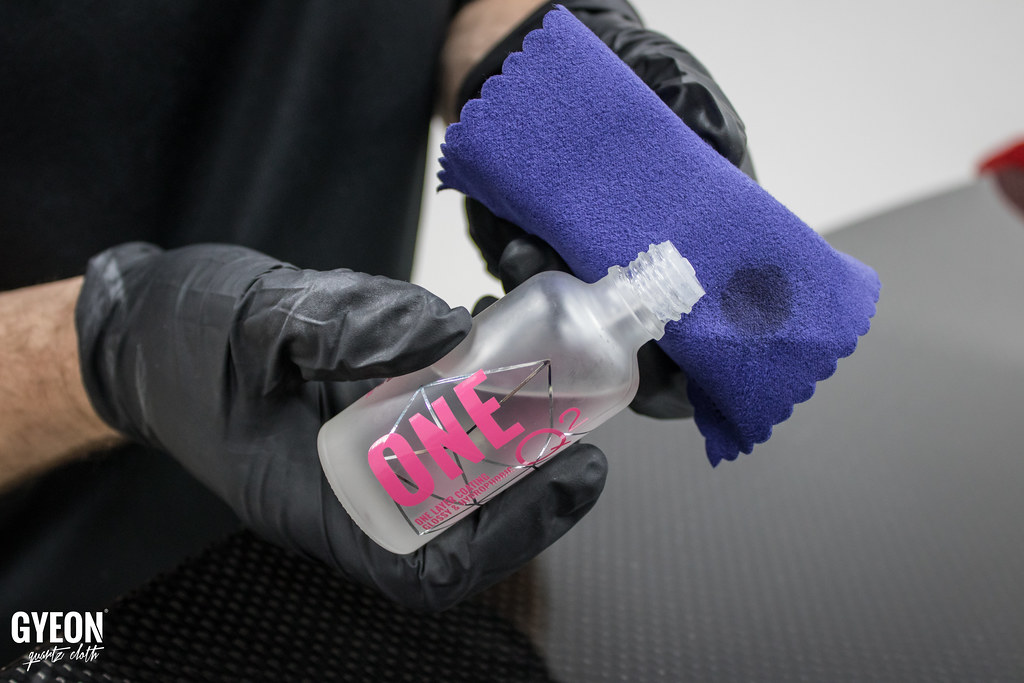
Next, perform a single left to right (or up and down) application of the coating. The point is to only perform one pass that is only intended apply the coating to the surface using the “dot” area to apply to the surface and leaving the rest of the suede “dry”.
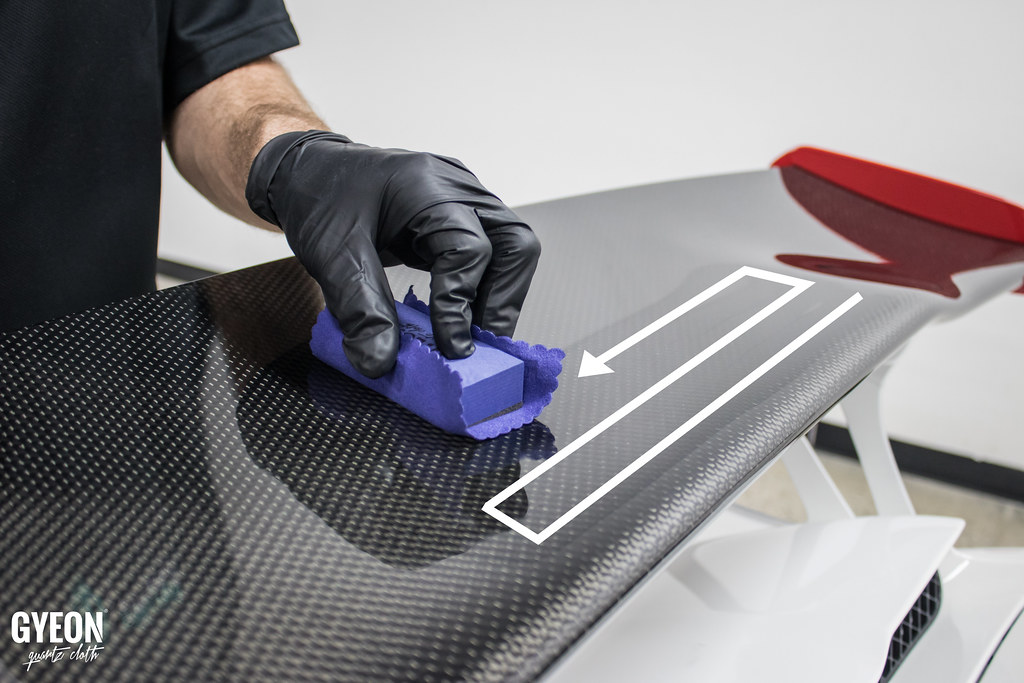
Wait approximately 20 seconds, and begin to perform very tight and overlapping circles over the area with the entire suede coming in contact with the coating. The “dry” section of the suede (because you only applied a dot to the TOP) will help perfectly level the coating to leave a very even and easy layer to remove. I am not applying any pressure here, just letting the suede interact with the coating.
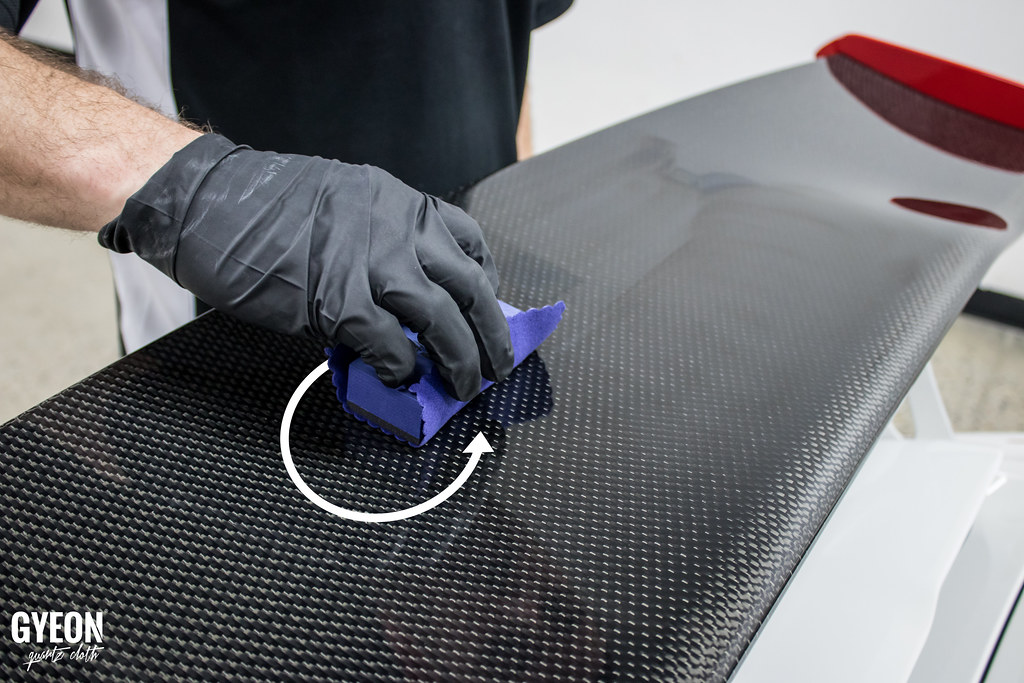
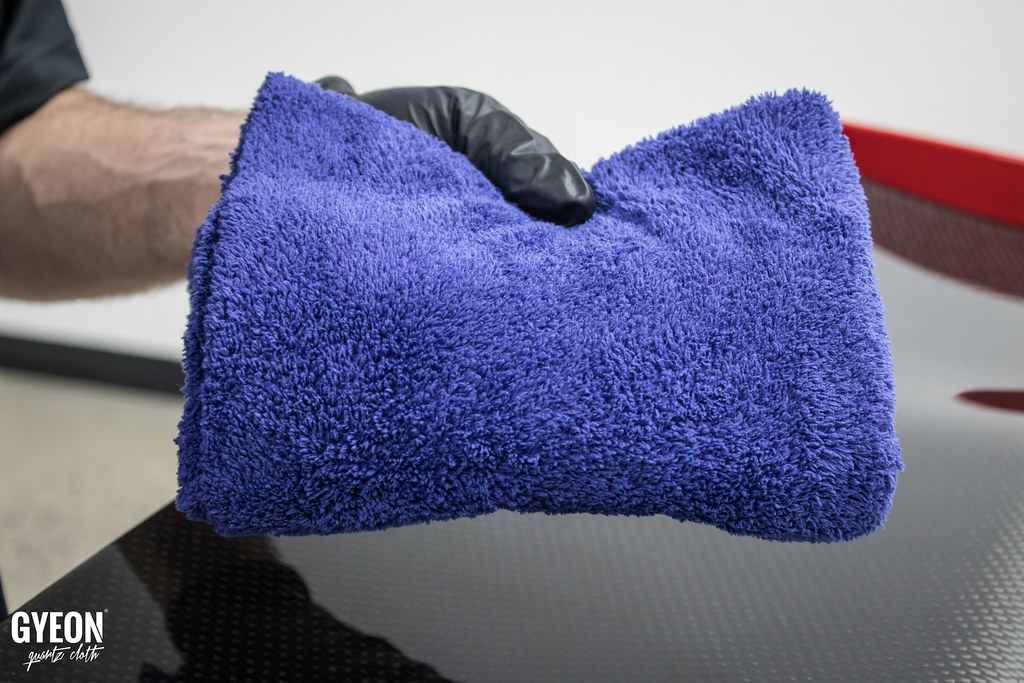
When using this method, I switch to an Gyeon Q²M SoftWipe Towel as I DO want to remove excess material from the surface as quick as possible. This is important. SoftWipe works MUCH better when humidity is high and the coating is grabby than BladWipe.
Again, I use a handheld light to make sure I have all material removed and move on to the next section.
Q² One is a great entry level coating that performs as stated for anyone new to coatings or nervous about applying a multi-layered coating. Or a great entry level, single layer offering to customers new to coatings from a service perspective.


I just finished going through all the processes and ending with Q2 Cure, on both a SUV that I had 3 coats of clear coat put on it and a 2nd vehicle I just finished having it repainted, waited a few weeks and then used the same process above and finishing with Q2 Cure. I could not have been more pleased with the out come! I would have to say the vehicle that just got painted, turned out excellent with the application of Cure. Just stunning! Both vehicles are Lexus and I only hear praises of the outcome… Thanks for providing these products you have to offer to the general public and not just detailers or professionals.
Thank for you for this tutorial. It really helped made my job easier in my first year (2019) of using One. Made my car a sparkling gem all year (garaged @ work & home).
Now that it’s a year later, how do I apply a new coat? Do I start fresh & have to remove the prior’s year’s coating? If so, how & using what?
Awesome! Great to hear. To start fresh with a new coat, we should first polish the paint to remove the remainder of the existing coating. This can be done with a light to medium polish of your choice. Then Prep and re apply.
Jeff – do I use a random orbiter with a polish? Or is by hand good enough to remove the remaining Gyeon One?
I would machine polish to ensure we’ve removed the remaining coating.