

When it comes to achieving that coveted showroom shine, investing in a quality buffer, polish and polishing pads is crucial. However, an often overlooked step is pad priming. Whether you are a seasoned car detailing enthusiast or a newcomer to the world of automotive care, mastering the art of pad priming is essential for unlocking the full potential of your polishing efforts. So lets jump into it, how do I prime my polishing pad?
What is Pad Priming?
Before delving into the intricacies of pad priming, let’s first understand its significance. A polishing pad acts as the intermediary between your buffer and the vehicle’s surface, facilitating the even distribution of polish and maximizing its effectiveness. Pad priming involves prepping the polishing pad to ensure optimal functionality. By conditioning the pad before use, you eliminate any dry areas, creating a smooth, uniform surface for consistent polishing results.
Step-by-Step Guide to Priming Your Polishing Pad:
- Select the Correct Pad: Before you begin, ensure you have the appropriate polishing pad for the task at hand. Different pads cater to varying levels of abrasiveness and surface types, so choose wisely based on your vehicle’s condition and the desired outcome.
- Clean the Pad: Make sure the pads you reach for are clean and ready to use. Even if your polishing pad is brand new, it’s imperative to clean it thoroughly to remove any lingering debris or manufacturing residues. For pads that have already been used, use a pad cleaning solution or mild detergent and water to scrub the surface gently. Rinse it well and allow it to air dry completely. If the pad is new, a pad brush or microfiber towel can be wiped across the surface. Generally new pads are packaged and ready for use, but a quick wipe will ensure any light dust or debris on the surface is removed.
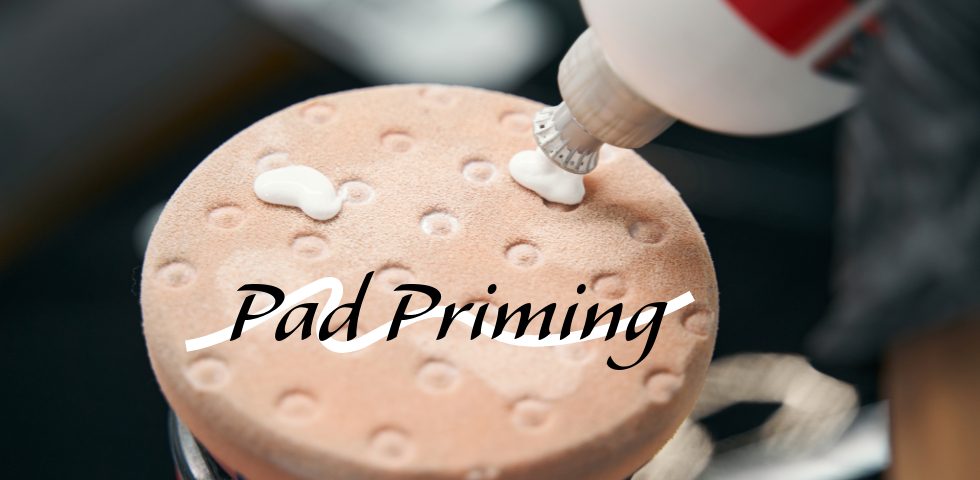
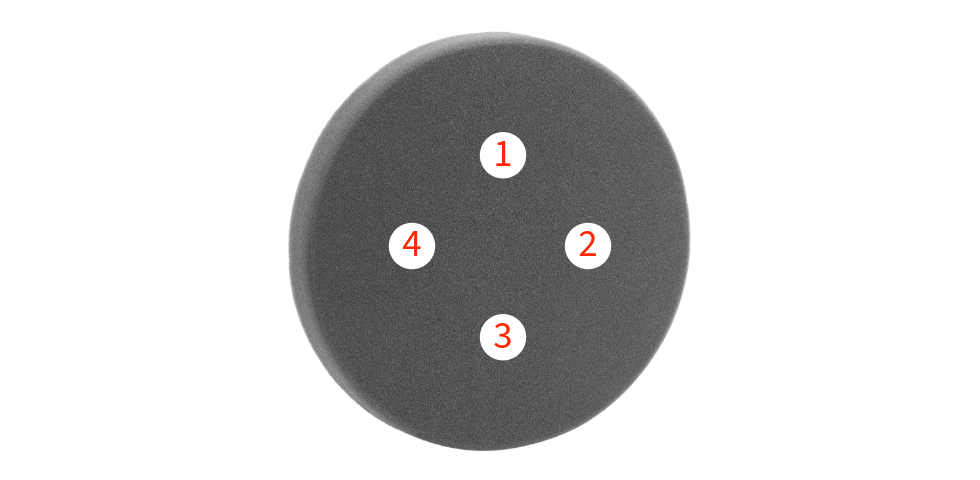
- Apply your Polish: It is time to apply a small amount of polishing compound or polish onto its surface. Aim for four (4) dime sized drops for starters, adjusting the quantity based on the pad’s size and the extent of the polishing job.
- Spread the Product: With the polishing compound applied, head to your vehicle. I like to prime the pad directly on the surface of the vehicle. Just place the pad face down, start the polisher and on a low speed setting with the polisher in one place, let the polish break down and the pad to warm up. This generally only takes about 20 seconds or so and once finished, stop the polisher and pull from the surface.
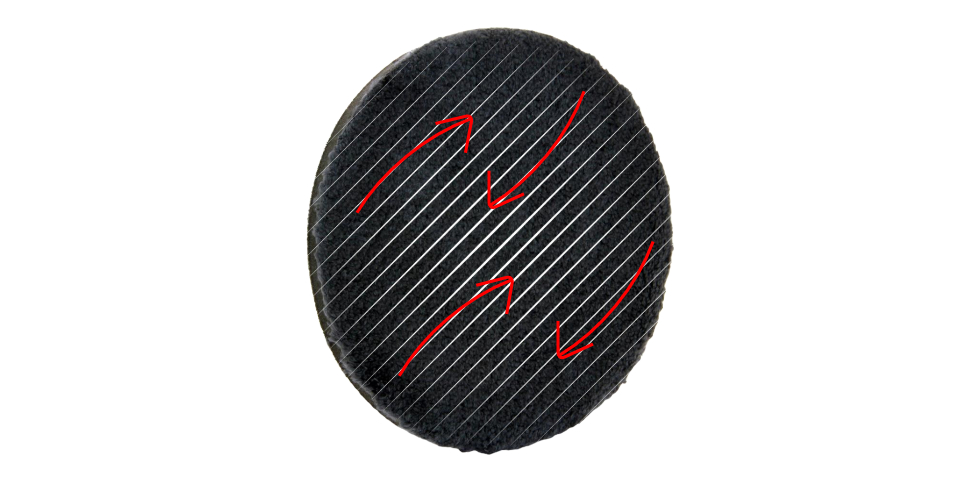
- Microfiber Pad? If you are working with a microfiber pad, the priming is slightly different. In this case, apply light lines of polish across the entire pad. From here, use your fingers or the back side of the Rupes BigFoot Claw Pad Tool to spread these things lines evenly across the face of the pad. Ensure thorough coverage of all fibers while avoiding excess buildup, as this can lead to uneven polishing and wasted product.
- Polish with Precision: With your polishing pad primed and ready, it’s time to start polishing! Apply three (3) dime sized dots of polish to your primed pad and remember to work in small sections, applying consistent pressure and overlapping your passes to achieve a flawless finish.
While pad priming may seem like a minor step in the grand scheme of car detailing, its impact on the final results should not be underestimated. A property primed pad allows for enhanced performance and more efficient polishing results. It reduces the number of passes needed while polishing and the amount of polish used during your polishing steps. The next time you embark on a polishing project, remember, pad priming is the key to a great finish!