***Warning, wet sanding with the intent to remove orange peel from a factory finish is not recommended!***
This particular Acura RL recently underwent $9500 in hail damage repair, which resulted in a complete repaint. From the factory these cars had an amazingly smooth finish, which is actually pretty rare with today’s orange peel infested cars. For those of you who may not know what I mean by orange peel, it is the term often used to describe the undesirable texture or appearance found on most vehicle paints, and in this case, it actually resembles the surface that of an orange.

Since I know the owner of this Acura very well, I consulted with the body shop prior to having the work done on the car. I informed them that I would be wet sanding the finish smooth to achieve an orange peel free finish and I wanted to ensure that they applied enough material (clear coat) for me to do so.
Wet sanding can be done either by hand, which involves the use of a foam sanding block covered with sheets of various grit sand papers, or it can be done with a dual action sander equipped with a foam interface pad and various grit sanding disks. On this particular car I chose to use a DA sander as it is faster and the shape of the cars panels allowed for easy use of this tool.
My process for wet sanding consisted of 3 sanding steps. Normally I would start with a 1500 grit paper but the hardness of this particular finish required something much more aggressive. The reason being is that there is only about a 72 hour window when it is best to wet sand the finish of a newly painted vehicle. During this first 72hrs the paint is still fairly soft and is much easier to work with. After that point, the clear coat becomes very hard and is much more difficult to work with. It was actually over 4 weeks before the owner brought me the car, so as you can imagine, it was rock hard!
My wet sanding process was as follows:
- 3M P800 disks (initial leveling)
- 3M P1500 disks (removal of P800 scratches and further leveling)
- 3M P3000 Trizact disks (refining and removal of P1500 scratches for easy buff out)
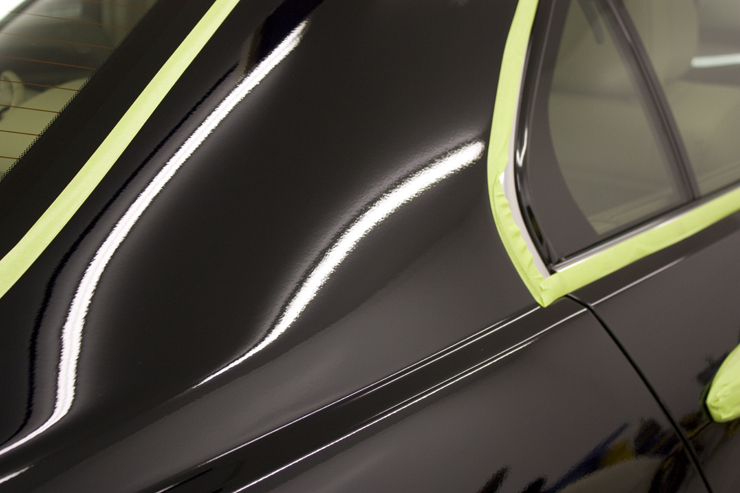
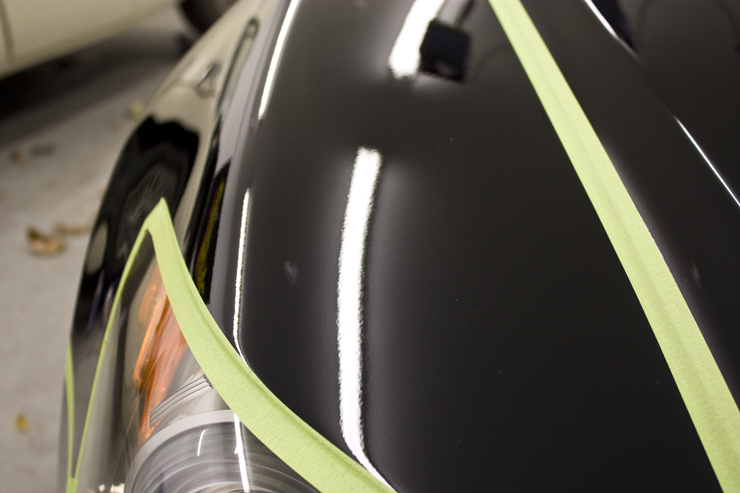
Here are some more pictures showing how poor the finish looked prior to sanding.


You will notice that on this particular vehicle I chose to tape off all panels of about 1/16 of an inch from the edge to avoid the risk of a strike through. Had this been a show car, where there is typically much more material applied, I would have sanded all the way to the edge.
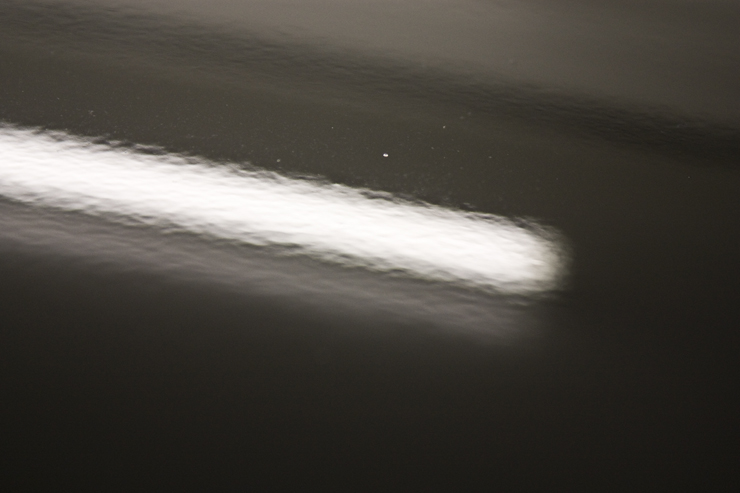
For the final sanding step you should be using a 3000 or higher grit paper as this allows for a much easier and less aggressive removal of the sanding scratches. Once you’ve gone over the paint with the final sanding step, the finish should look dull like the below photo, not scratched.
Some more pics of the sanded panels prior to polishing.
The removal of the sanding scratches on this car was no easy task either, and as with the sanding, it also required a much more aggressive process. What would normally only require 3-4 polishing steps actually ended up being 5 steps on this car.
My process for removal of the sanding scratches and required refining steps consisted of the following:
- 3M Perfect-it 3000 extra cut rubbing compound, applied via rotary polisher equipped with a Meguiars Solo heavy cutting wool pad. (Removed sanding marks)
- Meguiars M95 via rotary polisher equipped with a Meguiars Solo light cutting wool pad. (Removed heavy marring/swirling left behind by the 1st polishing step)
- Menzerna SIP via rotary polisher equipped with an orange LC pad. (Further refined paint to a near swirl free finish)
- Meguiars M205 via PC7424XP polisher equipped with a white LC pad. (Final finishing that removed any remaining buffer trails left behind from SIP. At this point the finish was LSP ready)
- Menzerna PO85RD via rotary polisher equipped with a black LC pad. (Jeweling of the finish, which is optional, but really is the icing on the cake!)
After all the polishing steps were complete, the car received a thorough wash to remove all the polishing oils and dust. The paint was then sealed using two coats of Blackfire Wet-Diamond.
And now for some after pics!!!
Acura RL after wet sanding and polishing
Thank you very much for taking the time to view my work. If you have any additional comments or questions, please submit them in the comment box below.
