Intro
I have spent a lot of time working to guide others through the detailing process using my articles, email communications, phone calls, and forum interactions, but rarely do I have the opportunity to do teach someone in person. This particular “student” happens to be my brother. He purchased the car several months prior and wanted some help cleaning it up and applying protection to his new toy.
I was really looking forward to this project, even if it wasn’t as in-depth of a detail as I typically share, because it was my first time putting my hands on a polisher in about 6 months!
Goals
This is first and foremost a daily driven vehicle. It is not a show car, and perfection was not the goal.
In this case, we had only part of a day to accomplish as much as we could on this car, so our scope was pretty narrow. We wanted to deep clean and visually enhance the paint by removing general swirl marks, but couldn’t get caught up on any deeper defects that may be encountered along the way as that can add considerable time. With a very tight timeline, we even decided to overlook other basic tasks such as proper wheel and interior detailing on this particular day. This allowed us to focus on maximizing the correction in as little time as possible, ensuring we would have time to apply a good layer of protection and keep to our schedule.
To sum it up, at the end of the day, we wanted a super shiny and well protected car…let’s see what we were able to do.
Process
In order to save time, I had instructed my brother to give the car a proper wash the night prior. When he arrived at my house the following morning, we set to work performing a rinseless wash to remove any dirt that may have been accumulated on his short drive, and also used a medium grade clay bar to remove any bonded contaminants that were on the surface.
Once clean, I began inspecting the paint. This dark blue is just beautiful, and it does a decent job of hiding swirl marks due to the extremely metallic finish.
After performing a couple of test spots to determine the plan of attack, and providing a brief lesson on the dos and don’ts of paint correction, we began to tackle the vehicle one panel at a time. I took one side, and he took the other (I also had him do all the 3″ work because everyone knows that is the job for the lowest ranking man in the room).
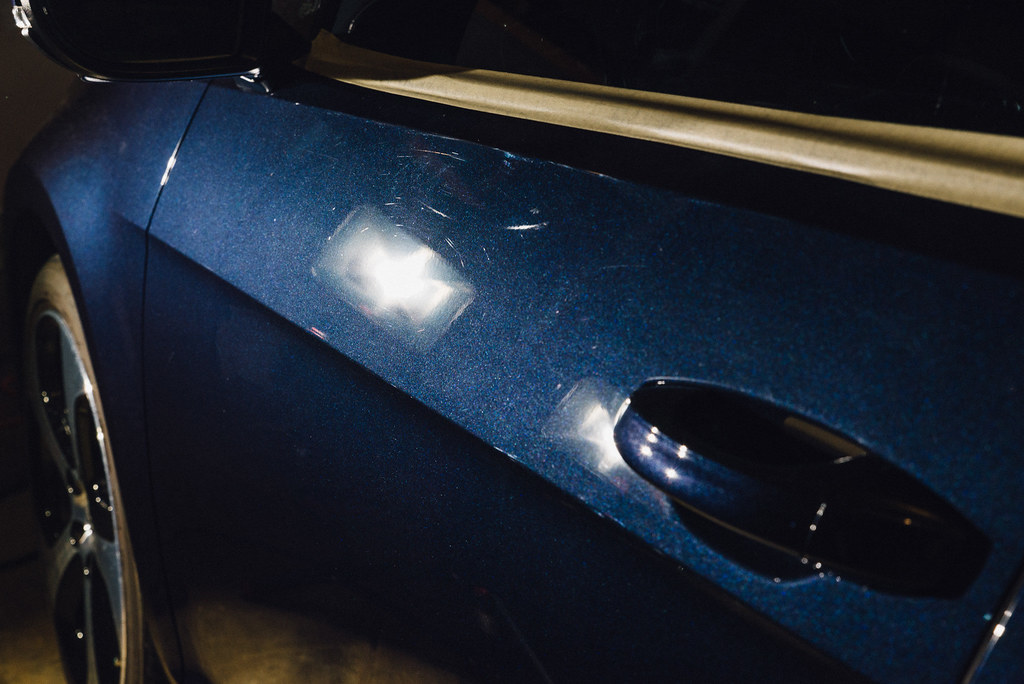
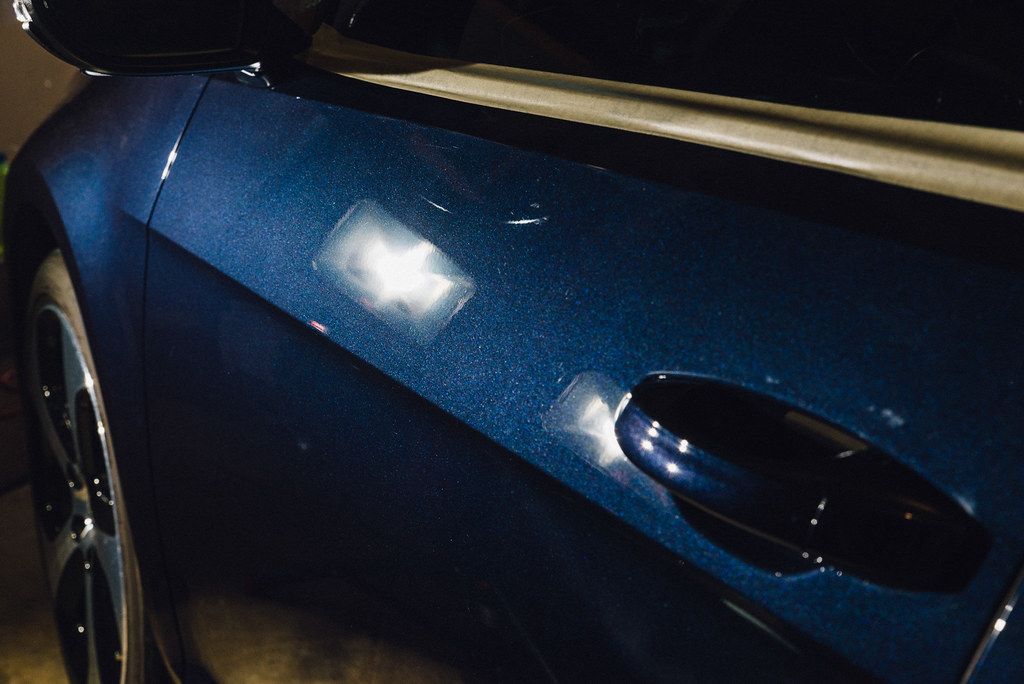
The majority of the panels showed light to moderate such as these…

… which we were able to remove with relative ease using Meguiar’s M100 Compound on Microfiber Cutting Pads. We followed that up with Meguiar’s M205 on some Griot’s Garage Perfecting Pads to amp up the gloss even more.

There were several panels that did have some pretty deep defects like the ones on this rear quarter panel…
… our compounding made a considerable difference, but the deepest defects remained.
He may be smiling for the camera, but it was very hot, and we were working hard to knock this out quickly.
One of my favorite parts of any detailing project – beaten up B Pillars being brought back to life.
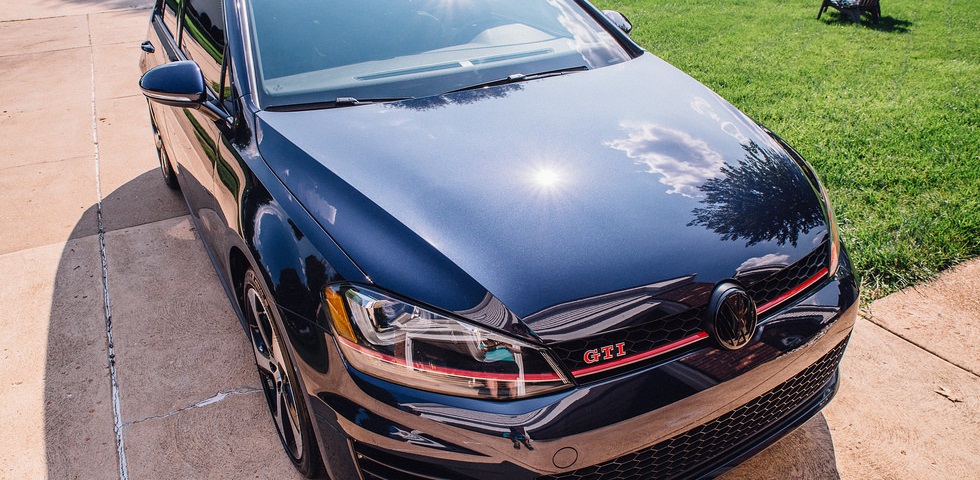
With the paint enhancement done, we pulled the car outside for a final inspection. Well, it wasn’t flawless, but it looked darn good! The metal flake in this paint job is mesmerizing in the bright sunlight.
While I had been ok with letting many finer details slide through the cracks on this job due to time constraints, I couldn’t leave these dirty tips untouched.
A few minutes with some chemical guys metal polish made them look like new.
Results
I decided on Gyeon CanCoat to protect the paint as it claims to provide a higher level of protection compared to waxes and sealants, but required less time to apply than a more traditional nano coating. I will go into more depth on this product in a future article, but after a couple panels, I felt like I had the application process down and CanCoat was pretty easy to use. It added a coating like gloss to the vehicle, and we were very pleased as we took a final lap around the car to admire what we had achieved in just half a day.
Conclusion
Time is precious, and most of us cannot reserve an entire weekend or more in the garage to complete a detailing project. The goal of this article is to highlight the fact that while it is great to share examples of projects that took days to complete and cost thousands of dollars, it isn’t feasible or necessary for a vehicle owner to go to such lengths to make his or her car look better than 99% of the other vehicles on the road. In just over half a day we were able to wash, decontaminate, compound, polish, and protect the exterior of this vehicle. Sure, we overlooked some other areas of the vehicle that will need some attention, but these can be done another time. The wheels, for instance, can be removed for proper cleaning and protection in a few hours on another Saturday afternoon, the interior can receive a proper detail one evening after work, and so on. The “full” task of cleaning and detailing your vehicle inside, outside, upside, and downside does not have to be accomplished in one single go. Break it up into more manageable projects that will enable you to tackle each part of the project with better results and without sacrificing too much of your precious time.
Also, you do not have to be a seasoned professional to achieve outstanding results. Thanks to the abundance of online resources and advancements in detailing technology, it is easier than ever to make drastic improvements to the overall condition of your paint on your very first attempt. If you have been considering learning how to do a proper paint correction detail, stop thinking about it, and get to work! There is no need for expensive professional tools to achieve these types of results. Pick up a Griot’s Garage Random Orbital Machine and a collection of polishing pads and start practicing. You will get the hang of the basics in no time… practice makes perfect, as they say.
Products Used
- Wash & Wheel Cleaner: Optimum No Rinse
- Clay: DI Fine Grade Clay
- Drying Towels: Griot’s Garage PFM Towel
- Machines: Rupes LHR21ES MKII, Rupes LHR15ES MKII, and Rupes LHR75e
- Paint Correction: Meguair’s M100 Compound with Lake Country Microfiber Cutting Pads
- Polishing: Meguiar’s M205 with Griot’s Garage BOSS Perfecting Pads
- Polish Removal Towels: DI Yellow Two Sided Towel
- Paint Cleanser/Prep: Isopropyl Alcohol with Double Thick Edgeless Towels
- Paint Protection: Gyeon CanCoat
- Protection Applicator: Microfiber Applicator
- Tire Dressing: CarPro PERL (1:1)
- Metal Polish: Chemical Guys Metal Polish
- Glass Cleaner: Meguiar’s D120 and PFM Glass Towels
