Ferrari 355 GTS Mini-Restoration Detail
by Todd Cooperider1998 Ferrari 355 GTS Mini-Restoration by Esoteric Auto Detail of Columbus, Ohio.
The Ferrari 355 was built from 1994 through 1999. It was the successor to the 348, and was replaced by the 360. The mid-engined 3.5l V-8 produced 375hp (55hp increase from the 3.4l 348), and incorporated new 5-valve per cylinder heads. Although the 355 is not considered to be one of Ferrari’s Super Cars, it was still capable of 0-60mph runs in about 4.6s, with a top speed of 183mph!
The owner of this beauty just purchased the car this past year, and wanted to perform a mini-restoration over the winter to bring the car back to its former glory. This car is also being shown at the Keeneland Concours d’Elegence in Lexington, KY this summer. Despite only having 19K miles on the clock, the finish was in pretty bad condition after years of improper care. I found a few areas that had been repainted, a couple of buffer-burned edges, some poor blend marks from touch-ups, and a lot of scratches and swirls. From a distance it looked good, but once you got up close to the car and looked at it under the lights you could tell that the paint looked “dead”.
The interior of the car required a lot of work as well. The leather on the dash had gone through some shrinkage and needed to be replaced, the carpets were pretty dirty, and all of the plastic pieces inside suffered from the notorious “sticky-gummy” affliction that is common with older Ferraris.
There was a tremendous amount of work to perform on this car both inside and out, but I was up for the challenge! This job was a collaboration of efforts through my relationship with Craig Reed…I provide the detailing services and he provides the mechanical services.
First let’s take a look at the interior of the car.
Here you can see where the leather had shrunk just above the vents. This would need to be replaced.

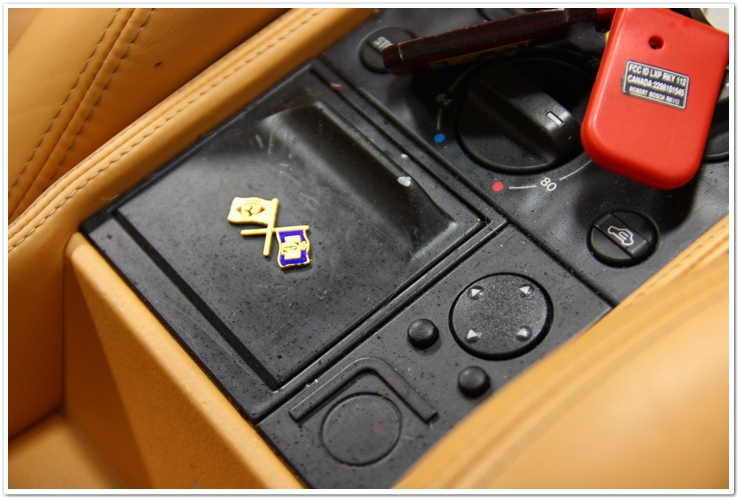
In many of the older Ferraris, the plastic interior components suffer what’s commonly known as “sticky-gummy”. Just by looking at it you can tell that they don’t look right. When you touch them, they actually have a sticky/gummy feel to them, and regular cleaners won’t solve the problem. These would require complete removal and then send them out to be restored by a company that refinishes them, and re-prints all of the markings.
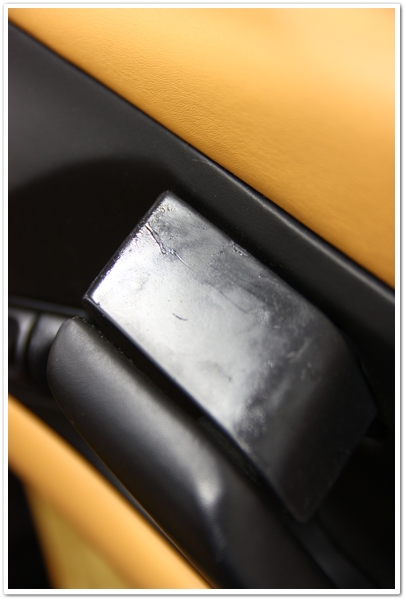
Even the door handles were in bad shape and would need to be restored.
The light colored carpets were in need of some attention.

So how to fix all of these problems? Pull the dash, and remove all of the plastic components!
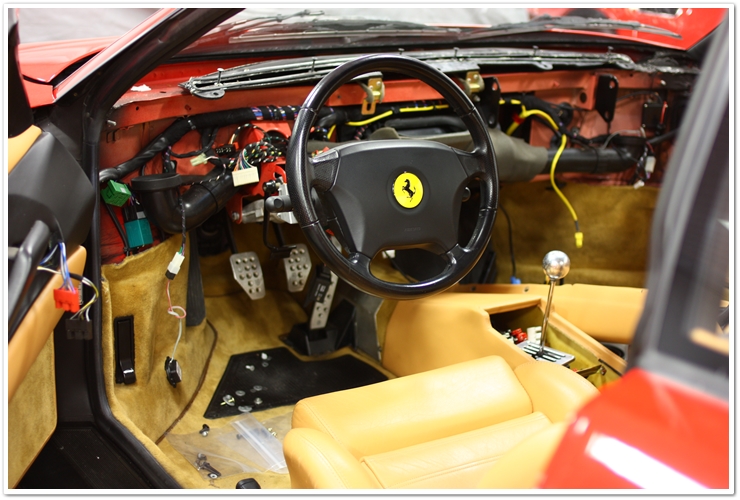


While the dash is out to be re-wrapped in leather, and the plastic components were being restored, I moved to the exterior of the car. I’ll go back to the interior later.
The first thing I did was to completely wash the car using the 2×4 Method, and then used DI fine grade clay with Dodo Juice Born Slippy clay lube to remove any additional contaminants. To ensure that I was removing any wax or sealants during the wash process, I used Chemical Guy’s Citrus Wash & Clear at paint prep ratio (2oz/gal), and also pre-sprayed each panel prior to washing with P21S TAW.
While cleaning the wheels with P21S Wheel Gel and my trusty EZ Detail brush, I cut the, umm, “crap” out of my finger in the wheel well (on the first wheel!). It was New Year’s Eve when I started this project, and I didn’t want to spend the day in the emergency room so just I taped it up, put on a rubber glove, and soldiered through the rest of the day. Murphy’s Law dictated that I had to cut my right hand, so trying to clean the wheels with my left hand was like trying to brush your teeth with your weak hand…it just wasn’t working very well! Because of this I couldn’t get the wheels as clean as I would have liked, and just figured I would take them off at a later time and finish them properly (I would have the car for a while).
Now that it’s all clean, it looks pretty good, right?

Let’s take a closer look to reveal the true identity of this 355…
Here you can see a bad blend mark where a small section had been repainted on the hood. Typically speaking a lot of what you see here is beneath the surface, so you can only make it a little better.

Yes, much of the car looked like this!


Here you can get a good idea of the scratches (RIDS) that covered the car. Many of them were pretty deep.

This looked like it had been maintained with a Brillo pad!
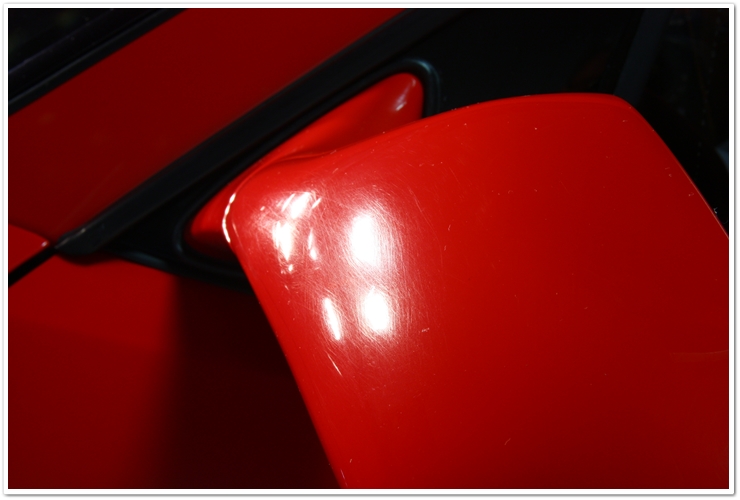
So now that you have a good idea of what I was dealing with, let’s get to work.
The engine covers on these (as well as many of the older Ferraris) not only have a tremendous amount of small areas to work around, but they’re also very difficult to get to in the back.
What’s the best approach? Completely remove the engine cover!!

By removing it and placing it on saw-horses, I had full access to all areas and I knew I would get a much better correction rate. As you can see, they also require a lot of taping to protect all of the edges, and to prevent compound from getting into all of the mesh.
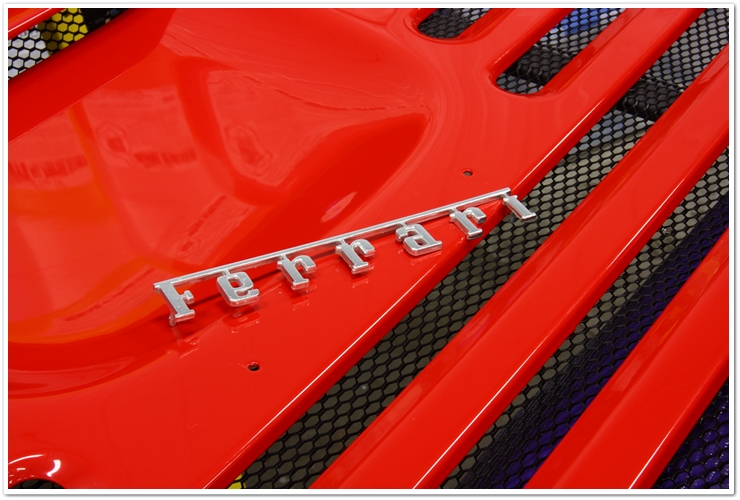
I also removed the Ferrari badges from the car so I could re-finish the areas underneath.
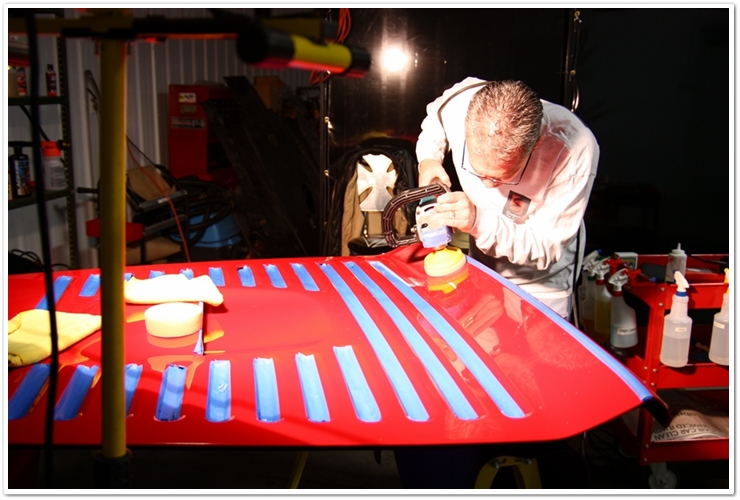
For the engine cover, I worked with both the Makita rotary and the Porter Cable 7424XP D/A, and used a variety of polishes as well. Megs M105, Menzerna SIP, and Menzerna 106FA were all called into action on this one. For the more “open” spaces like you see me working on below, I used the Makita rotary with a 4” spot pad, and for the small areas between the vents I used the PC.
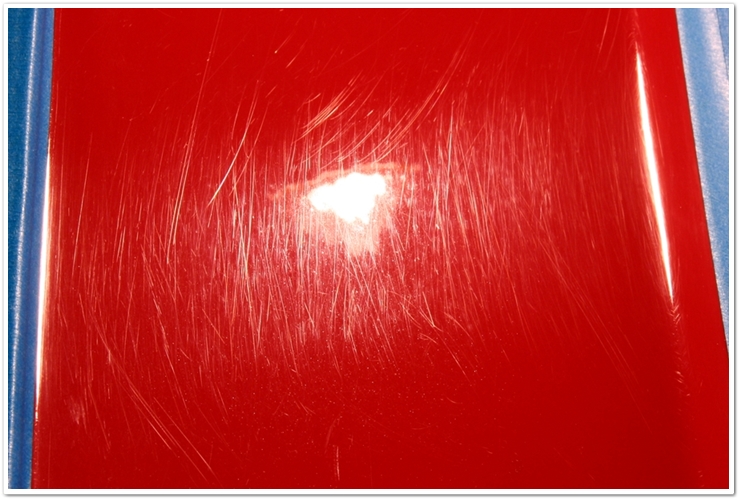
Here you can get a good idea of the severity of the defects on this beast.
After refinishing (sorry…slightly out of focus).

Not only was I able to remove probably 97% of all scratches and swirls, but the color transformation was amazing. The true color can’t show through the haziness caused by swirls and scratches, and when you properly remove them and level the surface, the paint looks as it was originally intended.
Between taping, compounding, and polishing, I spent 3.5 hours on the engine cover alone!
I decided to leave the engine cover off of the car until I was finished with everything, and simply covered the engine with plastic.
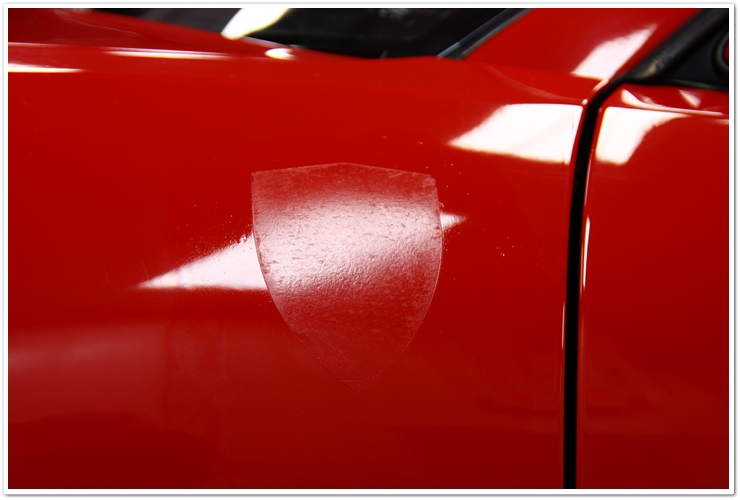
Now that I’m moving to the rest of the car, I had to de-badge most of the emblems to allow full polishing access, and the customer wanted his shields permanently removed from the front fenders. Here you can see where the shield has been removed leaving the adhesive that easily came off with Goo Gone.
The car is all taped up and ready for surgery. Since these cars have so many areas that need to be protected, I end up leaving some of the taping for when I’m actually performing the work. More on that in a minute.


For the compounding stage (which took a long, long time!), I used a combination of pads, polishes, and tools that varied depending on the size of the area and the severity of the defects. For most of it I used the PC7424XP with Megs M105 and a Lake Country Orange pad. In the tight areas I used a PC7424 with a Lake Country Cyan Hydro-Tech pad and M105, and for the heavy defects I used the Makita rotary with a Cyan 4” spot pad and M105. I keep 3 different buffers on a cart that follows me around the car…each one is loaded with a different sized backing plate and/or pad so I just need to plug in a different machine instead of taking the time to swap out backing plates.
Also throughout the process I continually checked the paint thickness on the metal sections using my DeFelsko Posi-Test DFT Combo Paint Thickness Gage to ensure that I was preserving clear coat for future polishing.
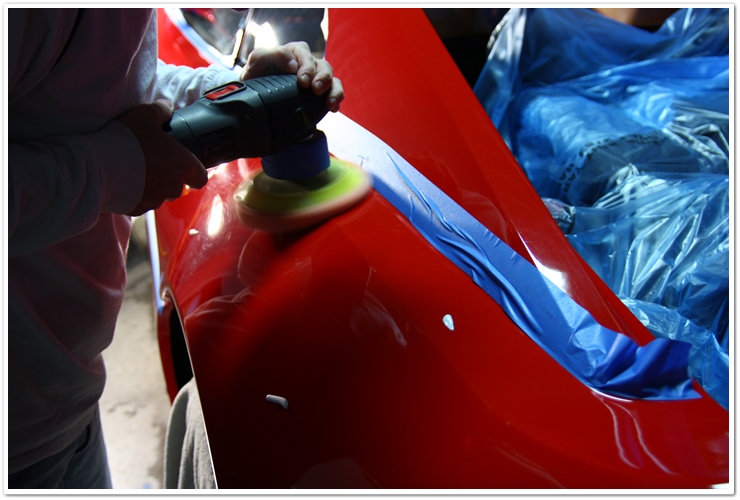
A lot of the areas on this car required careful attention to prevent damage to adjacent surfaces. All of this extra taping, care and finessing results in a lot of extra time.

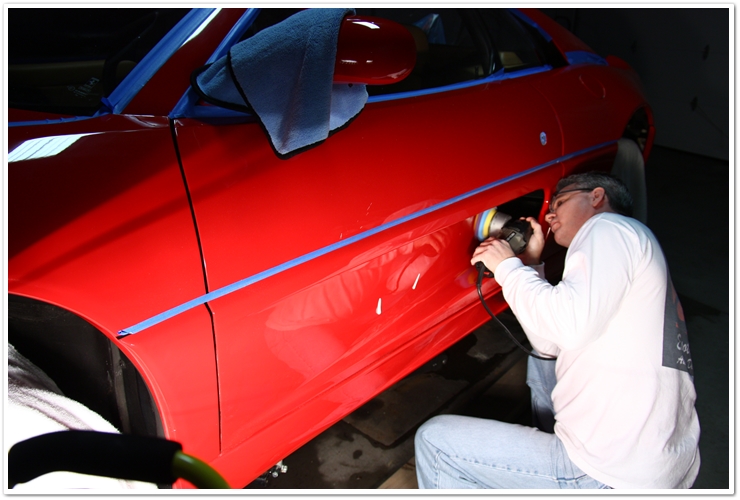
This area is one where you need to be careful. While working on the horizontal surface you need to protect the adjacent vertical surface with tape. Once you’re done with the horizontal surface, you swap places with the tape and then work on the vertical surface.
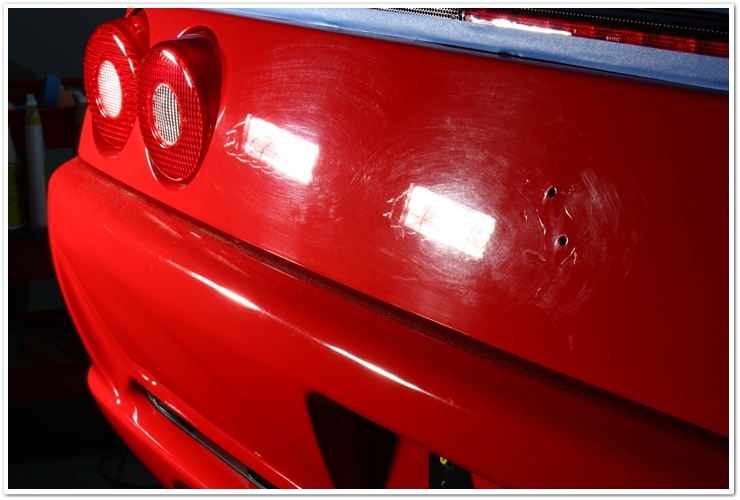
Here you can see how bad the paint looked before the work began.
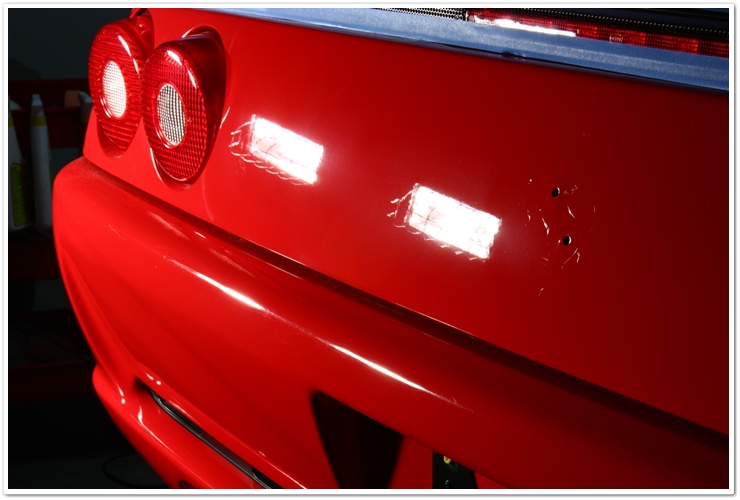
After just the compounding stage. The finish is still a little hazy, but that will be cleared up when I come back around for the final polishing stage. As you can see, it looks much better already!
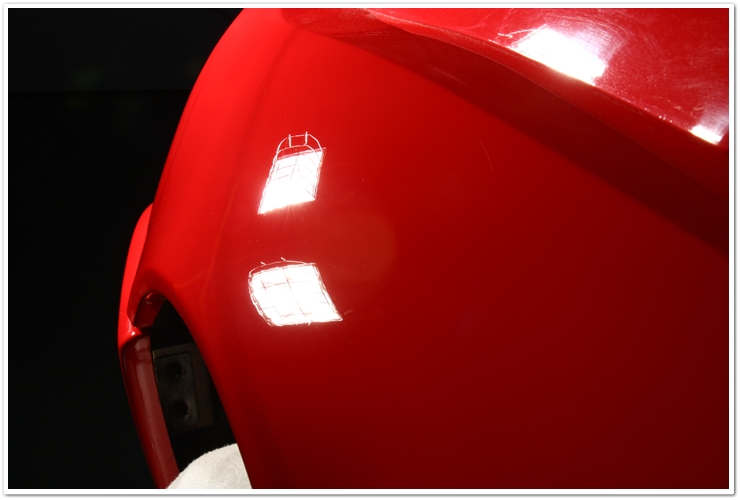
Here’s another “before” example. If you look closely you can also see a lot of deeper scratches hiding within the swirls.
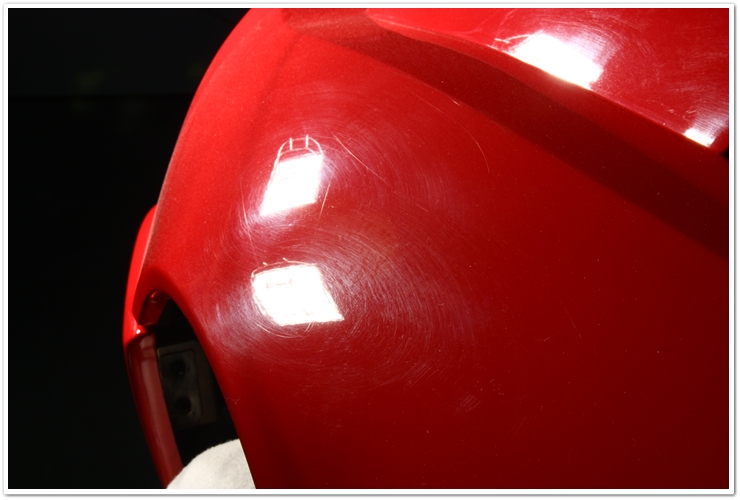
After compounding, but before final finish polishing.
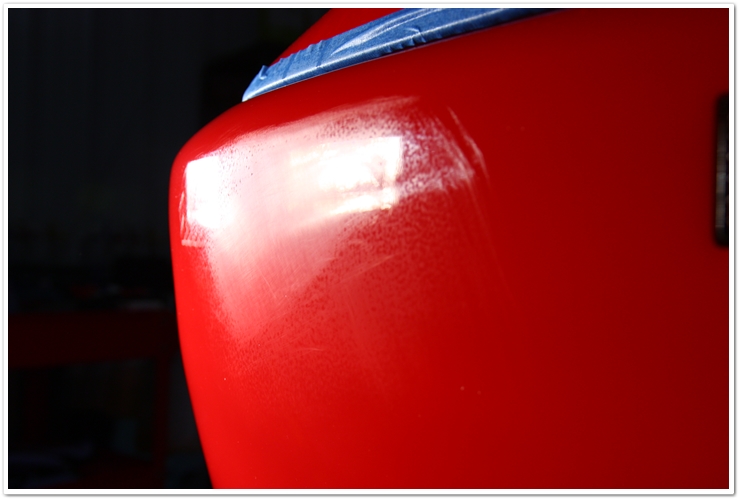
Some of the heavier defects required wetsanding. Here on the front-left side of the bumper, I used Meguiar’s Uni-Grit paper from 1500-2500.
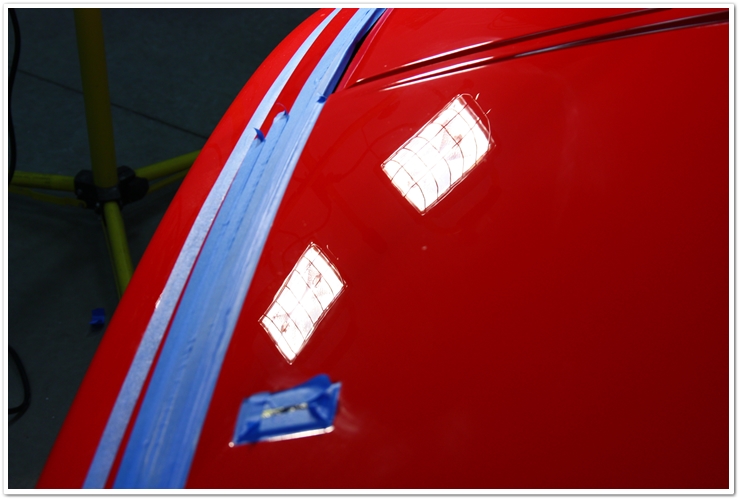
Here I am working the blend marks that were on the hood. Notice that I also carefully tape up all edges and seems that are even close to where I am sanding.

Same area after compounding.
The Targa top had some very deep scratches in it. From the looks of the scratches, there was a large piece of debris at some point in the past that was caught in a wash mitt or a towel because you could follow the circular motion that somebody used. What was surprising about the Targa top was the hardness of the paint. The rest of the car was pretty soft, but the Targa top was as hard as a rock, and required a completely different method to get it corrected. To remove the sanding marks, I used Menzerna Power Gloss with the Makita and a Lake Country Purple Foamed Wool pad for 3-4 passes. Then I switched to Megs M105/Cyan pad with the Makita for a few passes. Then I used Menzerna SIP/Orange pad on the rotary, and then finally Menzerna 106FA/white/rotary. It was a tremendous amount of work for just the top, and in the end I was only able to make the deepest of scratches “better”. It was simply too deep to safely remove, but the rest of the top looked very good.

I’m going to fast-forward through a few more processes here since I didn’t photo-document the finish polishing.
After the marathon-compounding session, I cleaned the paint with Isopropyl Alcohol to ensure all of the polishing oils were removed, and used Megs M34 Final Inspection to clean out all of the cracks and edges. For the final polishing, I used Menzerna 106FA/Makita/Black LC pad on all of the large surfaces, and used Megs M205/PC7424XP/Black LC pad on all of the tight areas. With the paint being soft, it was easy to go directly from M105 to either 106FA or M205 and leave a very nice finish.
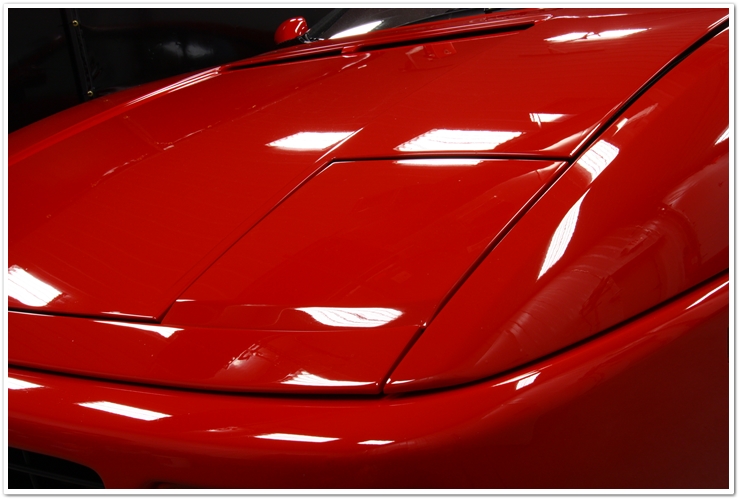
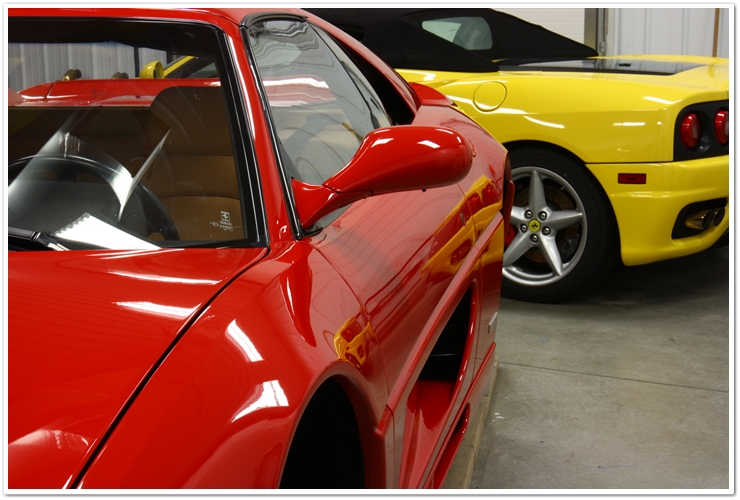
Here are a few shots after polishing, but before adding finishing touches.
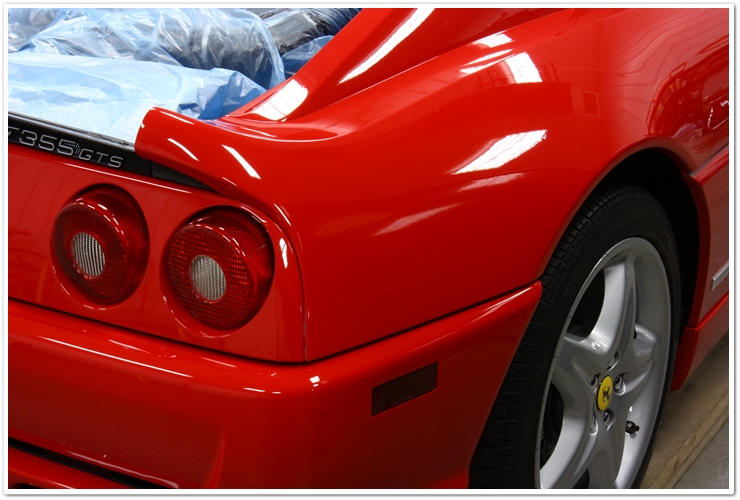

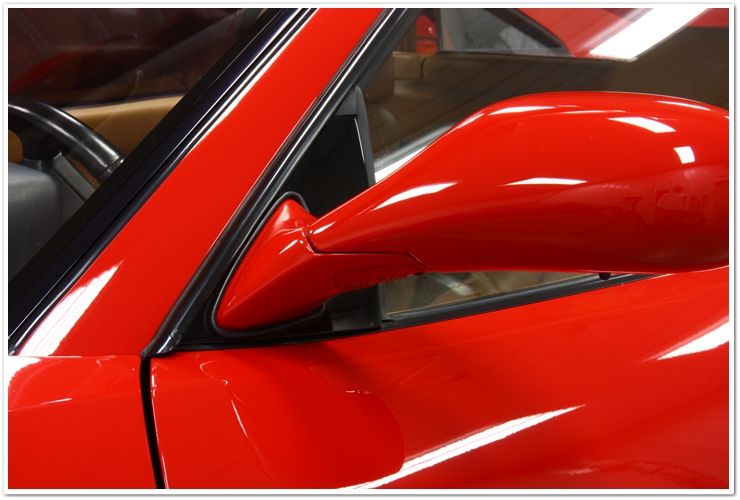
Notice the gloss and clarity that has been restored.

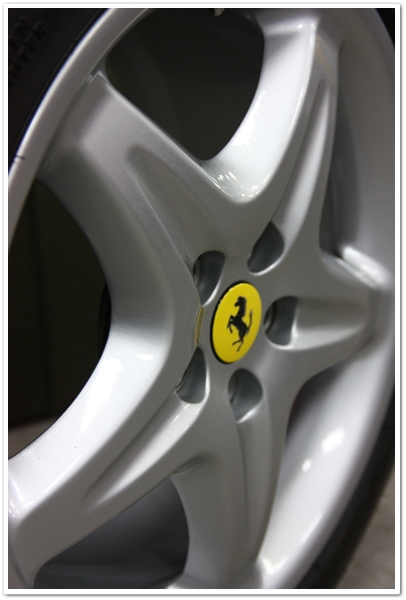
Well I told you the story about the wheels…now it was time to go back and finish the job. The wheels were pulled, and here they are waiting to be finished. I cleaned off the tar and rubber with Stoner’s Tarminator, removed old wheel weight tape, cleaned them once again with P21S Wheel Gel, and then sealed the wheels (inside and out) with Optimum Opti-Seal.
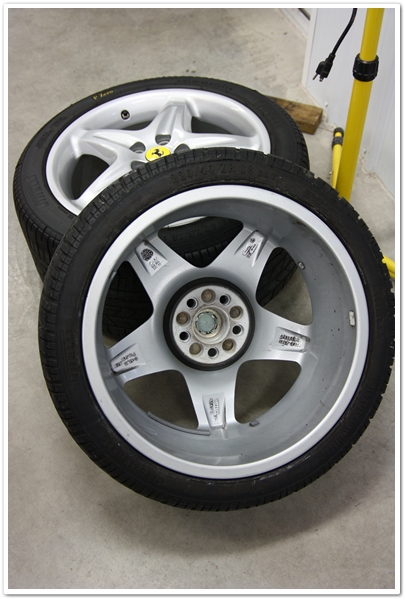
After:
Before applying a sealant, I wanted to make sure that the paint work was absolutely clean and prepped for sealing. For this stage I use Chemical Guy’s Vertua-Bond 408. By applying it with a PC7424XP and a Blue pad on speed 5, it thoroughly cleans the surface, adds a bit of gloss, and it acts as a bonding agent for sealants and/or wax. It only takes an additional 30 minutes or so, but this step can make a big difference in how the car looks, and how well the sealant or wax bonds to the surface (thus increasing durability).
After applying Vertua-Bond, I decided to use Blackfire Wet Diamond sealant on the car for maximum durability. Oh, and it looks tremendous too!
Here’s the Blackfire being applied to the car.

This article has been going for quite a while now, and I appreciate the fact that you’re still hanging in there with me! Be patient though, as we still have a little ways to go. I think you’re really going to like how this turns out, so hang tough because we’re going to get through this one…together!
Alright then. I still don’t have the wheels put back on it, but I wanted to take some shots after all of the polishing and sealants have been applied. The engine cover has been replaced, but still not the emblems.
I’ll also throw in some direct before/after shots so you don’t have to scroll all the way back up to the top of the article…I’m just a nice guy that way.
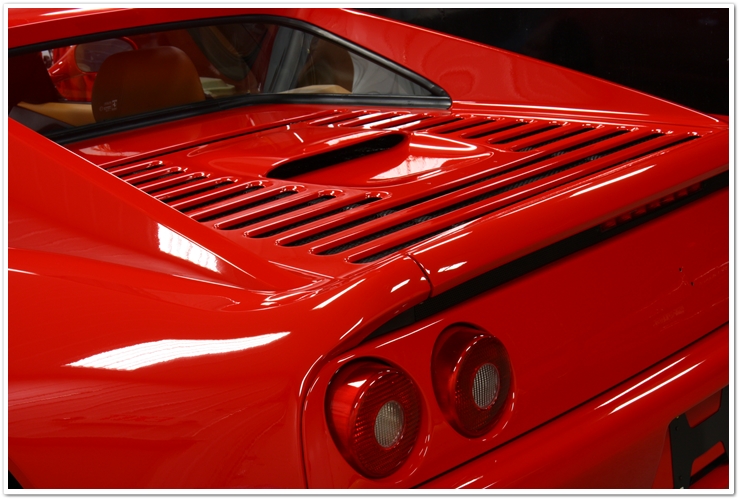
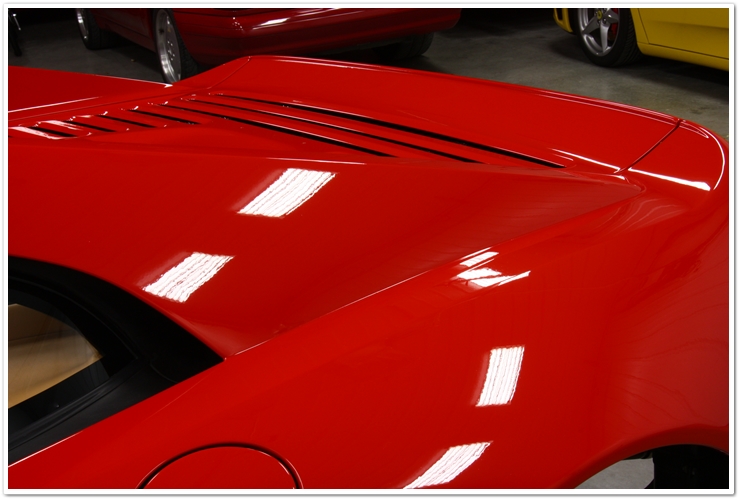
How’s this for a little bit of gloss and clarity in the finish?


Before:

After:

Before:

After:
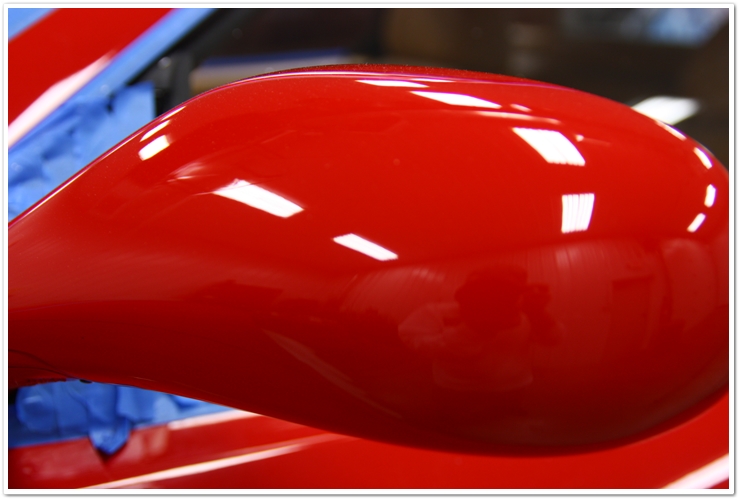
OK, let’s move on to the interior.
As you can see, the floor mats are in pretty bad shape.
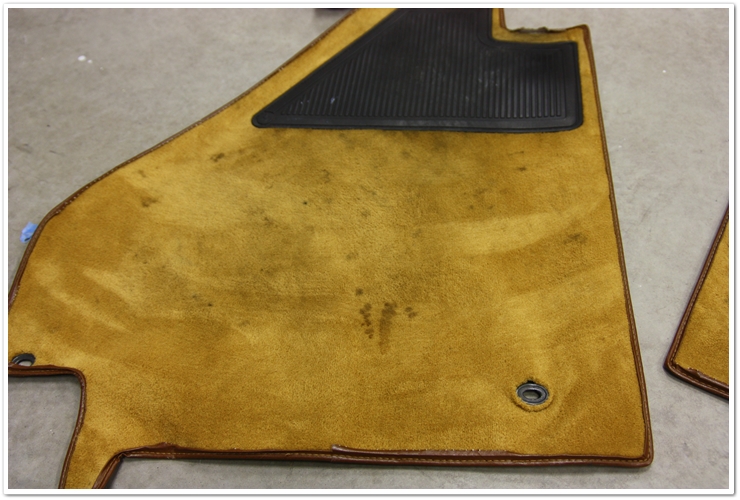
First I started off by using compressed air to blow out as much of the dirt as possible.
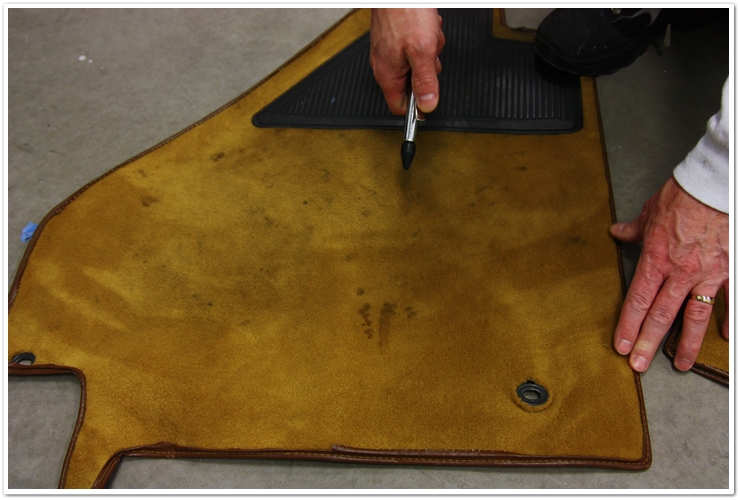
Then I used a stiff brush to loosen up any remaining dirt or debris, and then hit it with compressed air again.

Here I am testing a carpet/upholstery product (to be named at a later time). I used a little heavier concentration directly on the heavy spots, and did a light spray on the rest of the carpet.
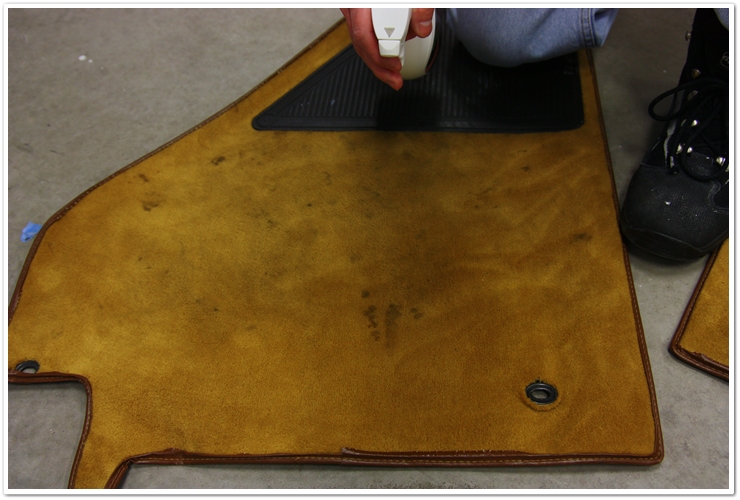
Then I scrubbed it with a brush to work the cleaner into the fibers.

And even though I have a carpet extractor, I wiped the carpets down with a towel to see how much dirt I could remove (I was testing a new product after all, and wanted to gain “manual” results since most people don’t have access to an extractor). It actually did a very good job by hand.
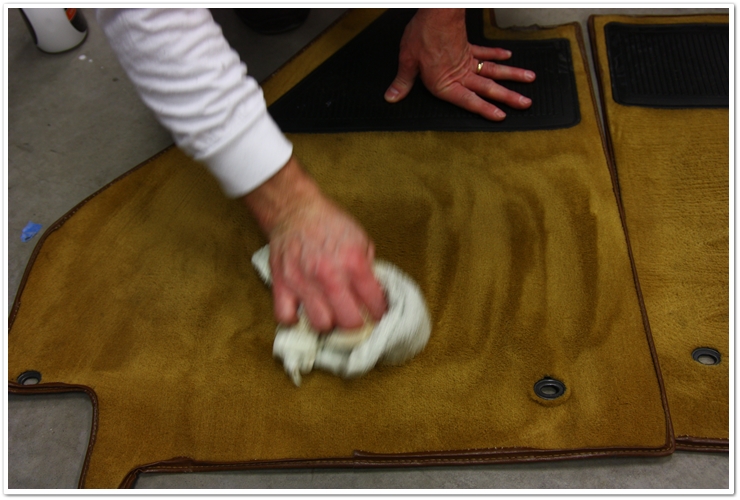
Since I was going for maximum results however, I then cleaned the floor mats (and the rest of the interior carpet using the same methods) using an extractor and straight water. After the mats and the interior carpet dried, I treated them with 303 High Tech Fabric Guard.
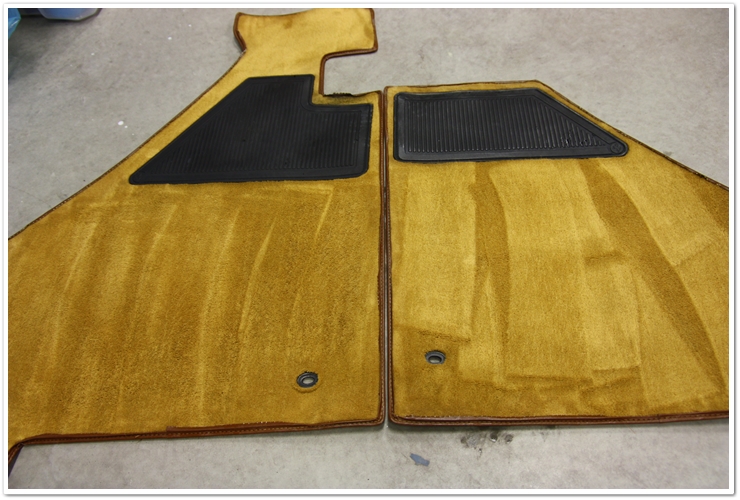
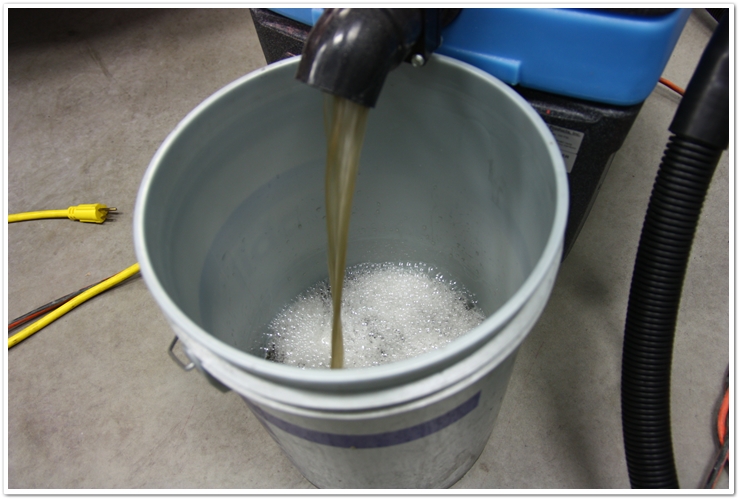
This is what came out of the extractor after doing the mats and the interior carpet.
Before:

After:

On the rest of the interior, I cleaned all of the leather with Leatherique Prestine Clean, Stoner’s Invisible Glass on the windows, and Meguiar’s Quik Interior Detailer on all other surfaces (gauges, controls, etc).
The dash has been re-wrapped in new leather, and all of the plastic components have been restored.
Before:

After:
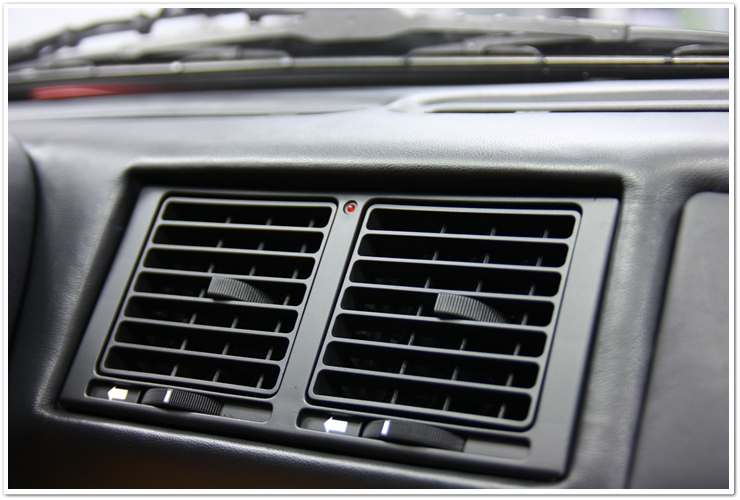
Before:

After:

Before:

After:
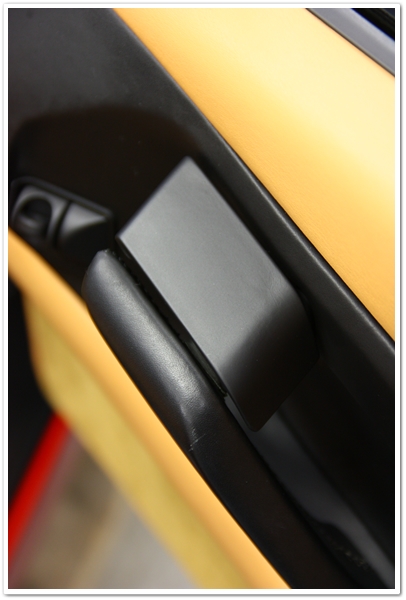
Now for some complete interior shots:
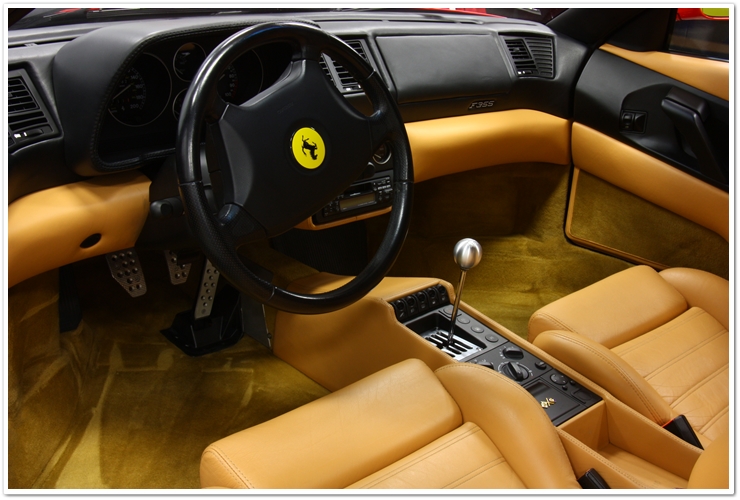
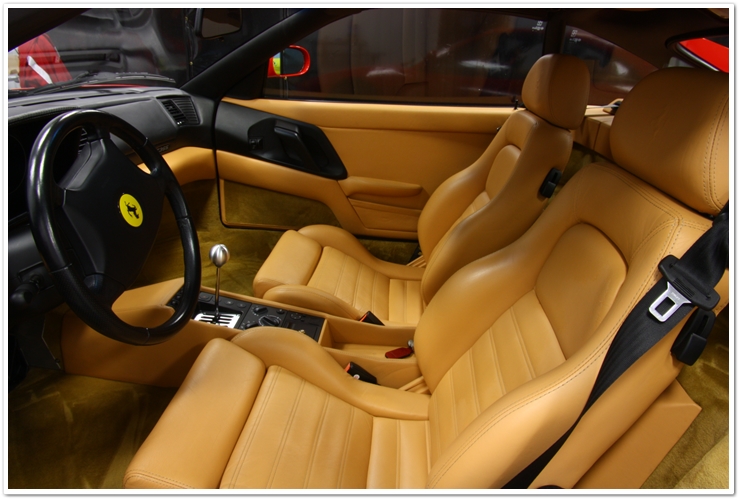


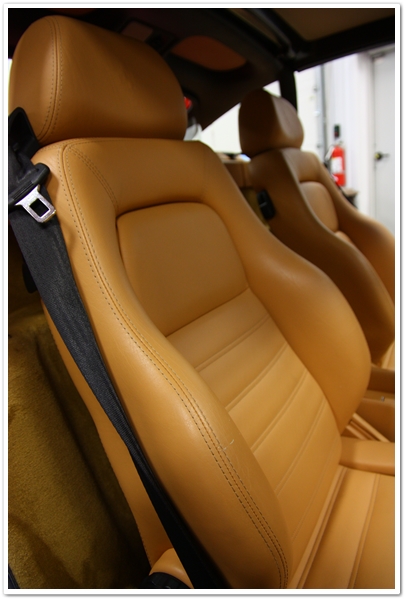
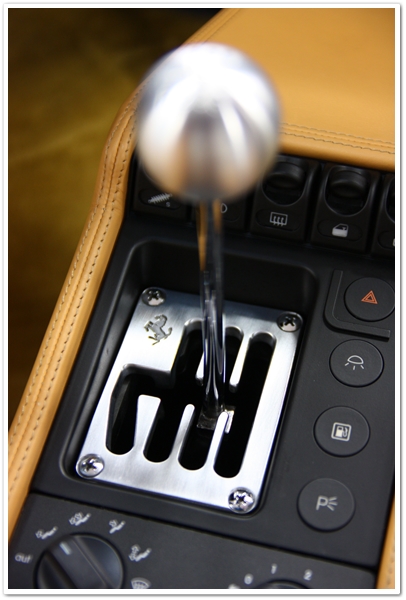
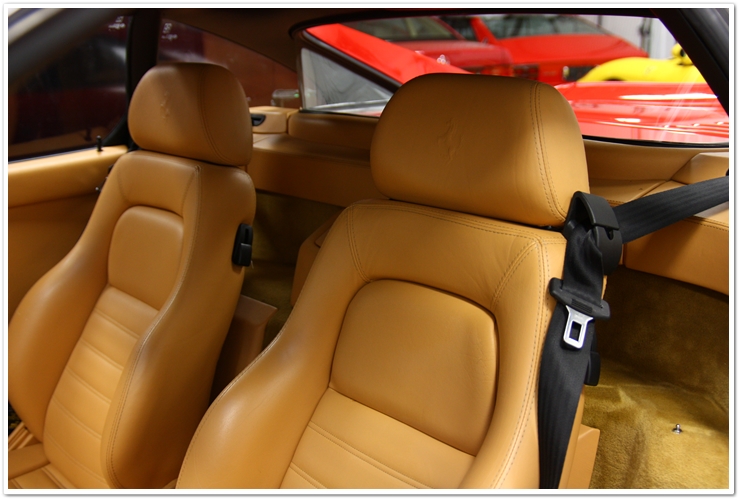
Before the emblems were re-installed, I polished them by hand with Klasse All-In-One.

The car is all finished, the wheels re-installed, the tires dressed with Optimum Tire Gel, the wheel wells were treated with Chemical Guys Fade 2 Black, and the car is waiting to be put in an enclosed trailer and shipped back to Kentucky.
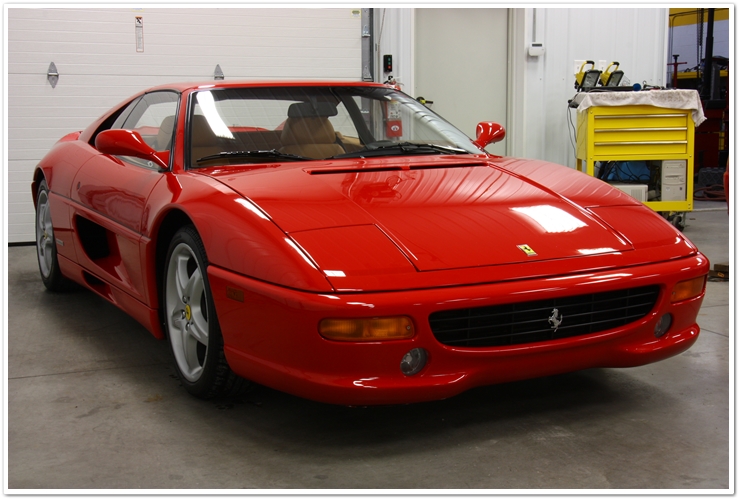


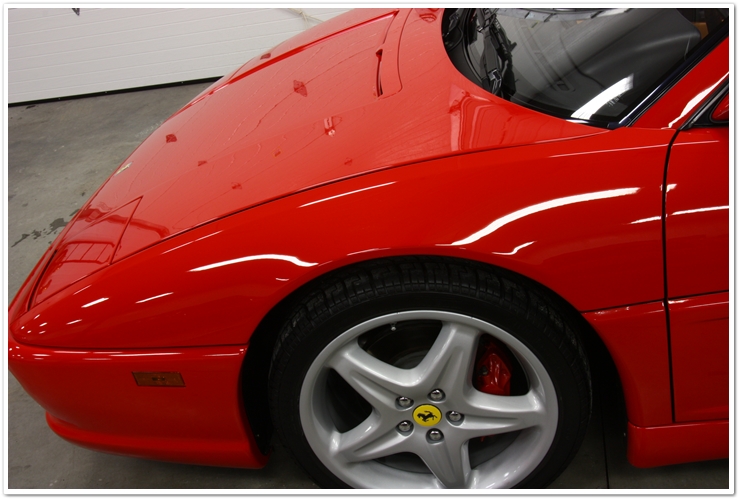
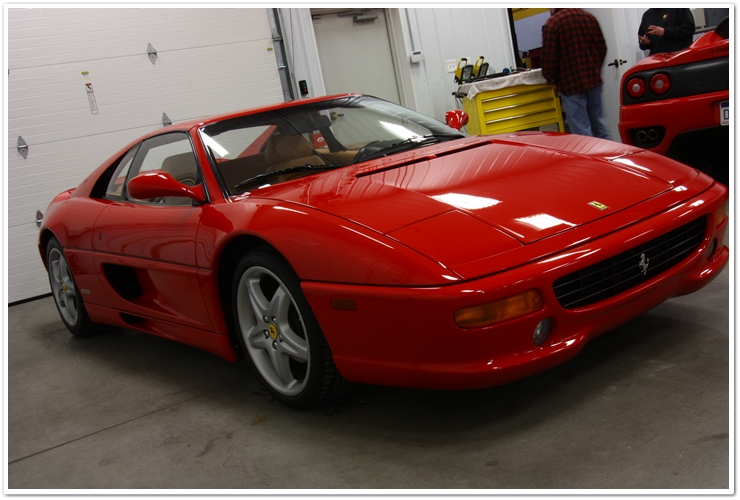
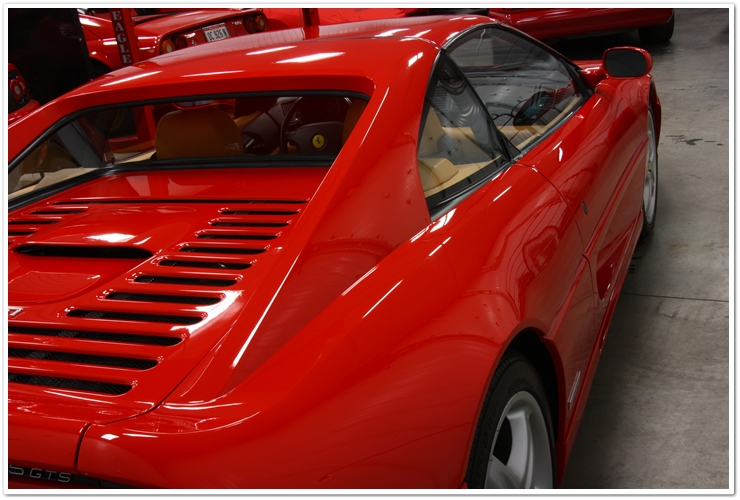
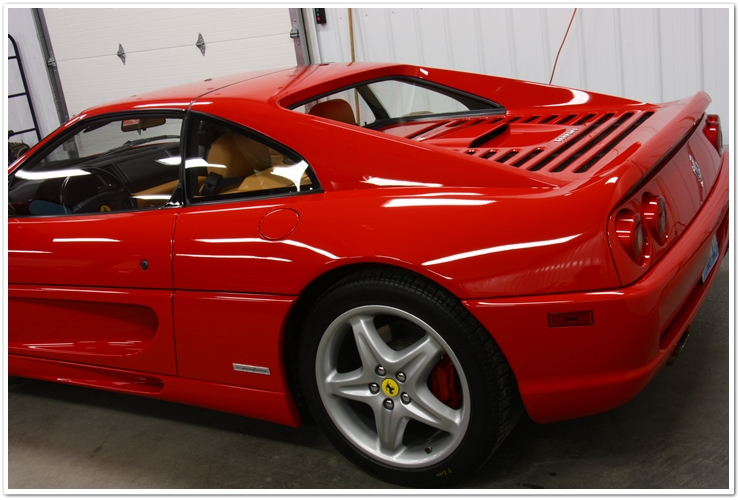
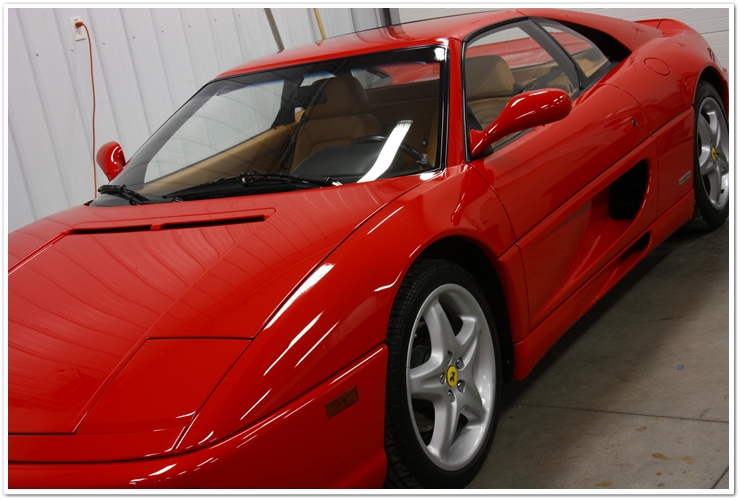
Not only do I provide the customer with a DVD so he has full documentation of the process, but at this level he also receives an Esoteric Auto Detail t-shirt! Just like Ferraris, these shirts are made in very small quantities, and are limited to just a “select few” (which is the definition of Esoteric!).
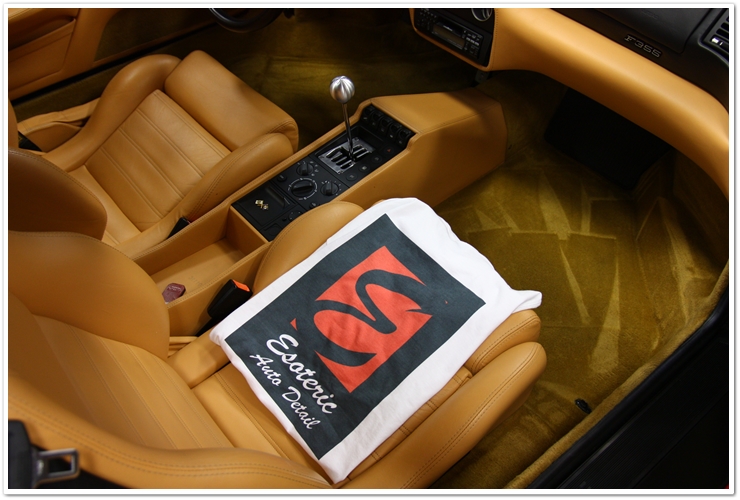
Although the car looks great in photos, it looks even better in person! This F355 went through an amazing transformation, and now has a completely new lease on life.
Thanks for taking the time to read through this article. I was happy to have been commissioned to work on this beauty, and equally happy to share my work with everybody.
If you have any comments or questions regarding the process or products used, please submit them in the comment box below.


Great write up, Todd! I remember you telling me this was going to be an awesome transformation. Excellent photos as well.
This is a new level of mini resto type detailwork Todd… really incredible work!
Wow. That was impressive. I love all the before and after photos, as well as the engine cover on the sawhorses!
DJ, David, Omar…thank you guys very much for the compliments on the work and the writeup.
Todd—-Your work is amazing!!!! I am the guy that refinished all the interior plastic parts. It is really cool to see what everything looks like after it is completed. Usually after I refinish the parts and ship them back to the shop, I don’t get to see the parts re-installed in the car. That 355 looks 100% better after all the hard work everyone put forth, I bet the owner is very happy… Robbie
Robbie,
Thanks for the compliments for sure! And thanks for the excellent work restoring the plastic pieces…you guys do a tremendous job. I look forward to combining our work efforts more in the future.
Todd,
Great work, the car looks amazing! I was wondering how many man hours did this vehicle take? Thanks for another great article.
Erik,
Thank you. Not including time involved for R&R of the dashboard and interior pieces, I personally had about 25 hours invested in this one.
Nice turn around Todd! Extensive work.
Thanks Justin! Have you worked on that 250 GTO yet?
wow that’s awesome turn around!
do you have a close up after shot of the blend mark on the hood?
Thanks Hansen.
I do not have a close up of the blend mark afterwards. You can still see the blend “halo” in the right lighting, but it is much less noticeable than it was before.
Excellent work and write-up! Were you able to fit the PC all the way into the side vent?
Thanks Mike. Yes I was able to fit it…just barely! I also went in and worked it by hand a little too simply because the machine can only be so effective in such tight spaces.
can you explain what causes the blend mark?
While I’m not a painter, I have spoken with enough quality painters over time and all of them pretty much say the same thing…it’s caused by a bad combination of techniques, processes, prep-work, and sometimes even materials.
To my knowledge, what you’re seeing is where the new material is overlapping the old material.
The higher end body shops usually won’t do a small blend like this on a flat panel.
Very impressive work! Excellent photos, and great product information as well. I have seen Robbie’s fine work on other interior plastic parts which is top-notch. Seeing everything you do to make the entire car presentable as a show piece was nothing short of awesome.
I know there is no such thing as magic, but you are a true magician and your best trick is making those swirls disappear. and even though you show us how the “trick” is done, i am still amazed every single time. that red looks so much deeper and wetter and the interior came out fantastic. Big thumbs up to all involved in this “mini” restoration
TODD!!!! Excellent work, buddy. I’m so glad you sent the text telling me to check this out. You continue to turn out some of the best detail work in the country! Very proud of you, buddy.
Awesome write up and pics Todd!
Excellent work on that vehicle Todd! That was quite the transformation! I’m glad to hear that business is going well for you. =)
Todd,
Once again, you have done an outstanding job, not only with the physical act of revising and restoring the Ferrari..but also with your review of the prcess.
To all of the readers, Todds attention to detail goes back to at least the age of eight. I like to believe that I can take some credit for his work. I think that this was literally embedded into his head by the Spalding or Rallings, (not exactly sure of which), baseball companies. This came from a pitch that was nearly perfect by Todd to me. It was thrown by Todd, he was very reluctant to throw it to me. I was the older brother and he really had no choice but to throw the ball. Anyway, Todd threw the ball and I swung the bat as hard as I could. The ball left the bat and before Todd could react, he had a very detailed thread patern placed on his forehead, right between the eyes. From that point on, he seemed to have detailed science fair projects, the nicest looking bikes, sharpest dresser in high school and the best looking car of the majority of his friends.
Though I sometimes have a small amount of animosity as it pertains to Todd’s toys and his lifestyle, I honestly can’t think of anyone that I would ever have do this type of work on my car, motorcycle, stero equiptment or anything else involving detail or quality. I am very proud of my brother and I believe that he makes his customers very happy with the results that they get from his work and effort. Keep up the good work there bro.
Tracey
Wow…the old “baseball to the forehead” story comes out for everybody to read! I have to admit though, that was about the time I started to “detail” my bicycles, so perhaps that was the cause of this all.
Thanks for the high marks bro!
Todd great detail job and write up! My 355 isn’t quite that bad (yet) but I do have sticky bits in the interior. Is there anything I can use to clean them and remove the goo? I have heard that 303 products does a good job. Any favorite choices by you?
Thx,
Stacy
Stacy – The 303 Multi-Surface Cleaner or Einszett Cockpit Premium are both great options. The 303 will only clean, and the Einszett will clean and protect. If you go with the 303, pick up a bottle of the 303 Automotive Protectant as well. This product will protect your interior plastics from harmful UV rays.
Todd-I want to see the video. Awesome, outstanding, superb work-as aways.
Fantastic as always Todd, did you say you were delivering that car to my house?
Be Well!!
Amazing job !
Respect Mr Todd !
Great write up, amazing job! Congratulations!
Todd, absolutely amazing “artwork” on that 355. You have brought back to life a true piece of automotive history. Your attention to detail and quality of work is unsurpassed. Your brother couldn’t have said it better.
See ya this spring for my GT500 “spring cleaning!
Todd!!!! I will disagree with your for a minute. I don’t consider this a mini restoration, this was a great and amazing improvement and great restoration. The 355 has been my dream Ferrari, and seeing this transformation you have left me speechless. Great job like always!!!! Just WOW!!!!!!!
Thank you all very much for the kind words…I sincerely appreciate it! This 355 was definitely a fun project and I was happy to be part of it. The boys at NJB Automotive deserve much of the credit because they put a lot of effort in as well.
Thanks,
Todd Cooperider
Simply amazing work. You addressed every issue and the final result is stunning. Thank you for sharing this.
Its simply stunning !!
i really apreciate that you share this work
i have learned some things just reading this article
mouth open when i see the final results!
congrats
Thank you Ivan! I always attempt to put these detail posts together in an educational format instead of just throwing up some pretty pictures and a product list, and I’m glad to hear that you were able to learn a thing or two.
Todd,
Beautiful work! One question: You promised to reveal your carpet cleaning product later in the article. Alas I never saw it mentioned. Is it because you have found it not satisfactory (results looked good) or simply forgot?
CC
Curtis,
At the time we were looking at adding a new product line to the offering, and I was testing a few items (including the carpet cleaner). It actually worked pretty well, but we chose not to carry the lineup.
Thanks,
Todd
I actually got to see this car in person over the weekend at the 7th Annual Keeneland Concours d’Elegance, which was held in Lexington, Kentucky. The car was nearly flawless. I say nearly simply because the detail was performed several months ago, and there were a couple (And I do mean COUPLE) of wash induced swirls, primarily on the hood. But that’s pretty much to be expected when someone other than a professional is doing the washes. The weather was great, and there was plenty of direct sunlight to go around…I went over every square inch of this car, and it looked absolutely amazing…especially the interior. Kudos, Todd!
Absolutely stunning results, thanks for sharing. I wonder how many $$$’s that’s added to the car’s value! One thing though – please let me re-design your logo, Brush Script is a big no no and doesn’t represent the quality of your work!
The transformation is incredible !!!
What did you use on the interior black pieces i.e.: door handles, center console.
Thanks Randy,
On areas like the console, controls, gauges, etc I use Meguiar’s Quik Interior Detailer
[…] Mini-Restoration Detail featuring a Ferrari 355 GTS: If you like seeing major transformations and amazing before and after photos, then this is the full-detail article for you! […]
great work. julius (clear bra guy)just showed me your website. If your every in need of some high end paint work at a reasonable price let me know. the halo on the hood for example. scratches, chips. Our company specialzes in fixing small things like that and making repairs seemless without painting an entire vehicle.
I just recently found your site. You are a master of your craft, and your work is inspiring. I consider myself a semi-pro detailer but I am learning from your excellent write-ups. One question, I am interested in your extractor, would the rinse function on a household type steam cleaner work similarly? I just picked up a used Audi and will be attempting a similar level of transformation!
Todd
Thanks Todd!
Yes, if it has an extraction-type setting, it should work just fine. The key is to not over-saturate the carpet with either water or cleaning solution.
Hello Todd. Great results and amazing transformation.
Why didn’t you get new plastic parts instead of refurbishing the old ones.
Keep up the good work.
Cheers,
Nick
Thanks Nick. It’s far less expensive to have the original ones refinished than it is to buy an entirely brand new set!
Fantastic Todd!! Your work never ceases to impress!
I am curious what brand/model extractor you use for carpet and cloth seats?
Thanks
Thank you Matt. While I don’t use it very often, I have a Mytee HP60 at the shop for extraction. I don’t get cars with cloth seats, and rarely do I work on exotics with really dirty carpets.
I think that your work is simply art
I think your work is simply art
I am curious about the mini restore. What does it entail and what does it cost ? Say for a 308GTS.
Andy,
Services like this are particular to each individual vehicle and its needs. While there are many similar services that are completed, there are simply too many differences to have a set list or price. Only after a thorough inspection of the vehicle can a determination of wants, needs, and pricing be established.
Fabulous work. Wish I could find a job like that here in Switzerland for my 456M GTA.
May I ask about the cost of such a job?
How about opening a subsidiary in Switzerland?
Best regards
Eric
Sorry – didn’t read your answer to Andy.
Hence, my interior is fine. Price for just the outside detailing? Ballpark figure?
Thanks a lot
Eric
Thanks Eric…I will email you directly.
How hard is it to remove the rear horse from a 458?
Very! You have to take items apart / remove them from inside the engine compartment before you can even get to the back of the emblem.
How did You do to restore the air conditoner panel? Marvilhous!!!
I am from Brazil and I need to do the same thing, I was thinking to buy some kind of adhesive, is there in the market? where?
There is a company here in the U.S. that specializes in restoring these “sticky” parts. Look up Stickynomore.
Do you have any referrals for me in the Seattle area. New F355 GTS owner and want to treat my car to a similar experience.
I was recently provided the link to this write up. The blend repair on the hood looked very familiar. Went back through my photos and, sure enough, it is the same car I detailed a little over a year ago. I also had it confirmed by the current owner. The car had seen a few “dealership details” in the interim and needed a fair amount of work. https://www.facebook.com/media/set/?set=a.589205627771151.1073741832.224991604192557&type=1
excellent work. looks great. would you happen to have the name of the place that restores the panels?
Looks stunning after the restoration processes!
[…] 355 Detail blog from Todd Cooperider This is old but very cool. Ferrari 355 GTS Mini-Restoration Detail | Ask a Pro Blog Johnk, we were discussing paint corrections in another thread and debating the time – this is a […]
Fantastic effort and write up Todd. I am about to do the same thing but was going to get someone else to do it for me. I was interested to see your in Columbus Ohio. I live in Australia but am coming to Ohio for work 2017-19. Maybe we could catch up and talk f355! Cheers
[…] of it and I don't have to wait 20 seconds. f 355 dash leather shrinking ? – FerrariChat.com Ferrari 355 GTS Mini-Restoration Detail | Ask a Pro Blog see if that second one works it even has some […]
Could you tell me what year this car is and/or if it is single stage or base coat/clear coat paint. I have a 1997 F355 which has single stage and plan on doing a detail. Would like to know which type of paint you used the products listed on.
Thanks
Amazing article!
I also want to restore my Ferrari but for that I need some suggestions. From this article I got to learn some new things. How can I restore my Ferrari?
So thank you for sharing this article.