Envious Detailing giving a BMW 328 a new life!
by Eric SchusterHere is a fun little car with lots of potential to look much better! Black cars are always the toughest to maintain, and this owner understands that. After picking this car up from the dealership, he brought it over to me to have me correct the paint, and get it looking like it should…a deep, wet, glossy black!!!!
A total of 10 hours went into this turn around with a fast working three step process. I say three step process as in three polishing steps (I only count the polishing steps because all the steps in the prep work are mandatory). Luckily for myself and the owner, the infamous BMW jet black paint correct quickly. On a harder paint, I would not have been able to get through 3 steps in such little time.
After washing and taping off the car, I proceeded to figure out my game plan via my test section. At first, I tried a combo that would “possibly” give me the results I was looking for, but I was let down as the amount of damage to the paint didn’t allow that combo to work. So, I had to step it up to achieve desired results.
My game plan for the whole car ended up being the following:
washed with chemical guys citrus wash
clayed with DI light clay bar
Taped with meguiars masking tape
compounded with surbuf and meguiars 105 on the PC
polished with menzerna powerfinish on a hydrotech tangerine pad
refined with menzerna 85rd on a black LC pad
paintwork cleaned with chemical guys EZCream
paint sealed with blackfire wet diamond
tires dressed with meguiars hyper dressing
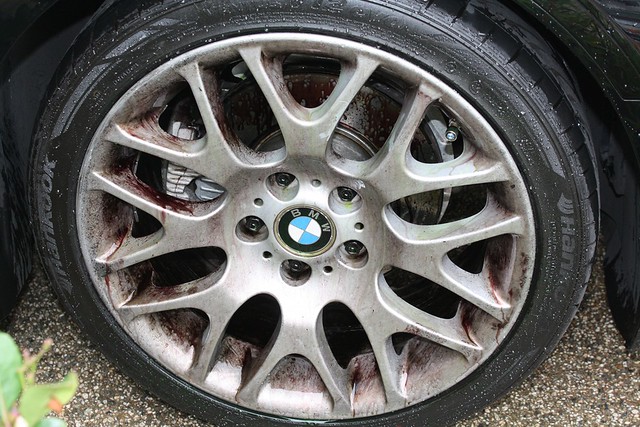
wheels cleaned with sonax full effect.
wheel wells dressed with chemical guys barebones
windows cleaned with meguiars glass cleaner
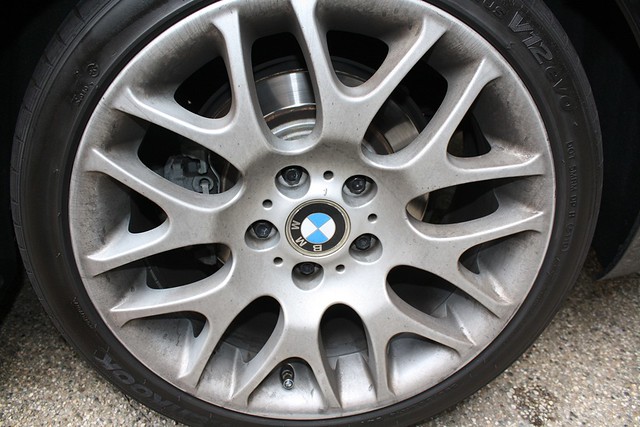
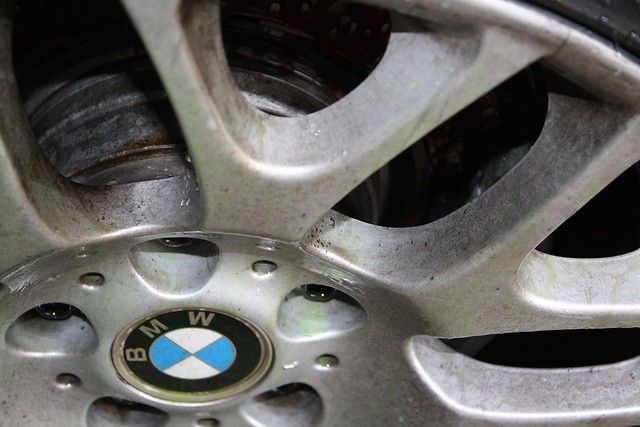
Here are some before shots of how the car arrived. Dirty all over, very unclear paint, dirty wheels with lots of brake dust, and overall lacking in the appearance department!
Claying did not remove a lot of contaminants, which is a good thing after all!
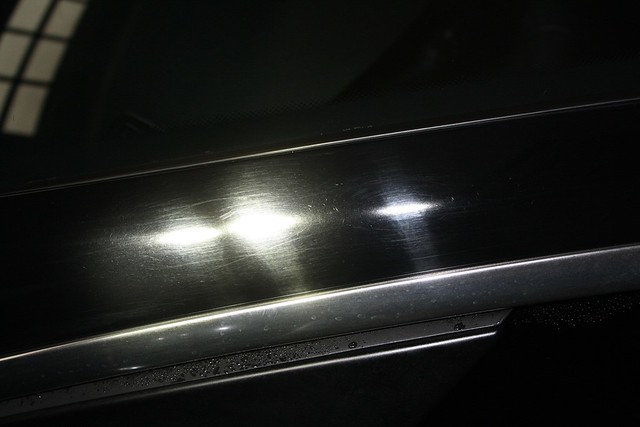
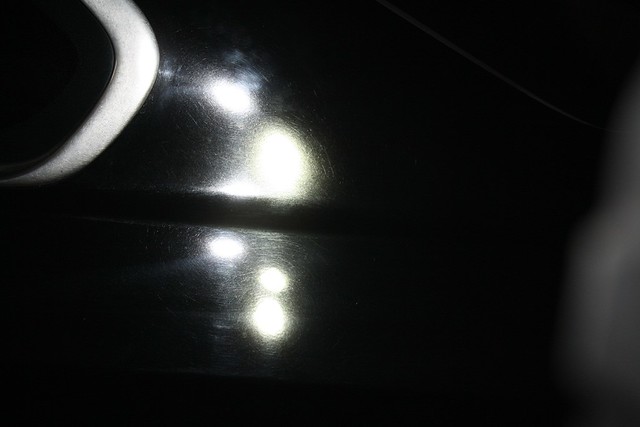
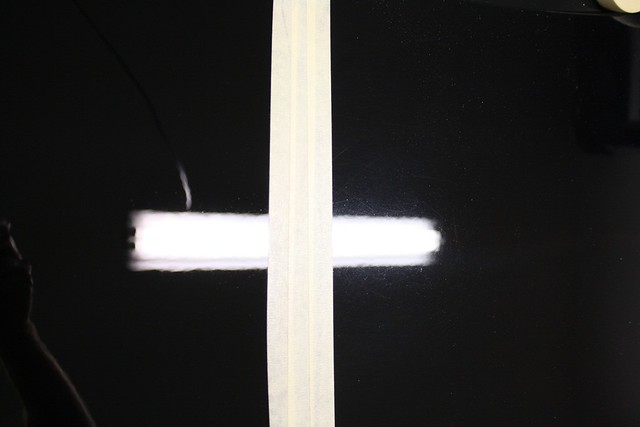
A few 50/50 shots of in progress work (also my test section). Also, you will see that I actually removed the side marker from the fender. Just like removing the license plate and anything else that is not glued, double sided taped, fixed to the car, removal allows much better polishing work to be done as you do not have to polish around things. If at all possible, I will remove anything anytime! Some detail jobs will get the car slightly dismantled and bumpers removed in order to get behind areas!
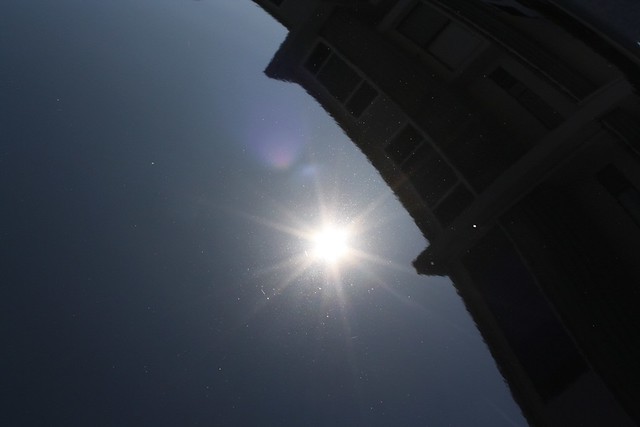
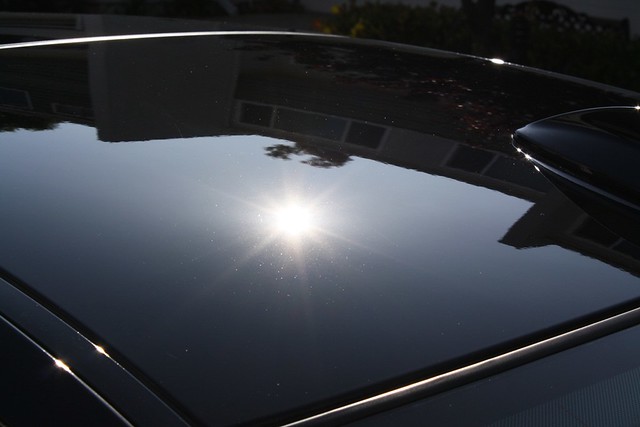
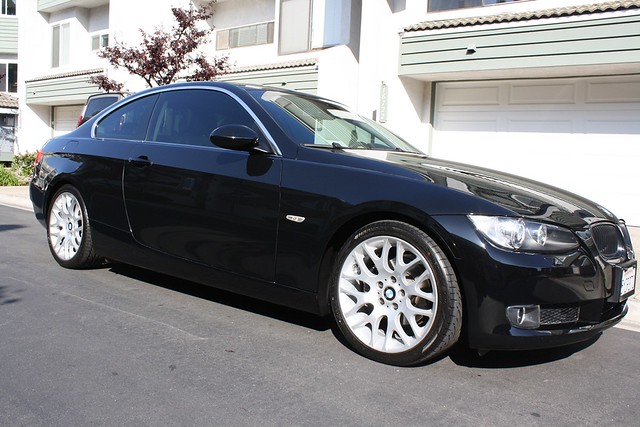
Here are the after shots that I had taken. Please note, there is ZERO wax on the car at this point. I wanted to make sure I could get some decent sun shots so these were taken after cleaning the paint. I took the wheel after shot while the BFWD was setting up on the paint!
If you have any questions, feel free to ask away!
Buy Products From This Article
Purchase the products used in this article individually or in one convenient package here!
Related Posts
- Full Detail and Paint Correction: Ferrari 458 Italia by Todd Cooperider of Esoteric Auto Detail
- Envious Detailing: 23 hour Lamborghini Gallardo reconditioning
- Lamborghini Murcielago Paint Correction
- Italian Excellence: Ferrari 430 Scuderia Paint Correction and Detailing by AutoLavish
- Hybrid Polishing Process featuring a 2004 Dodge Viper












Very nice!! I love seeing how Black cars come out!!
Awesome job bro…totally impressed..!!
Eric you are an animal!
I notice a lot in these write ups that the chemical guys ezcreme is used before a sealant. How much of a difference does this really make?
Thanks for the compliments!
CGEZCG adds more wetness to the paint, and also will clean it and prep for the sealant application so you are not trying to apply a sealant on top of polishing oils. Sure you can do an alcohol wipe down, but CGEZCG adds THAT much more! Try some out, you wont be disappointed!
Great work Eric!
Two questions:
With Meguiars hyperdressing to get the finish that you’ve achieved. Did you spray on then buff off? What was the process you used for this.
And with the surbuf and M105, was it really necessary to follow up with 203s then P085RD?
Awesome work! The car looks brand new, like it should from the factory.
Another great save by Envious Detailing on a black BMW. Very nice documentation and great turn around Eric!
Great work for 10 hours. I’m still trying to figure out the Surbuff pad thing. Btw, what did you use anything on the wheels to seal them?
Tim
Holy gloss on the 2nd to last picture, wow!
Tremendous transformation in such a short period of time Eric. Seeing this level of work should inspire those with black cars…they CAN look much better and this is how it’s done!
Tim,
absolutely its necessary to follow surbuf/105!!! It will leave the finish on such soft paint super hazy and micromarred! Following up with hydrotec tangerine or a white pad with 203 will leave close to clear results, but 85rd and a black pad will further refine and add a lot of depth to the paint!
As far as hyper dressing, I use it at 2:1 and apply with a foam applicator here
https://www.detailedimage.com/Lake-Country-M7/Tire-Dressing-Applicator-P63/
I did not buff dry either, just apply and let it soak in. With some tires, ones that are super dry, I will wash the wheel, dress it, polish the car, then re-dress the tires again to give them a complete coating. Its a waterbased dressing so you can dilute it 4:1-1:1 depending on what gloss level you want
Will the wheel clearner actually remove the bake on brake dust that has pitted the wheel?
Regards,
Tom
2nd shot up from the bottom is pure beauty.
Great write up and great work.
Eric – I am so glad I found you! My car looks great as do the neighbors :). We will definitely have you back to care for more cars. Thanks again
Chris
Very nice site!
Very nice job! Is the Chemical Guy Barebones pretty the same thing and the Grime Reaper? How did you apply it to the wheel wells?
barebones is a dressing and grime reaper is a APC, two totally different products
barebones is a spray on and let sit type of product. you can wipe it smooth if needed, but if you spray in a fan motion, you wont need to