Detailing Gone Bad: 2003 Toyota Tundra
by Kevin GeorgeIt is a very common misconception that detailing is simple, just throw a pad on a rotary and go crazy, and everything will look good when you’re done. Many times, the vehicle will look good in the shade or low lighting, however once in direct lighting or sunlight the true value of a bargain “buff job” will show. This was a project I just worked on recently, a black 2003 Toyota Tundra Limited. They had a spray in bed liner installed and the installer gave them a complementary buff job after the liner was applied.
Here are a few pictures of the vehicle prior to starting any work on the vehicle.
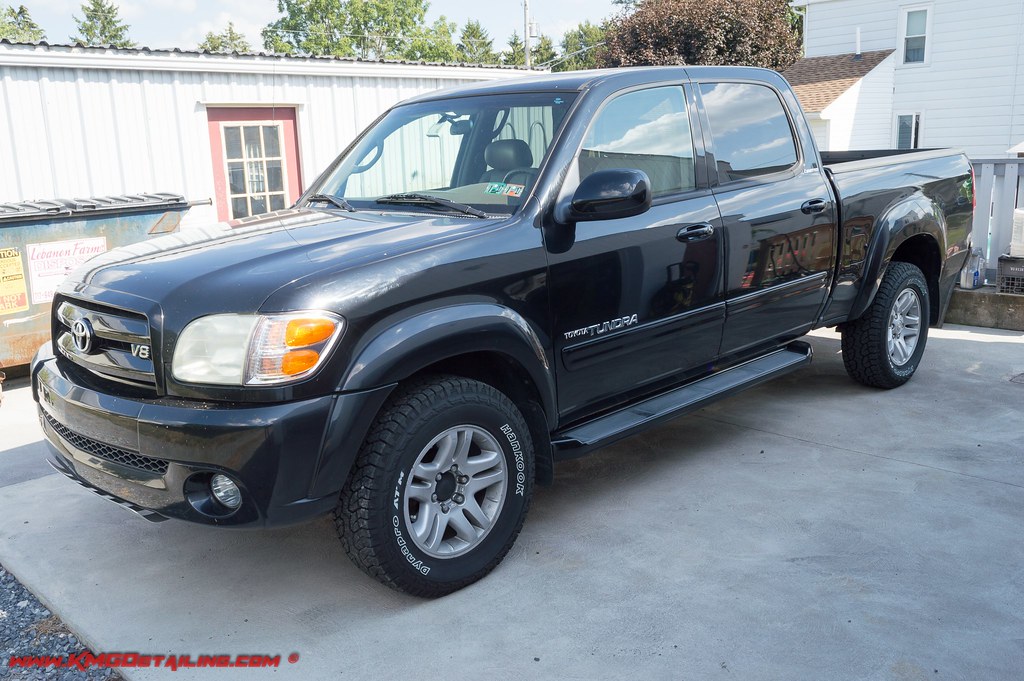
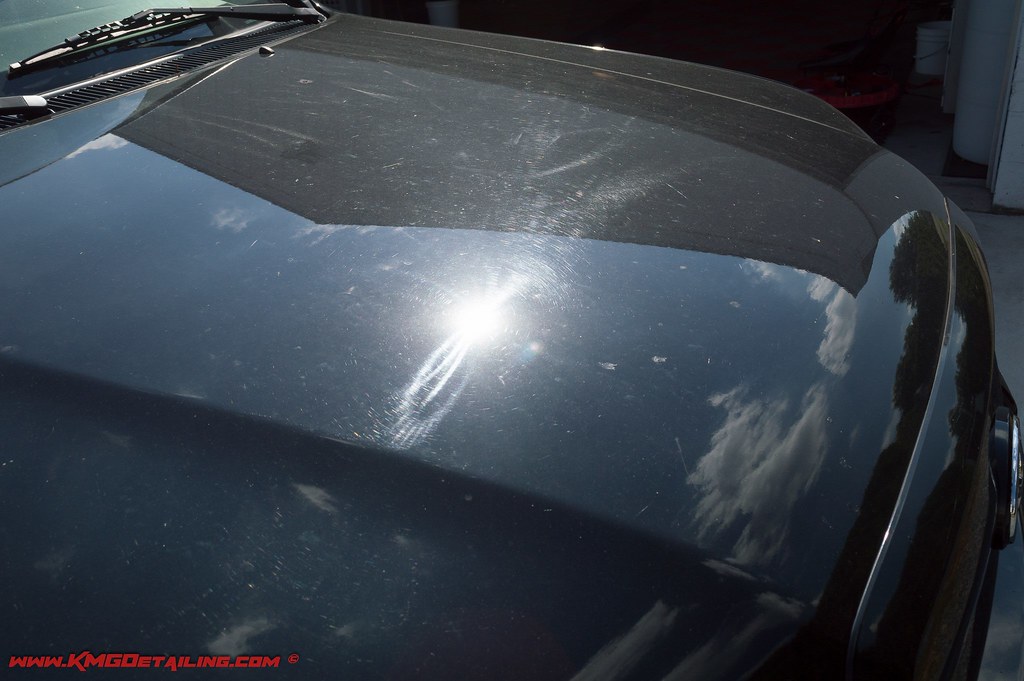
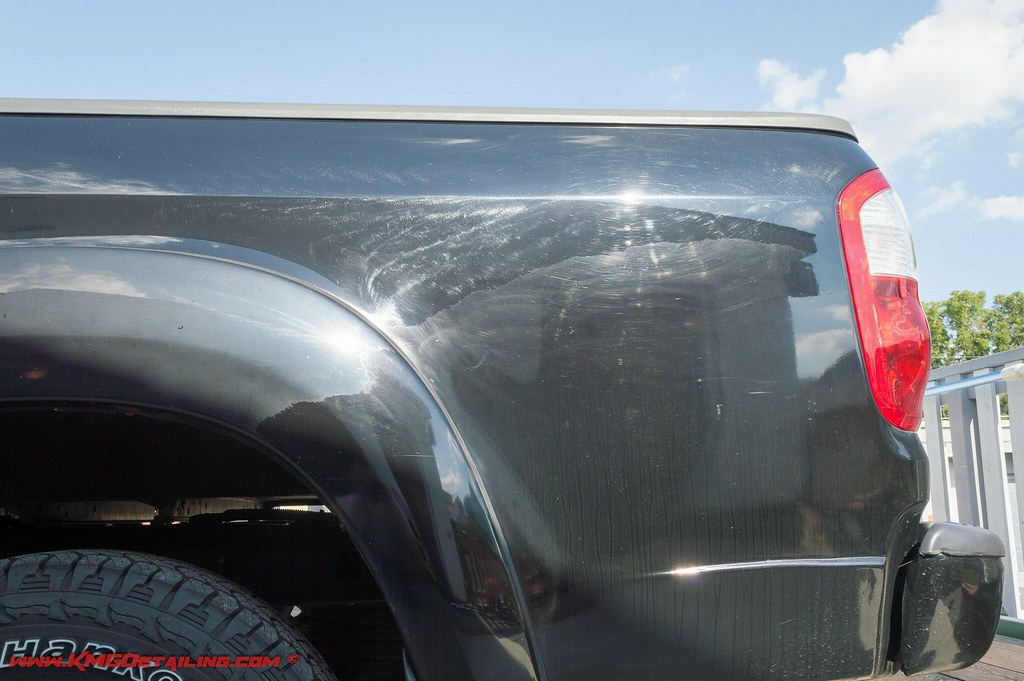
At this point the vehicle was thoroughly washed, chemically decon’d and washed one last time with a Nanoskin Wash Mitt.
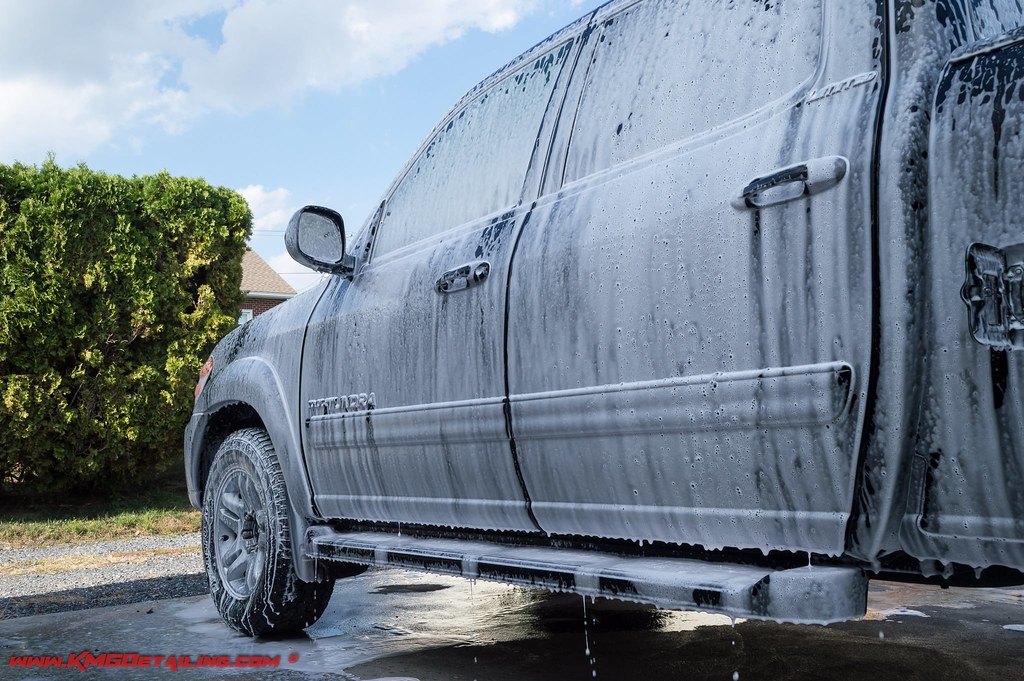
With the vehicle fully cleaned and dried it was pulled into the direct sunlight for a quick before video to show the extent of the damage on the exterior of the vehicle.
Source: YouTube
It’s not hard to see the truck was covered in holograms (buffer trails), heavy swirling along with a fair amount of random intermittent deep scratches (RIDS). The holograms are caused from improper use of a rotary resulting in burns in the clear coat. These are typically only visible on sunny days or under strong lighting. A rotary, such as the Flex PE-14-2 or Makita 9237C-X3 can be very useful and produce excellent results quickly and efficiently, however in the wrong hands they can also result in extensive damage to the exterior of a vehicle.
Once the truck was fully cleaned it was pulled in the garage and taped off to begin the multi-step paint correction.
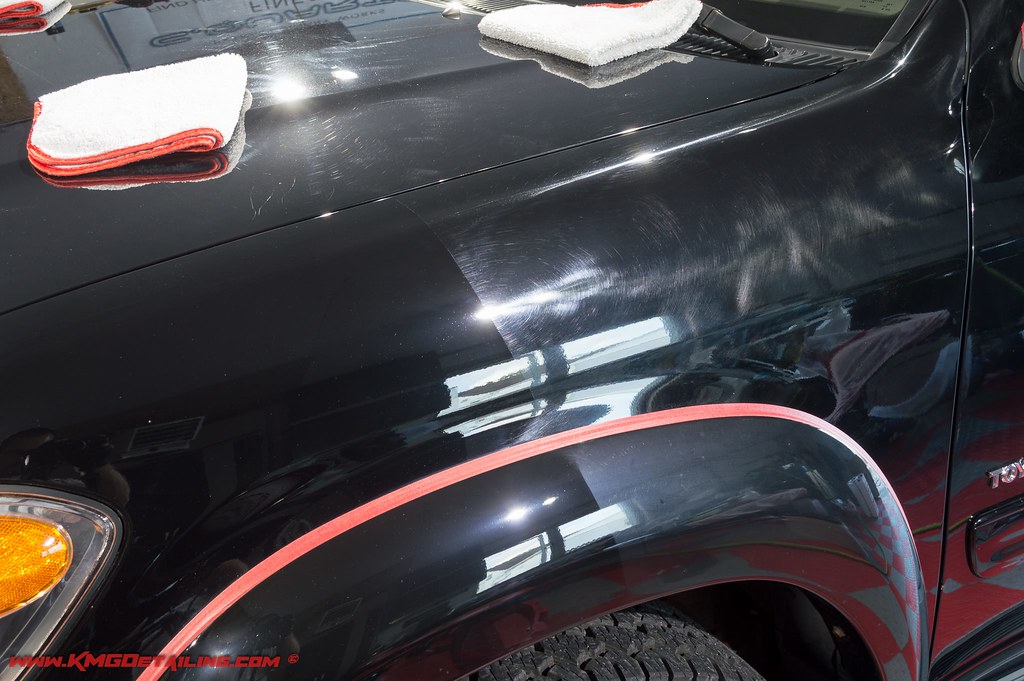
On this vehicle, we were not striving for perfection, merely looking to greatly improve gloss, and restore clarity back to the finish.
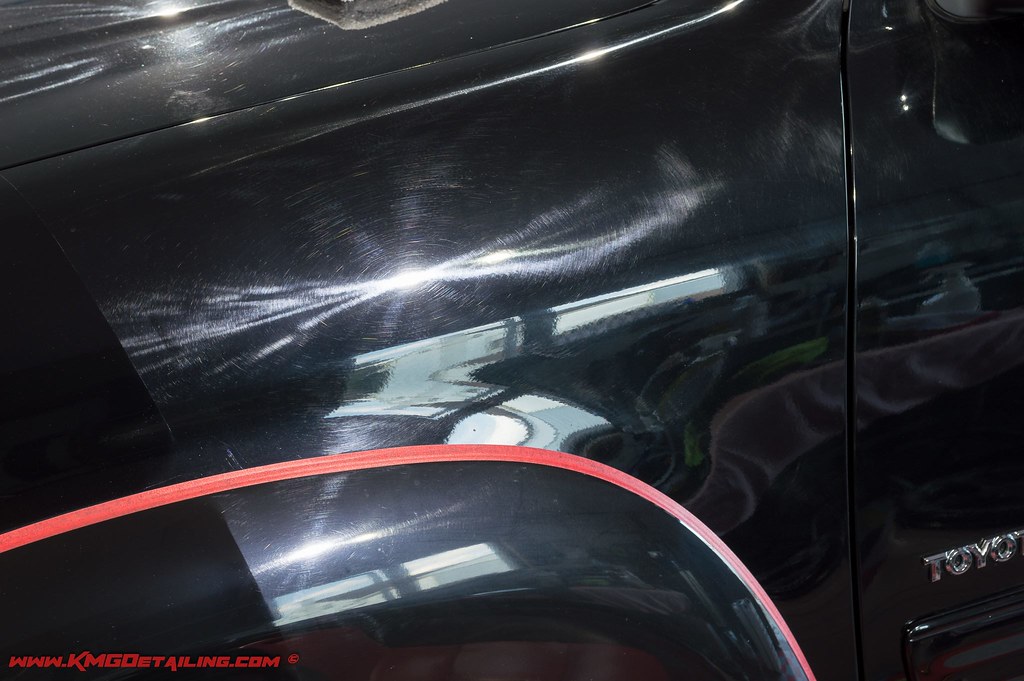
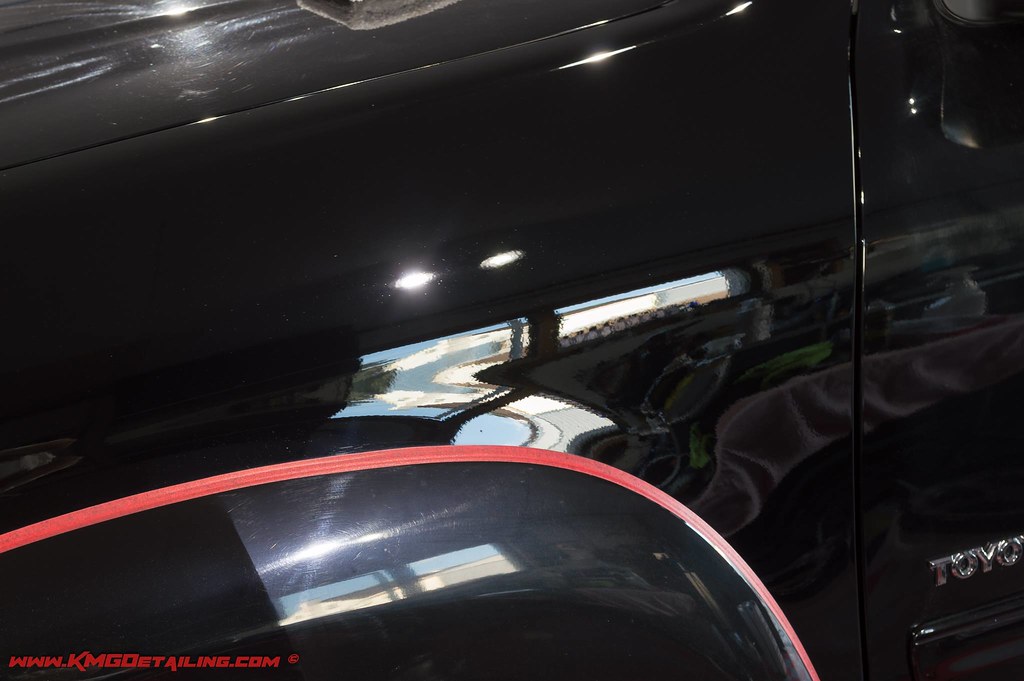
The compounding process did an excellent job removing a majority of the flaws and imperfections, however due to the use of an aggressive compound there was quite a bit of marring left on the finish. This is very common on softer finishes along with darker color vehicles.
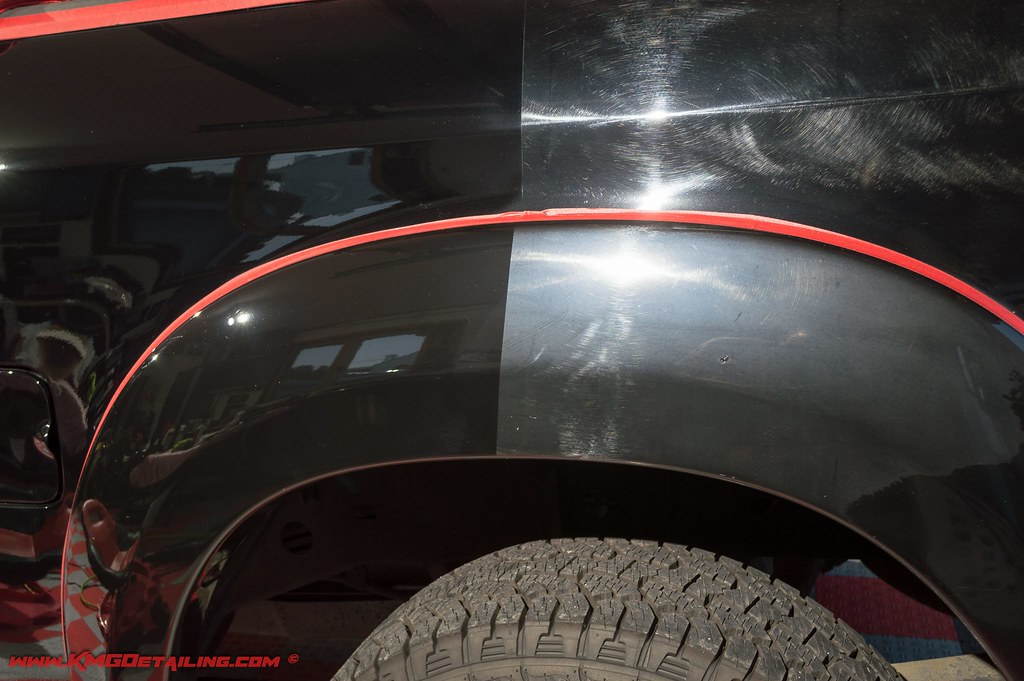
Once the entire truck was compounded I moved on to the polishing process. Carpro’s Essence was used with my various Rupes machine and their yellow foam polishing pads. This left a nice deep black finish with lots of clarity and gloss.
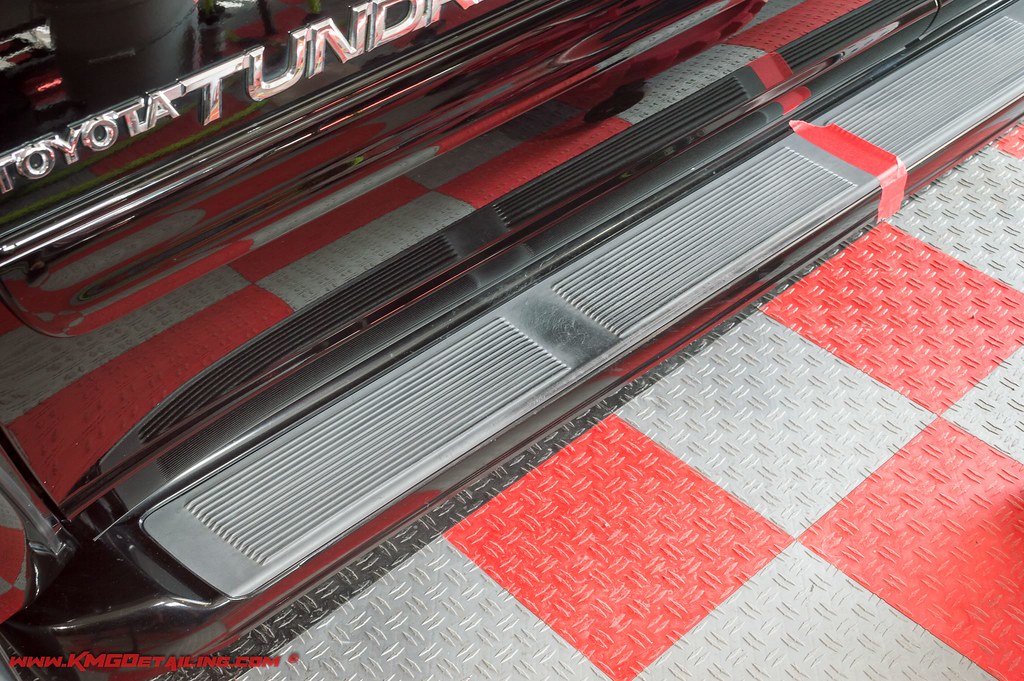
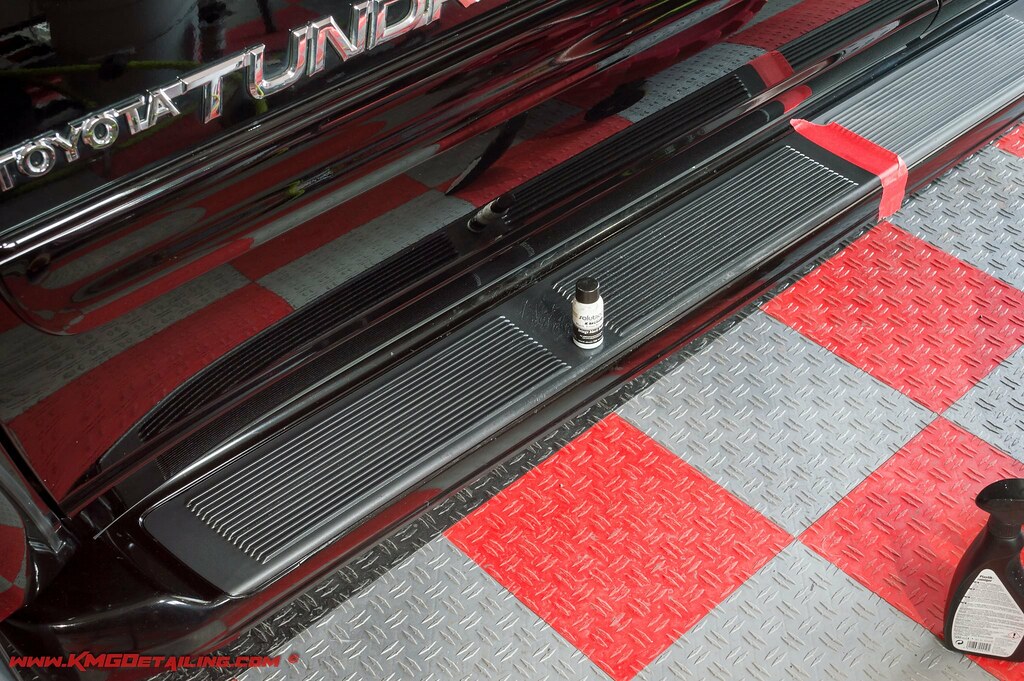
With the paint completed we moved on to taking care of the faded trim. For this we decided to use Solution Finish to bring some color back to the weathered looking pieces.
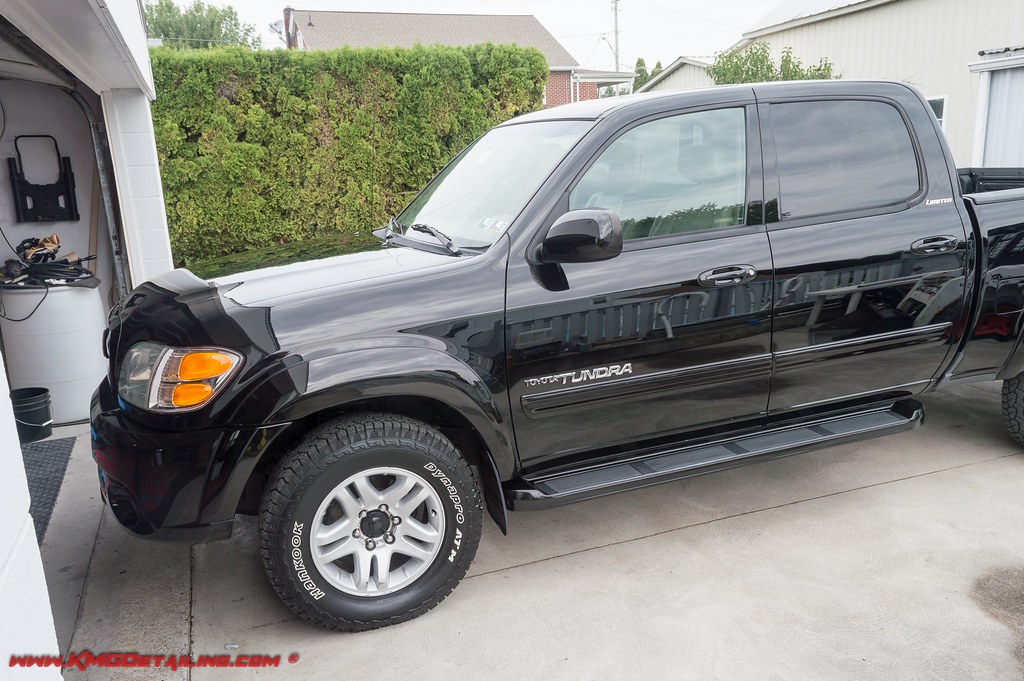
At this point we were ready to move onto coating the painted surfaces of the truck. The exterior was wiped down with Carpro Eraser prior to applying 22ple VX3 Signature Glass Coating. This is a great coating that will produce amazing looks and protection while being quite easy to apply.
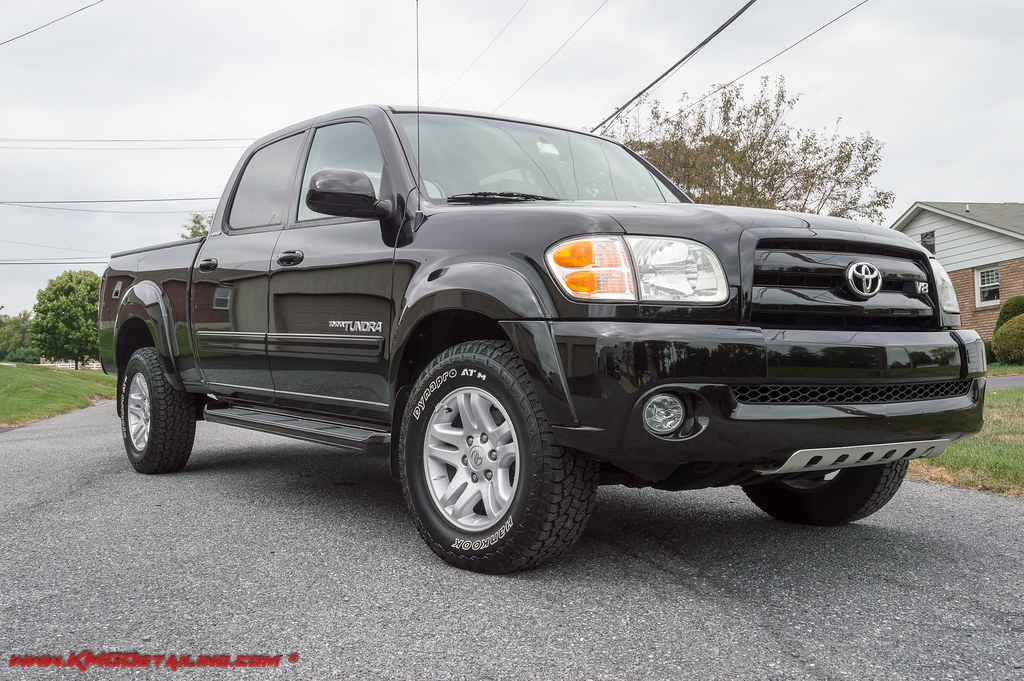
Unfortunately, we were not able to get any good sunlight shots on the vehicle once it was finished as the weather was ugly for the next few days and the owner needed the vehicle back. We were able to restore a large amount of gloss and depth back into the finish, while also making it much easier for the owner to keep after.
Do not forget to check out Detailing Gone Bad (Part 2): 2013 Audi Q7 S-line, for another car detail detailing horror story, from the same owner as the car in this article!


Great turnaround Kevin.
Can I ask why did you wipe down with Eraser after Essence by the way? I thought one of the selling points of Essence was that it didn’t require wipe downs and you could just apply coatings directly on top?
Thanks
Lee
Lee, I wiped down with Eraser mainly just to clean the surface off due to being slightly dusty from sitting over night. You don’t have to wipe down after using Essence, but in some cases I still find myself doing it anyways. Just a hard habit to break I guess.
Nice save,
At least the bed liner people didn’t charge for that botched polishing.
Looks new, if not better than it did in 2003.
Thanks Bob. Yes they are were fortunate that they didn’t pay for the polish job, however in the long run that “free” polish job ended up costing more than the bed liner that was installed.
My eyes watered up seeing that. Excellent turn around!
Not nearly as bad, I’m doing this to a truck I just bought. Hard work…it’s White.
Thanks Gary. I really enjoy working with white vehicles just as much as black. Good luck getting your new purchase in tip top shape.
Agree with Kevin.. if you don’t run IR lights – anything less than a 24hr cure with Essence and you should always Eraser wipe down. to be sure to be sure
Actually, you are incorrect about IR lights. Essence is a polish, not a coating. Essence doesn’t need any cure time. If you are referring to application of a coating then you would need an IR before exposing to the elements (under 24-48 hrs depending on coating)
I agree that Essence does not require IR curing. Rule of thumb is if you machine applied you can begin coating after you finish polishing, if hand polished you should do an Eraser wipe down. Personally I typically leave the car sit about an hour or so before applying the coating. I myself along with quite a few others have tested not doing wipe downs and have never seen any issues with cars that have not been wiped prior to coating.
But man that truck looked good after it was polished right! hahaha I love this because it is a great example of living and learning in the auto detailing world. You’re right when you say detailing cannot be oversimplified, though it often is, it seems that the things that can be simpler are over complicated and vice versa! I love the voice of reason, and the results, really awesome job!
My Tundra Thanks you for helping its cousin out! I hope the owner shows this to tha bedliner place and the damage done. They should stick to what they know best. Luckily, they didn’t burn thru the paint.
Great job, Kevin!
Thanks Steve, yeah they certainly did a number on it.
What size pad did you use to get the fender flare sections? I have some hard to access parts on my car that are like that, so it will be hard to get much pad against the surface at one time. Also worried about the pad edge rubbing up against the fender while doing the adjacent parts. Thanks for the help,
Jimmy, I mainly used 5.5″ and 6.5″ Griots MF pads during the cutting process along with 3″ Meguiar’s MF pads. You just need to tape areas that are finished if you are concerned about the pad digging.
Thanks
Could you please elaborate on the compounding process. Did you use a rotary or orbital buffer? What pad(s) did you use? What compound? Thank you.
Gil, I mentioned previously in one of my comments the pads that were used. However I don’t think I mentioned that I used Griot’s Fast Correcting Cream during the compounding process. As for the machine that was used, I used the Rupes 21, Rupes Mini and the Ibrid Nano on this.
Looks a ton better! What did you use to chemically decon’d the paint?
Ryan, I use Iron.X along and if needed will use Tarminator also. While I don’t foam every vehicle, in many cases if I do I will mix 1-2 oz. of Megs Super Degreaser in also.
Ok. Do you cover the whole vehicle with the Iron X and or Tarminator? Or do you just do a panel at a time?
Thanks Ryan
Ryan, typically I do half the vehicle at a time with Iron.X. For Tarminator that is usually more of a spot treatment as you are only using it in areas that you know need it.
Ok. Thank you sir!
Wow super save I live in Longview WA. Its hard like nobody in this area… Thanks C Kivey
Hey Kevin
liking the post!
what do you calculate you invested in time, coating aside.
thumbs up!!