Detailing Essentials #2 | Lighting
by James Melfi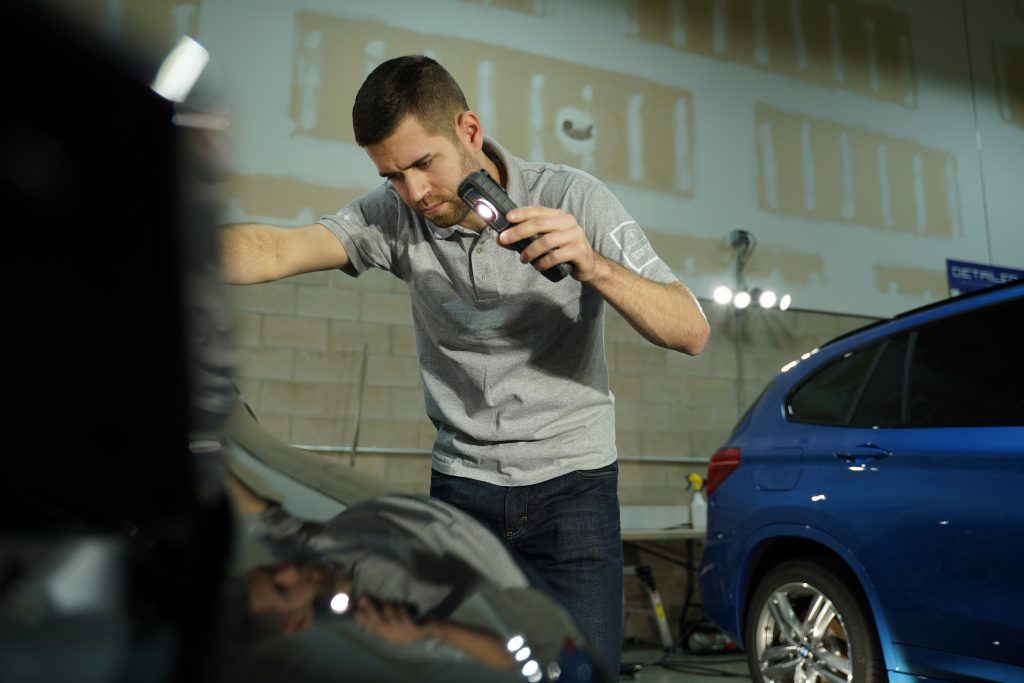
Welcome back! Round 2 of the Detailing Essentials Series starts with a pretty common talking point- lighting. Lighting in the detailing world is just about as essential as a lawnmower is to a landscaper. I could easily make lighting into its own 8 part series, but I’ll keep it short and sweet.
Since this series is all about upping our detailing game, I wanted to talk about how distance, angle, color temperature, and good habits have affected the way I use lighting and improved my finished product.
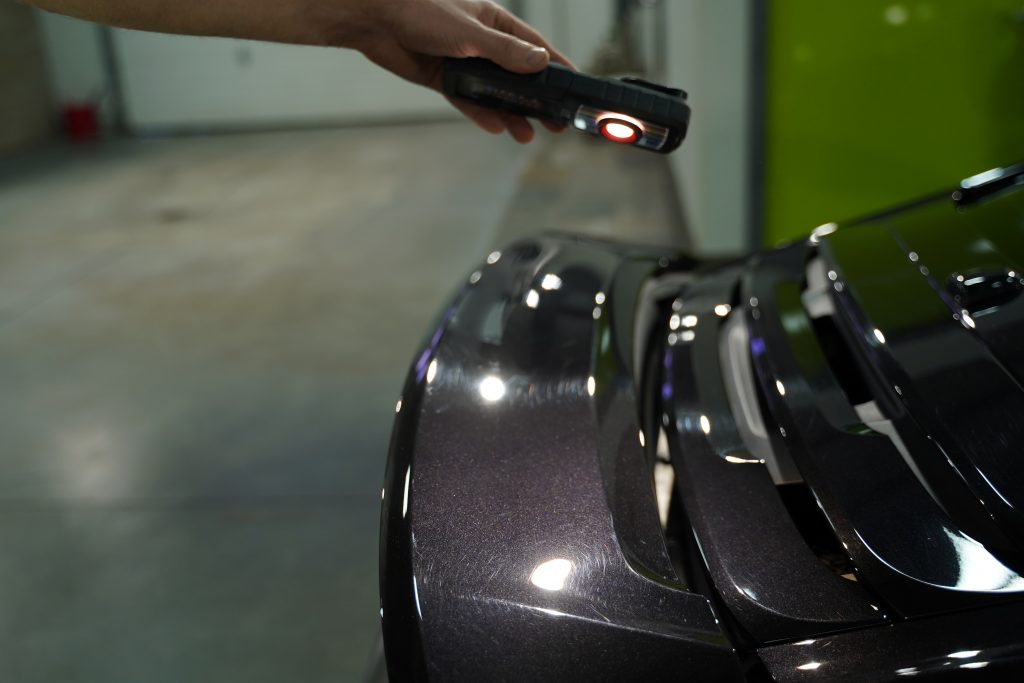
Tools of the Trade
- Scangrip Sunmatch Light
- Scangrip Multimatch
- 1400 Lumen LED Flood Lights mounted on Camera Tripod
Distance
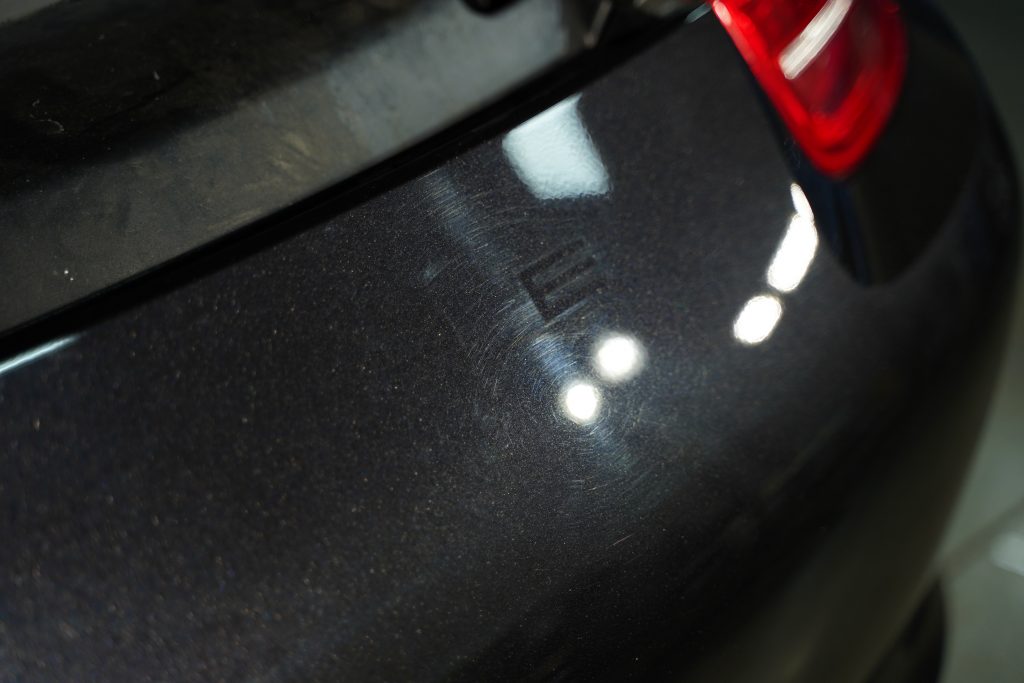
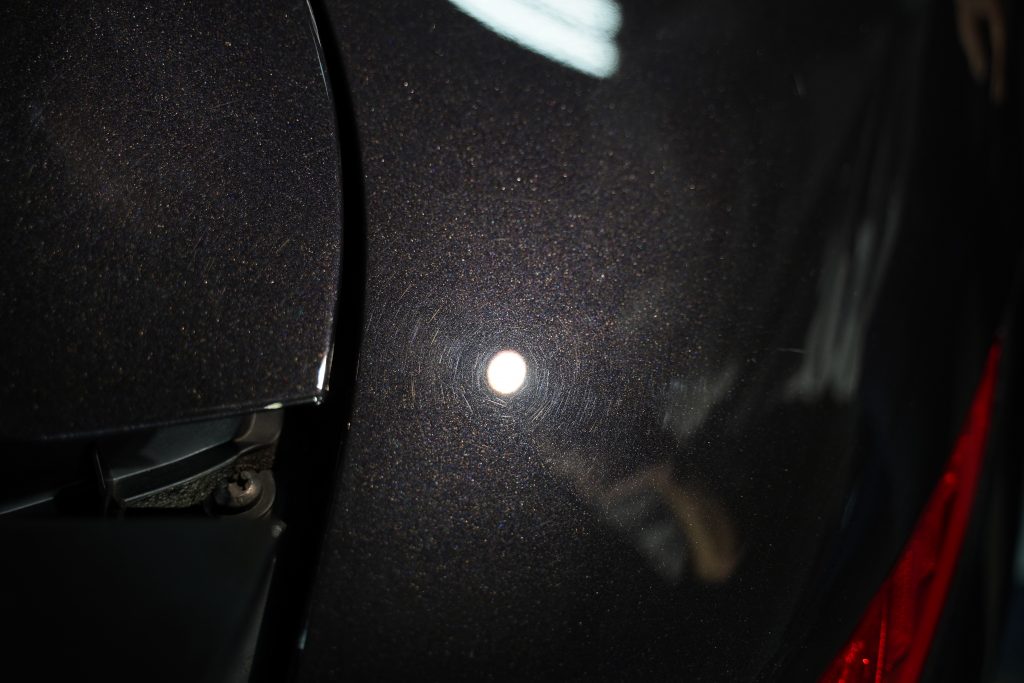
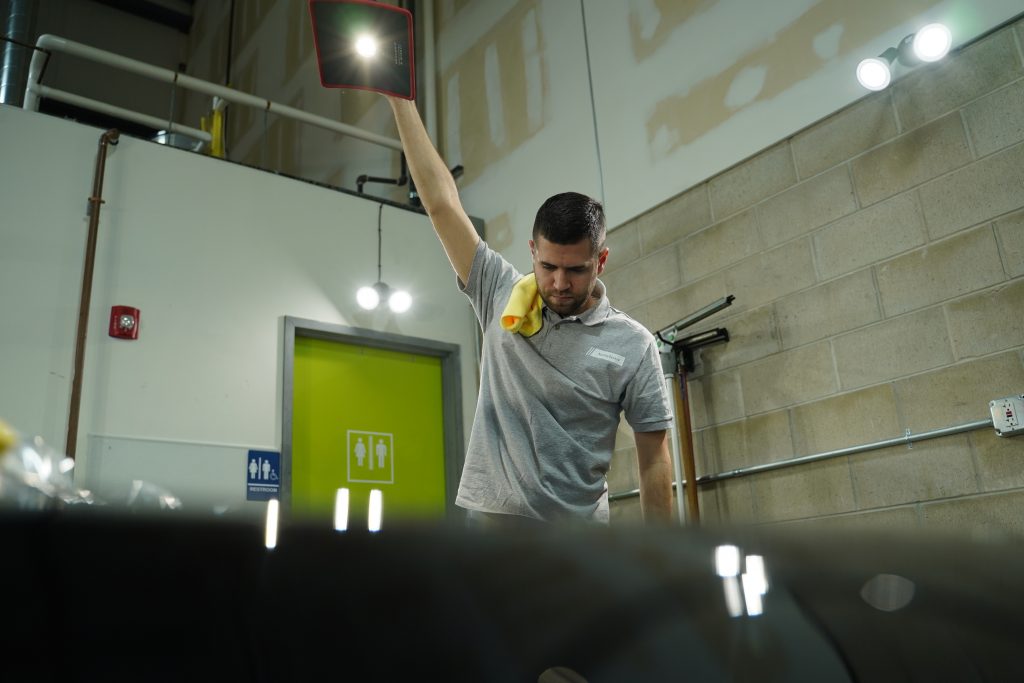
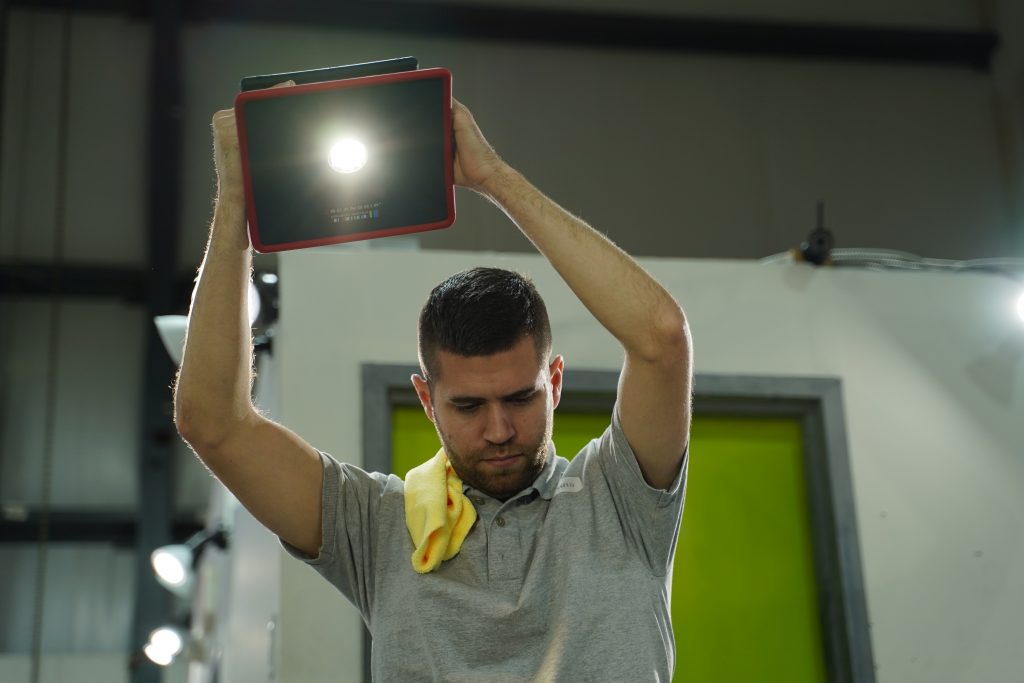
Not all paint inspections are straight forward. Not all defects jump right out at you. There are numerous paints, typically silvers and greys, that make defect inspection very challenging. Let me first tell you a short story, I had a Mineral Gray Metallic BMW come in for a consultation a few years back. I looked at the paint straight on with an LED light and thought to myself, ‘wow it’s not too bad, this paint may only need a single step to fully correct. I quoted the client and started the paint correction process. While I was polishing, I happened to step back at a distance and look at the paint with an inspection light. Unveiled for the first time were a bunch of straight line deep scratches. I had completely misjudged the paintwork. I learned that inspecting paint finishes at various distances can help illuminate the whole picture. Some paints respond to lighting differently and having that knowledge when inspecting, can help tremendously when analyzing and quoting a potential project.
Angle
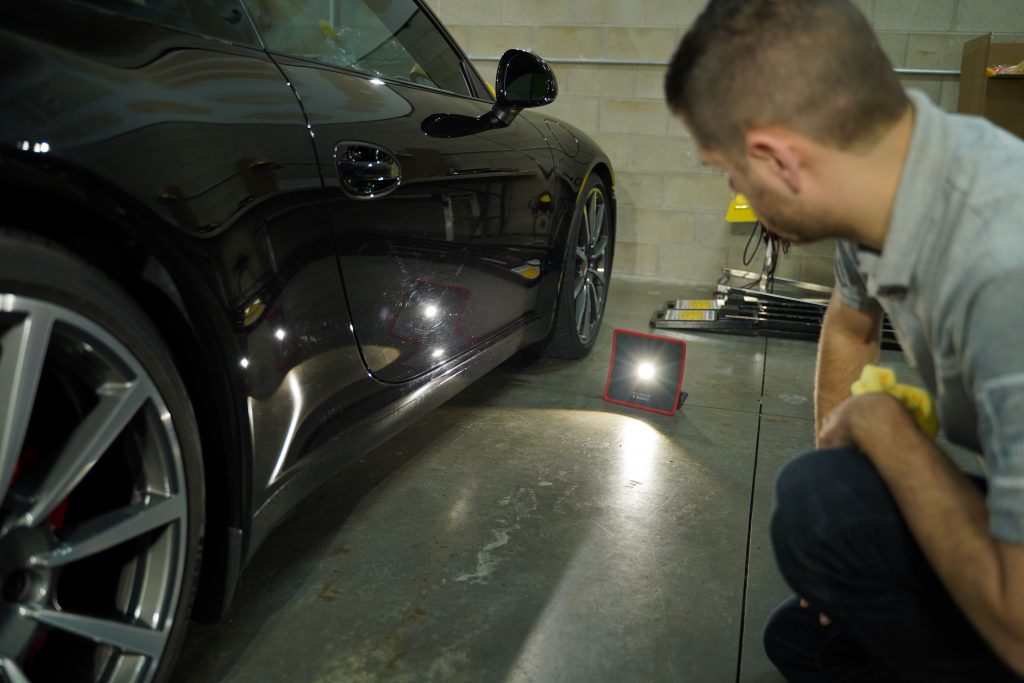
Just like varying distance, angle can also play a big role when using inspection lights. Switching angles and heights of your light and your body can help illuminate certain defects on a panel.
Color Temperature
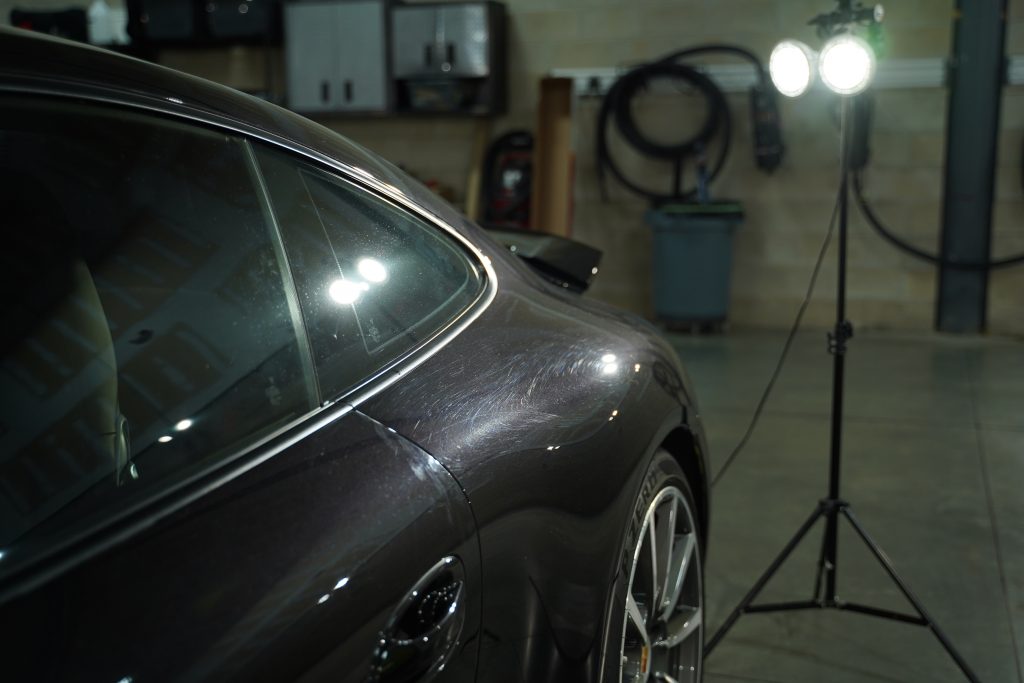
The color temperature of your lighting will also be an essential aspect to consider during your inspection process. The two main color temperatures to have in your arsenal are bright white and daylight. Different color temperatures, can on their own bring certain defects into focus. In most scenarios, a daylight color temperature (5000 Kelvin +) shows the most accurate surface condition. However bright white light illuminates certain defects on lighter colored vehicles. My recommendation is to always have two different color temperature lights working when inspecting. If one light doesn’t show all the defects, the other one can pick up the slack.
Good Lighting Habits
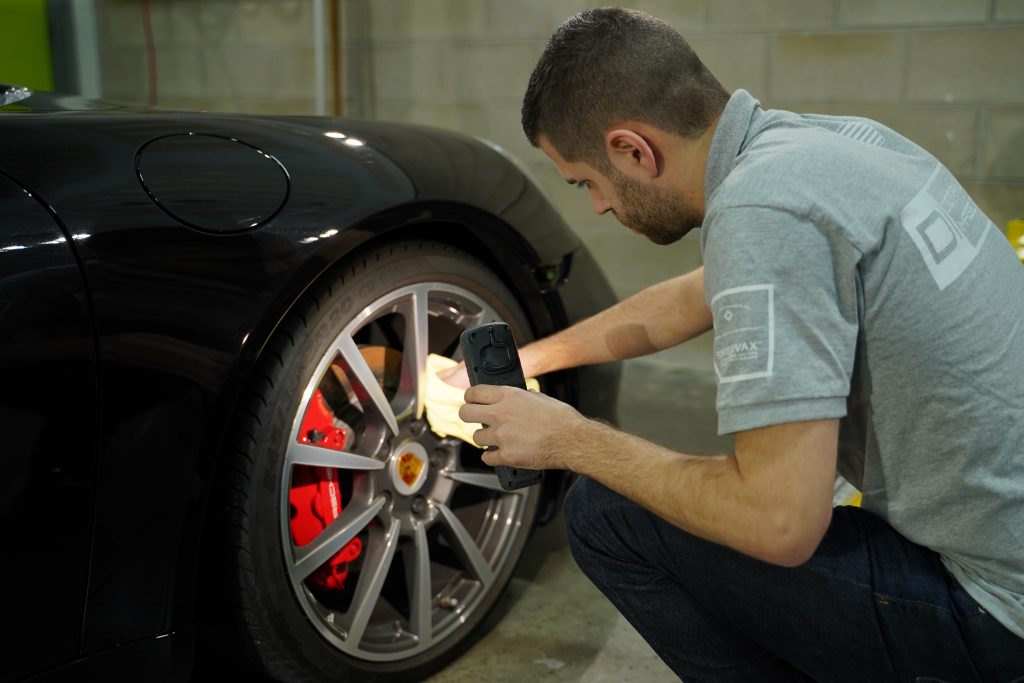
Always have a light with you! This, in my opinion, is the most important section in this article. It doesn’t relate to a specific light or technique but more of a habit to get into. Teaching yourself to always work with a light in one hand will allow you to see more and produce an overall better detail. For example, when working on the wheels, having a light in one hand and your tool in the other will allow you to spot dirt otherwise invisible with just overhead lighting. It is one habit that has totally changed the way I detail no matter what surface I am working on! If you can’t see it, you can’t clean it!
I hope you enjoyed this article and I would love to hear about your experiences with lighting. Which lights are an essential part of your detailing arsenal? Until next time!
Related Posts
- Projects: Lotus Evora GT, Paint Correction, Clear Bra, Ceramic Coating
- Detailing Projects: Ferrari 488 Pista Paint Correction, Clear Bra, & Ceramic Coating
- Projects: 2019 Subaru WRX, Swissvax Detail
- Product Review: Detail Factory TriGrip Brush Set Video
- Detailing Projects: Ferrari 488 Pista #2 Paint Correction, Clear Bra, & Ceramic Coating





Also important is your overhead lighting. I’m really impressed with the Barrina LED T5 strips – I grabbed the 12 pack off Amazon for $90, and am going to get another set of 12 soon. They’re hooked into smart outlets so I can turn them on and off using an Echo Input. That way when I need just directional light, I can easily turn off the overheads without having to walk over to the switch, and then turn them back on when I need the overhead light again.
https://www.amazon.com/gp/product/B07F2WMCP2/ref=ppx_yo_dt_b_search_asin_title?ie=UTF8&psc=1
Hey Nicholas,
Those look pretty sweet! Thanks for sharing!