Clearing Hazy Head-Lamp Housings on a Budget
by Marc Harris & Jacob BunyanIf you drive an aging car with plastic head-lamp housing, then you’re likely to experience the dangers and unsightfulness of hazy head-lights. Faded, hazy, non-clear housings cause light to refract prior to exiting the plastic rather than shining true. Not only does this result in a car looking older and losing resale value; this can also be dangerous for the operator and all others on the road as the driver struggles to make out objects through the dim light output. Changing the bulbs out for newer “true white” ones, converting to an aftermarket HID set-up, or using your brights are only temporary solutions that don’t address the true problem. Many owners are reluctant to fix the issue because of the cost of power-tools usually needed for favorable results. While using a machine like the Porter Cable 7424XP can provide much better results and take much less time to do so, many people are looking for a cheaper solution.
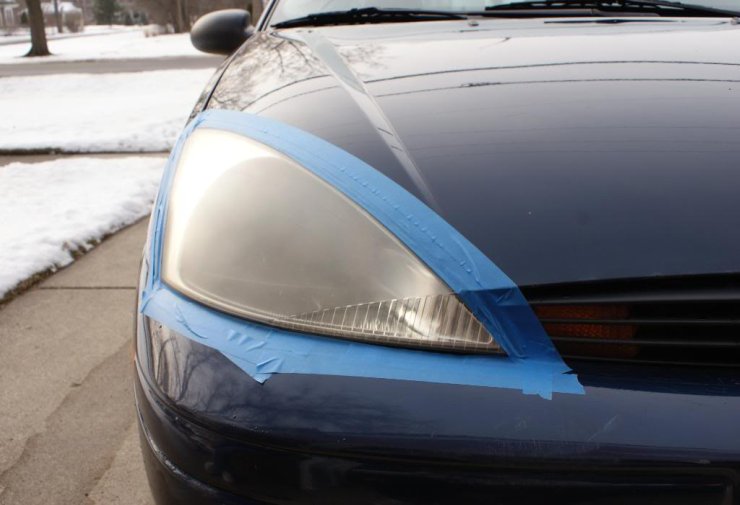
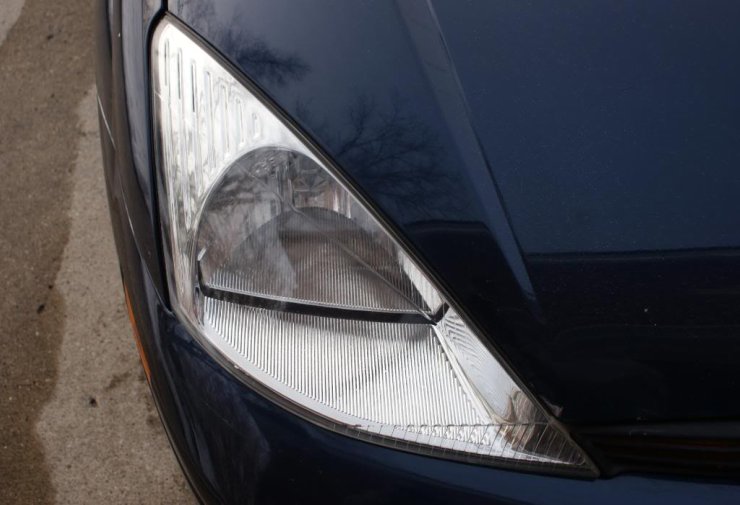
The vehicle being used for this educational write-up had horribly hazed-over head-lamp housings that provided very little light at night.
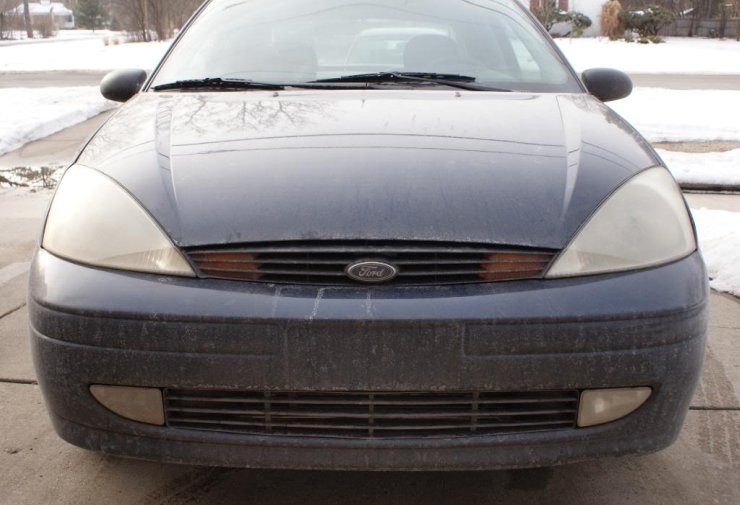
To begin, the headlights (and car overall) needed to be cleaned to provide a good working surface that allowed for a true inspection of the plastic housing. If you’re not worried about swirls and slight paint defects, you can take your car to a local car wash. For those looking to keep their paint looking its best, the standard two-bucket method is preferred. No-rinse washing using products like Optimum No Rinse can be a great solution for those without access to a hose.
With a clean surface, we can see just how bad things look. This will also show us how well our results may truly come out.
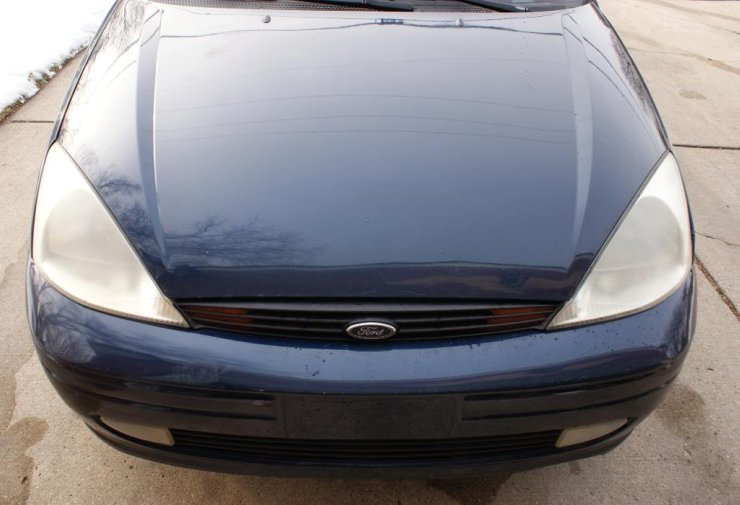
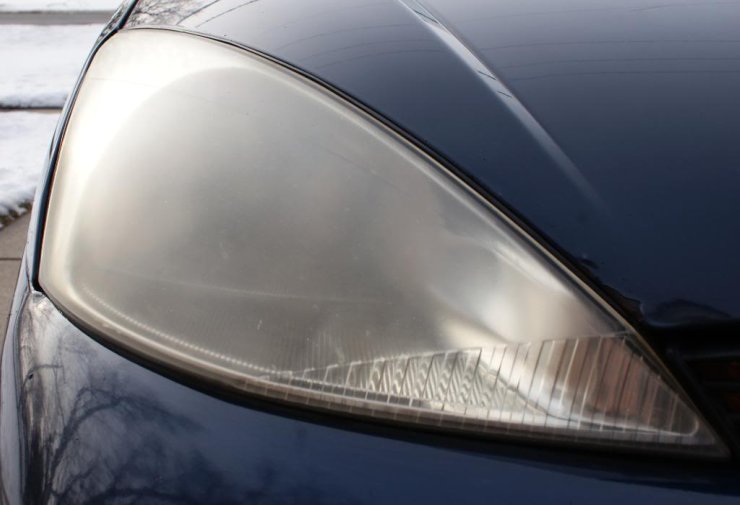
Protect the painted edges of the body and body molding pieces around your head-lamp housings using painter’s tape.
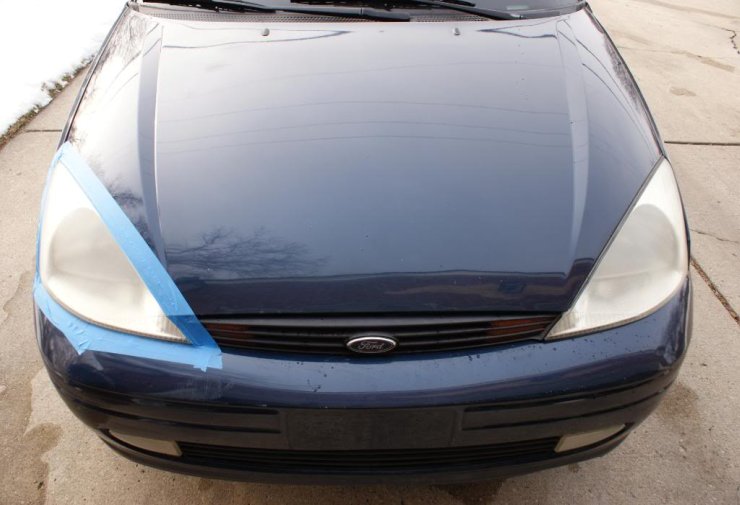
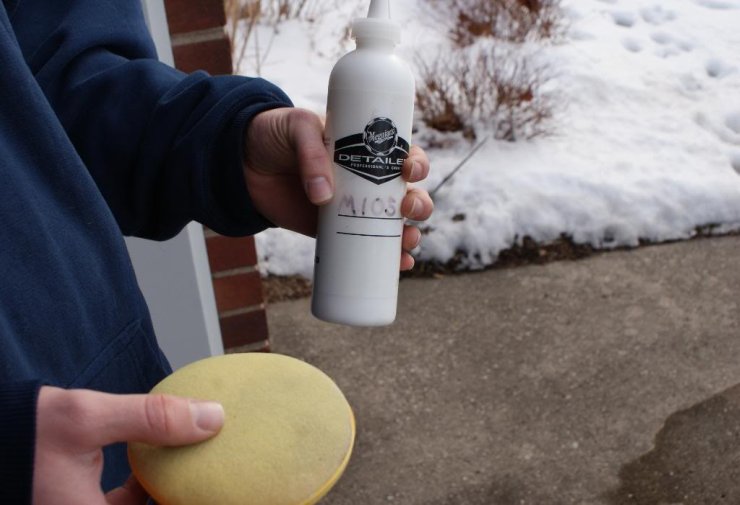
Because we were going to be doing the work by hand, we needed to use a heavy-cut compound. In this case, Meguiar’s M105 Ultra-Cut Compound was paired with a normal foam applicator pad.
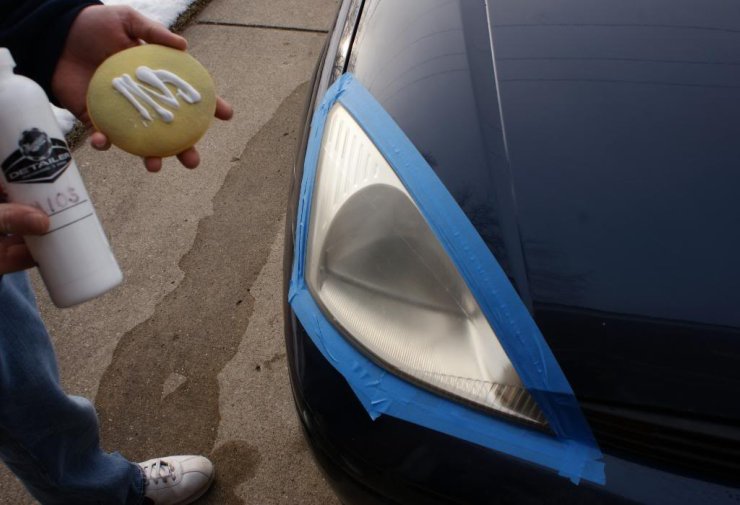
Spread a generous amount of the compound on the pad and work small sections at a time.
Working small sections at a time and adding more polish as needed, use the product in a circular “polishing” motion. Here we used painter’s tape to mask off a small area for comparison purposes.
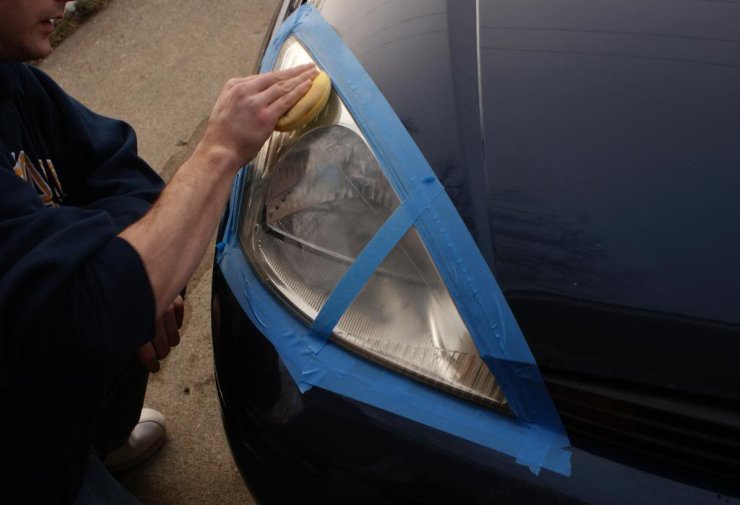
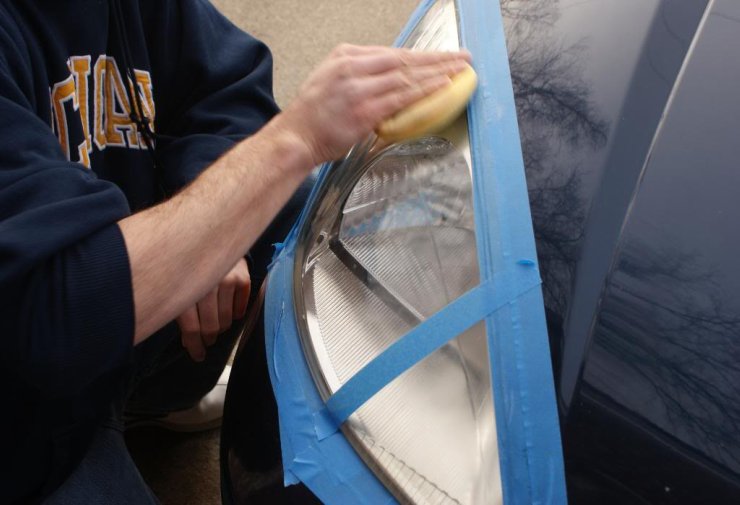
Gently wipe of the polish residue with a microfiber towel and inspect the finish. Though this took over 20 minutes, the results say it all:
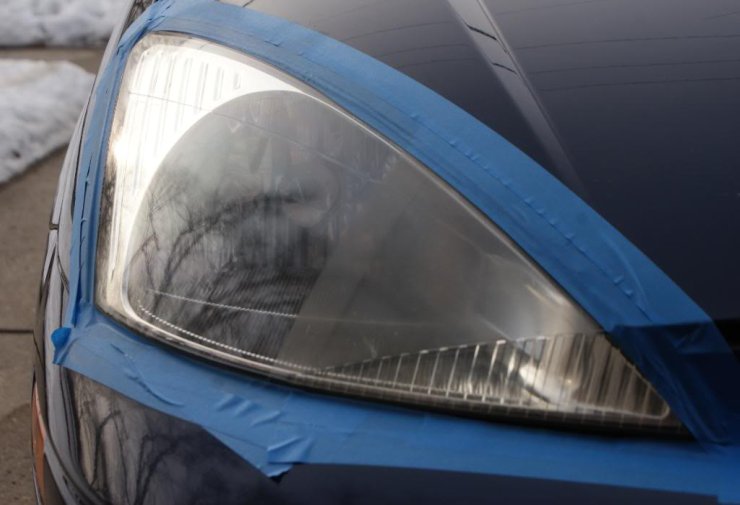
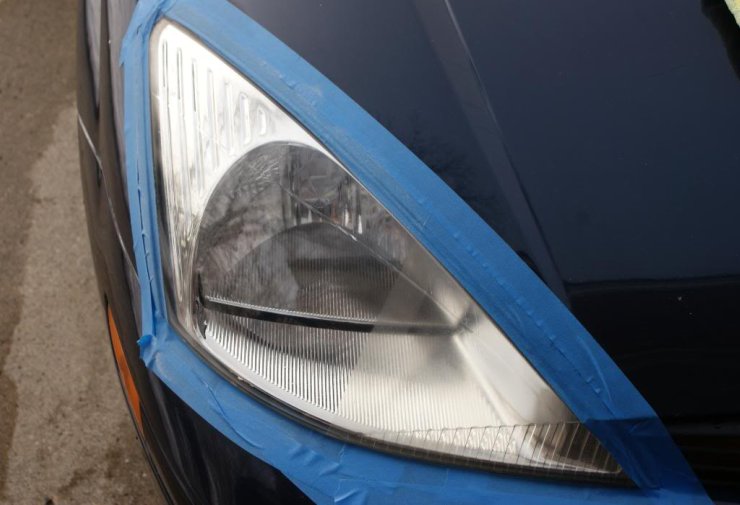
Ten-minutes after inspecting the first section, the final results for head-lamp housing number one look stunning. Though this one housing assembly took over 30 minutes to polish by hand, the cost savings for someone without a machine may definitely be worth it.
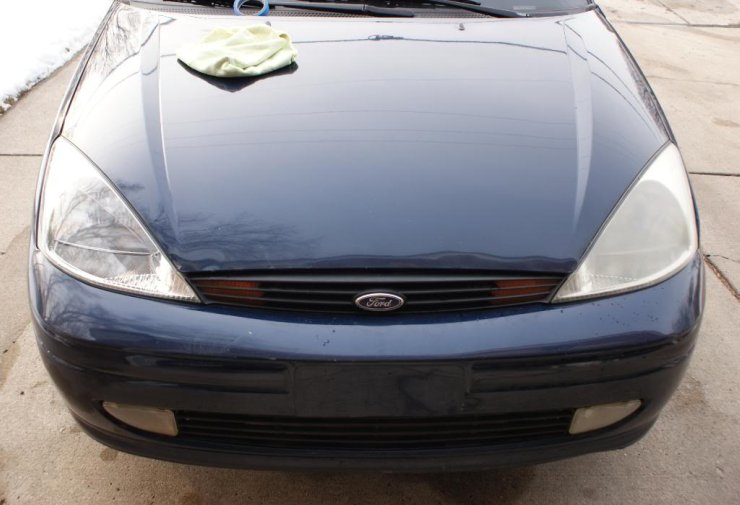
Hand polishing is slow going, tiring, and won’t yield as good results as using a machine, but you’ll only spend a fraction of the money. If you have any questions or tips to share, please do so in the comments section below.
Buy Products From This Article
Purchase the products used in this article individually or in one convenient package here!


Marc,
Thanks for this simple, yet very effective write up. How would this procedure change if you had a machine? Also, wouldnt the M105 cause micro-marring that should be cleaned up using a finer polish like M205? What about other prodcut likes would you would use (i.e. which Menzerna products if any would you use)? And lastly, wouldnt a layer of sealant add some extra protection and prevent the headlights from hazing over again more quickly? Sorry for all the questions, but thanks for your help.
-Mo
Mo,
Outstanding questions. Let me try to address things bit by bit.
I believe we already have a great article on how to do this with a machine. To paraphrase; wet-sand the headlight and then polish it out.
Micromarring is always a worry when working with abrasive agents. The plastic headlight housings are much harder than clear-coat is, so “finishing down” shouldn’t be nearly as much of an issue. If you do feel the need to follow up with a lighter polish to attempt to get additional clarity – awesome! I’ve done things both ways and have had mixed results.
Menzerna makes a lot of really good products. If working strictly with their line, try Intensive Polish, Super Intensive Polish, or Power Gloss. It’s not that this can’t be done with another polish, I just used Meguiar’s 105 because of its cut and popularity.
Adding a sealant to the surface afterwards is encouraged. When we take care of clients, we apply protection to everything to include headlights, tail lights, chrome trim, windows, etc.
I hope this helps to clarify some things and thanks for the comments again Mo.
Marc
This is a great write-up! I’ve been using Mr. Cooperider’s write-up that involved some wetsanding to clear up the headlights, but I found that to be a bit time consuming. I’ll give this method a try the next time around.
Alex,
Todd’s article on headlight revival is very good and will allow you to get better results in a shorter amount of time. This article was designed to show the improvement you can make for people that don’t have sandpaper, a machine like the PC7424, and only would like to purchase a limited amount of supplies. Using the method in this article, each headlight took about 40-45 minutes, and was VERY tiring.
Hope this gives you and others a better idea of the pros and cons of working by hand.
-Marc
[…] out these Ask A Pro articles for added info: https://www.detailedimage.com/Ask-a-P…ation-process/ https://www.detailedimage.com/Ask-a-P…s-on-a-budget/ Good luck! Greg @ DI __________________ DetailedImage.com – Your source for auto detailing […]
[…] Use some Meguiars M105 and a foam applicator. Takes some elbow grease but it works great! Heres a link: https://www.detailedimage.com/Ask-a-P…s-on-a-budget/ […]
Marc,
What brand/type sealant(s) would you recommend for headlight protection after the polishing process?
Simple, concise and instructional article. Thanks for sharing your wisdom.
Hugo
Excellent question Hugo, and I’d highly recommend a product like Optimum Car Wax (spray sealant) as it has UV ray protection which will extend the effect of clear head-lights.
Hi Marc,
Excellent article!
Do you recommend to do this procedure on a car that has not yet reached this level of deterioration? The headlights on my car are still clear (not hazy at all) but have seen some rocky roads. Would you recommend to do this as a preventive measure?
Thanks!
Hey Ed!
I wouldn’t recommend this on a car that doesn’t have very hazy leadlamp housings, as you’ll likely strip away whatever remaining protective coating remains on them. The OEM applied coating is what makes it so they don’t haze over from UV ray exposure, but over time the coating degrades and is removed from scratches and pitting.
If your headlights are in decent shape, I’d even recommend trying to find a pre-cut piece of paint protection film AKA clear-bra to go over them which can easily be replaced after a year or so with another fresh piece.
I hope this helps!
Marc
I used the 3M product/kit used with a drill on a car which had moderate oxidation. It produced great results which lasted more than a year before I sold the car. It seems a bit cost ineffective, however, in that you only get one or two treatments out of it. I’m wondering if I should go with that again on a car with a similar level of oxidation, or if you think the Meguiar’s 105 is simply a better product?
I admit to being uninformed on this in general… and thank you.
Floyd
Iv been in a ford focus at night with severely yellow oxidized headlights, it was wercked now the driverside is brand new and the passenger side is severely yellow oxidized and I still cant tell the difference. my advice to people with serverley yellow oxidized headlights is leave them alone there not going to be any brighter if you have them replaced, it hard earned money down the drain.
For this procedure, isn’t it true that regardless what process and how well it’s done, once the uv coating is sanded off, the haze will return as early 30 days? Unless is it sprayed (painted) back on.
Hi, just heard about OPTI-LENS. It sounds like a good uv coating, that could last quite awhile. I just ordered some today. Hope it works.
OK..so this is how I get the haze off my headlights. I use the product recommended for cleaning glass top stoves. I figured it gets the gunk off the glass top, why not try it on my headlights. I do tape off around the headlights and use a soft terry cloth rag to apply. I use a circular motion and rinse with clean water. If the surface still looks hazy, I repeat the process. Probably takes 5 – 10 minutes per headlight! I have been doing this for a year and have not experienced any negative effects on the headlight surface!
I own a Toyota Tacoma which are notorious for glazed headlights. I found a very inexpensive yet effective product that you can buy at walmart. It is called Wipe New. It uses a hand wet sand technique with a sealer coat. The results were astounding and the kit cost about $12 and contains enough sealer to do several sets of headlights. All you need to do after that is apply some UV protectant wax to the surface every couple months (depending on your climate, I am in Middle Georgia) to maintain the clarity. I have pictures of the before and after.