Brinkmann Dual Xenon: DIY Battery Replacement
by Zach McGovernThe Brinkmann Dual Xenon light was a staple in the automotive detailing industry for years before the item was discontinued. Many of us still use these lights for inspection, however if you’re like me and use it frequently, you may be due for a new battery by now.
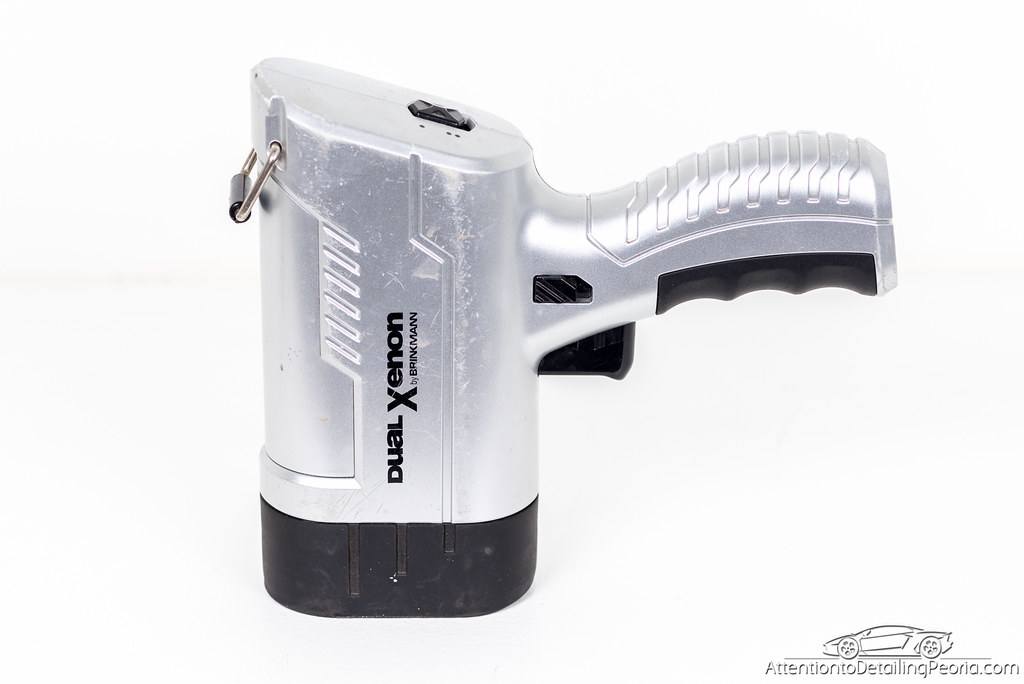
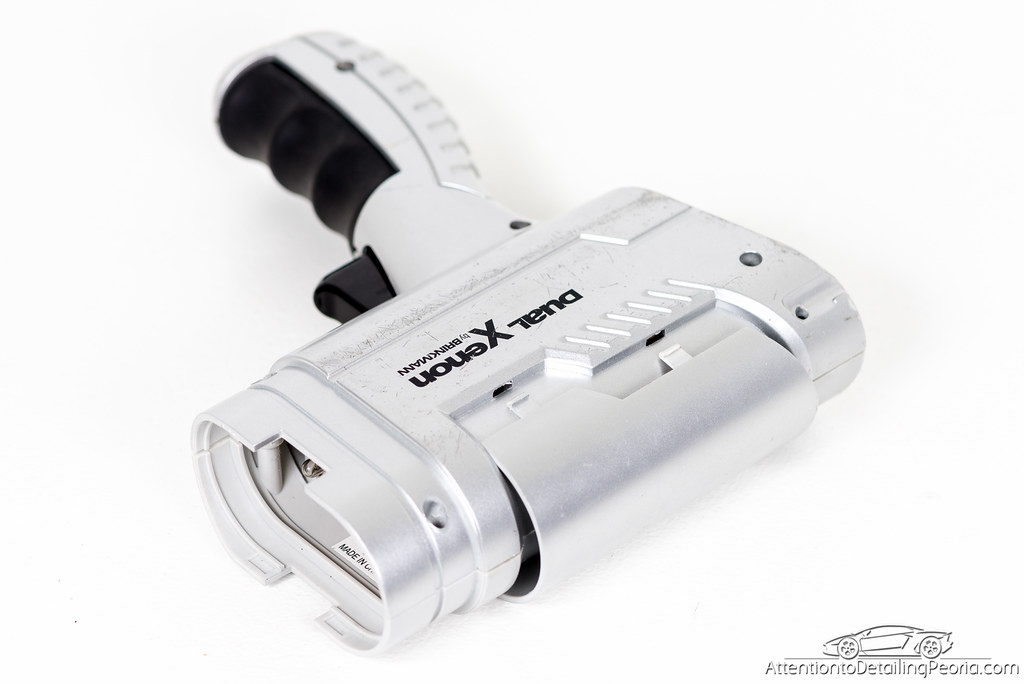
After years of constant use, my Brinkmann has gone through its fair share of wear and tear (as you can see in the image above). It survived many drops, bumps, and a lot of time on the charger. It was clear that the tool was having issues when the red light that indicates if the battery is charging would no longer remain lit while the device was plugged in. I decided to disassemble the light with hopes that the parts were serviceable and that I would be able to repair the light.
Disassembly Process
Required Tools: Phillips Screw Driver, Flat Head Screw Driver
Estimated Time: 5-10 minutes
Begin by removing the rubber cover from the front of the light. This piece is simply pressed into place and is easily removed by grabbing the light with both hands, and using your thumbs to push the rubber piece off.
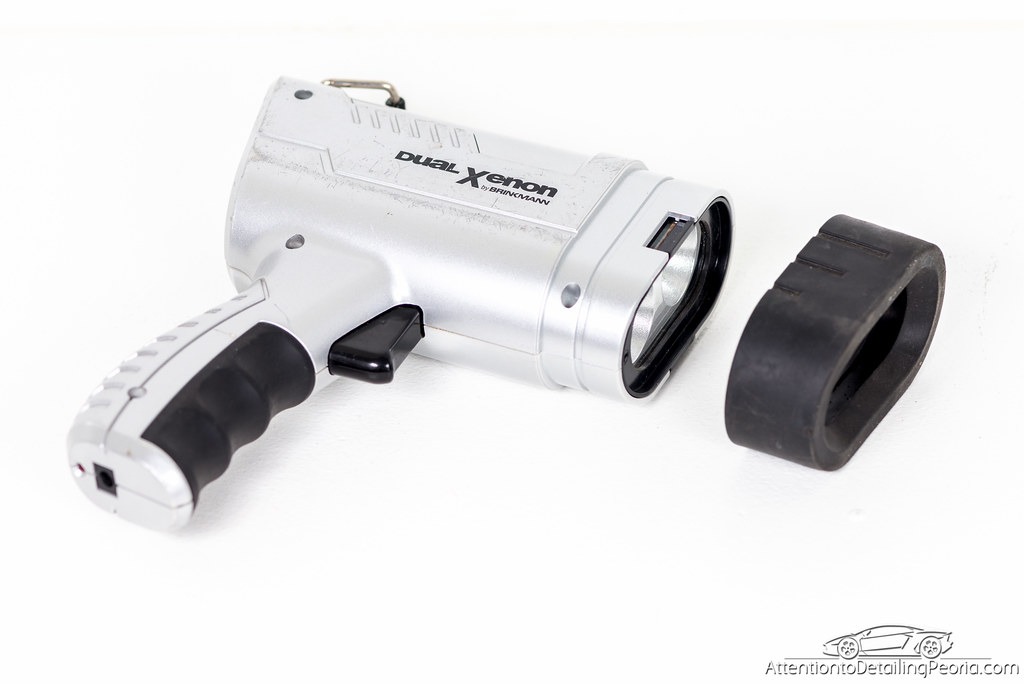
Next, carefully remove the plastic cover, lens, and reflectors from the front of the unit. These are loose fit and will fall out on their own if the light is angled downward, so keep the unit on a level surface to avoid the risk of dropping these pieces.
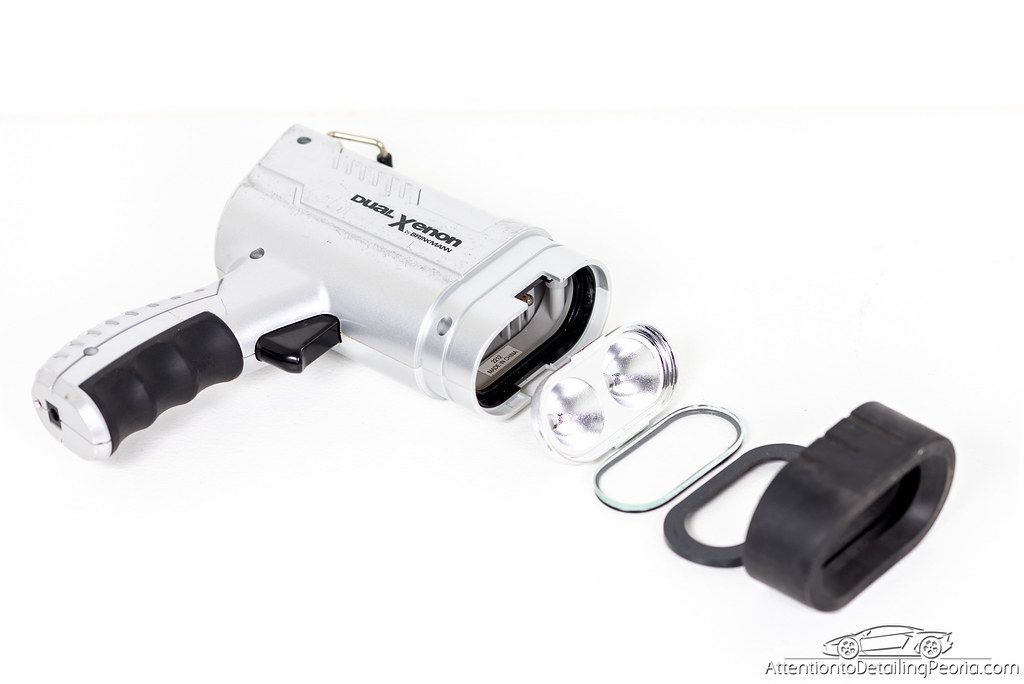
Remove the 5 screws on the right side of the light with a Philips head screwdriver. Remove the belt clip from the rear by spreading apart the lower ends of the clip until one side is free, then lift off of the unit.
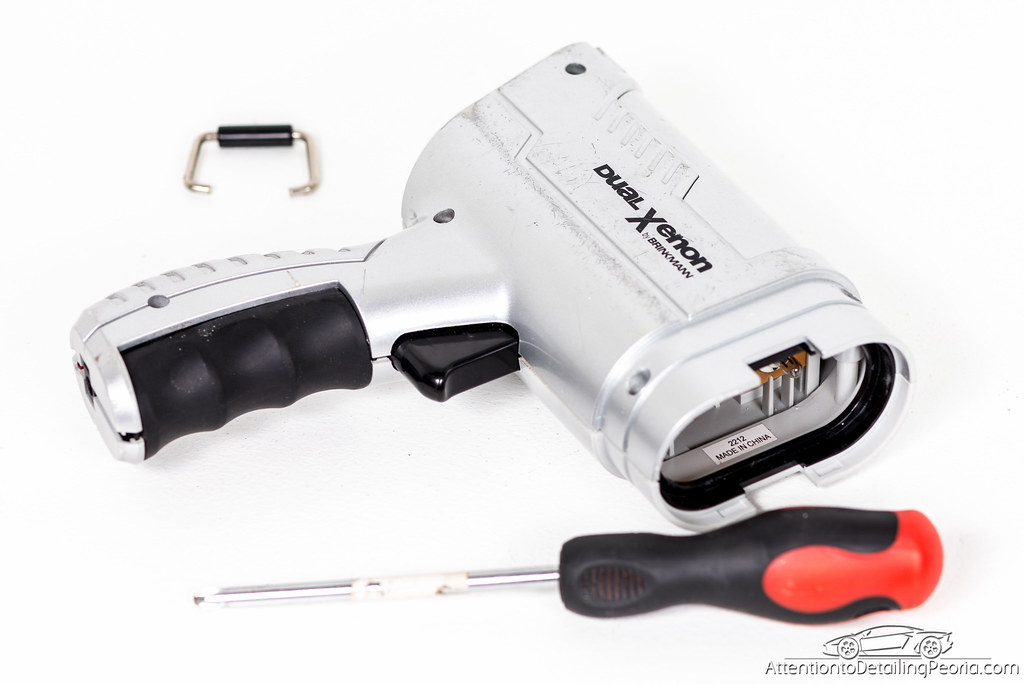
Next, remove the top panel from the light. This piece is assembled to the sides with 4 plastic clips, 2 on each side of the light. 
Use your flat head screwdriver to disengage the clip that is visible from the front of the light while simultaneously pulling the top panel away from the light with your other hand to remove this panel from one side of the light.
You are now able to completely remove the side panel. Lay the unit on a flat surface and carefully lift the right side cover. There are many pieces (switches, springs, battery, trigger, grip, circuit board, etc.) which can fall out or be moved during this process, so be careful. It is likely that one or more pieces will be moved, so use this image as a guide for replacing the pieces in their proper location.
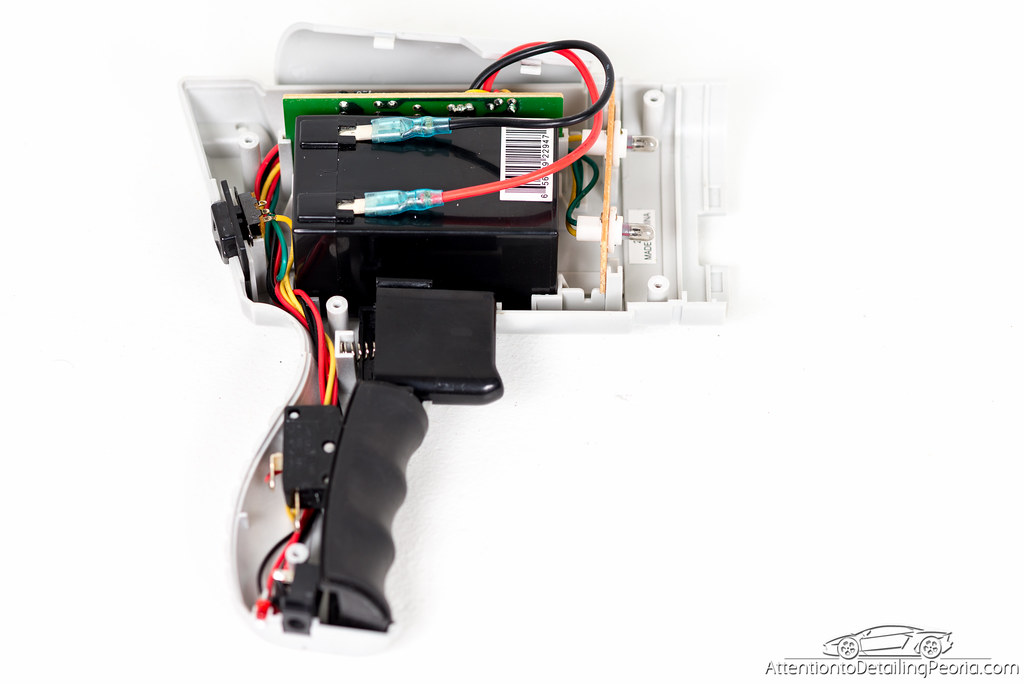
Disconnect the leads from the battery and remove the battery from the unit. Take the battery to a local battery store to find a replacement.
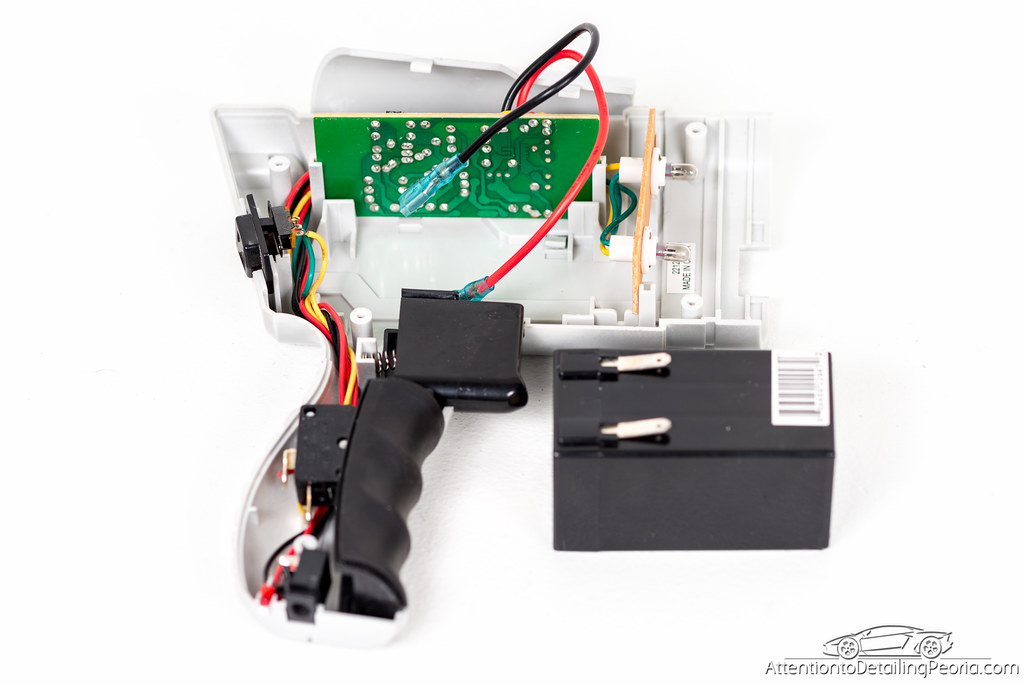
Install the new battery and reassemble the unit. It is a good idea to ensure the unit is fully functional before completely reassembling.
*Disclaimer: Please keep in mind that this is just a guide and does not account for all possible scenarios that may be encountered during the repair. Neither Detailed Image nor myself can be held liable for any damage to equipment, injuries which may have been incurred as a result of this procedure, or any other mishaps. Attempt this at your own risk.*


Nice but finding bulbs is a big problem since it was no longer made
I haven’t had any bulb issues with ours, so that is a problem I have yet to run into.
Any battery model # info?
Sorry, no – the battery didn’t have many markings on it, but when I brought it to my local Batteries Plus store, they had an exact replacement for it.
The difficult issue lies with the bulbs. One went out in mine a while back and I’ve looked everywhere I can think of – both locally and on the internet – but can’t find a replacement bulb. Anyone have any suggestions?
I’ll see if I can get any information from Brinkmann
It appears the Brinkmann Corporation filed for bankruptcy in October of last year… my attempts at reaching their customer service listed on their website were not successful (website error). There is still an owners manual available which walks you through bulb removal. I would simply start by removing the bulb to see if it had any markings on it which could point you to the specs needed for a suitable replacement.
Thanks so much for trying! Yeah, I removed the bulb and took it with me to every place I could think of…Lowe’s, Home Depot, various mom and pop lighting stores, RadioShack, etc. However, no one had that bulb or knew where it could be obtained.
Glad I saw this. Was going to trash my Brinkman LED. Went to Battery Plus today and found replacement battery and it’s working like new. Original battery was KT625, 6V 2A. Replaced with:
Item Number: SLAA6-2ST
Brand: Duracell Ultra
Voltage: 6
Lead Acid Type: General Purpose
Capacity: 2AH
Chemistry: Lead Acid
Lead Acid Design: AGM
Product Category: Sealed Lead Acid
Terminal Type: ST, Side Tabs
Weight: 0.6 lbs
Thanks for the write up. I have mine apart currently but haven’t made it to the battery shop to pick up a replacement. They said it was $20 at Batteries Plus. WAXOFF
For everyone looking for bulbs, they can be purchased through Snap-On. I will provide the part number on Tuesday when our local truck comes by.
Thanks, Josh!
Just spoke with Snap On, and the bulbs are soon to be discontinued. Unfortunately he was unable to provide a date of when that will take place, but as of today the bulbs are still available. Part number for them is, EFCDUX1.
Do you know the price Snap On is charging for the bulb?
Thanks for this article. I got my battery and got the light working again Batteries Plus Bulbs had it.
I asked the Snap on guy and he can’t find that # in his computer
Zach,
What do you utilize now since it’s been discontinued?
Thanks
Hi John – this article was written to help owners of the Brinkmann Dual Xenon light to repair their tool since purchasing a new one is no longer an option.
In addition to the brinkmann, we use a variety of hand held LED Flashlights for inspection.
THE 5 CELL REPLACEMENT BULBS FOR A MAGLITE WORK JUST FINE AND ARE ABOUT $3-4
DON B
I can’t turn the five screws that are on the outside, they are very tight. I’m afraid I’m going to strip them. Any suggestions?
Thank you thank you !! I could not remove the screws but Batteries Plus did it for me and did all the work, replaced the battery and only charged me $20.
I replaced the lens, reflector and cover and now it’s perfect ! Thank you !
Donna Sturla
First, THANK YOU SO MUCH for posting this DIY. My Brinkmann would not charge. I was getting ready to throw it away and buy a new swirl finder light but something told me to Google “battery replacement” for this light. Thank you to everyone who suggested to go to Battery Plus for the replacement. I looked up the model the Brinkmann comes with on Battery Plus’ website and it came back with a compatible Duracell one. The Duracell model is SLAA6-2ST or search KT625 which is the original battery. They usually have a 10% off coupon code for ordering online and picking up in the store. My light works again…and I’m so thrilled because this is an excellent light for examining defects on paint. Thanks again!
Dear Zach, Xabo and the other participants,
Thanks so much for providing just the info I need for my Brinkmann Dual Xenon. This is the way I remember the Internet of years ago working: people being so generous with their time and what they know. Today, the internet is, IMO, declining as a source of this kind of cooperation and giving.
Thanks for helping to renew my faith in the medium.
Laertes
Hey!
Thought I would let anyone interested know that I just fixed a dead MaxFire! I purchased the battery from Batteries Plus, it has DURA6-2ST, written on it…but it is also known as SLAA6-2ST.
For the bulbs, I purchased 2 Maglite 6 Cell xenon bulb replacements, Model LMXA601L.
Thanks Zach for steering me in the right direction!
Anyone out there have an idea what plugin charger # or mah’s needed for this this duel xenon Light By brinkmann ? …Mines got lost moveing around over the yrs ….
This may be a little late, but the charger specs are:
Input: 120V AC 60Hz 8.5W
Output: 12V DC 300mA
THANKS SO MUCH!!! I pulled out my Brinkman Dual Xenon after years of slumber only to find it would not take a charge. I didn’t realize it contained a SLA battery!!! Anyway, I couldn’t get mine apart, but your tutorial saved me! My gun is shining bright once again and I’m ready to seek out & destroy some swirls!!!