Black Paint: Struggles & Care Tips
by Rodney Tatum
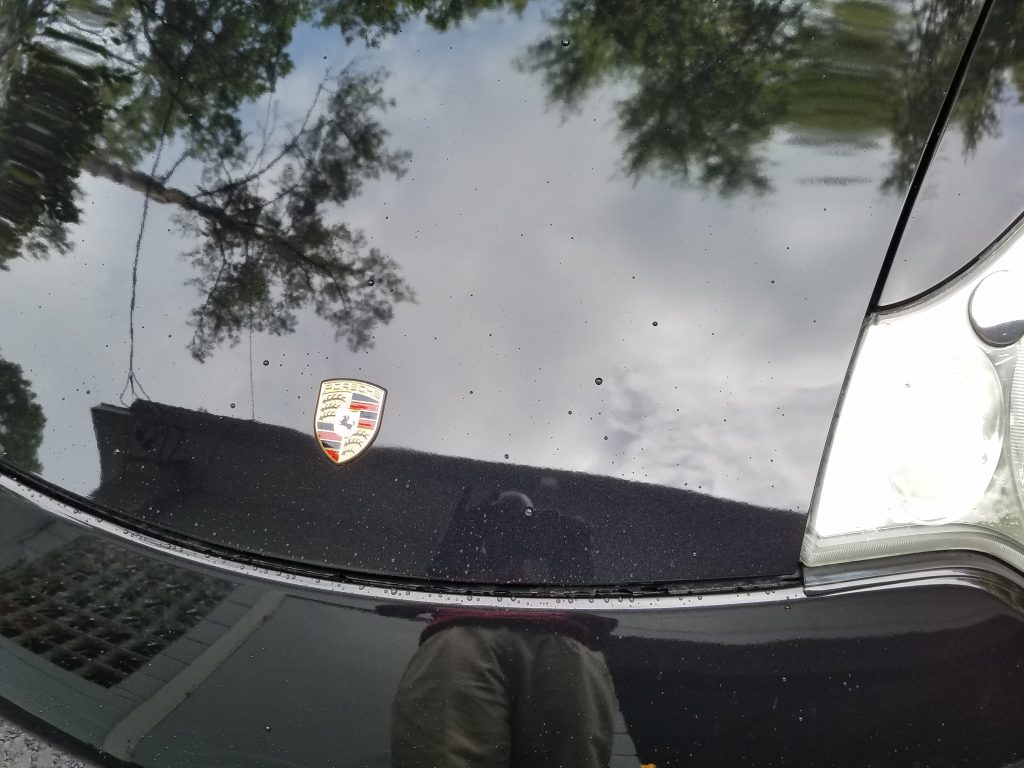
Oh No! The horror stories of polishing black cars. GMC and Tesla black cars might have some detailers waking up in a cold sweat dreading the terror. Although the concerns and frustrations do have some merit, they are generally overrated. Black paint inherently reveals the shortcomings in our efforts that are not as easily visible with other colors. I will go over some common issues I see from people who have struggled polishing black cars.

Are you overworking your pads?
I have never done a light paint correction using less than 4 pads. It is not uncommon for me to use 10 or more pads with a multi-stage paint correction. I also brush or blow my pads out often. When you run your polisher over the paint through a polish cycle, think about what is left on your pad. You primarily have a combination of used up polish and abraded paint. You can scrub or blow out the debris on your pad for only so long before it loses its effectiveness. Over time your ability to correct and refine will be diminished and the debris left will reintroduce defects back on to the paint.
Is the surface clean? (Decontamination)
If you skip the clay bar treatment and go to straight to polishing, that is asking for trouble. If you are polishing with a dual-action polisher the bonded contaminants are going to create somewhat of a barrier against you. Your paint correction is going to be inconsistent and overall less aggressive. If you are using a rotary, it may be strong enough to power through the contaminants but will leave worse holograms in consequence.
Are you using the wrong pad and polish combination?
You use a microfiber or wool pad with your favorite compound, and it leaves marring. That is supposed to happen! Often the steps skipped (refinement polishing) because you may have been able to justify an acceptable result with your eyes on not only harder but less noticeable paints. That last 10% percent of clarity that you overlooked is more obvious looking at a black car.
Those cheap big box store microfibers towels
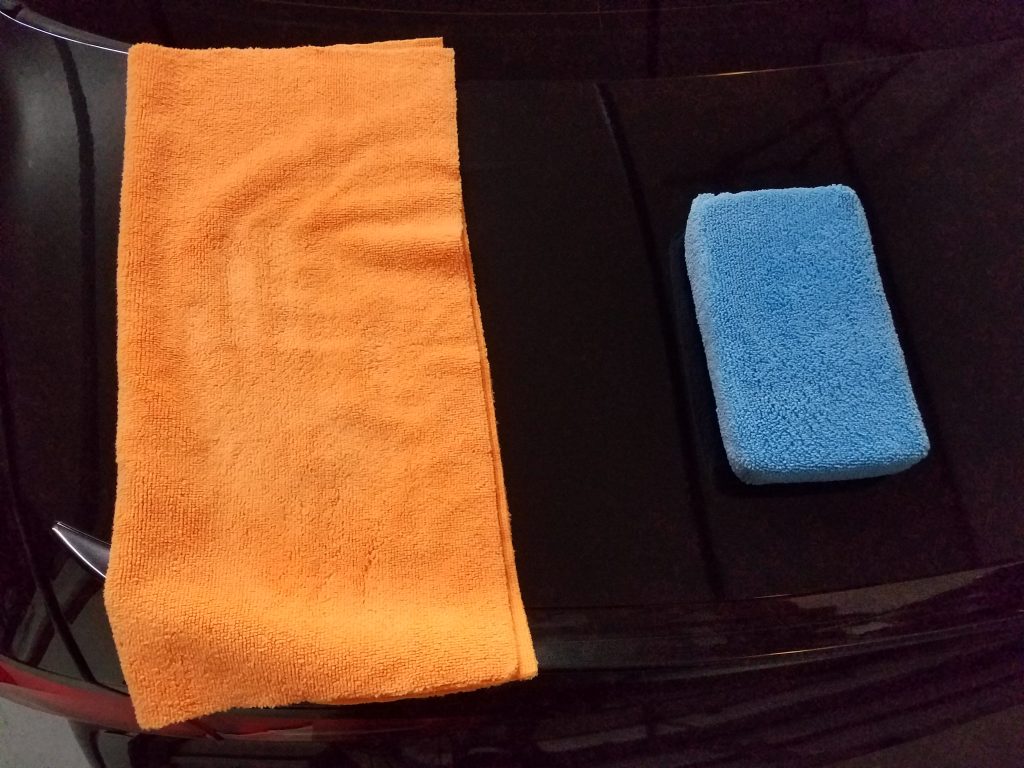
Let me start by saying, I believe they have their place (interiors, wheels, etc.), but not if you spent hours or days polishing a car. Does not make sense to potentially damage the paint with a final wipe down using a cheap microfiber towel? I don’t think so. Gyeon Polish Wipe towels, Carpro 2 Face, and the Rag Company Eagle Edgeless towels are some of the high-quality microfiber towels I have enjoyed using.

IPA vs an actual panel prep
Products like Carpro Eraser, Gyeon Prep, Gtechniq Panel Wipe, and Optimum Paint Prep are products created with the intention of removing polish residue from a scratch sensitive painted surface. I understand professionals and enthusiasts have enjoyed success mixing rubbing alcohol and distilled water. I personally rather spend a little more and feel more comfortable about the outcome of my work.

Know your polishes!
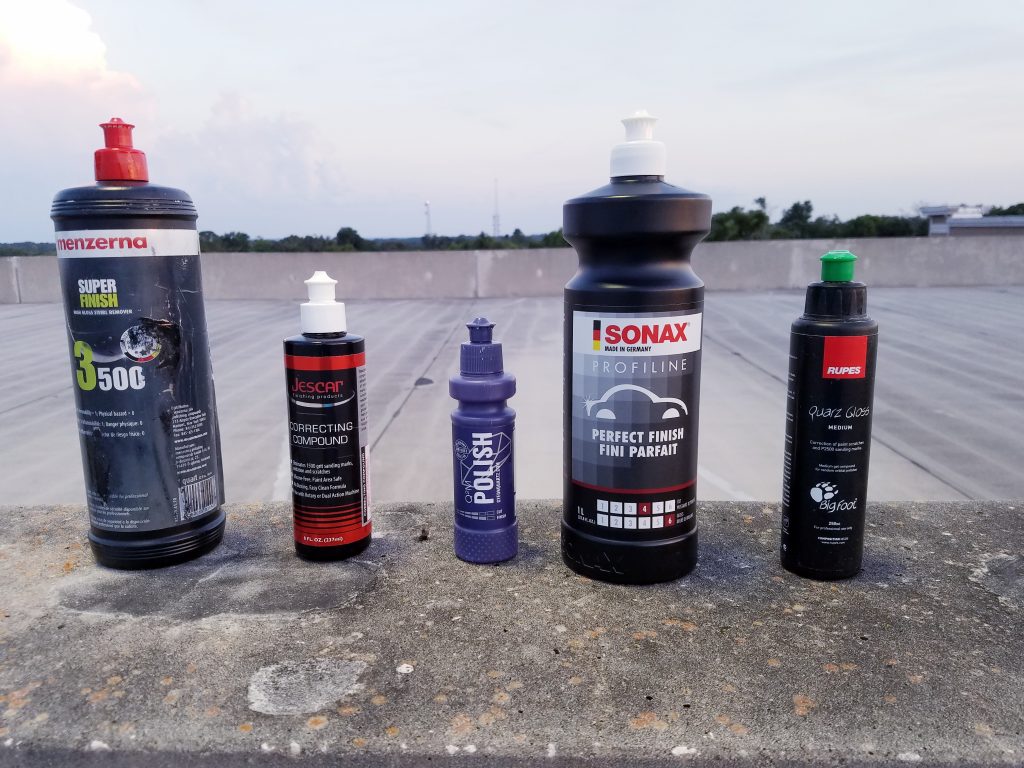
What is one thing these brands of polishers have in common? They have liquid abrasives. Beyond that, they all are unique in certain areas. From working time (polish cycle), effectiveness with a polisher or pad, cutting/finishing ability, and wipe off challenges they are not exactly alike. They provide can provide unique results. Do you grab any mild polish and a compound that is popular without reading the instructions and getting a feel for how the abrasives work? I have a enjoyed good results with all of the polishes listed in the above photo.


Great article. And as a dark blue car owner, I can attest to everything said.
One question though. You mentioned in the section about overusing a pad, When you mention that you use up to 10 pads, that makes sense, however you also mention that after a while the build up on the pad will diminish the results. Does that mean the pad should be junked? You do mention that you clean them out regularly as you go, so I’m curious why you can’t continue to clean the pad to help make it more effective, or maybe its past its useful life at that point. Or maybe once you’re done, you soak and wash the pads more thoroughly to help clean more debris out to make them ready for the next detail.
Great article and tips though
Thank you!
There is cleaning out a pad while working on a car. This extends its working life on a car. But it has greatly diminishing returns. You are not getting them 100% clean on the fly and each time it may go to 95% clean to 90%, etc. Usually after a couple of times cleaning, I am on to the next pad. You still will go through some pads, just not as quickly.
Then there is the post detailing pad cleaning. That to less of an extent has its own diminishing returns. The difference is depending on the material and quality the cleaning wears down the pad.
No, they do not need to be junked after the first use.
When using a pad, on average(+ -) after the 2nd polishing session I may use a cleaning brush to brush-off dry debris build-up from the pad or use compressed air. I’ll go back to polishing. One polishing session later I will do it again. This is essentially cleaning on the fly.
After 2 or 3 times of cleaning on the fly, that pad is done for the day. I don’t toss them but after a while they need to be thoroughly cleaned. How soon? It varies on a variety of factors. Cleaning on the fly is like brushing some debris of your shirt you are wearing, but at some point it needs to be washed.
Now tossing them: that time frame varies on a variety of factors as well – (appearance, excessive dusting being the key indicators.
What are you using to Clean the pads
DI Pad Cleaning brush while working.
Snappy Cleaner when I am done.
In reading your article I have a similar question. Are those 10 pads that you are using no longer worthy of correction going forward. That seems to be a big expense, especially if I’m using hdo pads? Thank you for your article.
No, they do not need to be junked after the first use.
When using a pad, on average(+ -) after the 2nd polishing session I may use a cleaning brush to brush-off dry debris build-up from the pad or use compressed air. I’ll go back to polishing. One polishing session later I will do it again. This is essentially cleaning on the fly.
After 2 or 3 times of cleaning on the fly, that pad is done for the day. I don’t toss them but after a while they need to be thoroughly cleaned. How soon? It varies on a variety of factors. Cleaning on the fly is like brushing some debris of your shirt you are wearing, but at some point it needs to be washed.
Now tossing them: that time frame varies on a variety of factors as well – (appearance, excessive dusting being the key indicators.
Can you clarify what you mean by “after the second polishing session”? Is that the second 2′ by 2′ square or the second panel? What combination of buffer/pad/compound do you use for a two step correction when the customer wants the finish as perfect as possible? I have been successful using my Griot’s G9 with Menzerna heavy cut compound on a microfiber pad for one step processes but it does not remove everything. I wonder if my technique or equipment is not correct. I think I may be going over the panel too many times. What do you suggest?
When I mention 2 step polishing process: Essentially in a two, step 1 being your correction of the defects. For example using a compound and a somewhat agressive to very aggressive pad and removing the defects to satisfaction. The 2nd step is a refinement step that removes the defects you create with aggressive polishing. It is a refinement step, as compounding leaves a certain amount of micro damage (haze).
What I use will really very including the number of compounding sessions depending on a myriad of factors, although I admit I shy away from chasing perfection (risk vs reward + customer habits).
Is it possible the problem is you have not removed the defects you were chasing, due to more compounding needed and or technique, certainly! But the first thing that crossed my mind was Menzerna Heavy Cut w/a microfiber pad is an incredibly aggressive combination. It is more aggressive than what I normally do correction wise. There are less aggressive polish and pad combinations that I would autimatically refine for a 2 step correction. So what I think is more likely what you see is the damage created from your polishing that is more obvious with certain paint colors.
You are correct that the aggressive compound and buffing pad should damage or dull the finish but it wasn’t really obvious. The surface micro-marring went away but the deeper scratches remained. The vehicle was a Basalt Black 2014 Porsche Panamera. Would you consider this a hard clear?
I do question my technique though. I used to have the habit of pushing too hard when using a rotary buffer and I wonder if I’m doing that as well with an orbital buffer. I typically go over a 2′ x 2′ square five times in one direction and another 5 times perpendicular to it. Is this too much and I’m wasting my time? Each 2′ x 2′ square gets 4-5 dots of compound. I have had the philosophy that if some is good, more is better. Maybe I’m wrong. Thank you for your help. Gil
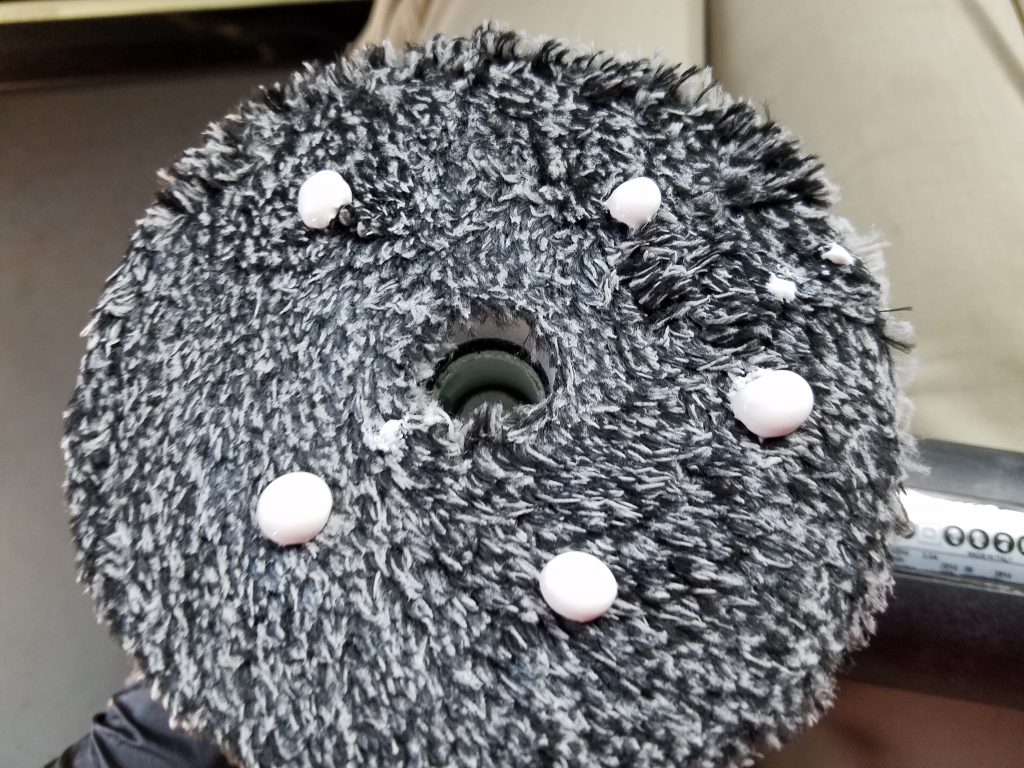
You are probably using way too much polish! See the 2nd picture in this diagram: that was my first (initial) application of polish. My next I only used 3 drops. Oversaturating your pad and overloading with abrasives is probably not allowing the product to work effectively. Next, are you marking your backing plate (with Sharpie)? I.e. to see if your pad is still stalling. Also USUALLY I am doing anywhere between 4 to 6 (some exceptions) cross hatch patterns depending on the kind of polish used. (5 + 5) essentially 10 is extreme. It may seem like it is not because you are probably using too much polish, but it is still probably reached a point where you are no longer effectively correcting in addition to likely remarring the surface.
Not being with you in this process, these are guesses; but I also wonder if you are moving too fast (with the polisher)? A section pass should be usually be a 20 to 30 second experience when compounding working those dimensions.
I just bought a 2018 Cadillac XT5 Stellar Black Metallic, The dealership detailed it out so now what do I use to keep it up? There are so many products to choose from with some many different reviews. Who to trust??/ Thanks.
Buy a clay pad,,,, clay lube,,( or bottle water and add a bit of dish detergent)).. spray lube on hood and gently run your clay pad or clay over it until you reach desired results.. be sure the hood is cool and do it in a shaded area!! .. you probably will need to Polish after …