Black Lamborghini Murcielago Paint Correction and Clear Bra Prep
by Ivan RajicThis was by far one of my favorite detail jobs ever! The client came to me looking to polish to perfection this gorgeous Murcielago SV before he wrapped the whole thing in paint protection film (clear bra). He purchased it only a few weeks before the detail job was to be done and wanted to perfect and protect it ASAP. The car was quite a mess when I first saw it, as you’ll see in the photos below. In addition to the typical swirl marks on a black car, I had to remove the original film that was on the hood, fenders and front bumper. Once that was removed, I was in for quite a surprise beneath, which I’ll explain a bit later in the article. Overall there was nothing out of the ordinary in terms of dealing with odd paint issues, etc. It was simply a lot of work consisting mainly of about 4-5 polishing stages over a course of 4 days. While I’d love to write about how amazing this car was to work with and how great it looked after the work was done, I think the photos below will easily tell the story…
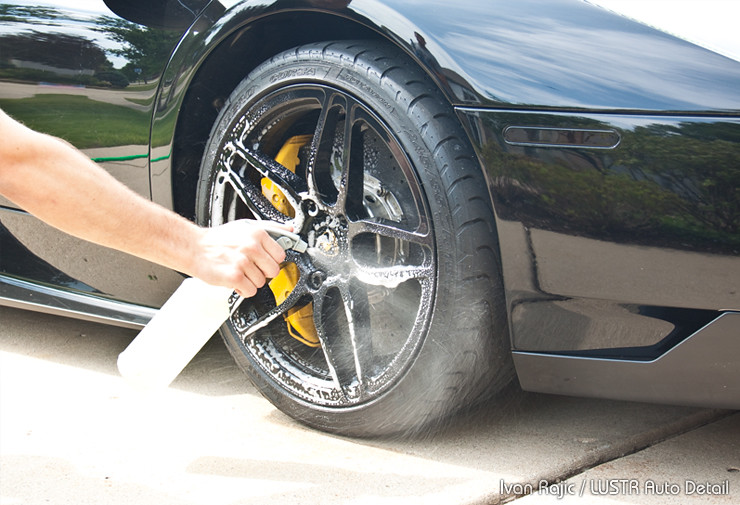
I started with the wheels and used P21S Gel Wheel Cleaner to fully clean them…
Meguiar’s All Purpose Cleaner Plus (D103) was sprayed on the wheel wells to break down some minor dirt…
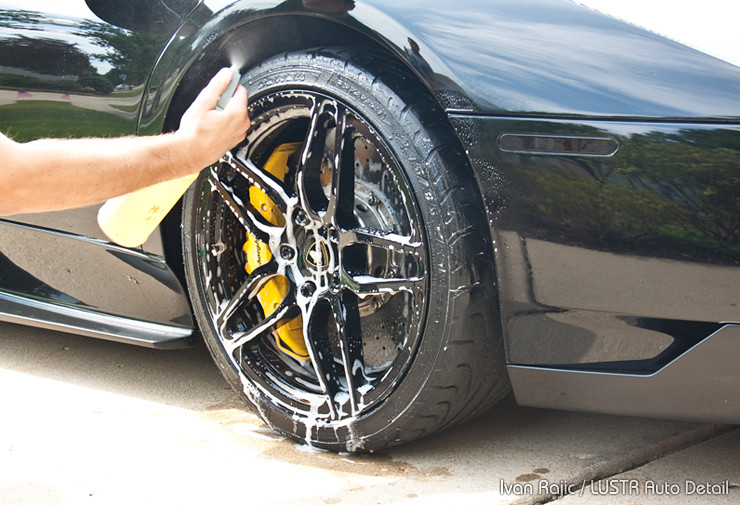
Like with every other detail job, I used the full size EZ Detail Brush to reach the inside wheel surfaces…

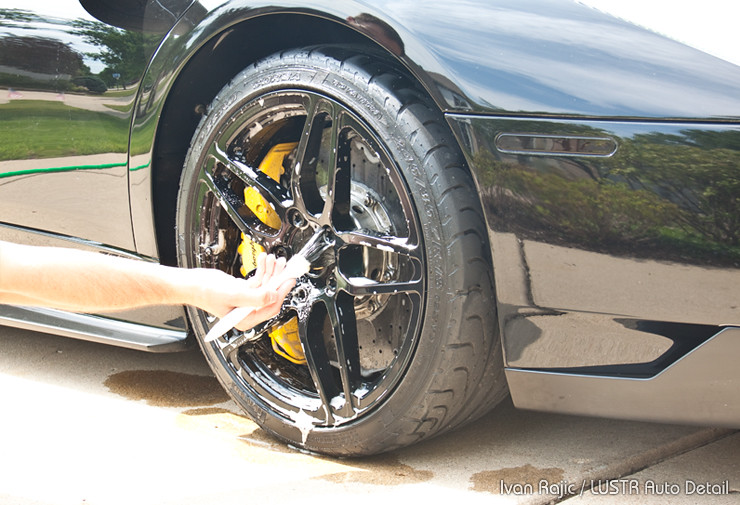
The mini EZ Detail Brush, which I purposely bend specifically for this task, was used to clean behind the spokes…

I used the DI Boar’s Hair Detailing Brush to clean the spokes, wheel bolts and brake calipers…

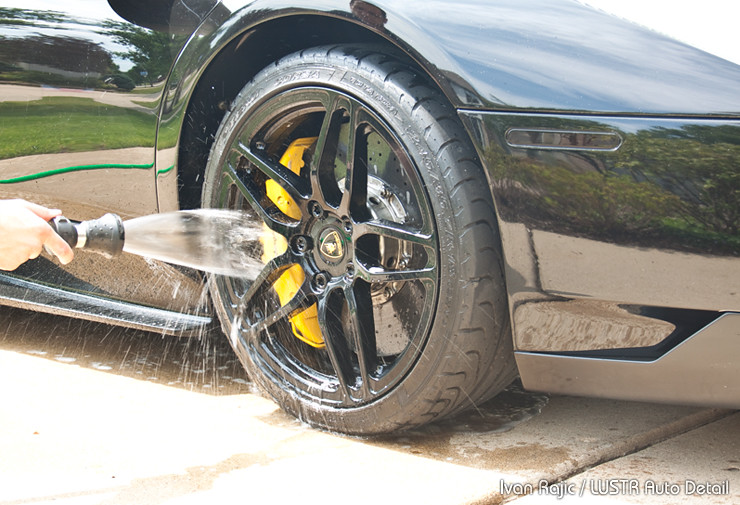
Rinsing the wheels after everything was brushed clean…
I used Dodo Juice Born Slippy Clay Lube…

and a Clay Magic Fine Grade Clay Bar to remove some minor contamination that was on the Lambo…
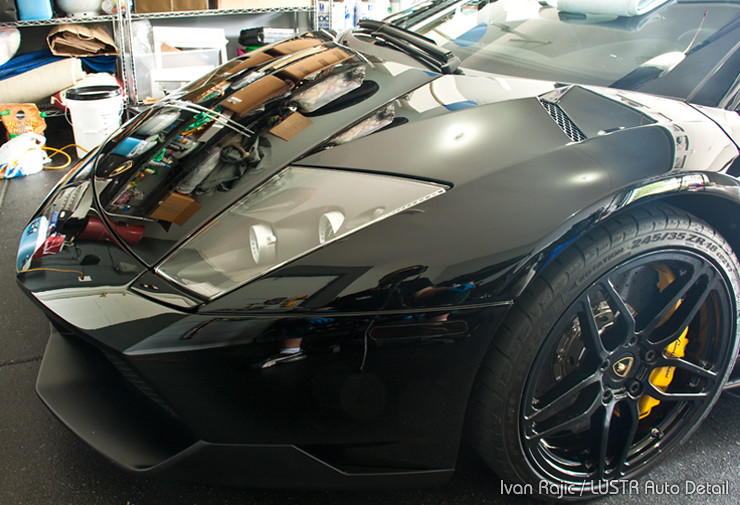
After washing it (I didn’t get any photos of the wash process for some reason) I wanted to take a bit of a different before photo. As you can see below, the paint looks glossy, reflective and like a mirror, but all because of the angle and lighting.
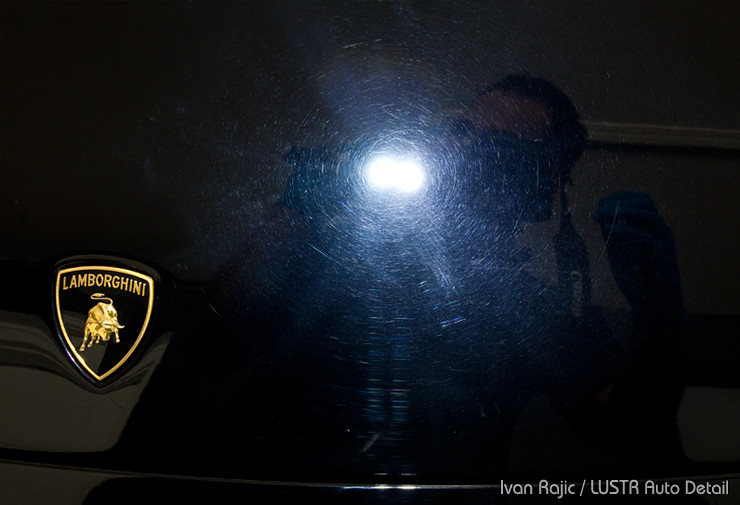
Here’s what it actually looked like…
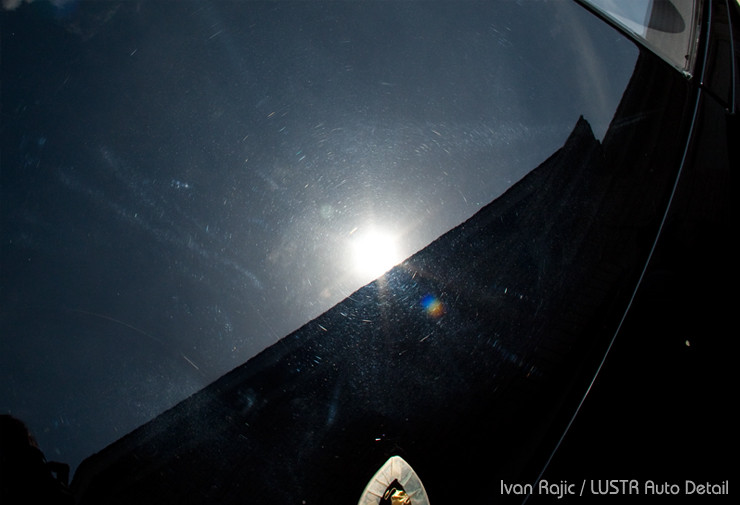
This was below the paint protection film. For some reason, the paint under the film was in much worse condition than the rest of the car. I can only assume the car was either not detailed properly after the clear bra was already put on, or someone did a very bad polishing job on the areas where the clear bra was originally to be applied. Either way, it wasn’t a pretty picture, to say the least.
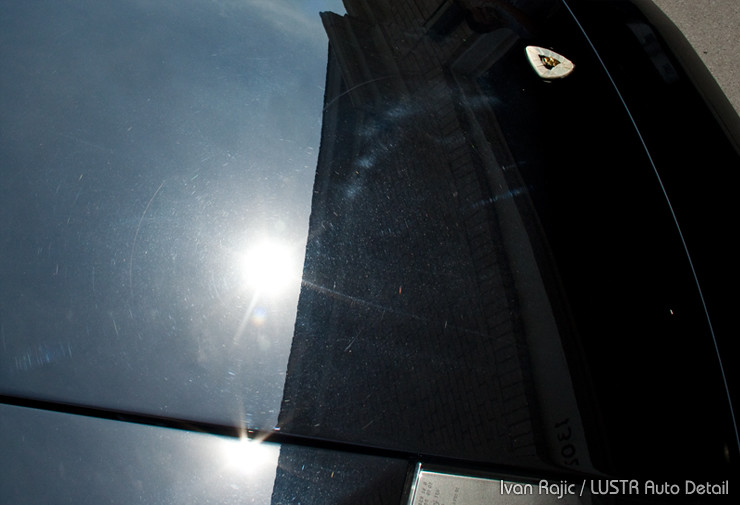
Along with all the swirlmarks, there was a fairly deep and wide scratch on the hood. I assume it happened during the clear bra installation where someone wiped the hood and didn’t really care for what was on it.
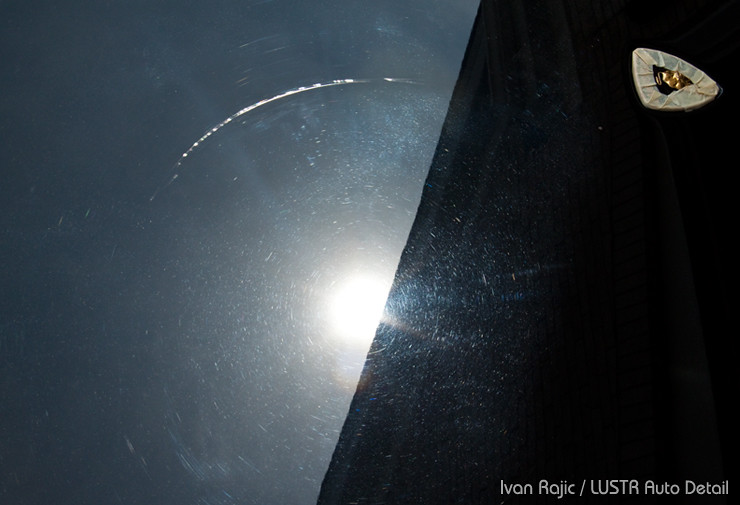
These are some photos of the rest of the car before any paint correction was done. Roof…
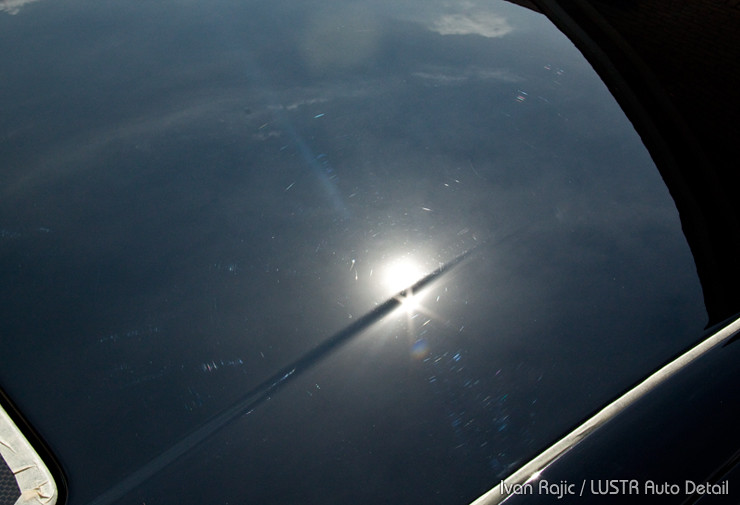
Mirror…
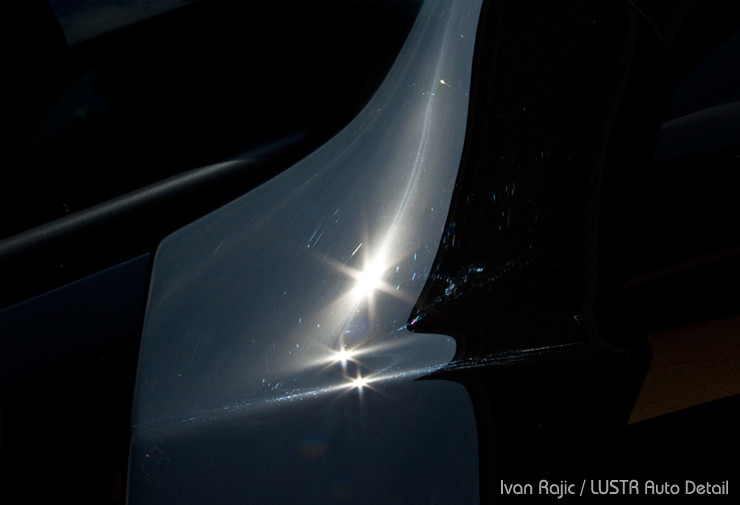
Rear pillar…
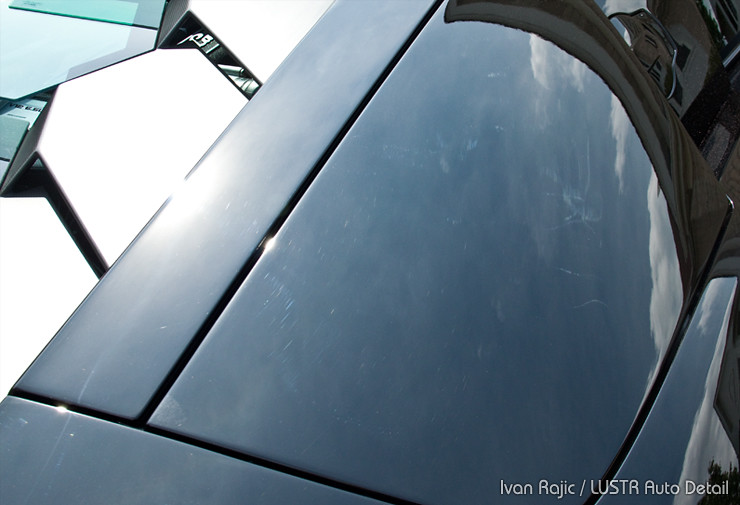
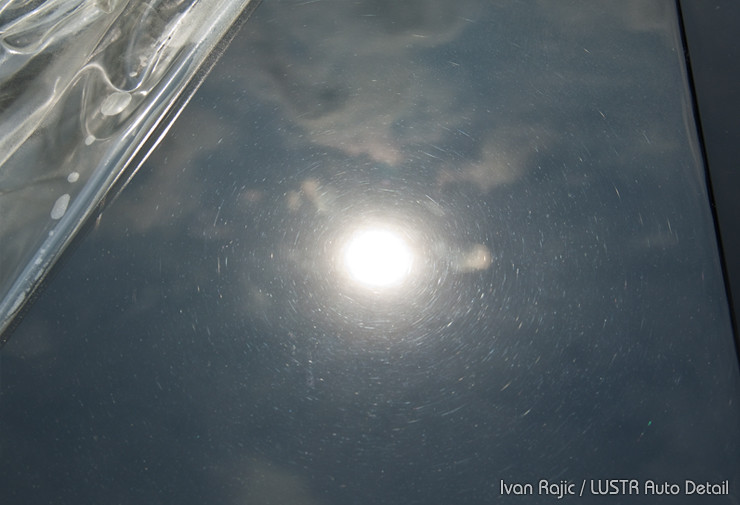
Once again, the hood condition as I was removing the film…
And a photo of the hood inside using the Brinkmann LED Spotlight…
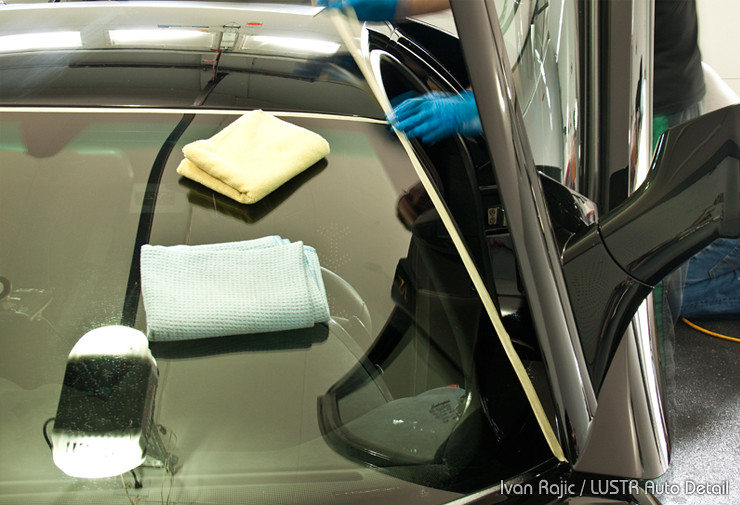
A little bit of taping…
And a lot of polishing…

Got us these results… Few before/after shots…
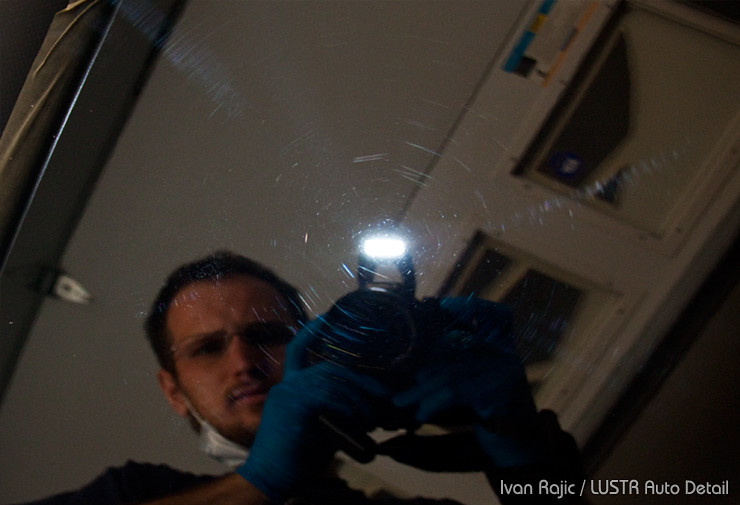
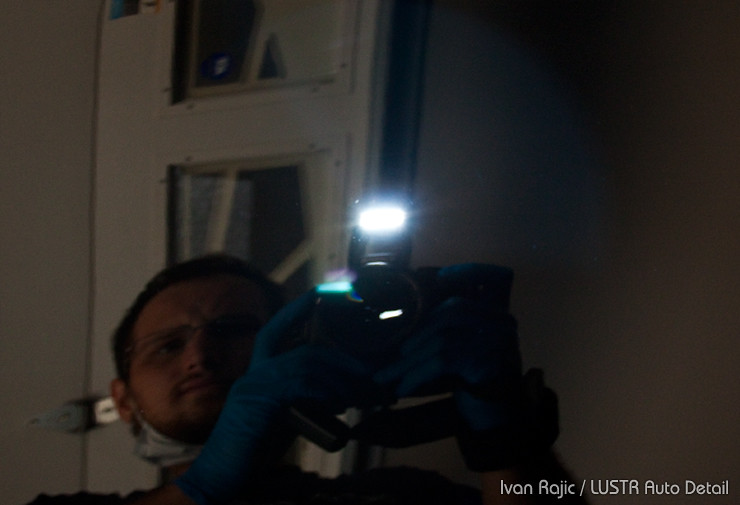
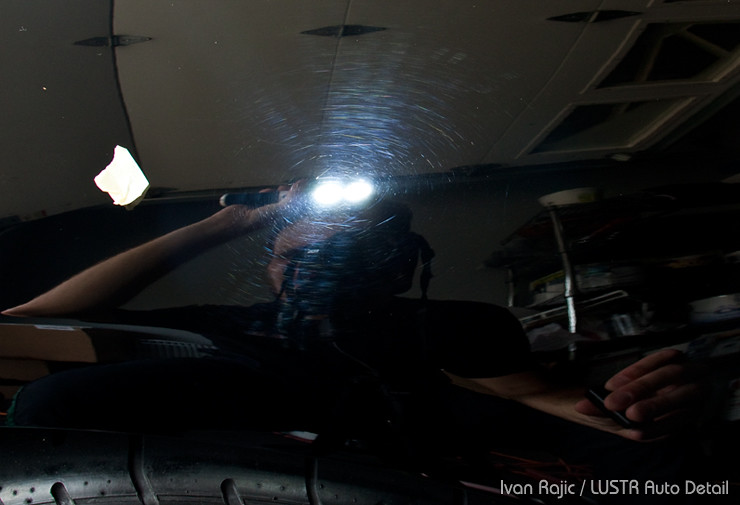
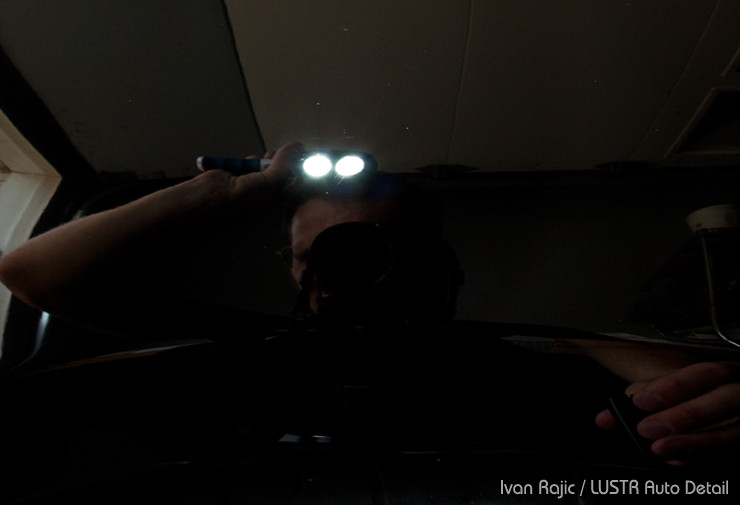
Outside photos after correction was done…
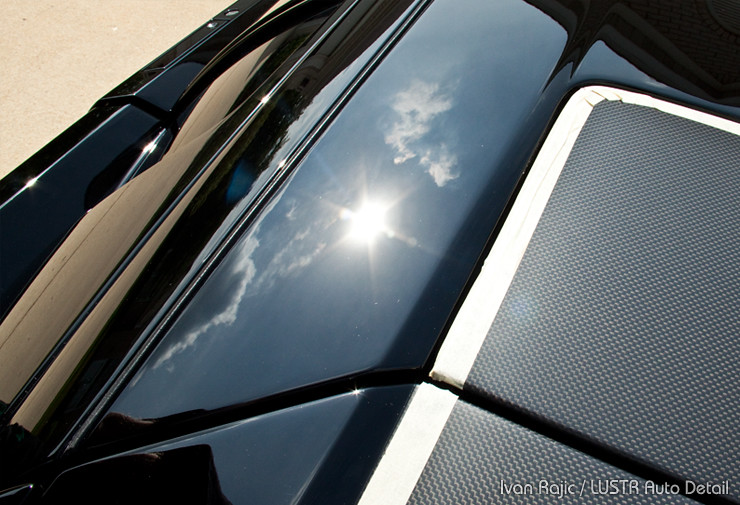
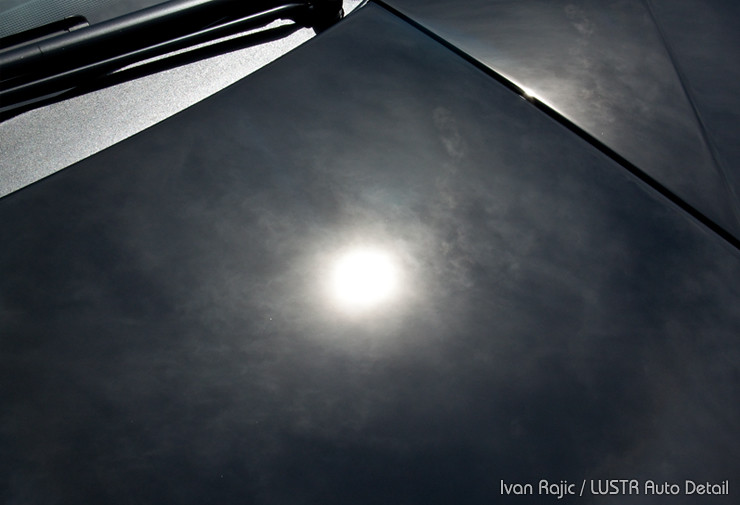
That horrible hood from before made a nice turnaround…
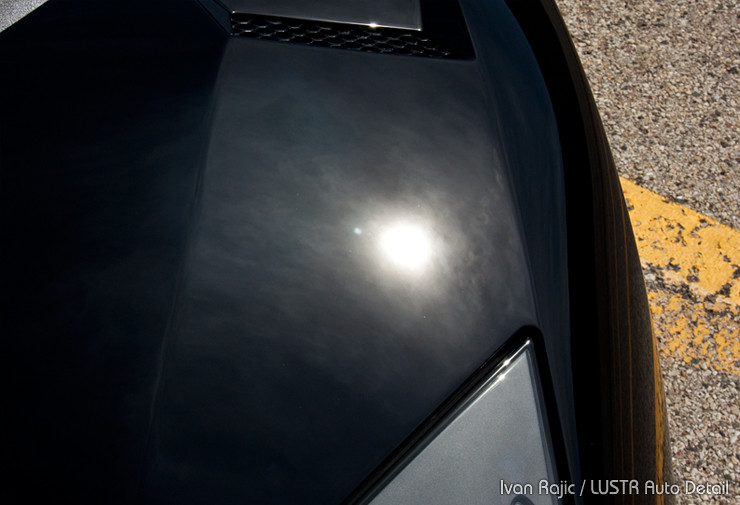
So did the fender…
Finally a few whole car photos in the back of my shop…
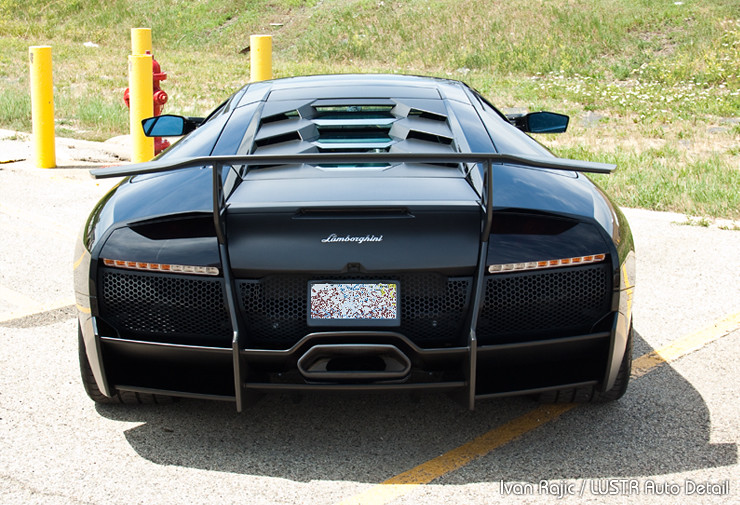
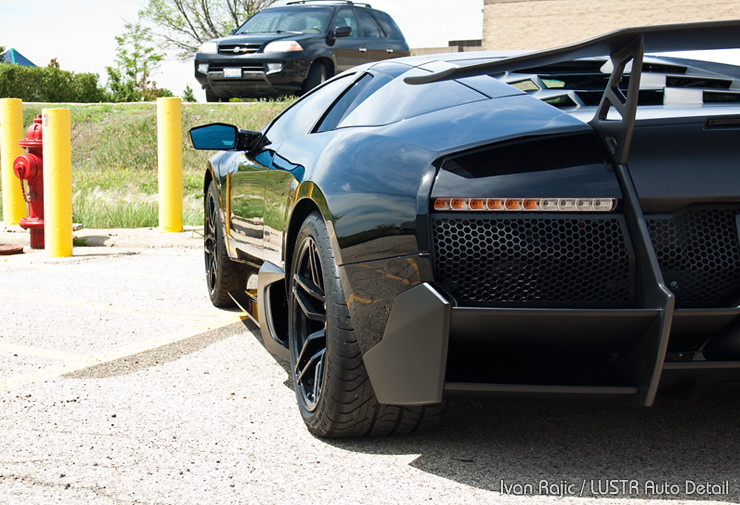
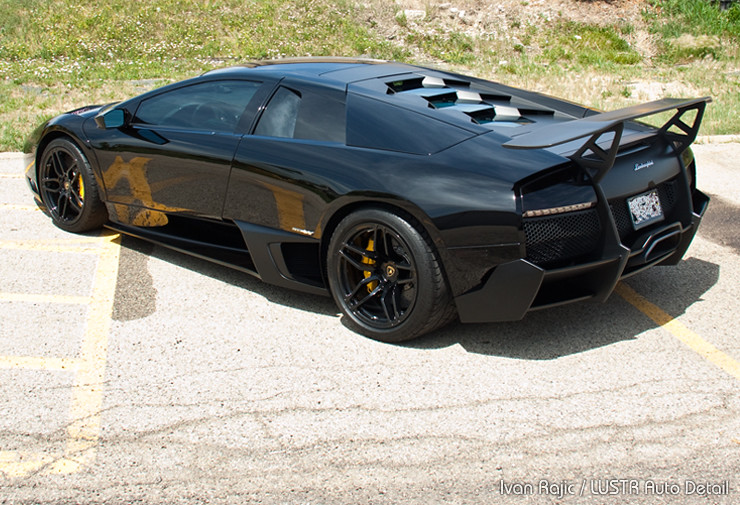


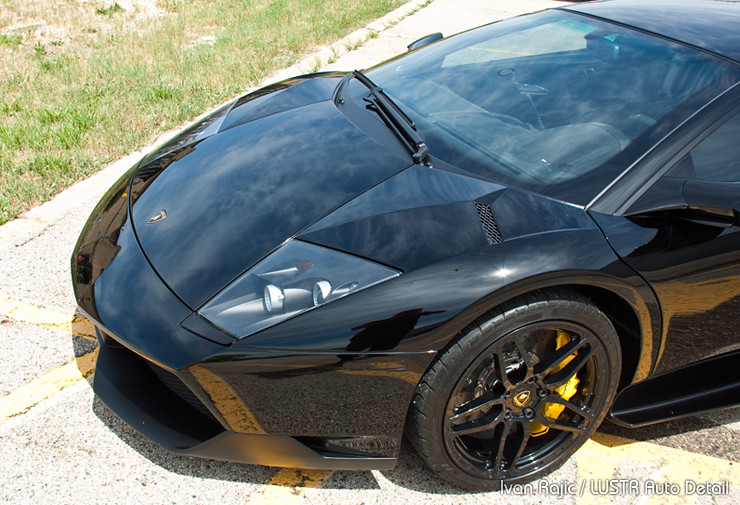
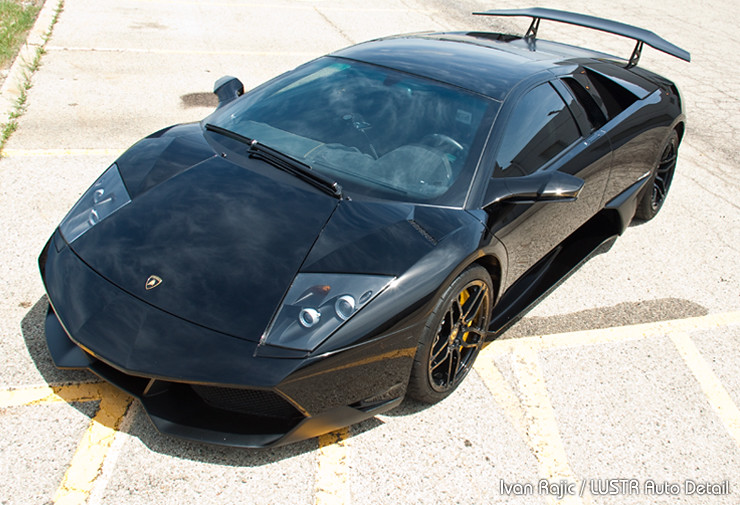

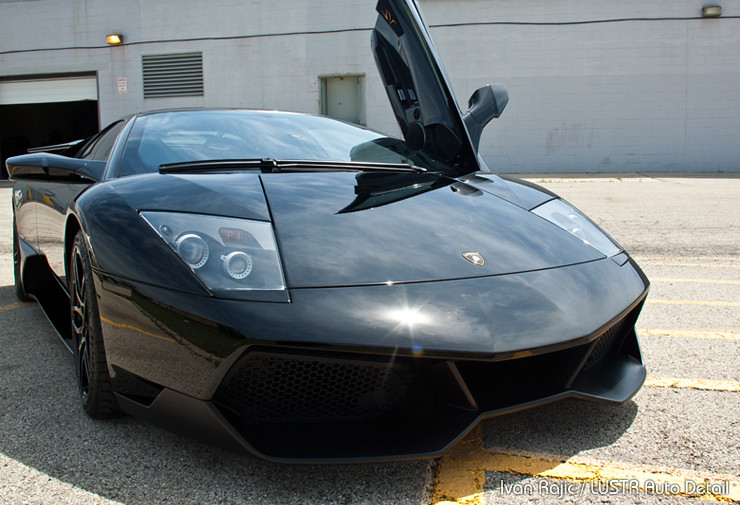
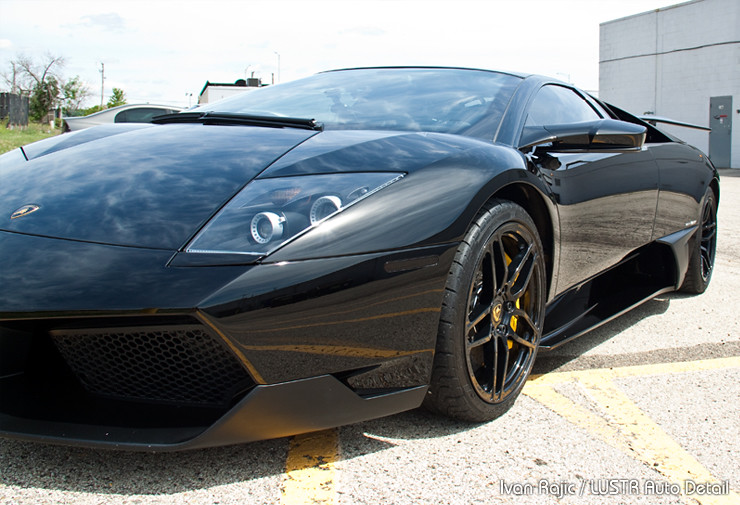
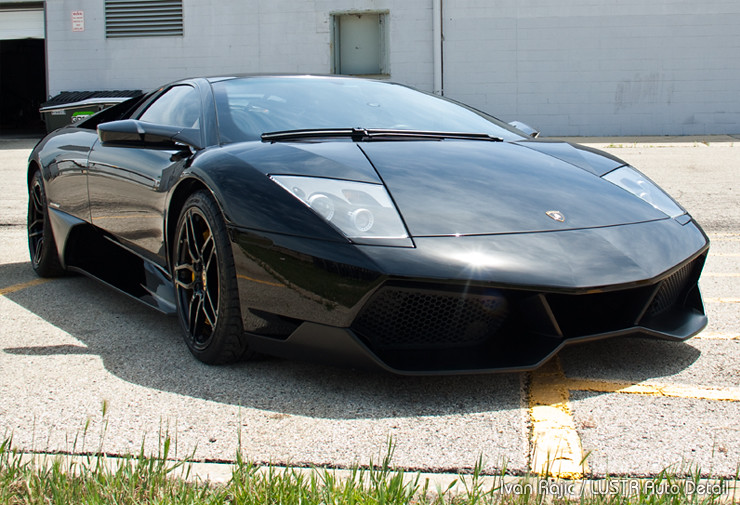

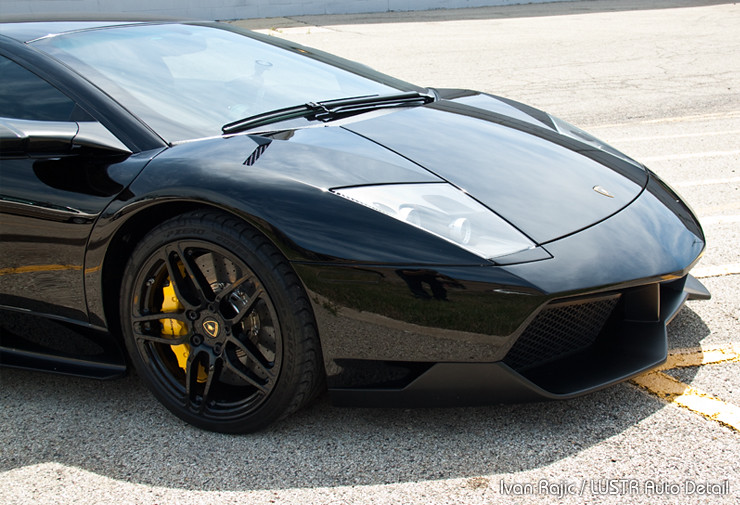

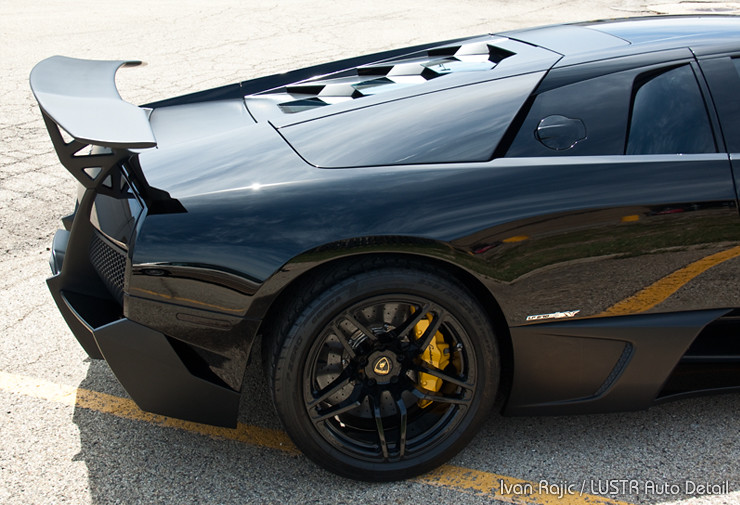

Ahh what a car! Overall the paint improved to almost perfect condition before it was completely wrapped with paint protection film. I have plenty more photos but figured I was posting too many anyway :). This car has since been sold and the client is currently a proud owner of a brand new Ferrari 458, which was also fully protected with paint protection film after some lighter polishing.
Some of the products used in the detail:
Flex XC 3401 VRG
Porter Cable 7424XP Random Orbital Buffer
Meguiar’s DA Microfiber Cutting Disc Buffing Pads
Lake Country Orange Light Cutting Pad
Lake Country Hydro Tech Crimson Ultra Fine Finishing Pad
Meguiar’s Ultra-Cut Compound M105
Meguiar’s DA Microfiber Correction Compound D300
Meguiar’s Ultra Finishing Polish M205
Menzerna Micro Polish SF 4500 (PO85RD)
Pinnacle Souveran Paste Wax
Thanks as always for reading and please feel free to leave any comments or questions below.





Great work Ivan! That black looks amazing! I love that you took a shot before any correction that showed the car looking “nice and shiny”… I get asked all the time “why are you polishing cars that already look shiny”… It is all about the right lighting to show the true condition of the paint.
fantastic job
Ivan, what size pad and what size backing plate did you use on the Flex 3401 in the picture above with the orange pad during polishing ?
That looks like a nice setup that is smaller than the standard size Backing Plate. please let me know..
Thanks all, much appreciated!
Mike, pictured above is the smaller Flex backing plate, which is 4 3/8″ in diameter. My assistant was using that at the time. However, I normally use the standard, larger backing plate as I find it gives better pressure to the entire pad area, thus giving a better correction rate. I am able to use the larger plate because I cut it down to perfectly fit the velcro on the back of the Lake Country 5.5″ pads, so I think the larger plate ends up being right around 5″ in diameter instead of the original 5.5″.
Hope that explains it.
Great Job!!!!! In need some advice on keeping a black car looking new. I just purchased my first black car. A 2013 honda accord sport. I enjoy detailing cars but Black cars seem to be different. Any advice on best prducts on the market?. Basically from start to finish and maintaining. Thanks
Thanks Todd!
To answer your question, it is extremely difficult to maintain black cars and keep them in perfect or near perfect condition. Honestly, sometimes it’s just impossible and you simply try to lessen the damage by using proper techniques and products to minimize swirl marks and marring. That said, I would say most of today’s products are of good quality, so maintaining a black car, or any other car, becomes a question of technique and frequency. I would suggest you read through some of our blog articles here on proper washing, drying and waxing, as well as how often to wash, etc. The comprehensive guide from the website will also give you great pointers on good washing and drying techniques, which should help you minimize swirling on the Accord. Hope that helps!
Great work Ivan, you really brought the car back to life! Those are some wide tires on that Lambo.
That Lamborghini is flat out gorgeous. Hope to get to that level of detailing eventually. Thanks for taking so many pics (you can never have too many pictures of a car like that). Nice job on the car!
Amazing detail! That car looks so sinister in black, and yet it is rolling art. 4 days on a detail with 2 people!?!?! Wow, simply incredible work.
I’m curious though, you used a paste wax on the car, prior to it having a clear wrap put on it? Wouldn’t that significantly limit the clear bra adhesion? Also, in reference to keeping black cars looking good, how does 22ple hold up as a sacrificial layer of protection and swirl protectant?
Thanks all, greatly appreciate all the replies!
James, I guess I could have made it a bit clearer in the article. The full PPF wrap on the car wasn’t scheduled for another few weeks after, so we decided to throw on a quick coat of wax on the paint.
22PLE holds up VERY well and is a great coating for swirl mark resistance. You can see it in my video (http://www.youtube.com/watch?v=z9-IurAowJk) how it reacts with water after about 10.5 months on that car. I expected it to last, but I was extremely impressed with is how that Panamera was only slightly swirled after about 4.5-5 months of almost weekly washing by some random mobile guys at the client’s work. Huge difference in swirl marks after this past winter compared to the one before (2011-12) when the car didn’t have the coating applied.