Black Ferrari F430 Paint Correction
by Eric SchusterEvery so often, we see these super cars and something is just not right with the paint. Whether it be swirl marks taking away from the deep gloss, scratches that hinder perfect reflections, or faded paint creating a cloudy appearance, there is usually a remedy that can restore that brand new gloss and luster to the paint…that’s called paint correction.
Paint correction is a process in which the paint is refined until all defects are removed and a truly liquid-like state is returned to the paint on the car! It’s a labor of love that takes tremendous amount of time and patience. It would be a perfect world if it was possible to get a true paint correction detail done in just 2 hours, but truth be told, it takes hours upon hours to do things correctly. This Ferrari F430 took me just over 14 hours, and that was because the front half of the hood and fenders were protected in a clear film, so heavy polishing wasn’t necessary, only a light polishing over that area. Otherwise, I would have had another two hours (or more) on the car probably!
Starting out with a wash to remove all grime, wax protection using Chemical Guys Citrus Wash & Clear. I first applied with a foam gun to get some initial loosening of dirt and grime to be broken down before washing traditionally.
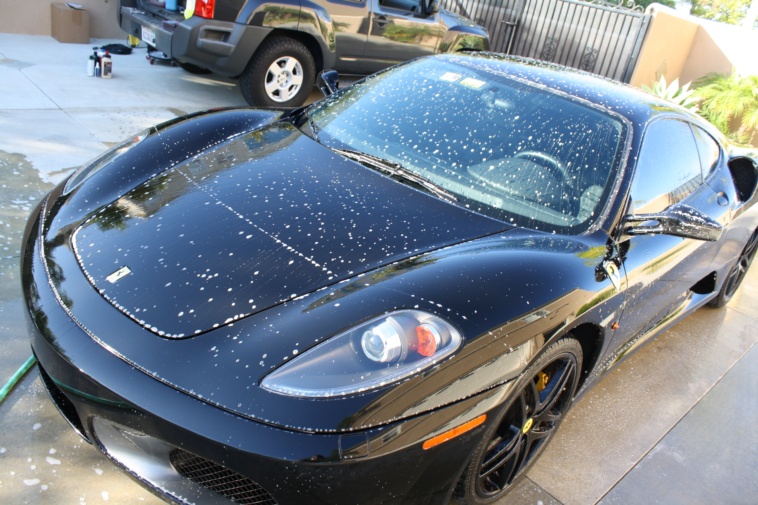
Notice the lack of beading in this next picture. This is a good way to tell if there is still protection on the car. The more beading the strong the protection, less to no beading, nothing on the paint!

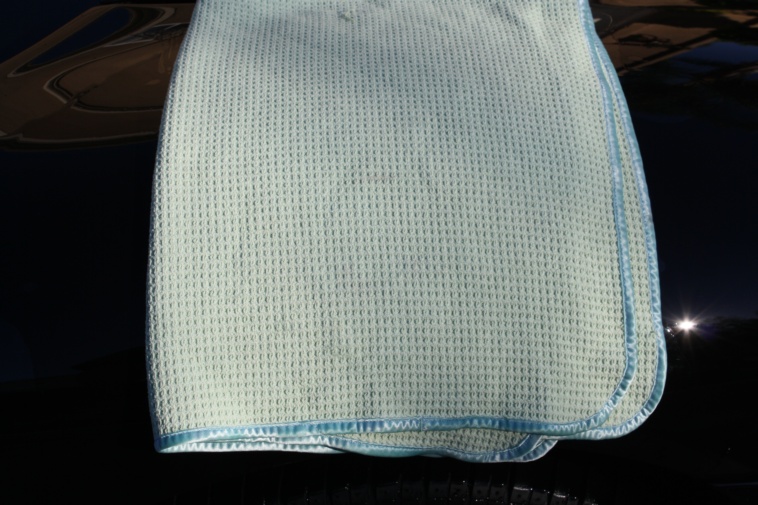
For Drying, I used the wonderful WW towel from DI
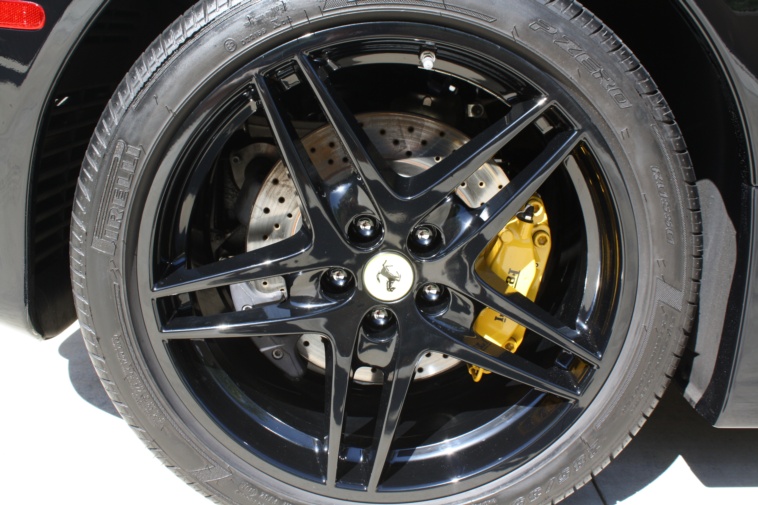
Wheels and brake calipers were cleaned up with Sonax wheel cleaner, EZ Detail Brush, while the tires were hit with Meguiar’s Degreaser to remove old tire dressing. They would later be topped with Meguiar’s Hyper Dressing at a 2:1 ratio (water:product)


After shot
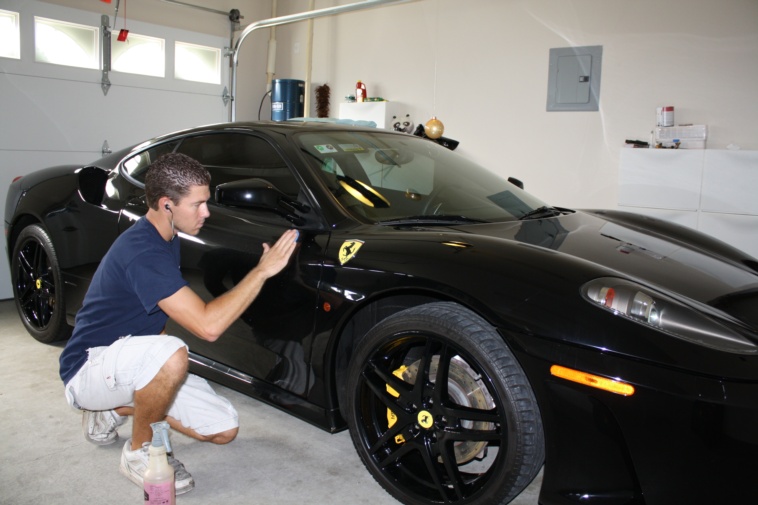
Here I am claying the car with the Detailed Image fine grade clay bar with Meguiar’s Last Touch for lubricant.
Next step, crucial for true paint correction jobs…THE TAPE OFF! Stained and burned trim will really take away from perfectly polished paint, so it’s best to tape it off and protect it.

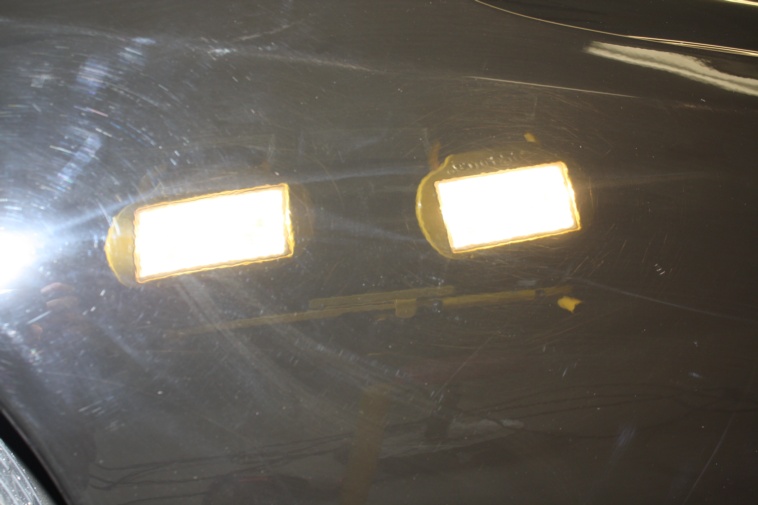
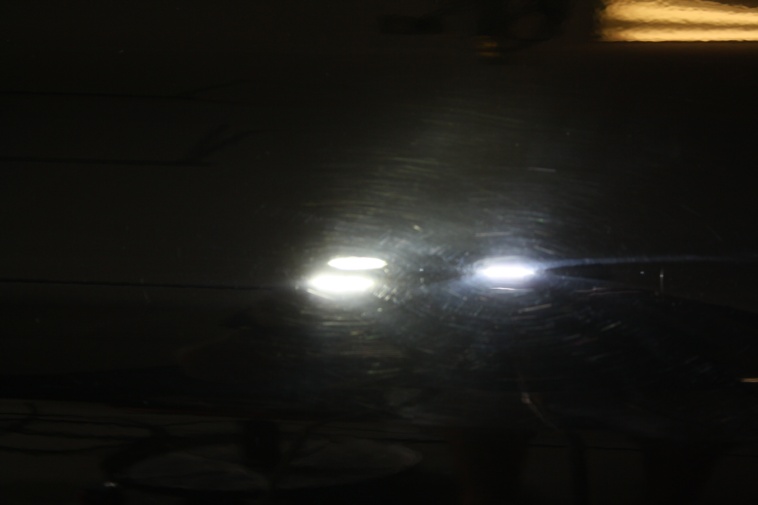
Next up, here are the before pictures that I took. You can clearly see the damage in the paint from previous car washings, and some hologramming from improper use of a rotary polisher in the past. Rest assured, that type of damage can be removed with the proper technique and product combos. If your car looks like this, you need to get it to a reputable detailer in your area as soon as possible! No one should have to drive around in a car looking like this, especially not in an exotic!

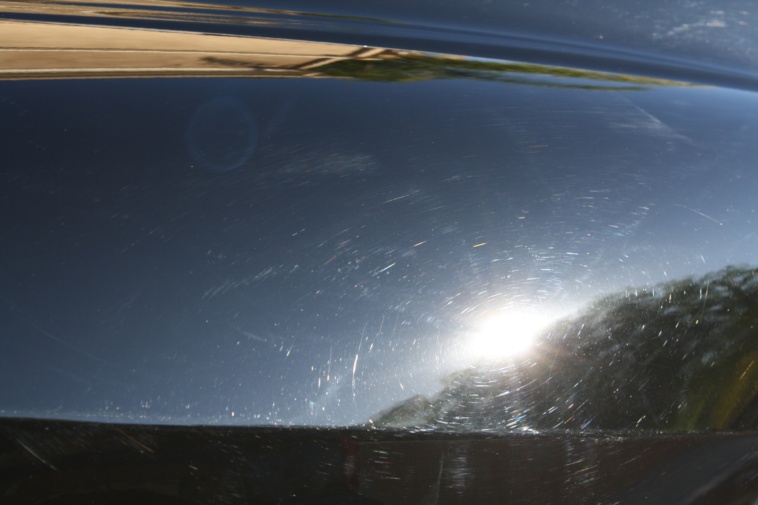

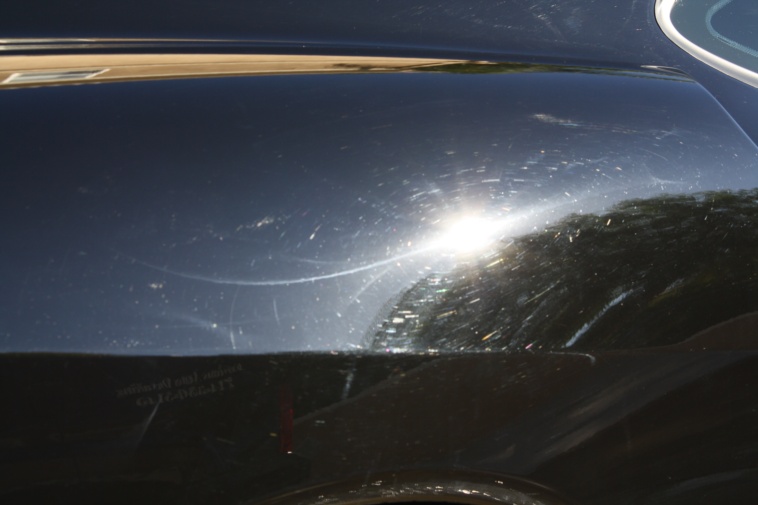

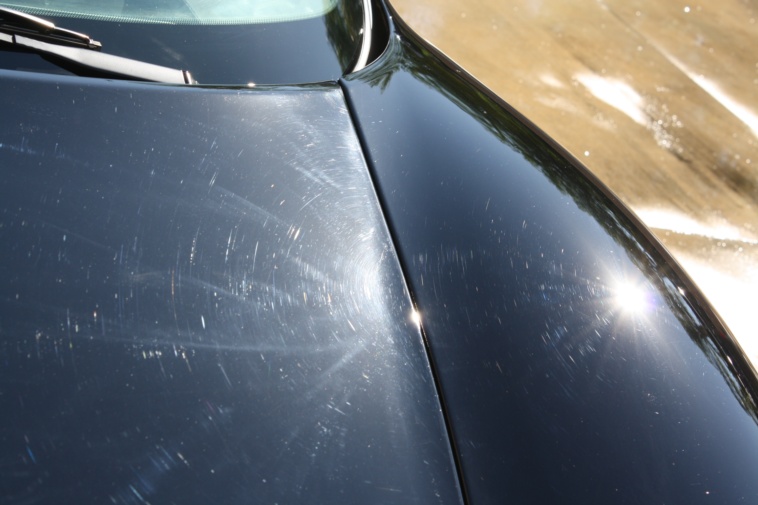

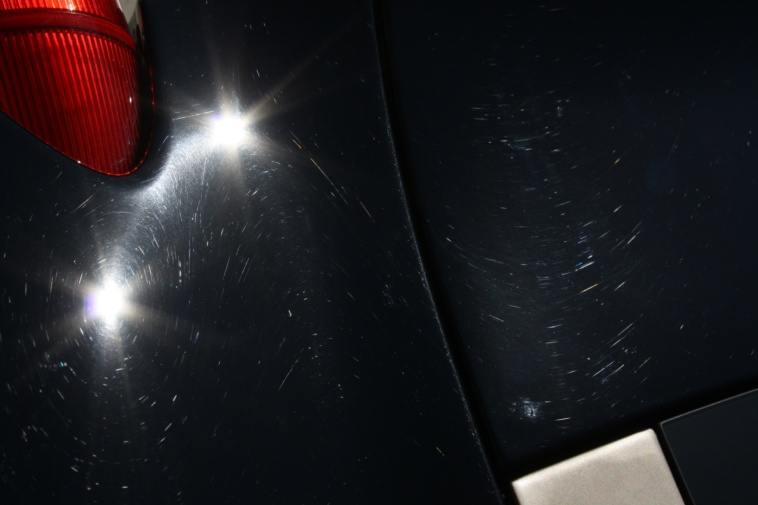
Now for some shots in side under different lighting of different areas.


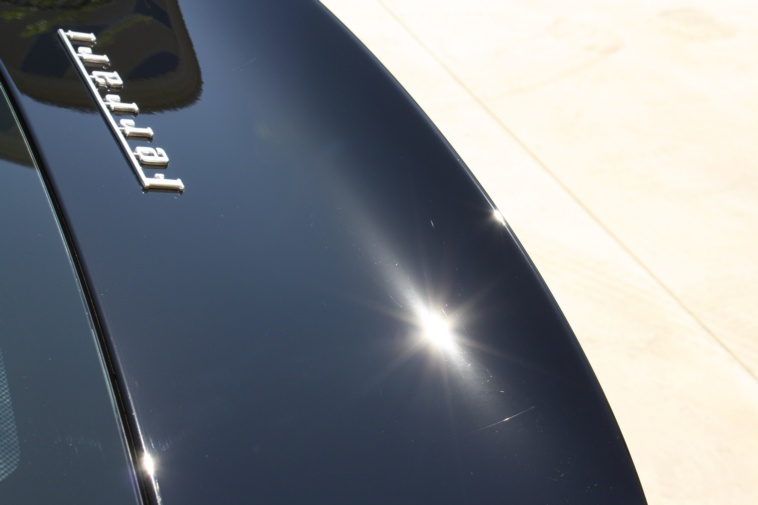
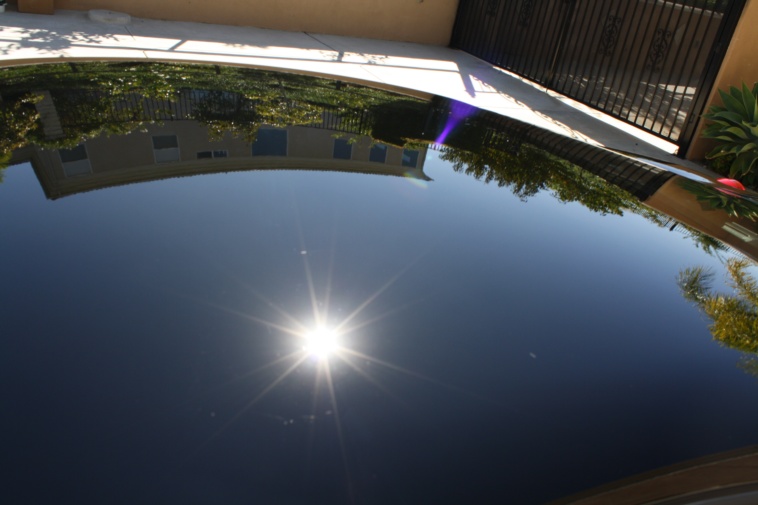
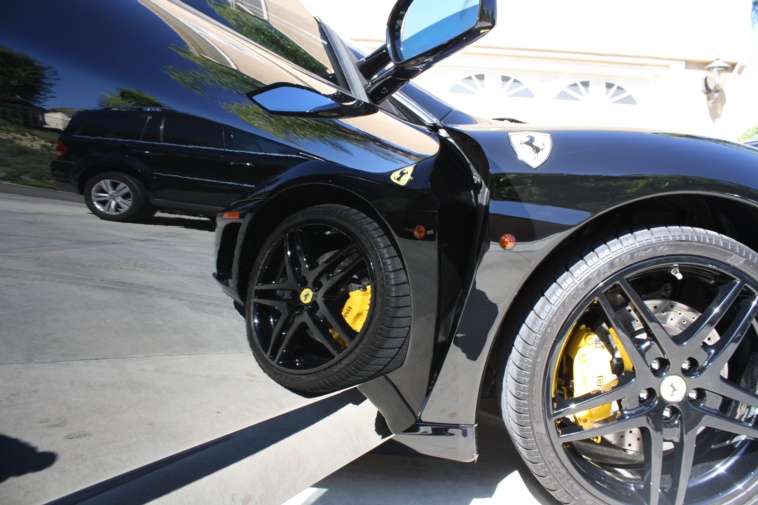
Now that you have seen the damage, it’s time to reveal the final results after 14 hours of prepping, decontaminating, compounding, polishing, sealing, cleaning up on this beautiful Black Ferrari F430!!!


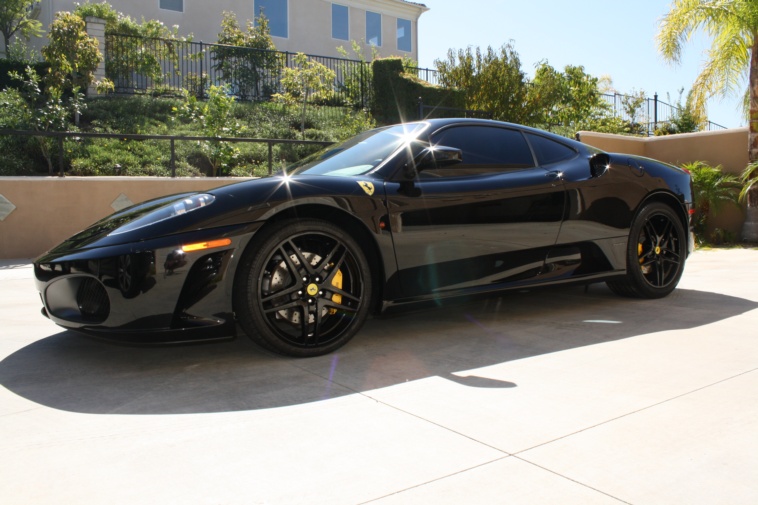


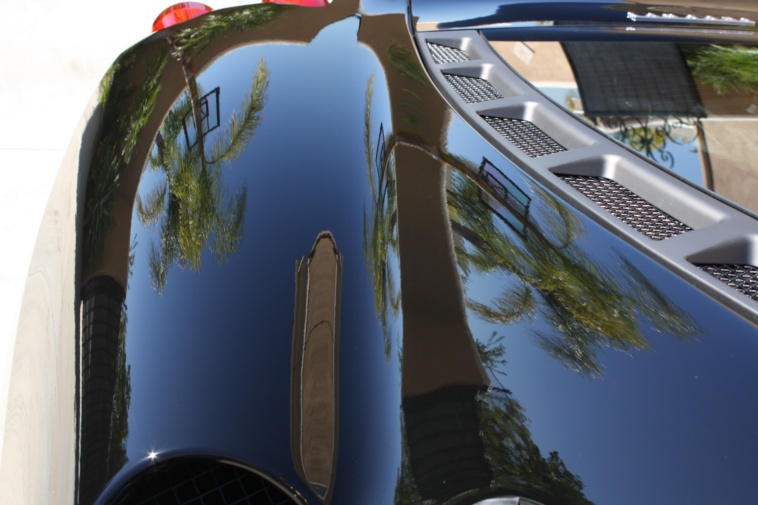

That’s all folks!!! Thanks for checking this one out!
Step by step process:
Wash with CGCWC and dried with WW towel
Sonax wheel cleaner with EZdetail brush and Megs degreaser on tires/wheel wells
Clay with DI clay bar and Megs last touch
Tape off with Megs tape
Compound with Megs D300/orange pad
Polish with Menzerna powerfinish/hydrotec tang pad
Polish with Menzerna SF4500/black pad
Clean paint with CGEZCG/black pad
Seal with HD Nitro Seal by hand
Interior with Leatherique Prestine Clean and 303 aerospace protectant
Windows cleaned with Megs glass cleaner
Buy Products From This Article
Purchase the products used in this article individually or in one convenient package here!
Related Posts
- Full Detail and Paint Correction: Ferrari 458 Italia by Todd Cooperider of Esoteric Auto Detail
- Envious Detailing: 23 hour Lamborghini Gallardo reconditioning
- Can I Use Products from Different Brands?
- 1967 Sunfire Yellow Corvette Stingray Detail
- 2014 Corvette Stingray Complete Detail with Clear Bra and Vinyl Wrap Install: Part 1 of 2


Eric, Great job and writeup.. How do you like Nitro Seal?? Did it work okay over the EZ Creme Glaze.
I’m not a pro and was wondering how Nitro Seal looks compared to say BFWD or maybe Blacklight or even a nice carnauba? Thanks for any comments.
Nitro from a looks standpoint is more like collinite 845, kind of reflective rather than super glossy and wet. I have applied it about 7 times now, on white porsche, black ferrari and ford raptor truck, white m3, silver porsche, and a white dodge ram. It looks good on all colors, so there are no complaints there. In a comparison from blackfire to nitroseal, blackfire takes the looks department, while nitro seal washes better…meaning the wash after is SUPER easy and water sheeting is better, where BFWD beads more.
want super glossy and wet = BFWD
want reflective and better durability (from rumors of it lasting 20+ washes from a drive through car wash) = nitro seal
I would like to say though, BFWD is MUCH easier to apply, and there is only one step to it! Nitro seal has two steps, and if not done correctly, it can be a pain to remove
Eric,
Thanks very much for your comments about Nitro Seal. NS is also pricey to me (and I read only a 30 day shelf life). I really like BFWD and BLRF as sealants and then I always have to top those with a carnauba.
Great work.
Great work Eric…I know from experience that the Nero paint color for Ferrari can be challenging to get just right, and you definitely knocked it out of the park on this one!
Great work Eric!
Beautiful result Eric! Thanks for sharing.
Kostas
Thanks, it was a really fun car to work on! the befores and after in person were night and day!
Eric beautiful work, I hope to add a Ferrari to my portfolio one day! After taping, how much time did it take to compound all the way to sealing the car by hand? For a car that size, how long should a polishing step take? I feel sometimes I take too long and wanted to set some goals to improve my speed for 2012. Thanks.
Diman,
It took me 2.5 hours to wash, decon, clay, do the wheels, prep, tape. so from there, it took about 11 hours from start to finish to get TO the sealant stage.
To be honest, there is no set time for polishing. a 2×2 section can take 3 minutes, or it can take 10 minutes. There are a lot of factors that contribute to time: humidity, amount of defects needing to be removed, amount of polish applied to the panel/pad, etc. If you use 2 dots of polish, you will have a shorter working time than say using 2 lines across the pad. If you are working outside or in hot situations, the polish will dry up faster than in the cold or in a garage. So what I am saying is that you work the polish, not the panel size. Once the polish is done giving you the results you want, then you move on.
Thank you for the great info Eric and happy new years.
Eric
Thank you Sir. I’m like a dry sponge right now learning from a Master. Will keep digging deeper and deeper into this site. Excellent work BTW…
Tomato
Eric:
Why did you use two different Menzerna polishes on the car? These polishes seem pretty similar. I’m planning on using your post as a model to detail my new (used) dark blue Lexus. Also I was thinking about using 22PLE (after polishing), and then finishing with a wax – sound good?
Thanks for your nice 430 write up too.
BK
Hi Eric am Mike from the Uk. Am detailing a 02 blue Bentley soon,it has pretty bad washing marks on the surface making it very dull. I have M105 205 orange CG pad and micro f pad,also I have menzerna 2400 4000&4500. I tend on doing a test spot on both products and pads, which do you think will work the best? Also I have a lot of sealants &waxes, I have also got polish angel master sealant as well. Your help wud be a big help to me as I have only been detailing for six months now but done some very nice cars to my list,, black mercedes AMG,BMW 6, rolls Royce, Porsche GTSilver many more, just not sure what type of paint it is? Soft,int,or hard. By the way great job on the car looks stunning. Mike Chong Uk.
From my experience, Bentley paint is on the softer side, so I would leave out the 105 completely. Its too aggressive for the paint and you will remove more material than what is necessary.
I would do a test section with something like Meguiars D300 and sonax perfect finish…or menzerna 2500 and then 4500 since you already have those. I think you are going to need some more pads as well…hydrotec tangerine and black in particular.
The process would be D300 with a MF pad, hydrotec tangerine pad with 2500, then black pad with either 4000 or 4500 depending on where the 2500 left you. That is a very common three step correction process. If you want to try to two step it, I would get D300 and sonax perfect finish with MF pad and black pads.