Autofiber Mitt on a Stick Assembly
by Mike @ DIIn this article, we’re going to assemble Autofiber’s Mitt on a Stick. The Mitt on a Stick is a system of poles, heads, and covers to tackle various detailing tasks. We’re going to focus on the Straight Pole, PRO Adjustable Aluminum Head, Replacement Head, and two covers in this assembly. Check out the video below to see the assembly in action and then more details afterward.
Source: YouTube
Straight Pole Assembly
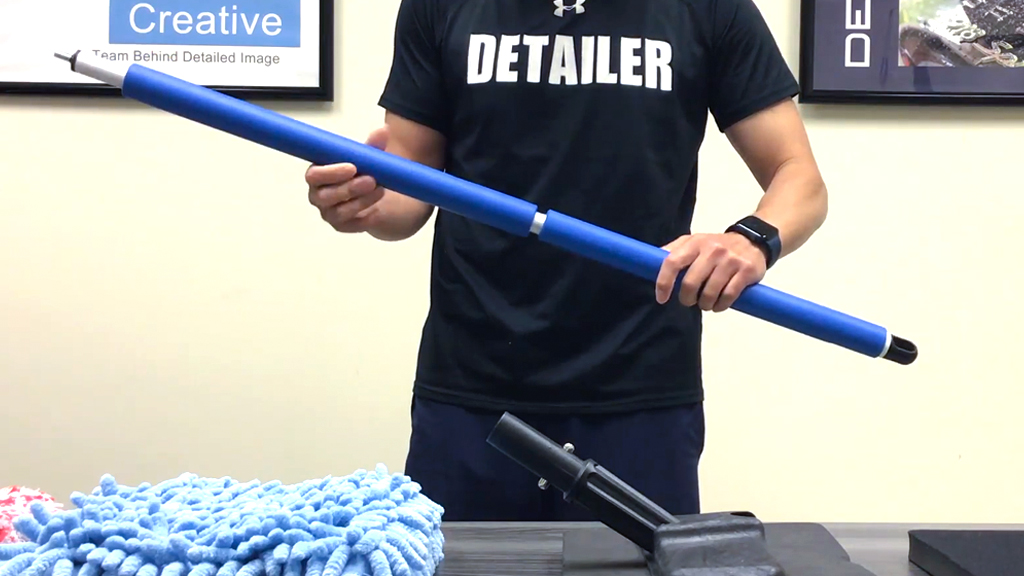
The Straight Pole is made up of three pieces that all screw together.
Heads & Covers
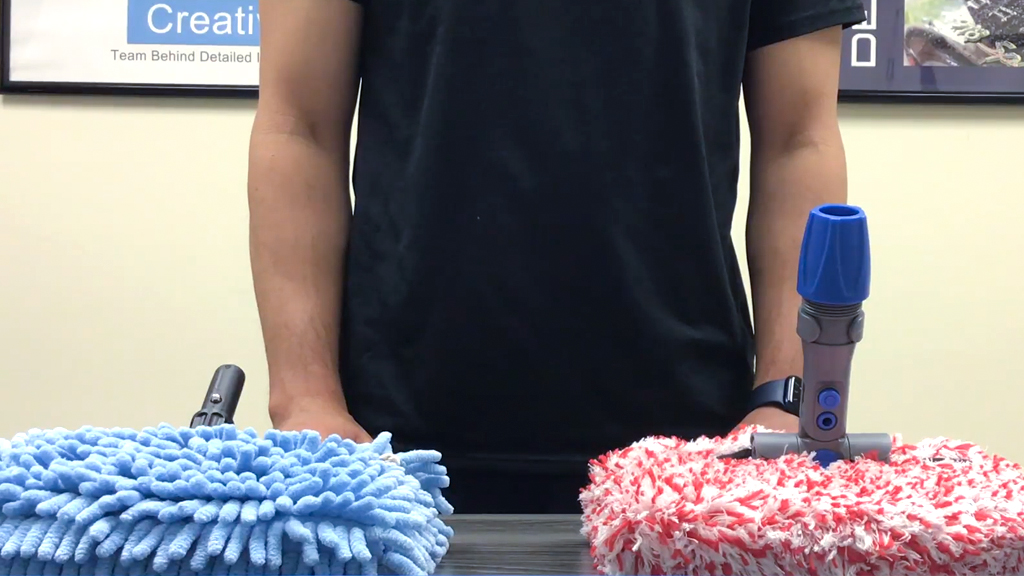
There are two different heads available but each is slightly different in requirements. The PRO Head requires a foam interface pad and a cover whereas the Replacement Head only needs a cover.
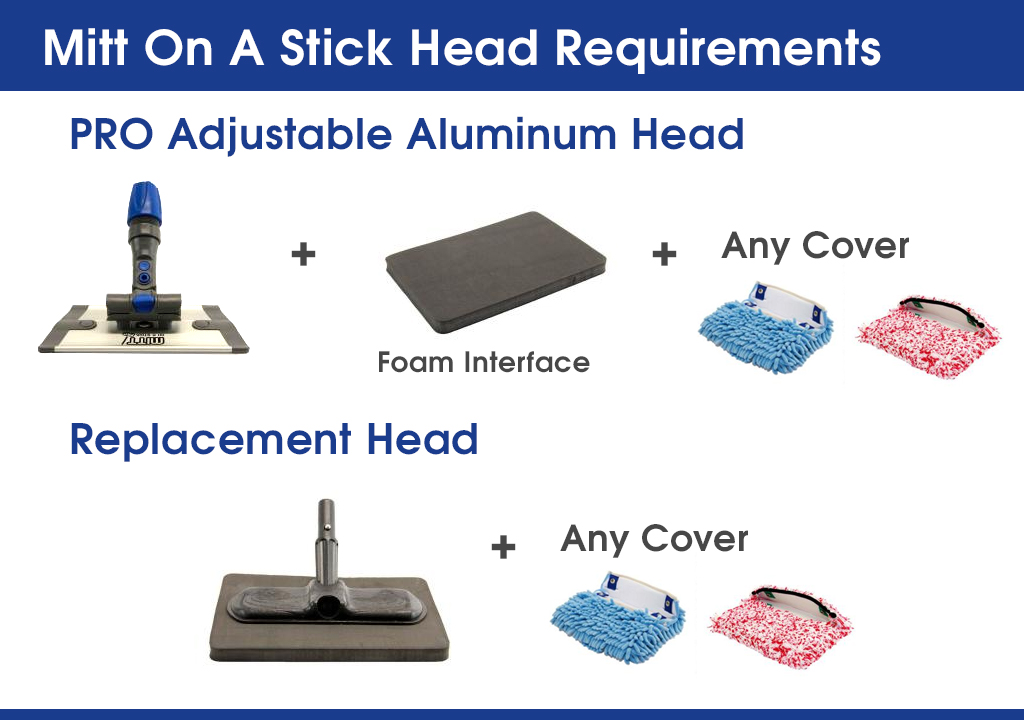
Replacement Head
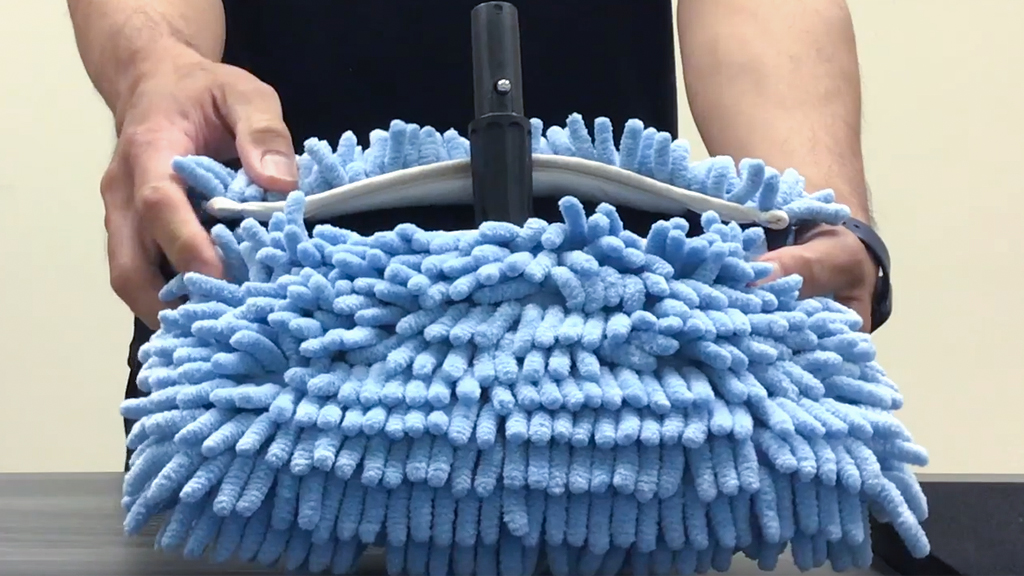
- We used the Microfiber Noodle Cover in the video. Slide the cover over the Replacement Head and then snap the two buttons to secure the cover.
- No attach the Replacement Head to the Straight pole by aligning the push button lock on the head to the hole on the pole and then insert to lock it in.
PRO Adjustable Aluminum Head
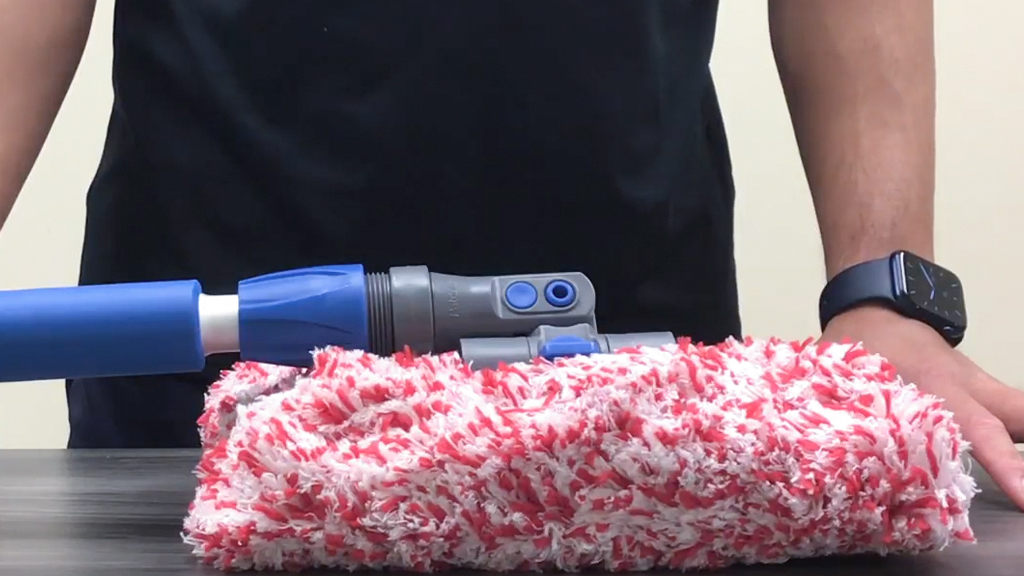
- Attach the foam interface to the PRO Head
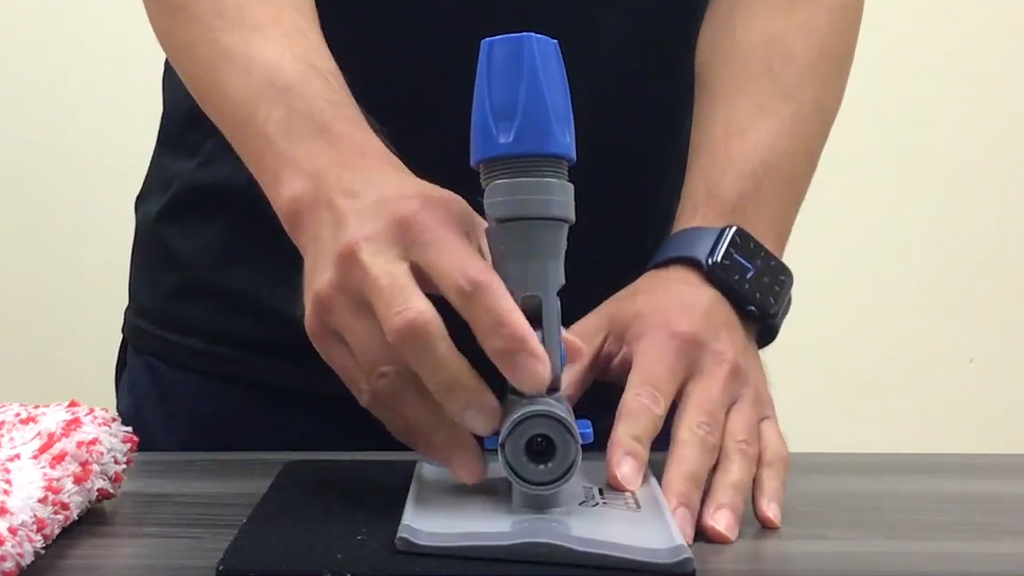
- We used the Dragon Plush Cover in the video. Slide the cover over the PRO Head with the foam interface attached to it and then snap the two buttons to secure the cover.
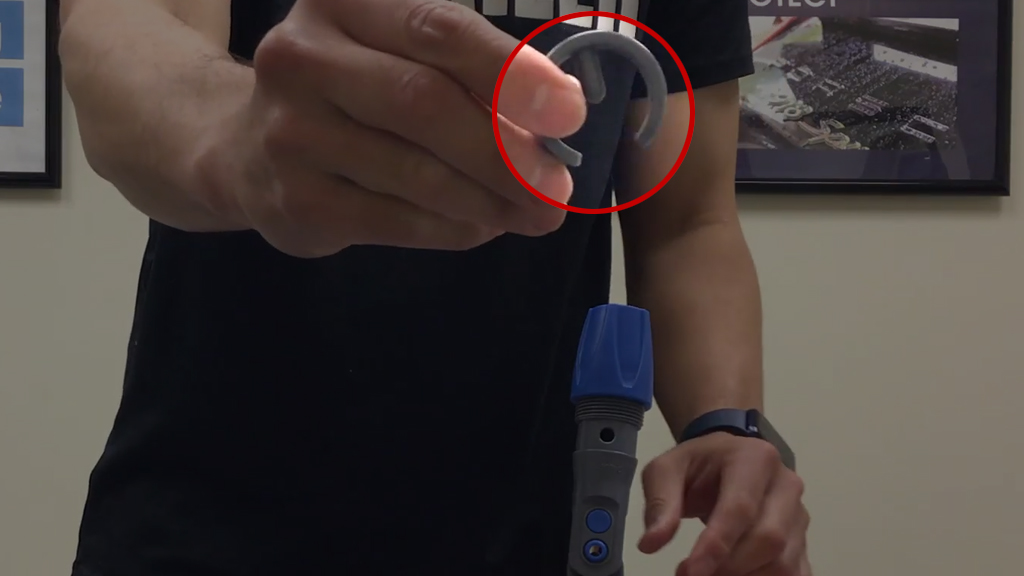
- To attach the PRO head remove the clip on the head, insert the head to the pole with holes aligned, and then reattach the plastic clip to lock it in. Tighten the blue handle to secure the head to the pole.
- The advantage of the PRO Head is that it articulates in different directions and it can be locked in fixed positions.
I think the Mitt on a Stick is a super versatile tool with its interchangeable parts. The fact that it breaks down to for easy storage is another plus! Hope you found this video helpful.


Hi guys!
Quick question: do you also sell the angled end piece of the pole separately as doing with pro+ pole head? Those are the pieces I need for upgrading my tool. Thanks!
You can find all of the Mitt on a Stick items we carry here (https://www.detailedimage.com/Microfiber-C24/Extension-Tools-SC265/). We do have two different pole types (bent and straight) and they come in 55″ (3 piece) and 72″ (4 piece) (both in blue and red).