AC Detailing Presents: Bentley Continental GT Vinyl Wrap Removal and Detail
by Contributing AuthorsThe pioneers behind these exotic car rallies is the Gum Ball 3000. This rally covers 3,000 miles in 8 days, going to 8 different countries. This high-stakes, high-price car rally swept across Europe, taking a huge following along with it. As news of the rally culture floated over seas to the United States, a new breed of car enthusiasm was born in the form of exotic car owners gathering together and stopping at different cities along a pre-determined route.
These weren’t your Sunday get-togethers with your friends to carve through the canyons. These “rallies” were modeled directly around the Gum Ball 3000. This client of mine had attended the Gold Rush Rally in the summer of 2010, which started in Seattle, and ended in Las Vegas, after stopping in Portland, San Francisco, and LA. Part of these exotic rallies is to have the cars dressed in the decals and logos of the sponsors of the rally. But, most owners don’t just allow the car to have a few stickers put on it! They will go for a full theme of their car, often times wrapping the entire car in a custom designed vinyl.
This Bentley GT was no exception, as seen below: (excuse the quality of pictures, my camera had ran out of batteries and I had to resort to my phones camera)
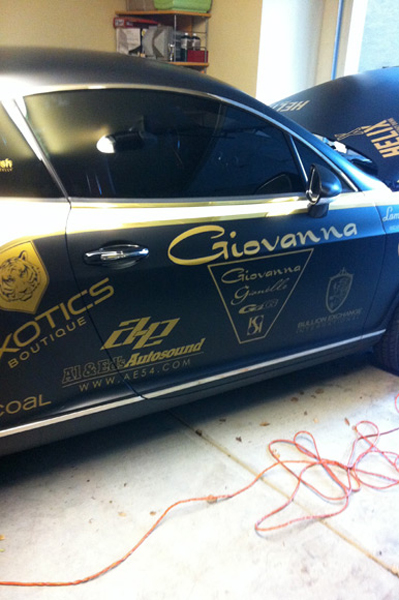
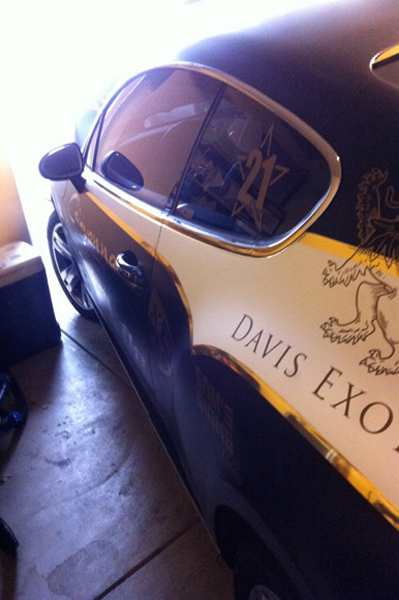
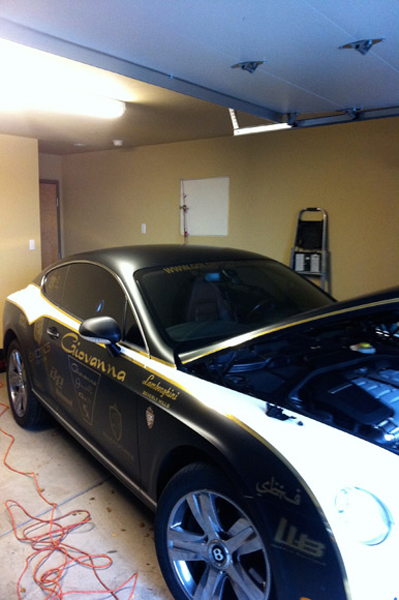

The first challenge was to remove the vinyl from the Bentley. This was a learning process for me, as it was my first full vehicle vinyl removal. I had budgeted about 10 hours of time (or 1 day) to completely remove the vinyl. So, I set off!
With a heat gun, I would heat up the vinyl until it was warm-to-hot to the touch, melting the adhesive and making it easier to remove from the car. Remember, this vinyl is warrantied to stay on the car for 5 years. And I was removing it after only 10 months.
So, I started with the hood, and a little over an hour later, I made some progress:
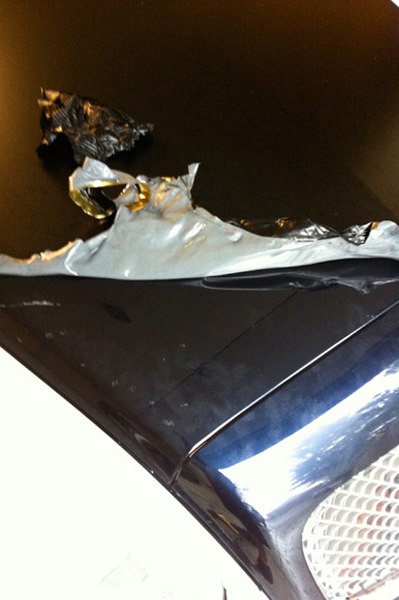
Okay, so, I hadn’t really made ANY progress. This vinyl was extremely tricky, sticky, and just down right hard to remove. The heat gun wasn’t doing much to help me along the way. So, I knew I was in for a treat with this project. I realized it’d be taking me more than one day to remove the vinyl. In fact, I spent two days, and 16 hours in total.
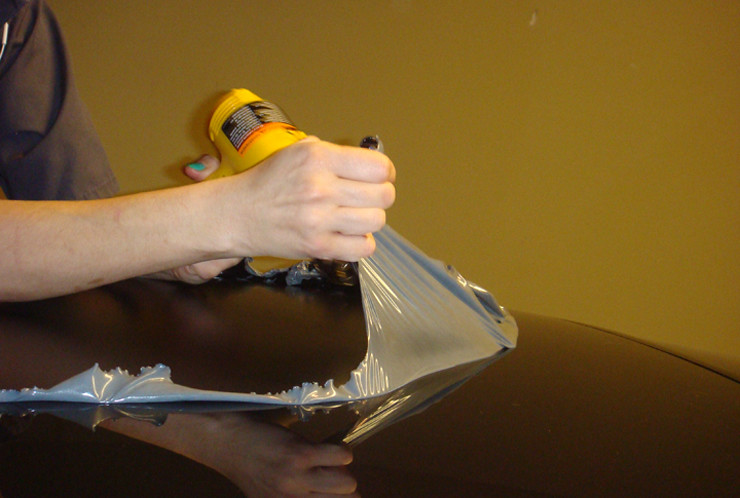
The trick with the vinyl is to first pull up, and towards you, to get a nice piece for some leverage:
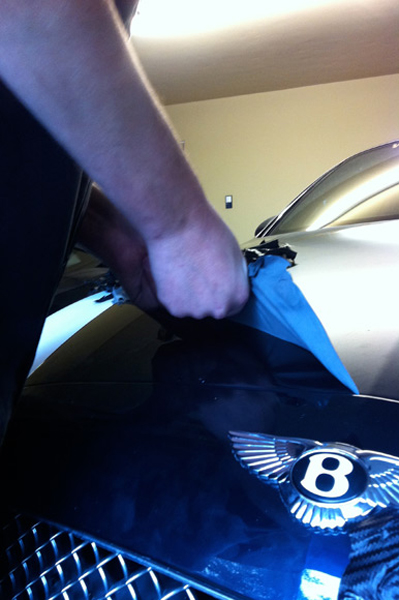
Then, pull up and away from you to start peeling it off the car (as you can see how much I’m leaning over the car):
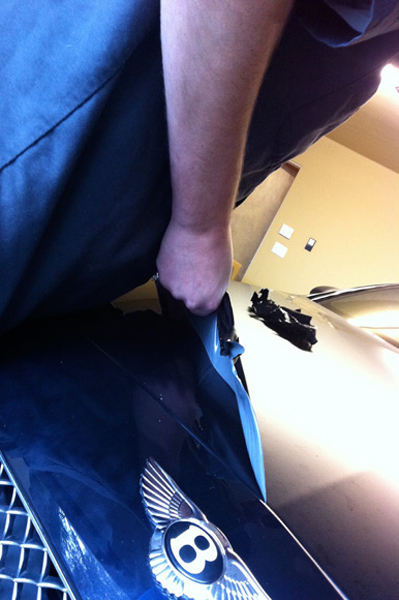
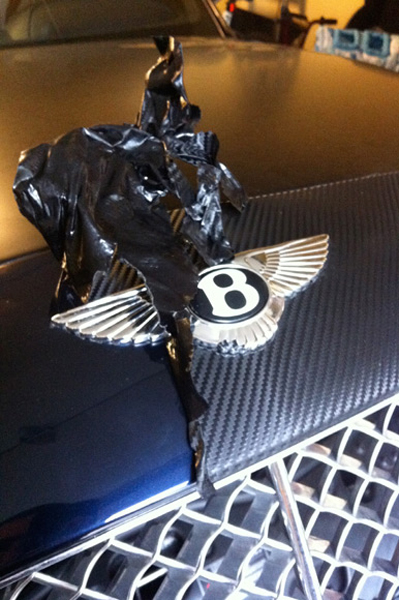
On with some more progress pictures. The grill area was wrapped in a faux-carbon finish, and it would always rip along the texture, never in nice, big pieces like with the solid colored vinyl.

Two toned Bentley, anyone?
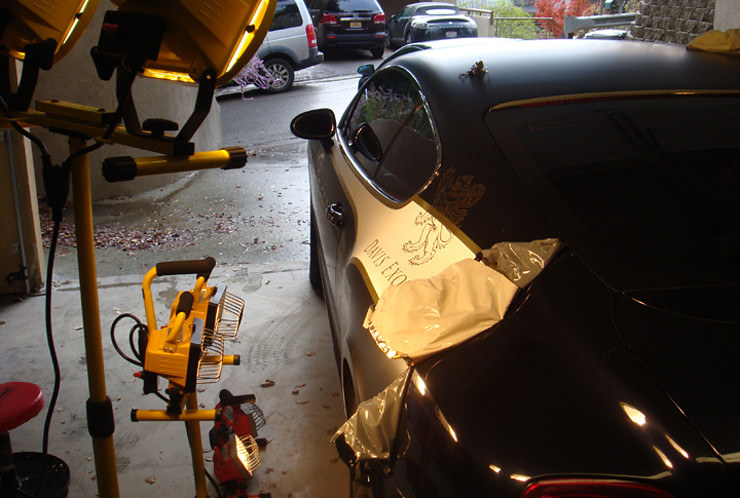
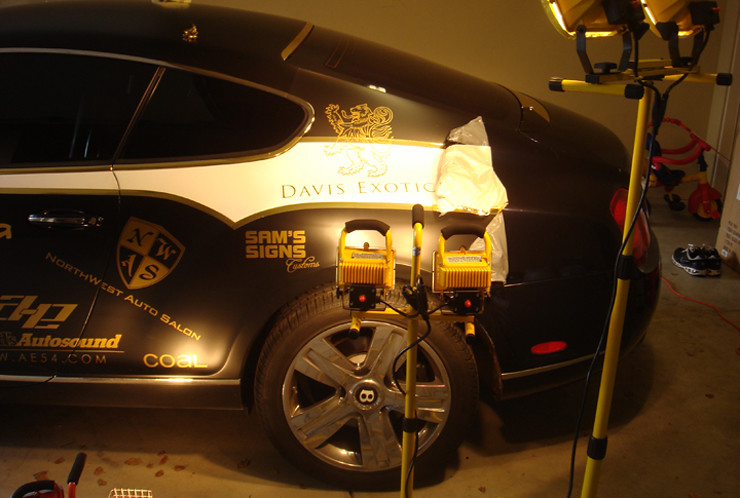
I then had an epiphany, as my assistant was warming herself up in the Halogen lights, as it was cold for us Californians (about 48F outside). If the heat gun was an industry standard to help remove vinyl, and its purpose was to heat up and melt the adhesive, these halogen lights put out a LOT of heat. Enough to cause second degree burns if you touch the housing (as my fingers have experience before). So what did I do? Naturally what I should have done 8 hours prior, and that’s use the halogens to heat up the vinyl to remove.
What this allowed me to do us heat up a very large area at once, instead of one small concentrated area. This meant, where it took me an hour to remove that small piece on the hood; my assistant and I were able to do an entire door in less than an hour. And so by the end of day one, ten hours later, we had completed a little over half the car.
Here I am utilizing two halogens at once in order to get the heat properly distributed across the whole rear quarter:
Unfortunately, we didn’t have 8 foot tall halogen lights to remove the vinyl off the roof, so it was back to the extremely tedious method with the heat gun:
About 16 hours later, this is what we were left with:

I asked the owner if he’d like a souvenir–he declined, unfortunately.
We were also left with one more present from the vinyl:

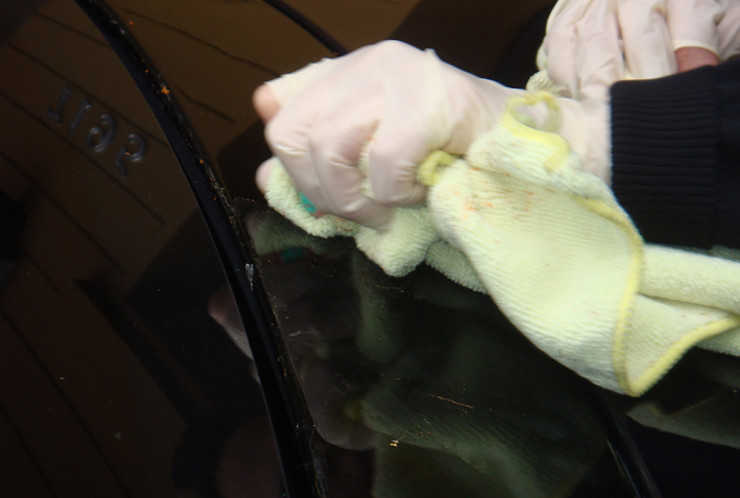
Ah yes, the adhesive that wanted to stay behind. This was extremely labor intensive and tedious to remove. It also took up half a can of 3M Adhesive remover to get all of the adhesive off the car. So, when I thought I could spend part of the second day polishing, I spent it nose-deep in sticky adhesive, and awful smelling adhesive remover.

After two days dealing with this vinyl, it was all removed. At the end of the second day, I carried on the with the two-bucket method to wash the car, before pulling it inside.
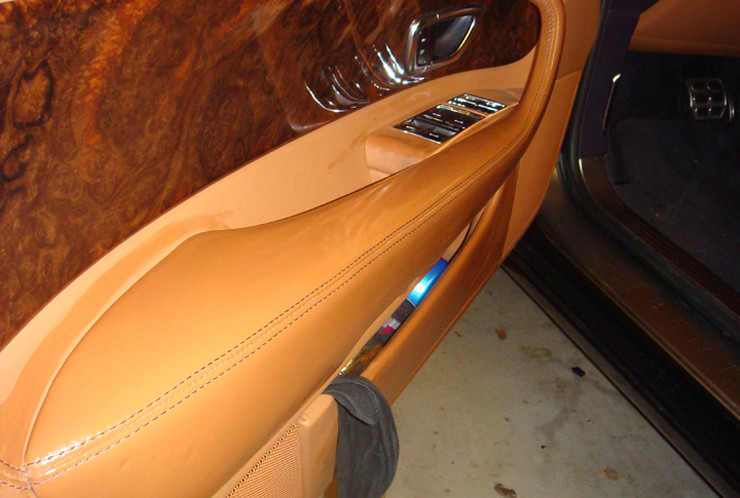
One last task before heading off for the evening, after about 9 hours, I treated the leather with Leatherique Rejuvinator Oil, on all the heavily soiled areas, allowing it to set over night.


Starting day 3, I carried out the polishing. With a combination of both the Makita rotary, and Porter Cable random orbital; pairing with Meguiars 105, Menzerna Power Finish, and Menzerna PO106FA, I was able to achieve about 95% correction across the board.
So what exactly was hiding from me underneath the vinyl? Surely it had protect the paint, right? Wrong! Numerous times I’ve seen the squeegees vinyl and clear bra installers use cause marring as they drag them across the vinyl to get all the water out from underneath that they use in order to set it on the paint properly.
In no means am I saying to NOT clear bra your car, or to NOT get vinyl done. Just know that after you pull the protection off, you’ll be greeted with a few surprises that should be removed as soon as possible by a qualified paint correction specialist.
Condition of the paint:
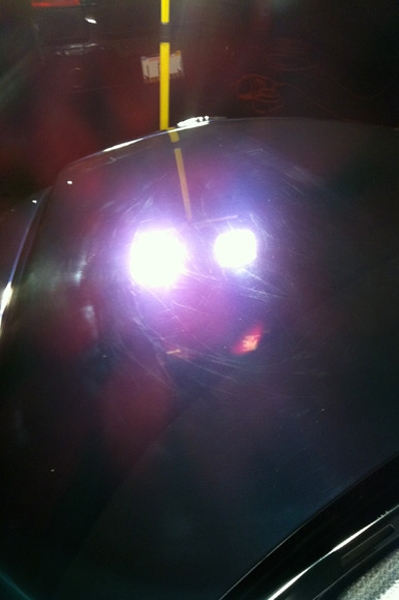
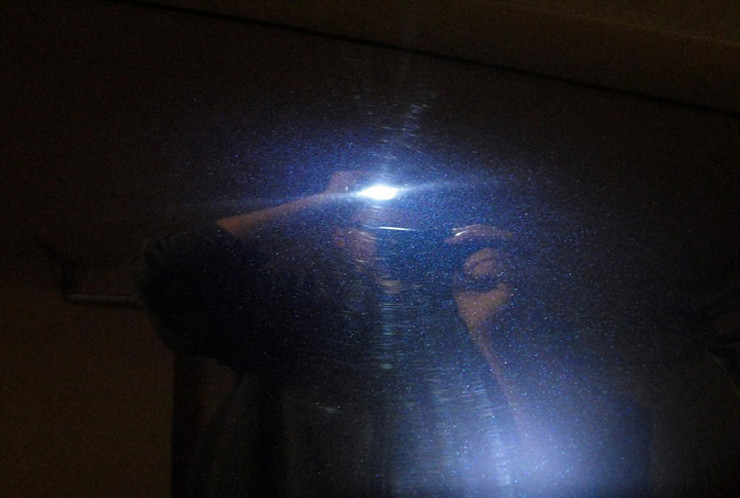
Here you can see more of the deep scratches towards the middle of the frame:
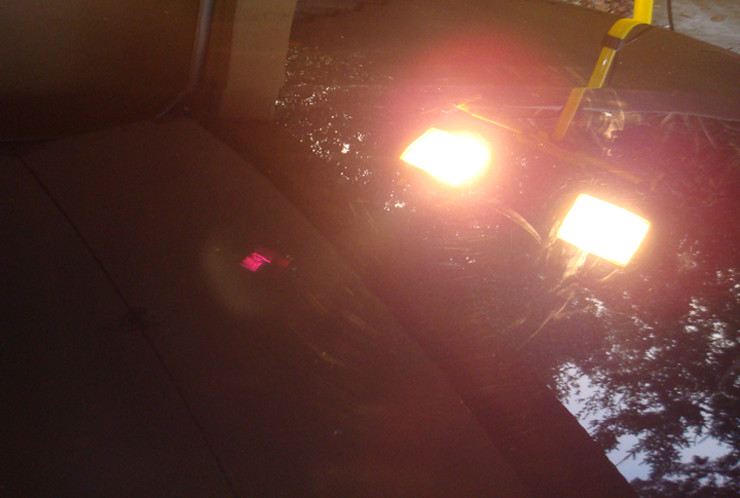
A nice 50/50 with the hood corrected and finished down, and the fender having nothing done to it, yet:

One of the most pesky areas to correct was the gloss black spoiler right below the rear window. It was also heavily damaged:
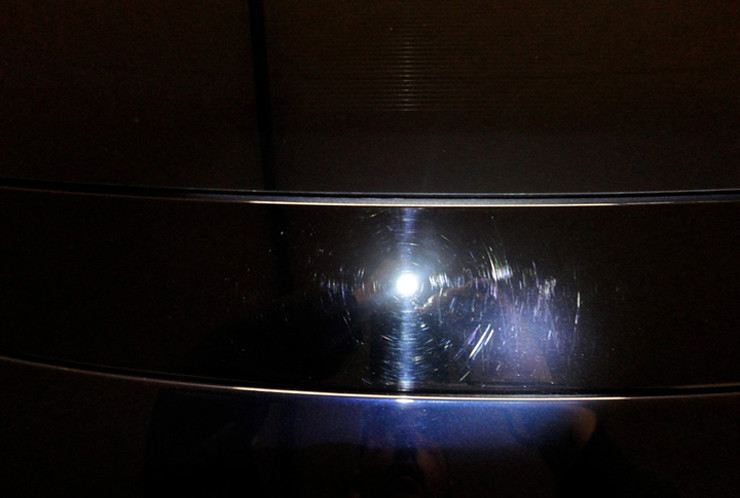

Corrected:
Along the roof:

Finished down:

Here I am polishing out the roof:

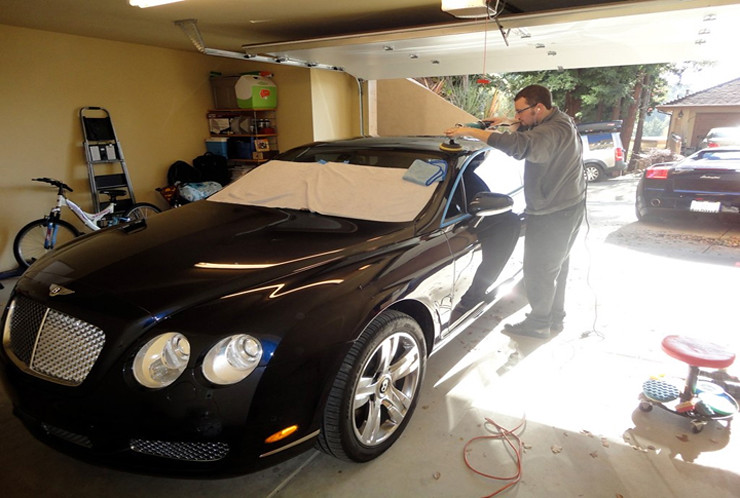
As I continued around the car, it took me another day and a half to finish polishing the car, and do all the finishing touches on the car.
In total, I had 4 days, and almost 40 hours of work in to this car. Unfortunately, I am not able to provide a lot of after pictures as I was playing games with the sun as it came in and out of the clouds and trees!
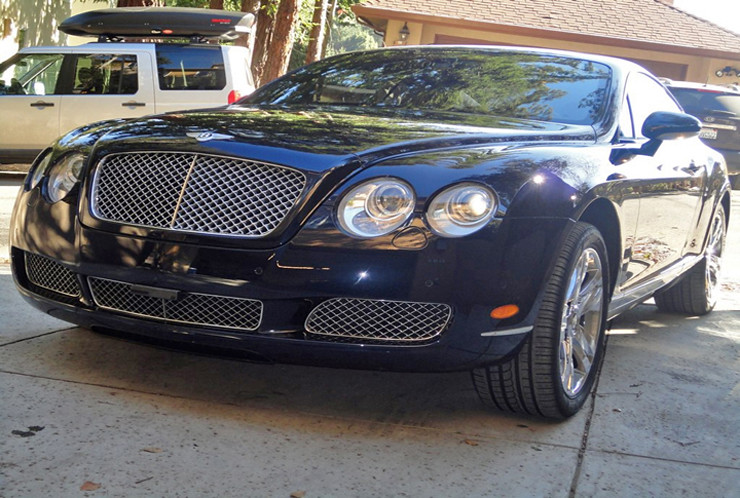
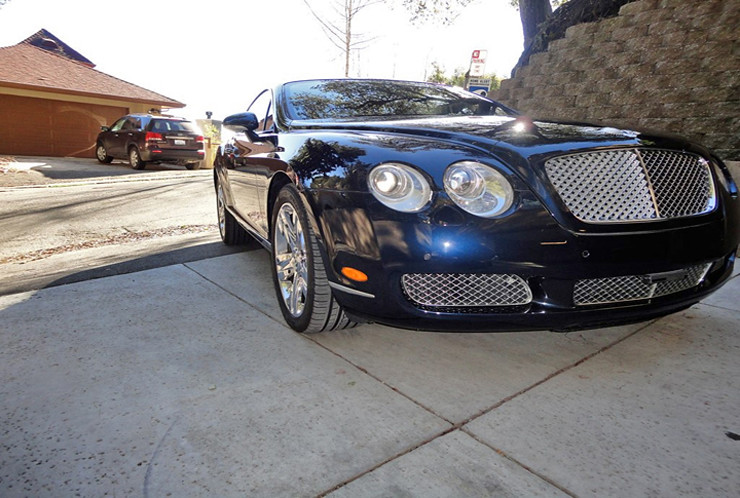

Thank you for viewing. Please feel free to leave your questions and comments below!


I always wondered about how vinyls and clear bras affected the paint, I can imagine how labor intensive this process must have been. The car looks insanely good, Congratulations!!!
Adam,
Thanks for your comment! Yes, it is very labor intensive. But well worth it in the end, as always!
Interesting subject matter that we don’t get to see often. Thanks for sharing it with us! I like the shot with the Lambo in the background.
Andy,
Thanks a lot! The Lamborghini was done right after the Bentley. Write-up to come soon!
Great work there Aaron! Some of those wraps and clear film can be quite difficult to remove, and you end up being worn out before paint correction ever takes place. Thanks for sharing.
Todd,
Thanks a lot! Definitely a work out of the lower back pulling all that film up.
Wow Aaron, it looks like they did a great job installing the wrap to look perfect, but it goes to show the care the must be given in the removal process as well to get all that off the paint. The Halogen trick will likely be a life-saver for anyone who reads this and needs to perform anything similar in the future, and the 50/50 of the hood & fender shows how much better the color of the paint looked after your spent your time bringing this beauty back to life. Great read and information: thanks for sharing!
Thanks a lot!