2014 Porsche Cayenne Paint Correction Detail
by Zach McGovernThe owner of this vehicle was tired of seeing the scratches and swirl marks in his jet black paint. After inspecting the paint, we decided on a two-step paint correction process to remove the majority of defects and drastically improve the appearance of the vehicle. The paint was then protected with a polymer sealant for months of protection. This write up will walk you through the highlights of this project with photos, descriptions, and products used for various tasks. I have also included a comprehensive product list at the very end of the article for you to reference… so, let’s get started.
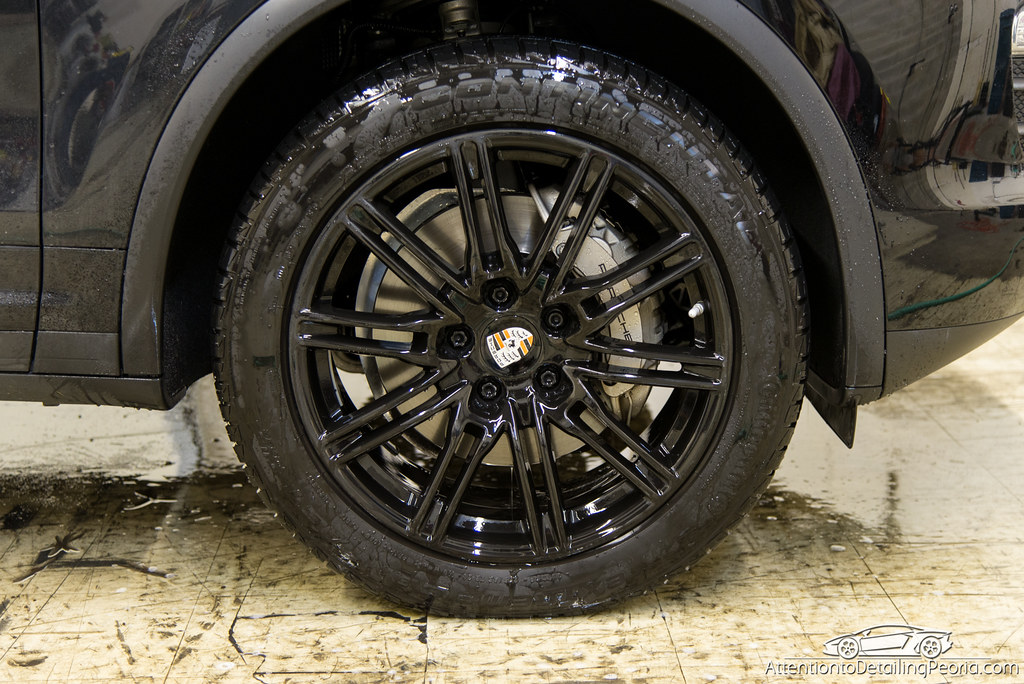
As always, we began by cleaning the wheels and tires. These wheels are not a satin or matte finish, they’ve just been covered in brake dust from those gigantic Porsche brakes.
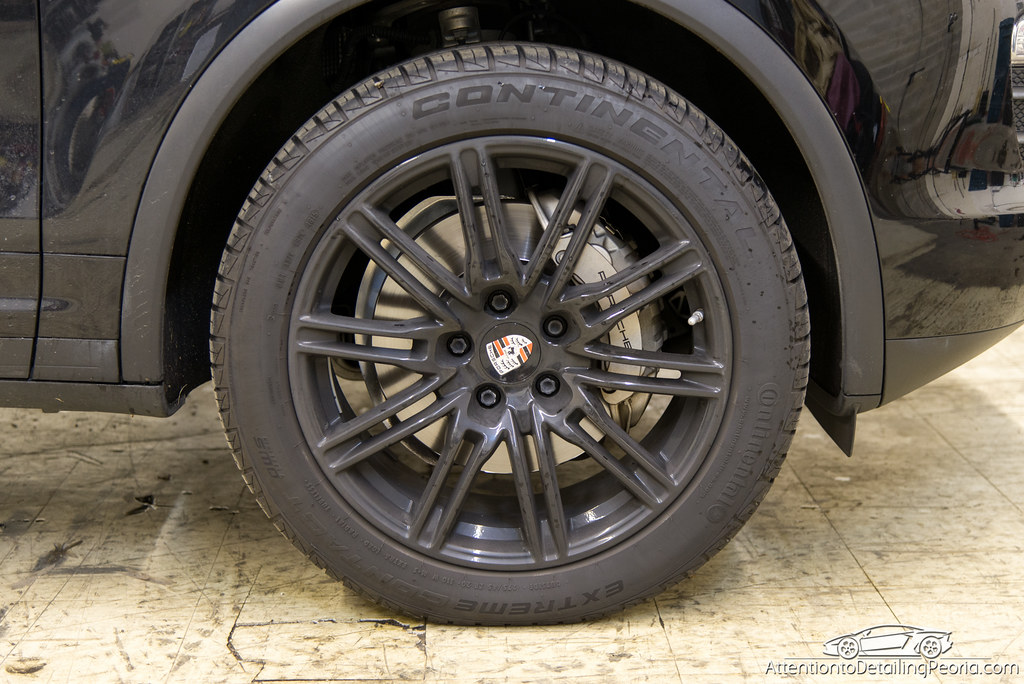
Tuf shine tire cleaner was used to thoroughly scrub the dirt and grime from the tire. Notice the amount of filth coming off of the tire with our initial pass.
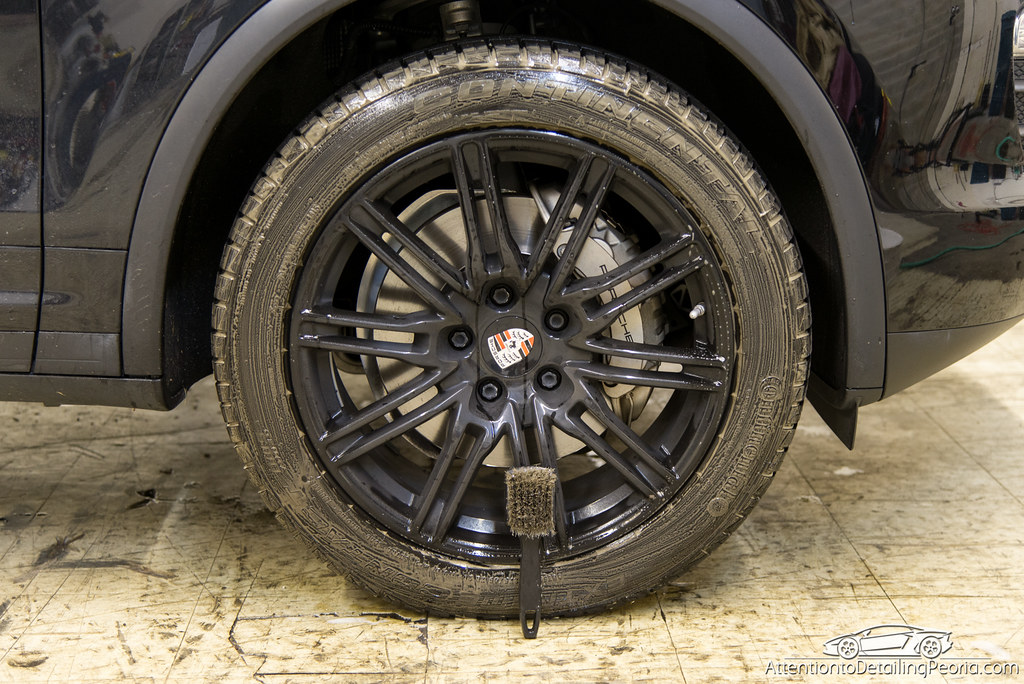
The tire was rinsed and the cleaning process was repeated once more to ensure the tire is clean. Notice how the tire cleaner and brush stayed clean after the second pass (white).
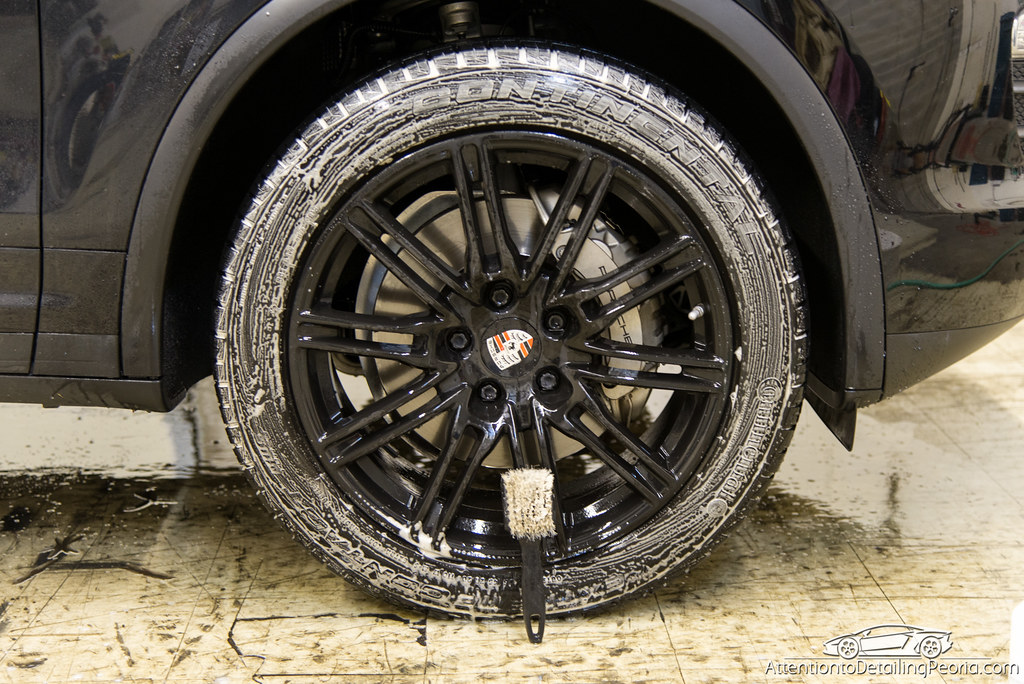
The wheels were then covered with P21S Gel Wheel Cleaner and left to dwell while I cleaned the other tire on this side of the vehicle.
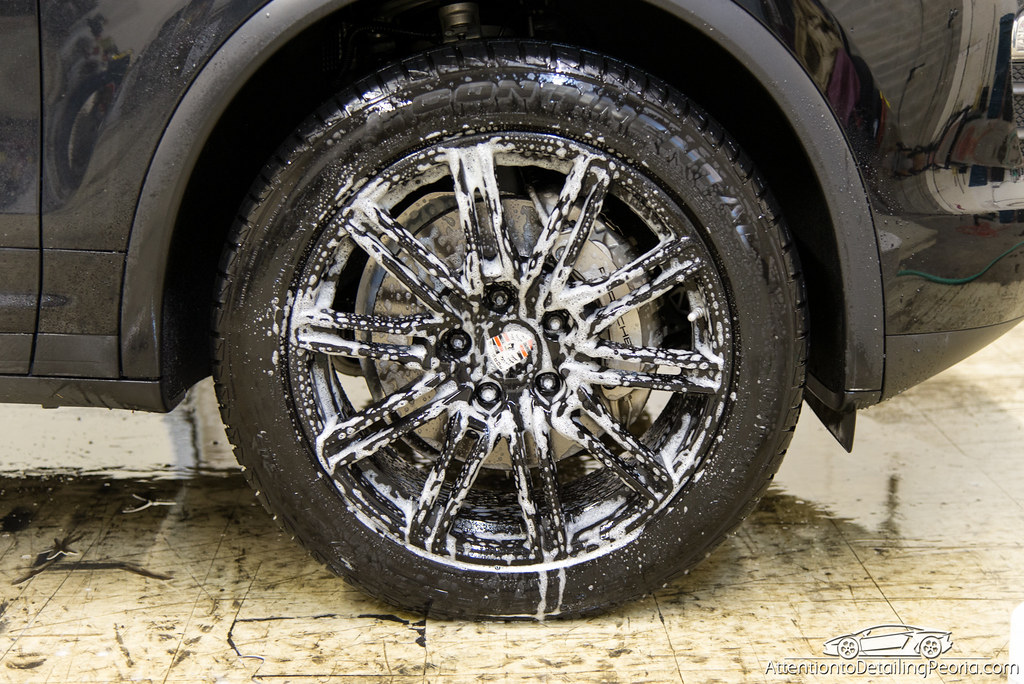
Various brushes were used to agitate the cleaning solution and made these wheels look great. The wheels were then sealed with CarPro HydrO2.
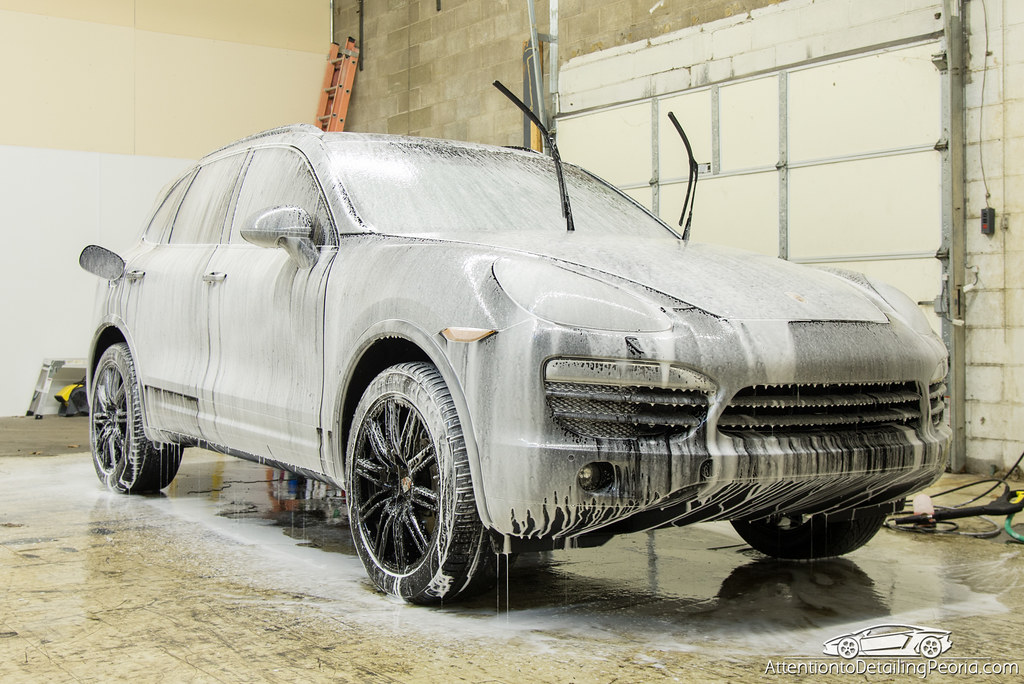
Next, I turned my attention to the paint. The entire vehicle was covered in a thick layer of Chemical Guys Citrus Wash using the DI Foam Lance. While the foam was dwelling, I used a boar’s hair brush to clean intricate areas such as grills, gaps between body panels, fuel fill area, etc. The car was then rinsed and washed using the two bucket method. A thorough decontamination process was then performed using CarPro TarX and Iron X followed by fine grade clay with Nanoskin Glide for lubrication. After another quick wash, the vehicle was then dried with waffle weave towels and the master blaster.
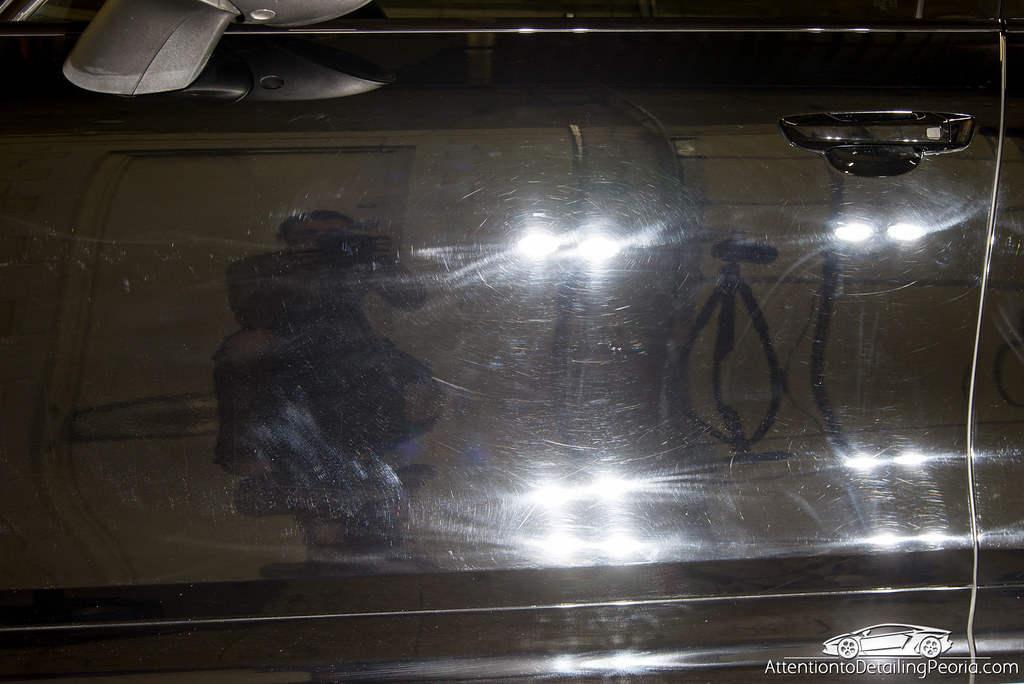
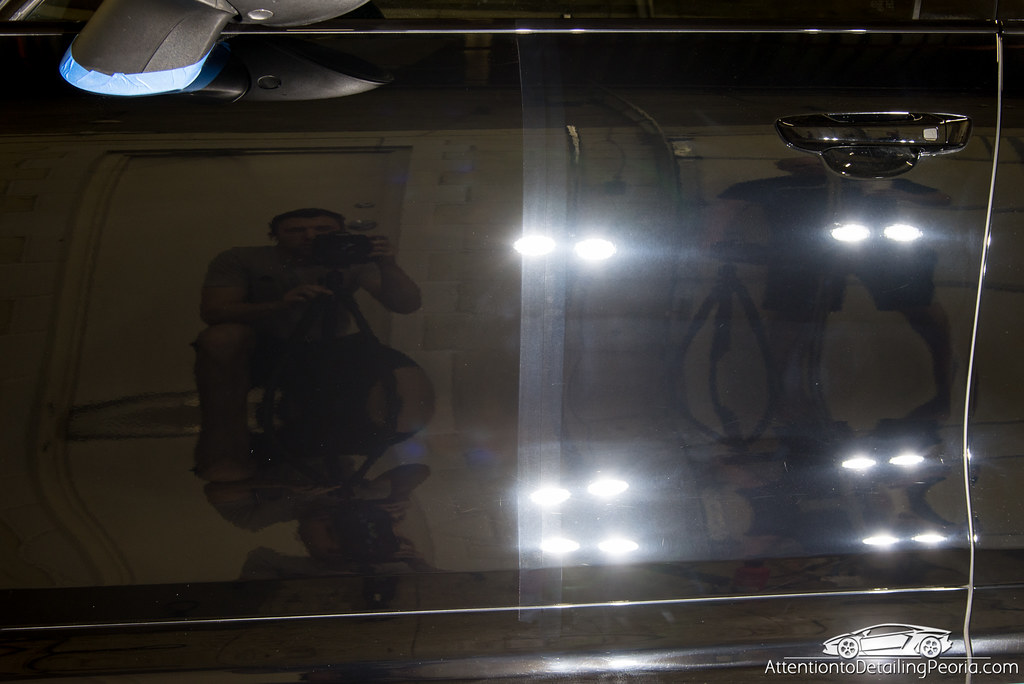
Now that the vehicle was clean, I was able to inspect it properly. The paint was in need of a lot of work. There were swirls, scratches, and holograms everywhere which left the paint looking worn well beyond its true age. Pay attention to how dull my reflection is in the paint as we will compare it to the corrected panel below.
We began by leveling the surface with a heavier cutting pad and compound. After performing various test spots with several polishes and pads, I determined that a Griot’s Garage Microfiber Pad paired with the Griot’s Garage Fast Correcting Creme was providing the best defect removal. This process removed the majority of defects, but left a hazy finish that needed to be refined with a finer polish and pad.
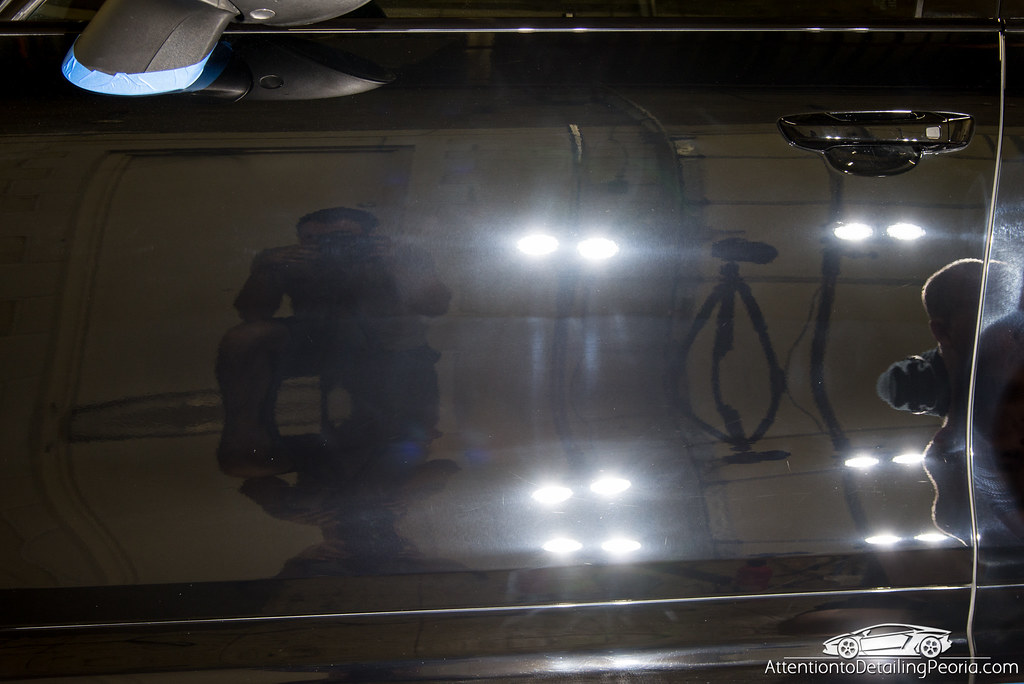
The polishing process removed the haze left from the cutting step and drastically enhanced the clarity and color, revealing a beautiful jet black finish. We chose CarPro Reflect on a Rupes yellow polishing pad to tackle the polishing job. Notice how much clearer my reflection is compared to the picture of the original finish. This is a true mirror like finish.
Bright LED inspection lighting is used in the shop throughout the job, however I always like to validate our results with sunlight when possible as this is the lighting the paint will be seen in most often. The results were fantastic. No visible swirls, and only a few remaining scratches (RIDS) here and there. We were now ready to carry out this process on the entire vehicle.
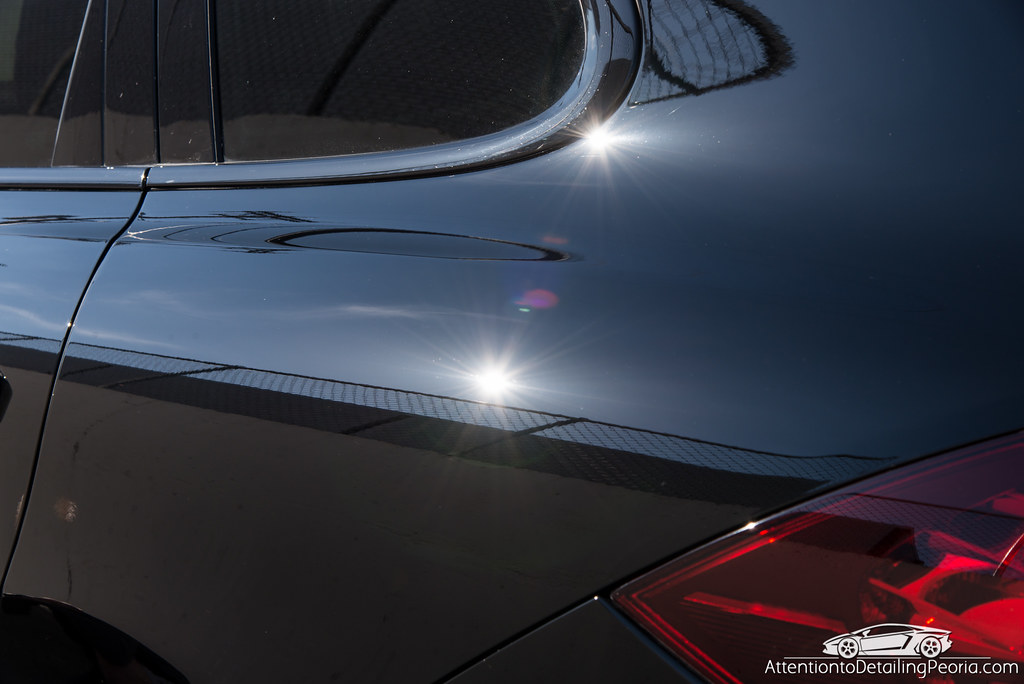
The external B and C pillars and tail lights were also corrected using the same process we use on the paint.
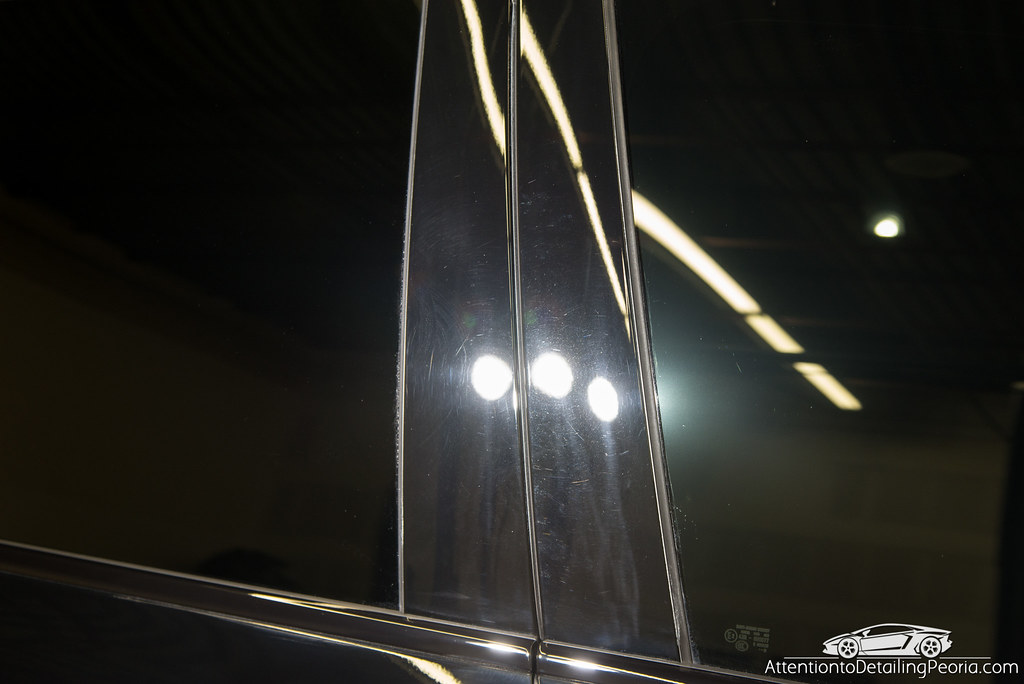
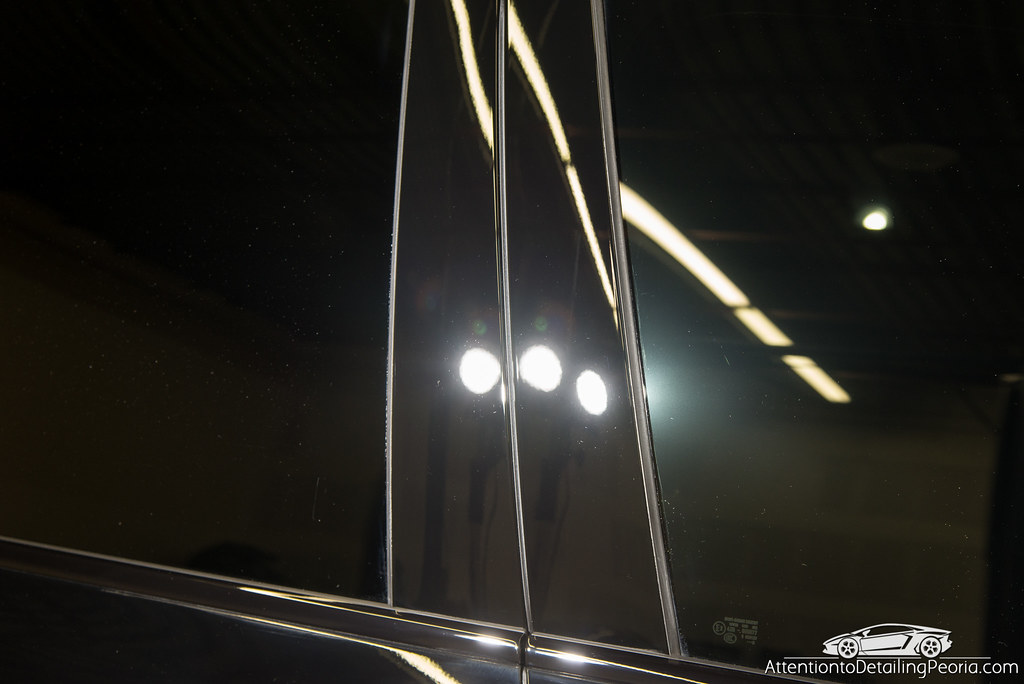
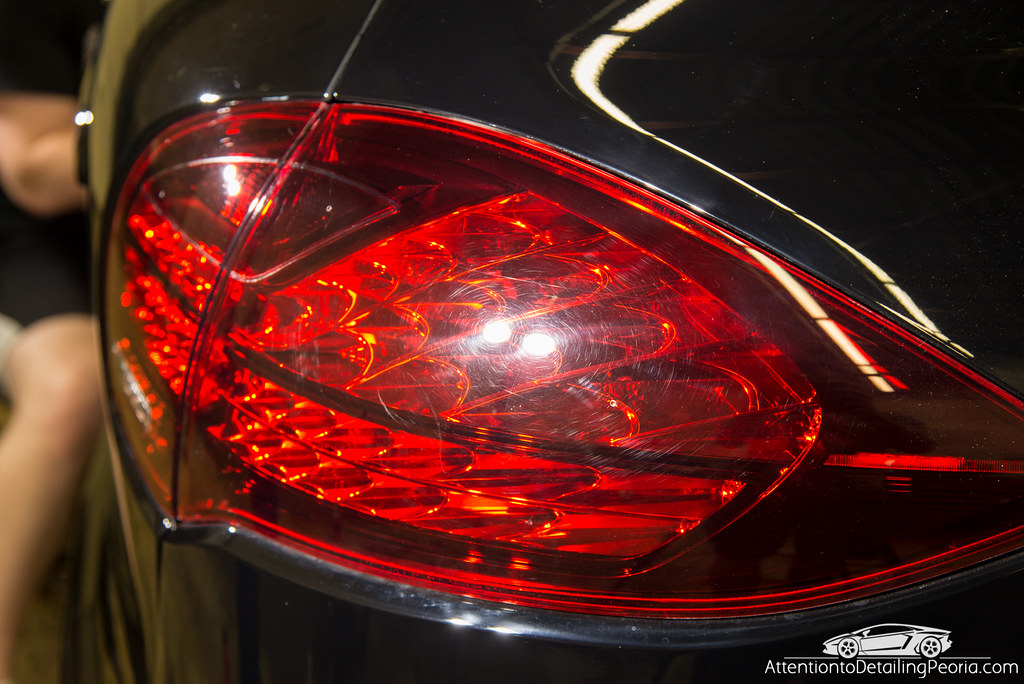
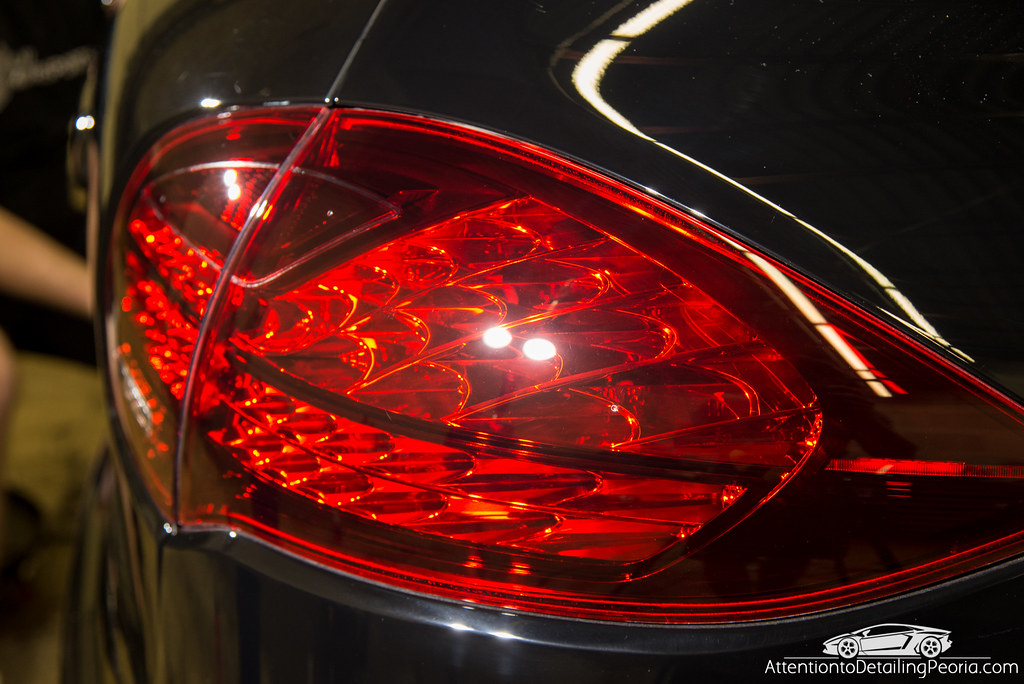
With the paint polished to perfection, Blackfire Wet Diamond was applied to all painted areas using a blue fine finishing pad on my porter cable polisher.
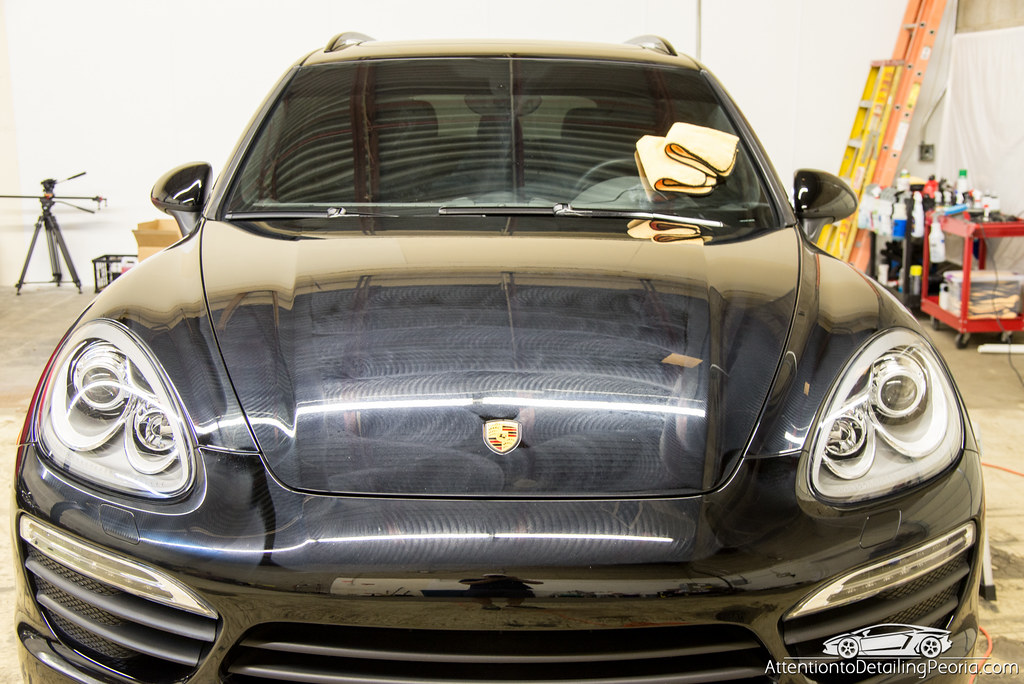
Tires were dressed, windows clean, exhaust tips polished, and other final details were completed before we pulled it out into the afternoon sun for some final pictures. We couldn’t have been happier with the results. The paint was crystal clear with reflections that were deep and vivid.
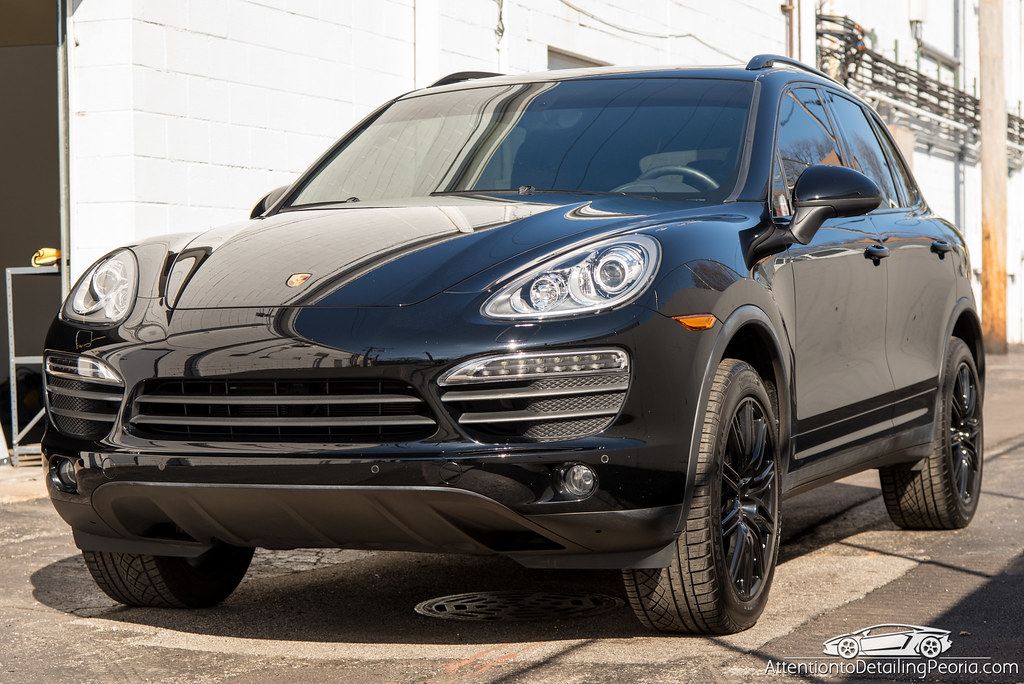
The sun doesn’t lie… no swirls here. Just brilliant black paint.
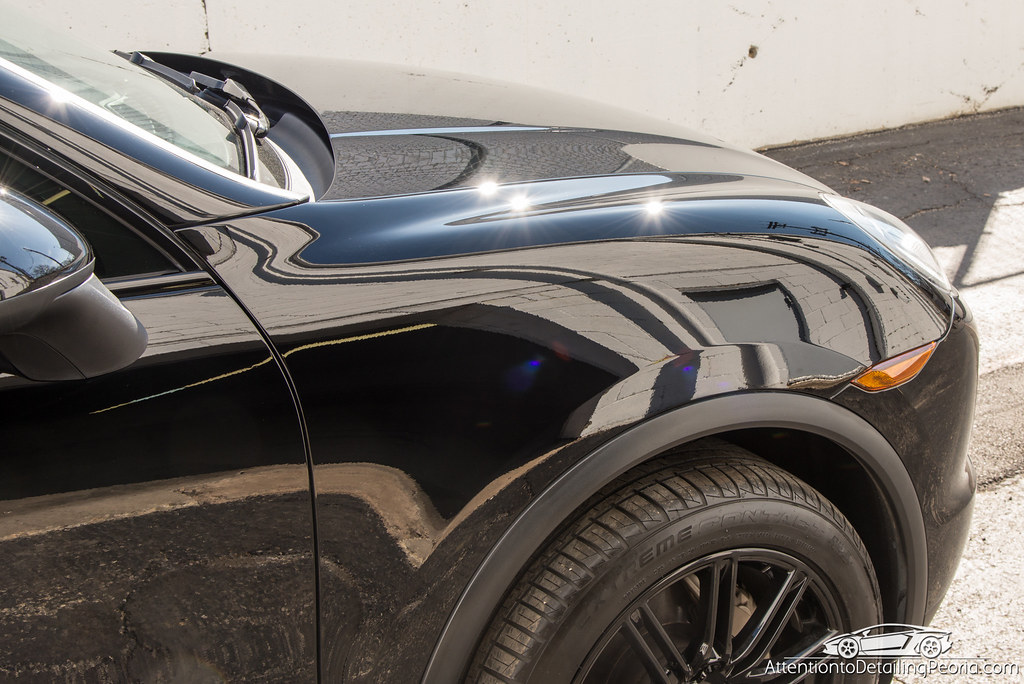
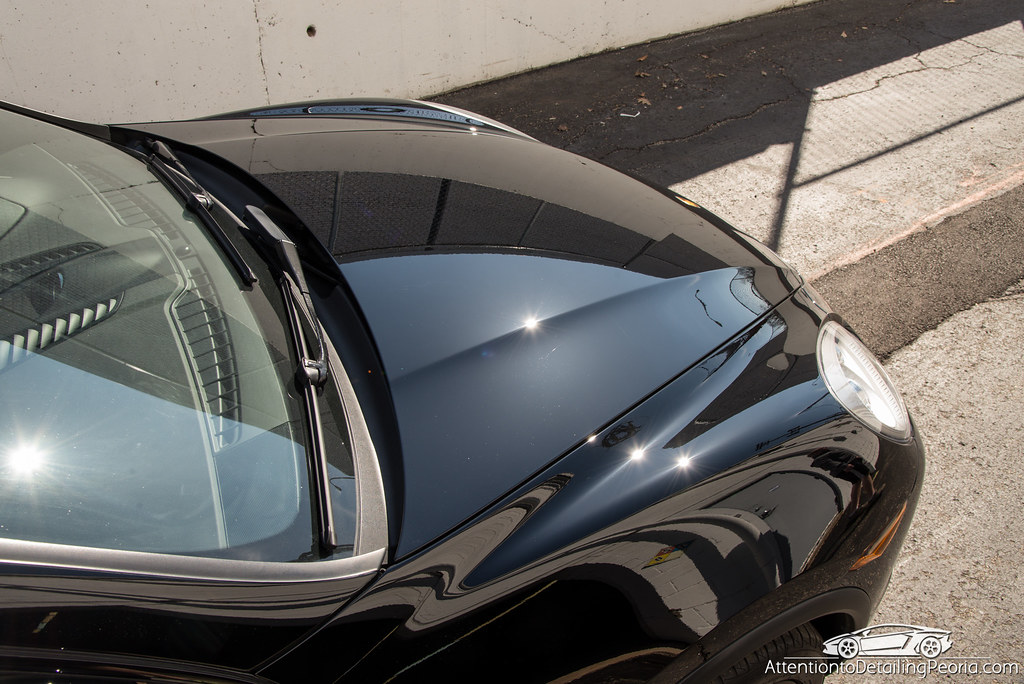
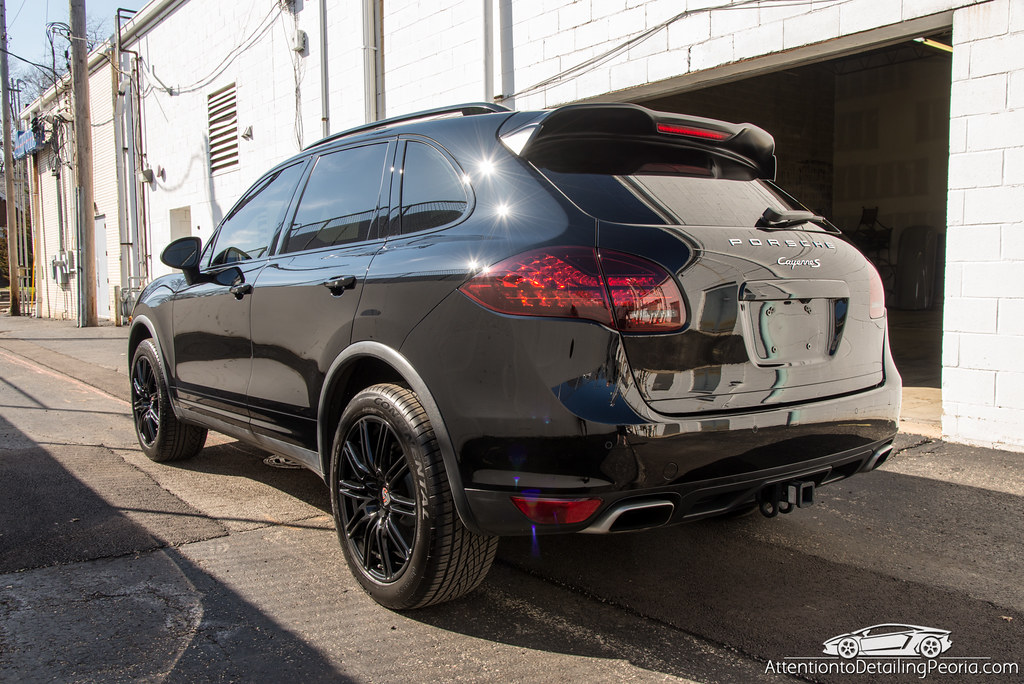
Now this is how jet black paint should look!
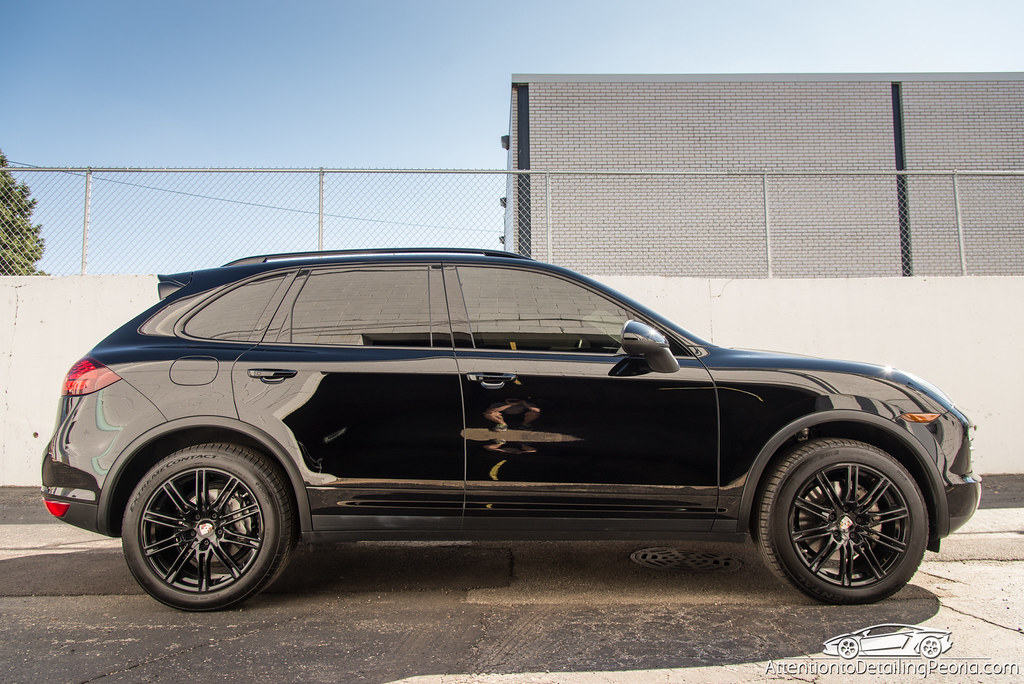
Product Overview
- Tires: Tuf Shine Tire Cleaner & Brush
- Wheels: P21S Gel Wheel Cleaner, EZ Detail Brush, Horse’s Hair Wheel Brush, Wheel Woolies Kit
- Wash: Chemical Guys Citrus Wash, Chenille Wash Mitt, Buckets and Grit Guards, Foam Lance
- Chemical Decontamination: CarPro Iron X & CarPro TarX
- Mechanical Decontamination: Fine Grade Clay Bar & Nanoskin Glide
- Paint Correction: Griot’s Garage Fast Correcting Cream & Griot’s Garage Microfiber Pads
- Polishing: CarPro Reflect & Rupes Yellow Polishing Pads
- Paint Protection: Blackfire Wet Diamond
- Machines Used: Rupes LHR21ES Mark II, Griot’s BOSS G21, Rupes LHR75e, Porter Cable 7424XP
- Wheel Sealant: CarPro HydrO2
- Tire Dressing: Optimum Opti-Bond
- Glass: Meguiar’s D120
- Metal: Chemical Guys Metal Polish
Buy Products From This Article
Related Posts
- 1999 Porsche 996: Paint Correction and 22ple HPC Coating
- Removing Car Wash Swirls and Scratches – 2016 Porsche Targa 4S
- 2014 BMW 750 LI: Removing Dealership Holograms
- 2016 BMW M4: Paint Correction Detail & 22ple Mistico Elemento Application
- 2015 Range Rover: Paint Correction and Gtechniq Crystal Serum Light Application


Zach,
Awesome work. I have to put together your infamous LED work lights. I see so many people using them. I have BFWD and love that stuff. So easily to work with. The sun shots show the perfect paint. Nice work, keep up the great write ups.
Bob
Thanks The lights have surely gained a lot of popularity… they work great!
Where can I get these led lights or will any work.
And yes beautiful workmanship, black always shows if a person knows and what they’re able to do.
Hi Paul – I will email you the details on the LED lights we use! Thanks!
Awesome thanks
for a minute there I thought those wheels were going to be silver! –
Beautiful work!!
May I ask how long it took?
I can’t remember exactly.. but I want to say we had about 12-15 hours total into this one between two of us working.
Very nice. Thanks for the write-up….