2008 Lexus RX350 Pebble Beach Edition
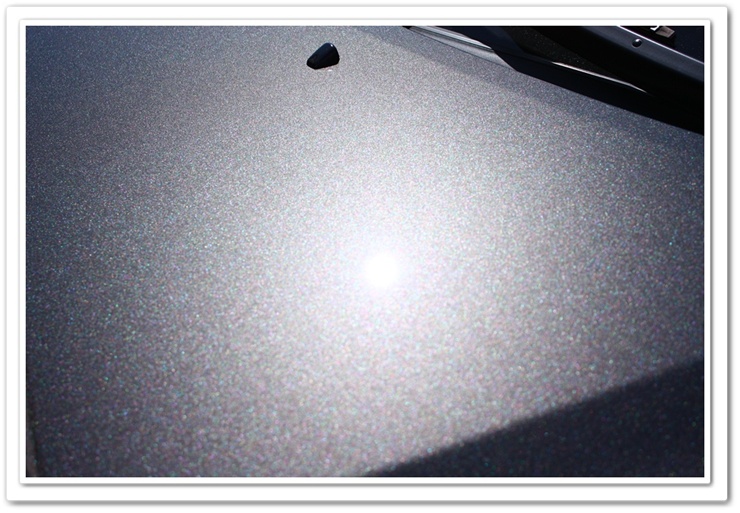
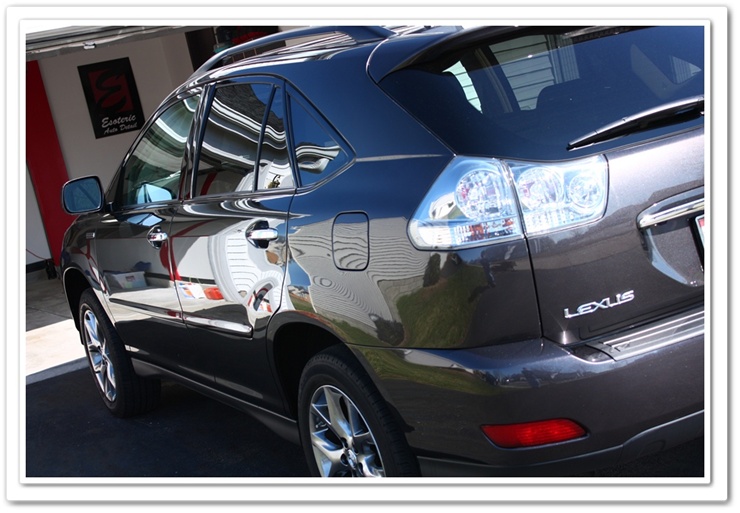
by Todd CooperiderI’m not sure where the Lexus design/marketing team came up with the color name “Truffle-Mica”, but I’m glad they came up with the color! The Pebble Beach Edition is the only RX model that this color is available on. It has hues of grey, copper, blue, purple, and even a little bit of green too. The color varies slightly depending on the type and angle of the light, sometimes giving it a grey look, sometimes copper, and sometimes a slight look of purple.
Other than being in need of a thorough cleaning, this one was in pretty good condition with the exception of some heavy scratches on the rear bumper, and some that went down the entire right side of the SUV. We agreed that the best approach would be a (modified) one-step polish, with a focus on reducing the severity of the scratches as good as I could. The interior would also need some work to clean up for the Ohio winter, but he said that a light cleaning would suffice. We were not going for a full-correction job.
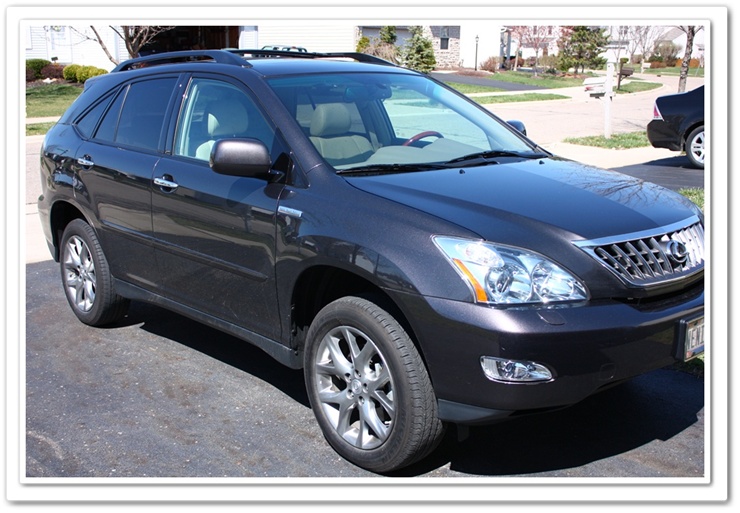
Here’s the RX350 when it arrived:
First up was a wash of the exterior. My go-to wash when preparing for polishing is Chemical Guys Wash & Clear. I also used P21S Total Auto Wash to pre-treat the front end, and to clean the wheels, tires, and wheel wells.
After washing, I clayed the exterior surfaces using Optimum Instant Detailer and Gloss Enhancer as a lube. I find that the Optimum ID provides a super-slick surface for the clay, which reduces the risk of marring the finish (especially on soft Lexus paint). As is normal, I found the rear of the car as well as the areas right behind the wheels to have the most contaminants to be removed by clay. The horizontal surfaces were surprisingly in good shape.
After claying, I foamed the car once again with Chemical Guys to rinse off the Optimum ID, and then pulled it in the garage for polishing.
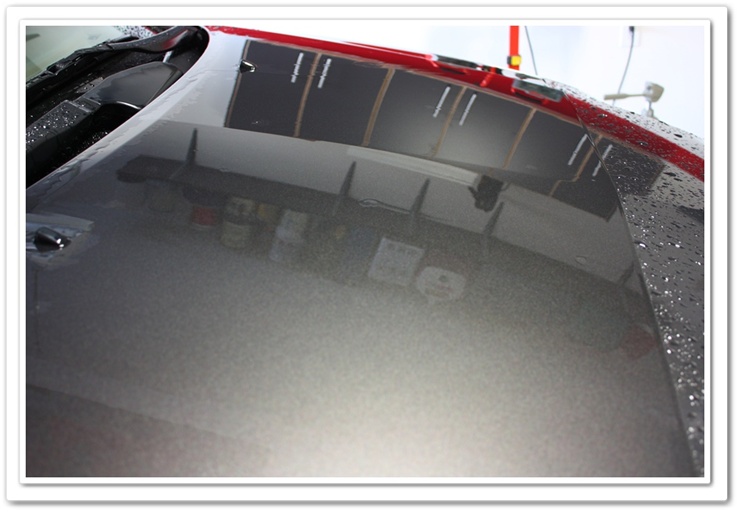
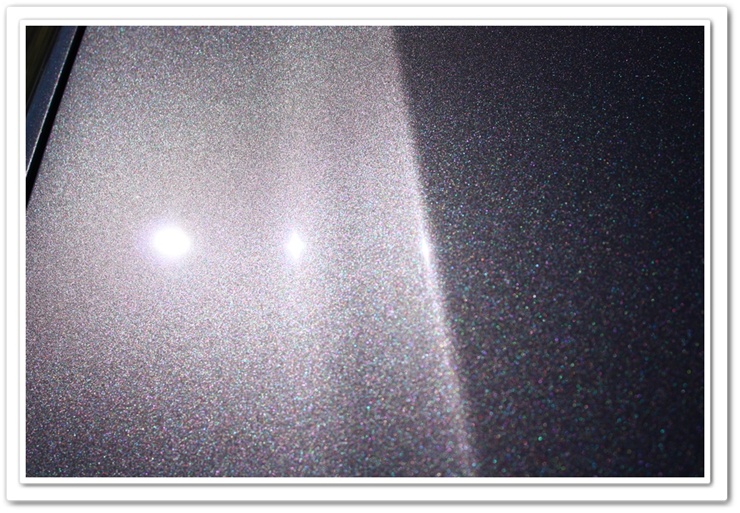
The water is sheeting nicely, which means no remaining waxes or sealants! The line you see is a clear bra installed on the front.
For polishing I opted for the Porter Cable 7424 with an orange LC pad and Optimum Poli-Seal (OPS). I like using OPS because it provides light correction, and contains polymer sealants that provide months of protection (3 or 4 in my experience). It also leaves the slickest finish of any AIO products that I have used. And did I mention that it is incredibly easy to work with? It only requires a small amount of polish, and it doesn’t take a lot of time to work in and break down like traditional polishes do…allowing for a much quicker application. Once finished, there’s very little residue to remove which is a huge plus in my book. I also love the look of Poli-Seal on darker colors too!
Now onto polishing:
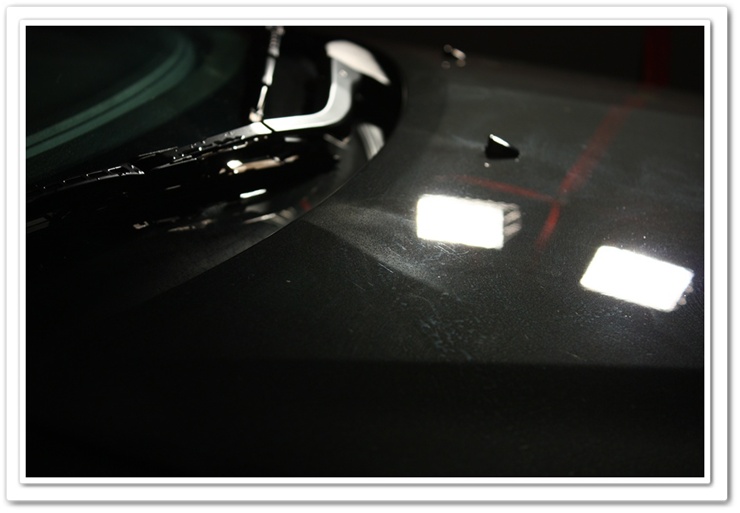
Hmmm, what have we here? Obviously our 10 month old Lexus has had some paint work done in the past because here’s overspray on the hood! I found out that the paint work had been done on the LR of the car, yet I find overspray on the hood…go figure. I also found a bit of overspray and poor sanding and blending work done on the rear quarter.
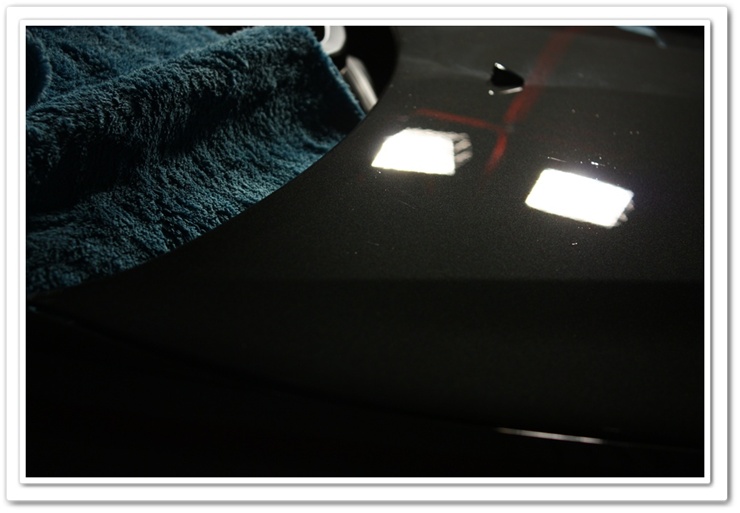
This is the one area that I did use the rotary…Menzerna PO203S cleaned it up. There were a few deep defects on the hood that remained.
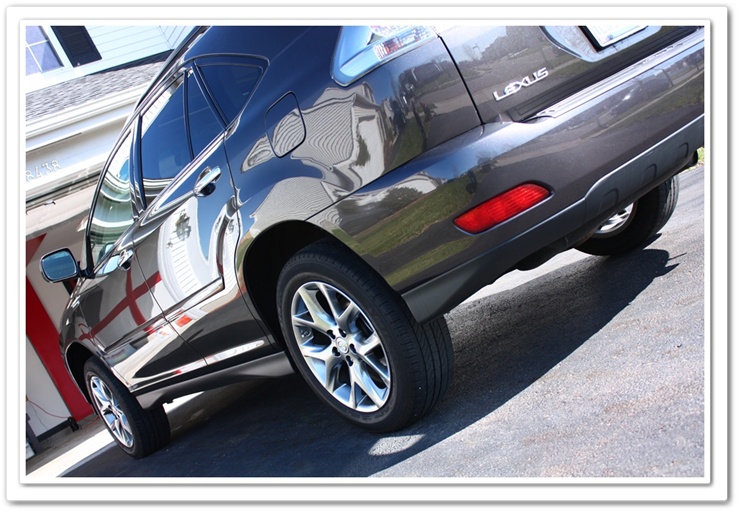
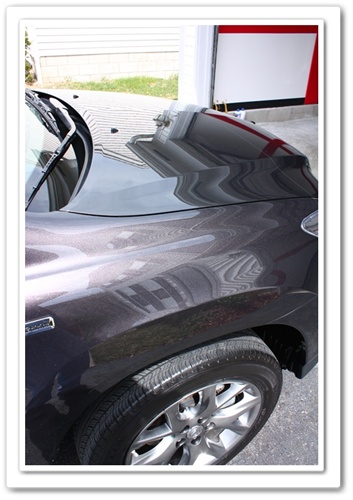
I pulled it outside for a quick inspection in the sunshine to see how it came out. Notice all of the colors in this paint.
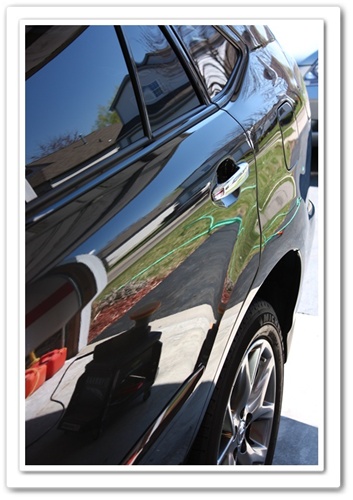
I’ve quickly moved down this side of the vehicle with Poli-Seal, PC, and an orange pad, and thought this made a good photo:
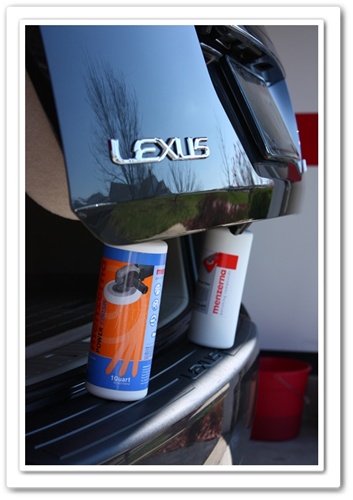
Now on to the back of the car. As I’ve said before, the Menzerna bottles make great props for trunk lids so you can access the bottom part of it with the polisher.
There was sunshine outside, so I took the opportunity to pull the car out and get a few reflection shots since I didn’t know if I’d be able to the next day when I had the car all finished because the weather was supposed to change.
This is before finishing up the wheels/wheel wells, trim, glass, etc.
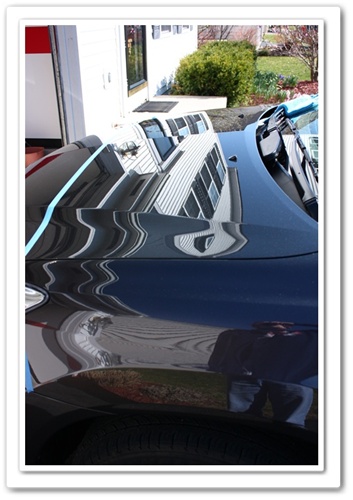
On this one you can see where I still had the tape protecting the Clear Bra.
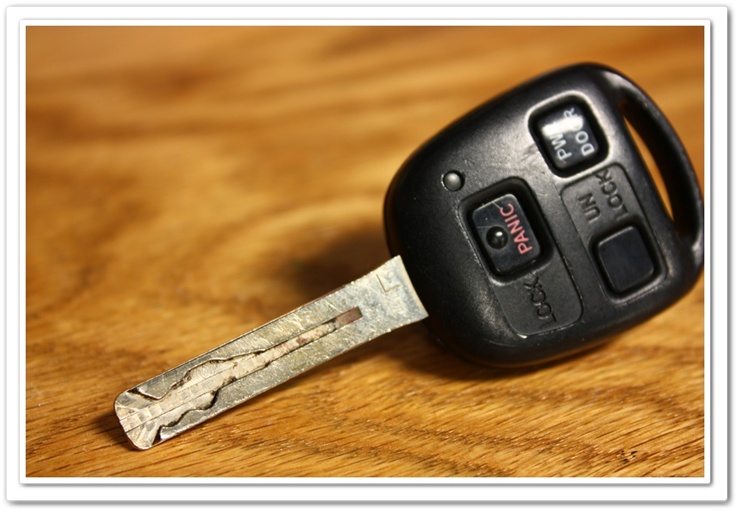
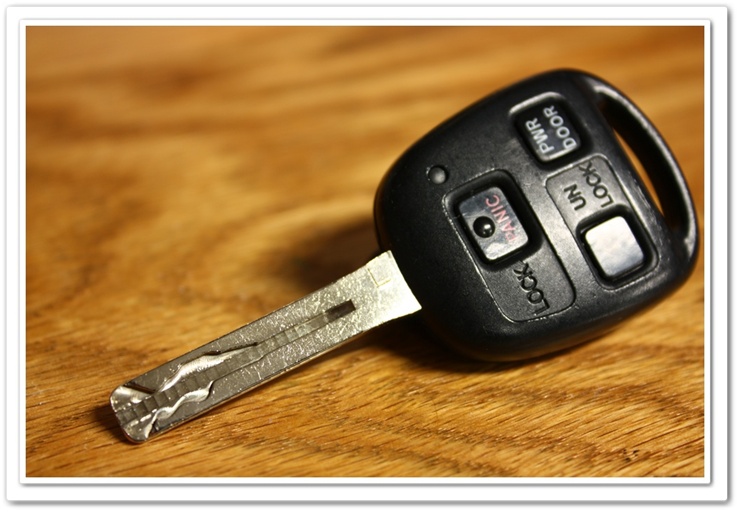
The next morning rolled around and now it’s time to finish up the Lexus. While having breakfast I had the car key sitting on the table in front of me, noticed that it was dirty, and thought hmmm, I bet I could clean that up. My OCD got the better of me so I polished it up a bit.
This is why we call it detailing!
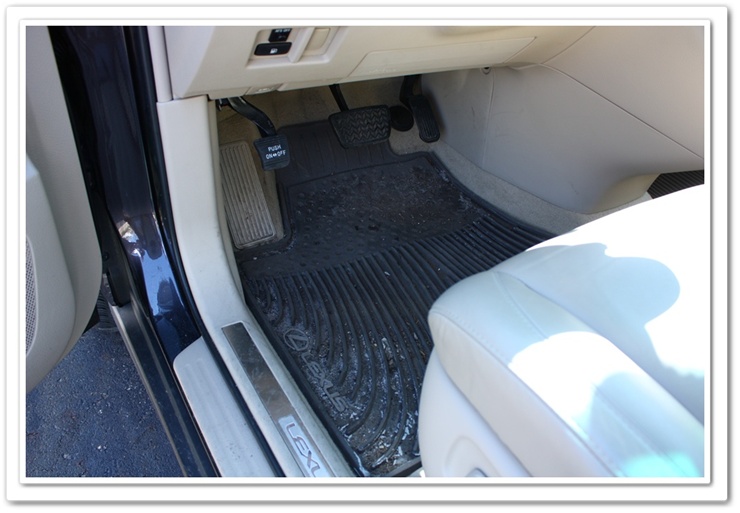
Moving on to the interior…here’s what we’re dealing with:
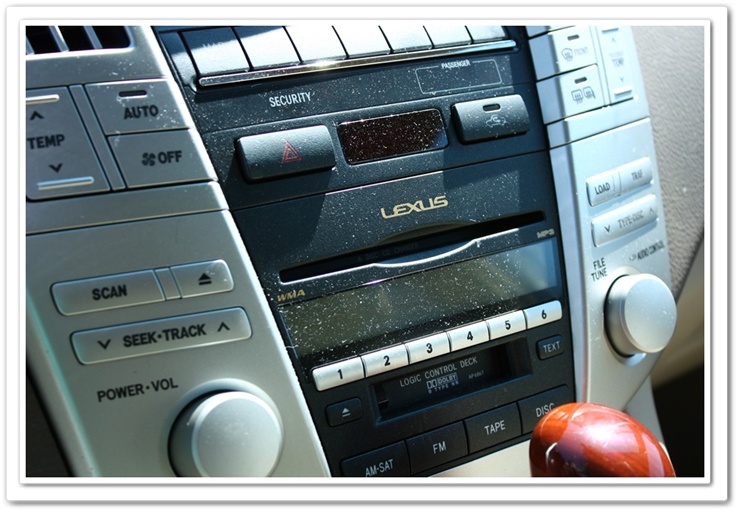
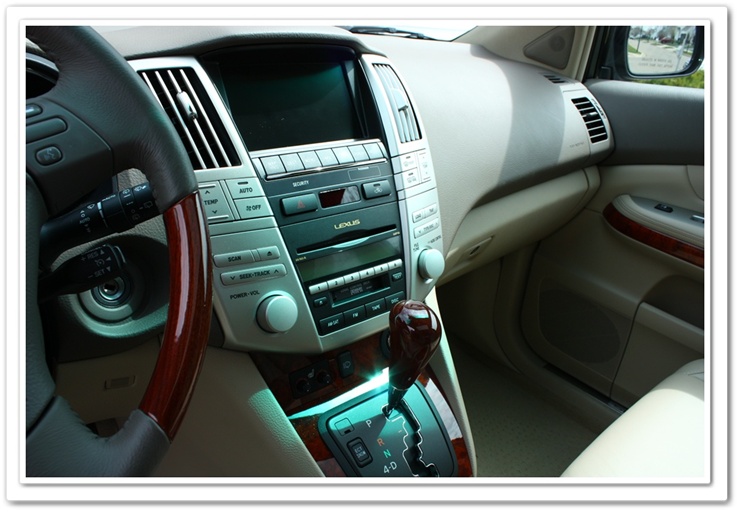
I did a very thorough vacuum job, then cleaned all surfaces with Woolite/water and a MF towel, and cleaned the gauges, controls, and console area.
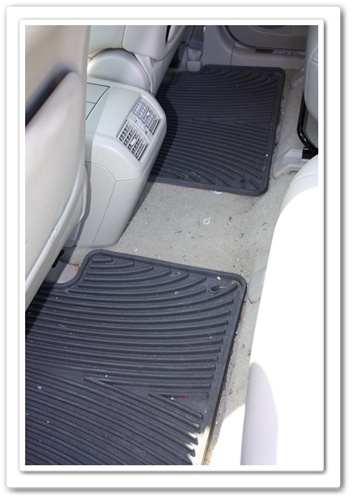
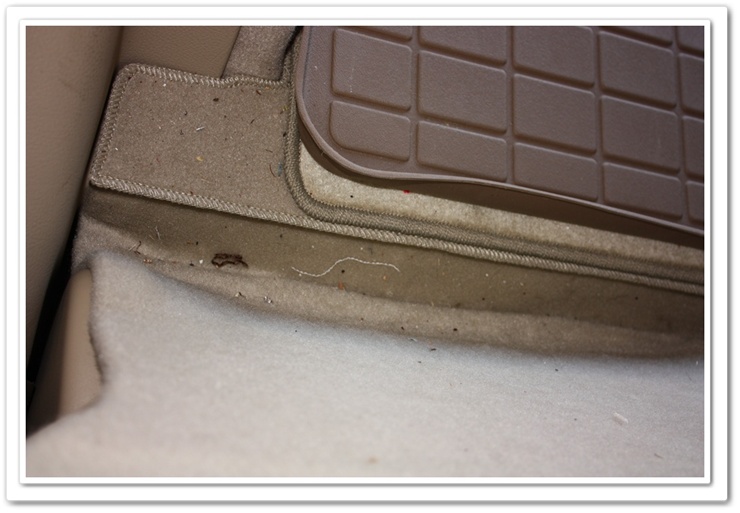
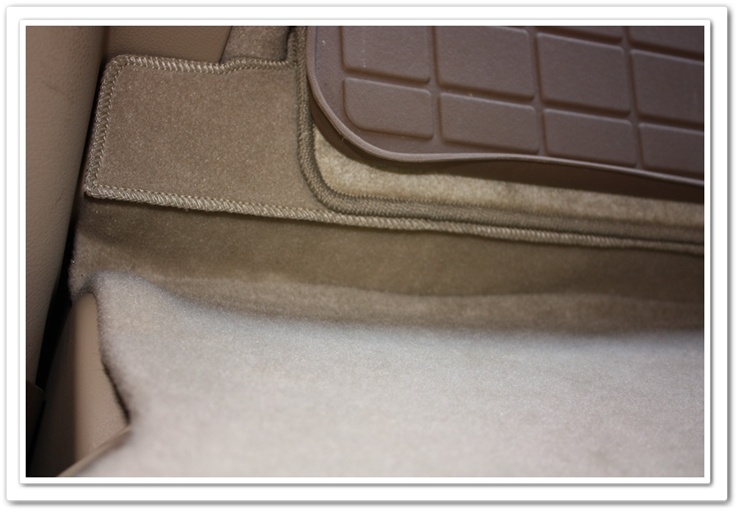
Here’s an area that can get missed. The only way to access this is to fold the rear seats forward. It’s like a catch-bin for “stuff”. This view is looking back into the hatch area.
After:
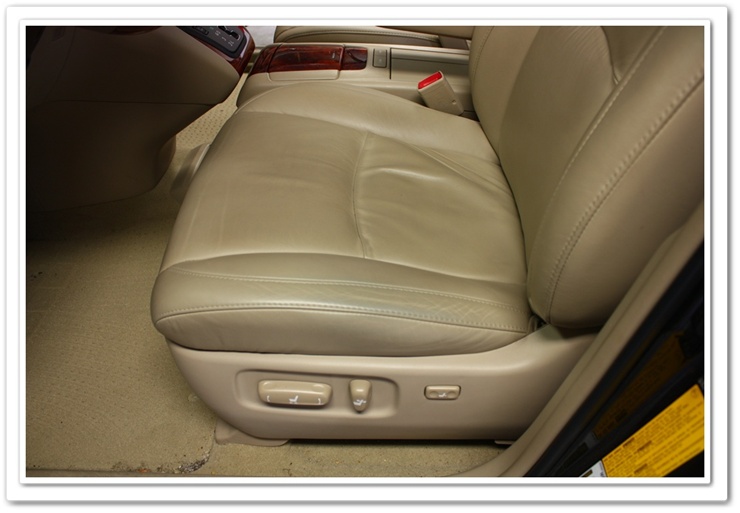
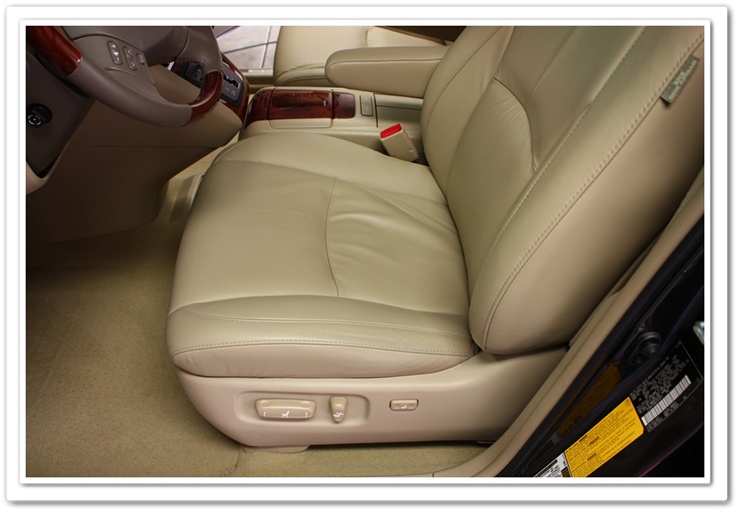
The driver’s seat was the dirtiest as per usual. It had a bit of grime built up, and some dye transfer issues as well. I first wiped it down with Woolite and water, and then sprayed Leatherique Prestine Clean on the seat and worked it in with a leather brush. Afterwards I wiped it all down with a damp MF towel.
Before:
After:
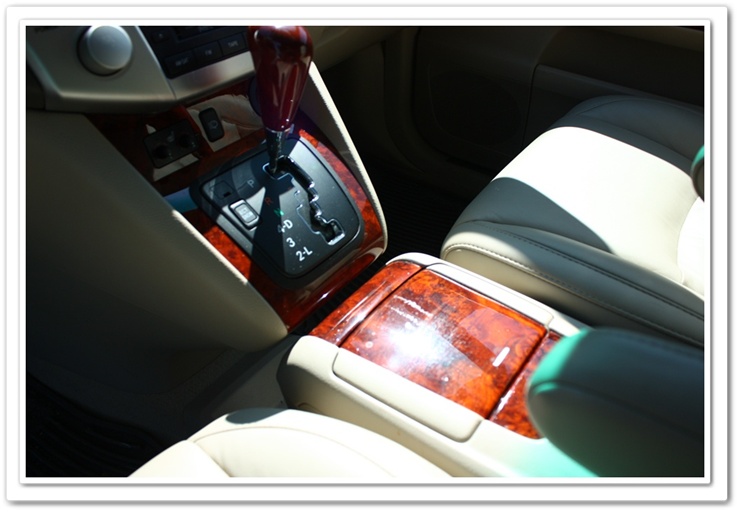
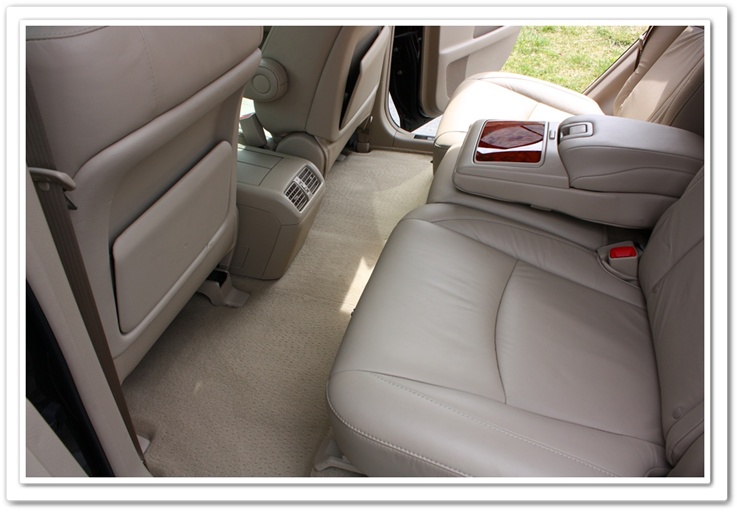
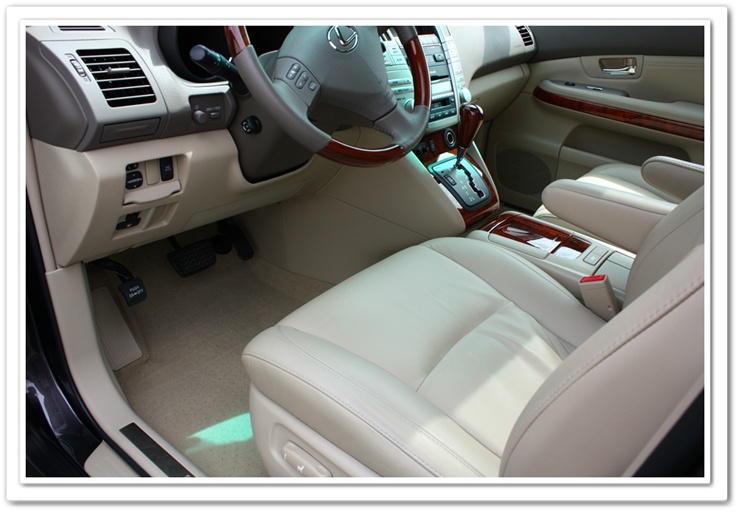
Some other interior after shots:
I cleaned the foot rest on the left (as well as the pedals and rubber floor mats) with APC.
Now that the interior is all finished up, it’s time for a few finishing touches.
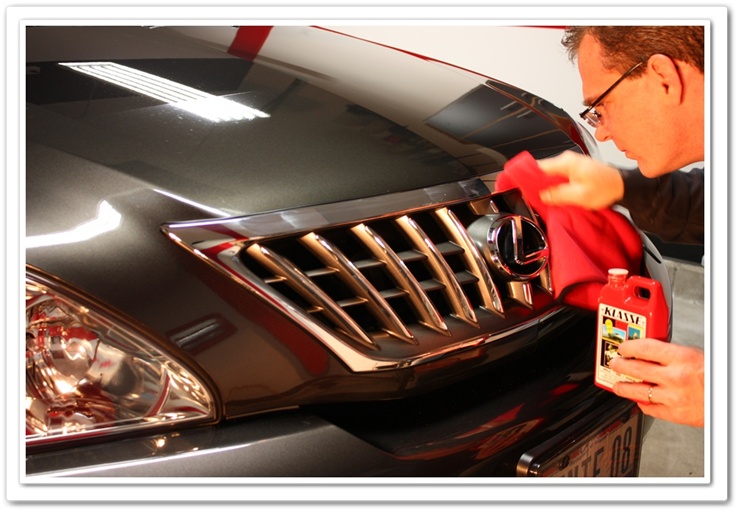
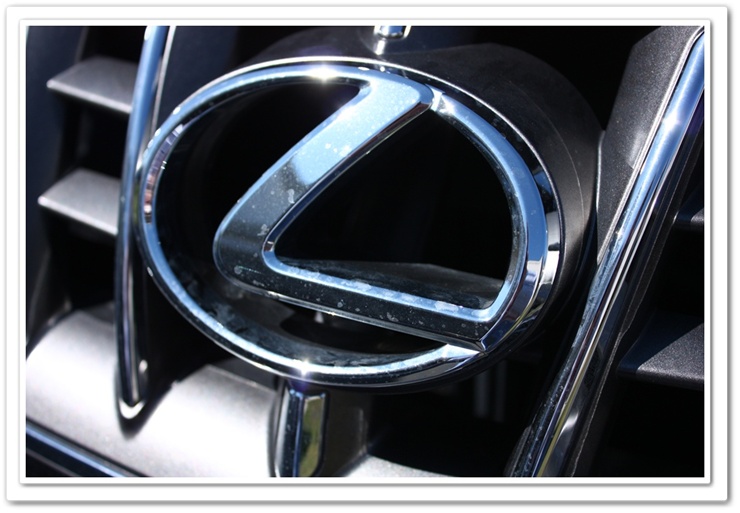
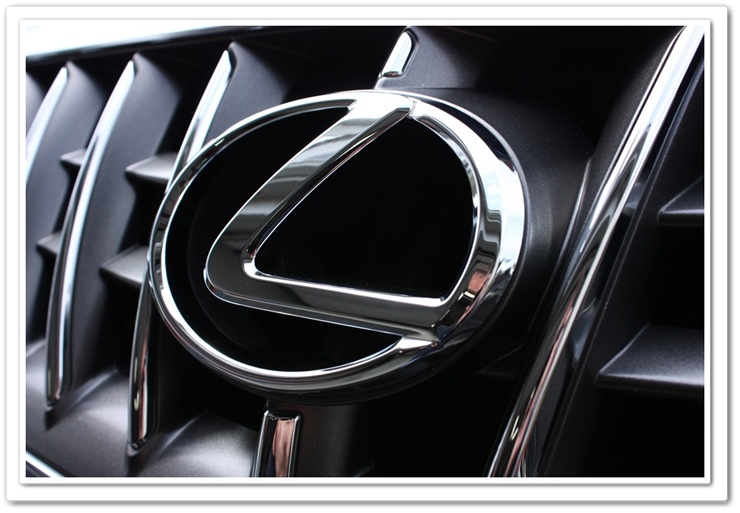
The chrome and emblems got cleaned and protected with Klasse All-In-One.
Before:
After:
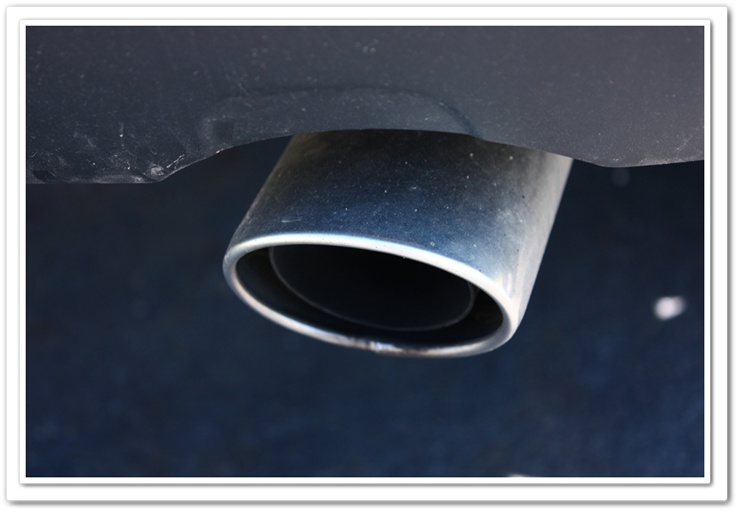
Exhaust tip before:
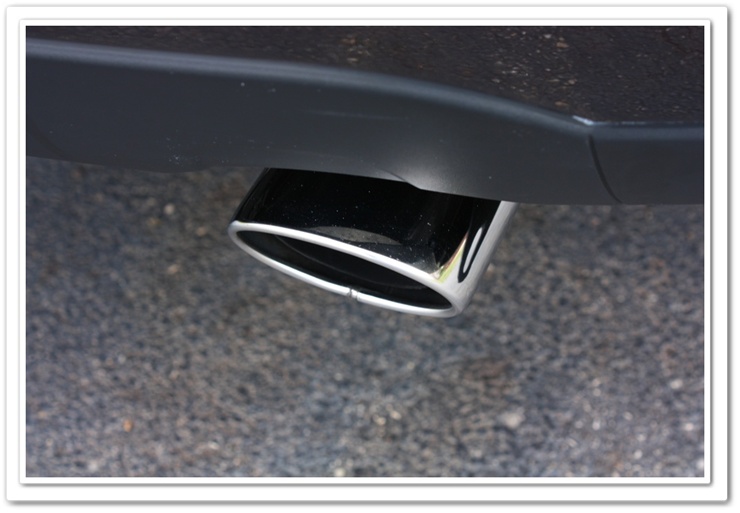
After polishing: Note…that is not polish residue that you see where the plastic trim meets the bumper. It’s actually adhesive (I found it in several areas…perhaps leftover from the body work that had been done on it).
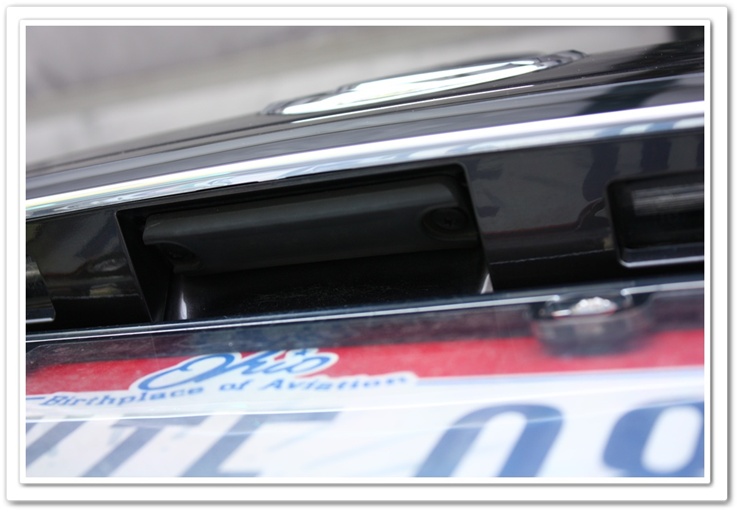
Don’t forget to clean the area on the trunk above the license plate:
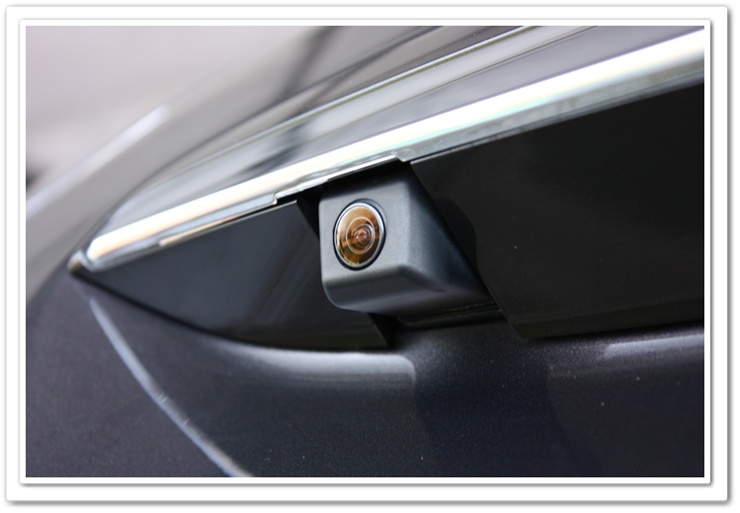
And clean up the backup camera lense:
Ready for some after shots?
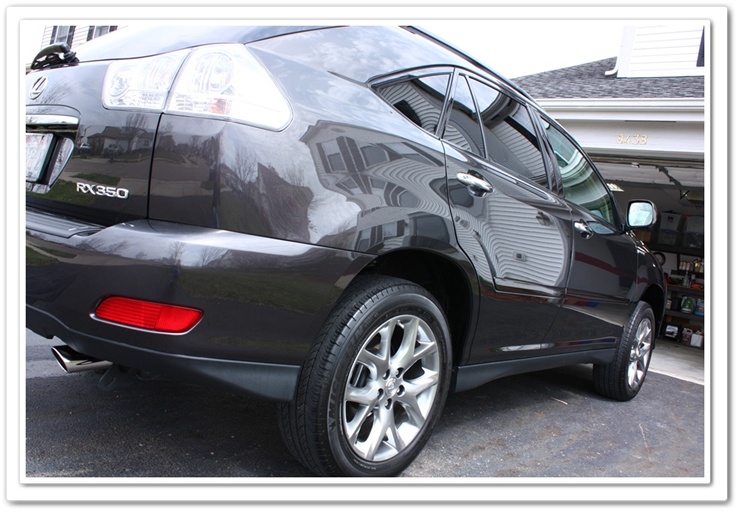
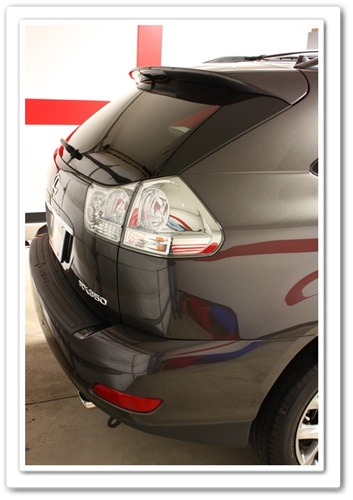
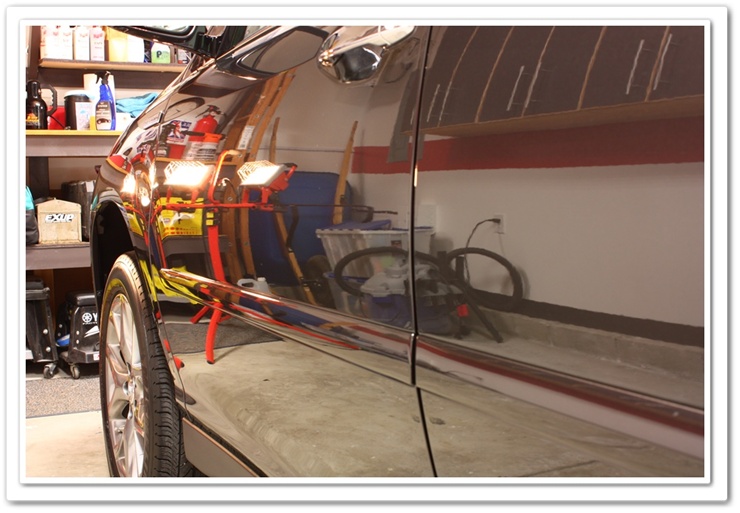
I couldn’t decide between these next two photos, so I added both.
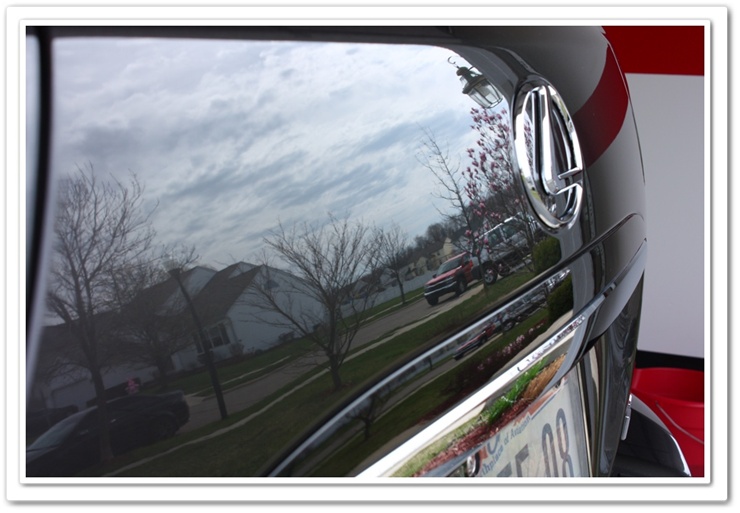
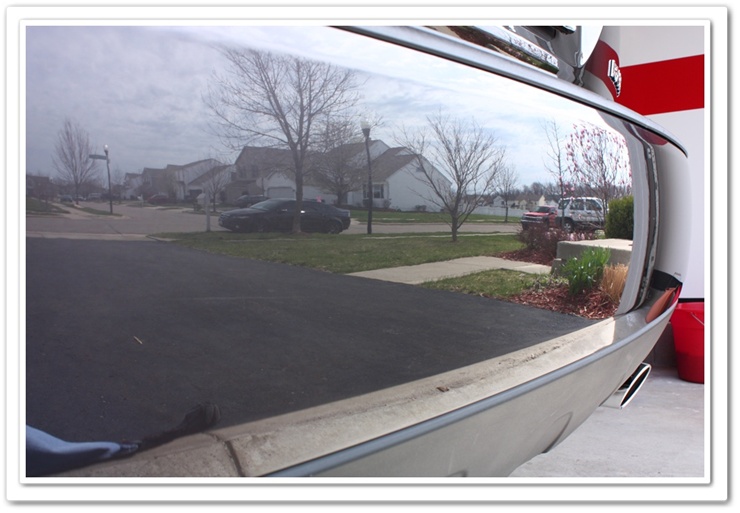
You can tell it’s spring! If you look closely, you will notice the magnolia tree blossoming in the reflection.
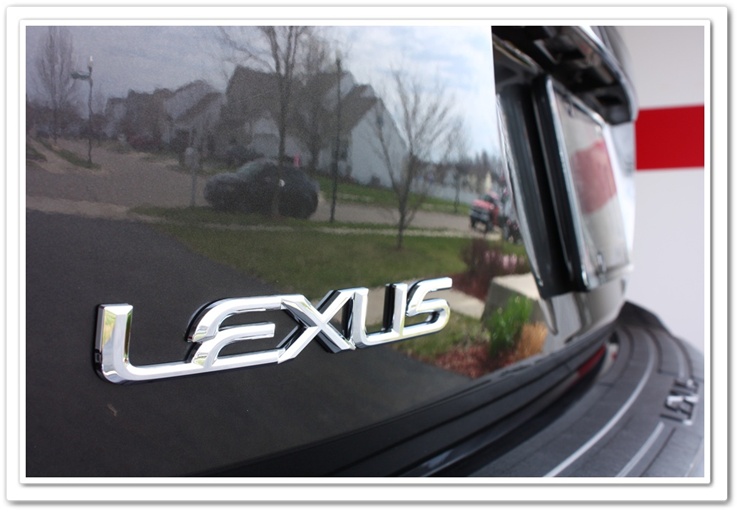
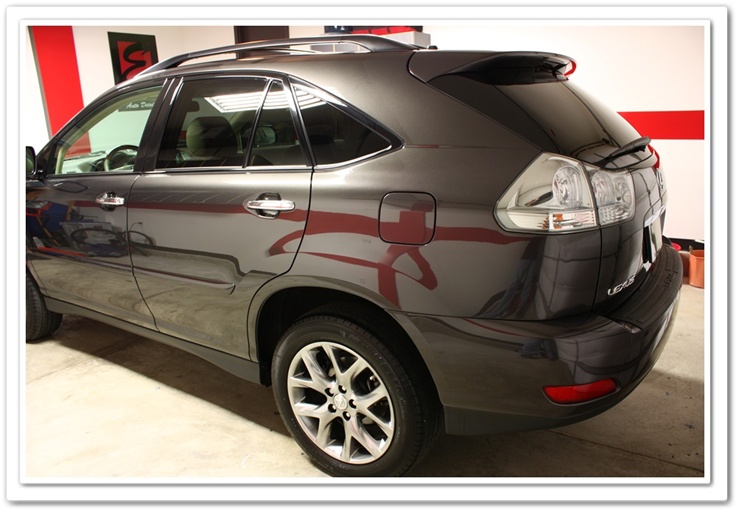
You can see how the color looks a bit different in this photo than it did in the sun shot I took the day before.
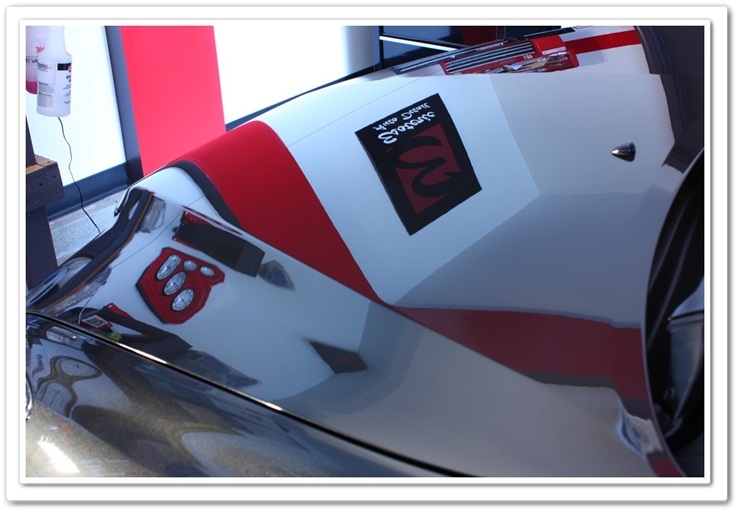
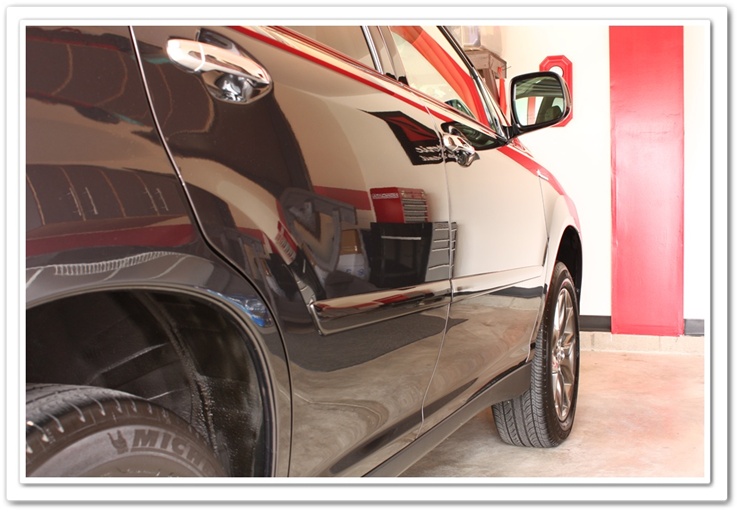
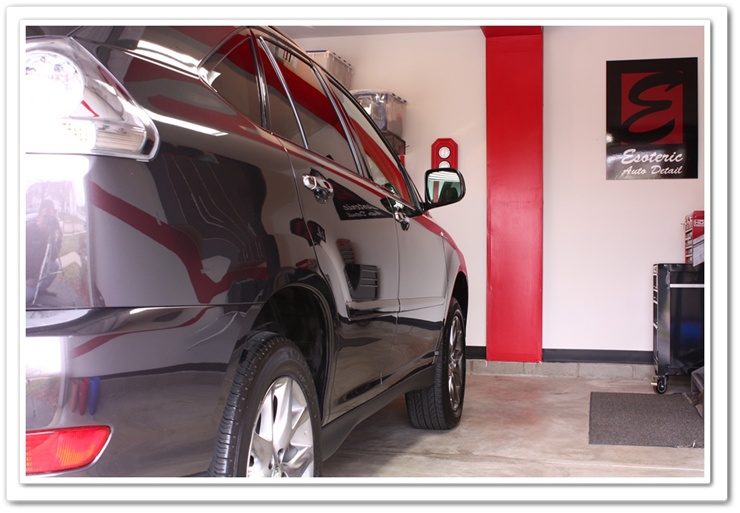
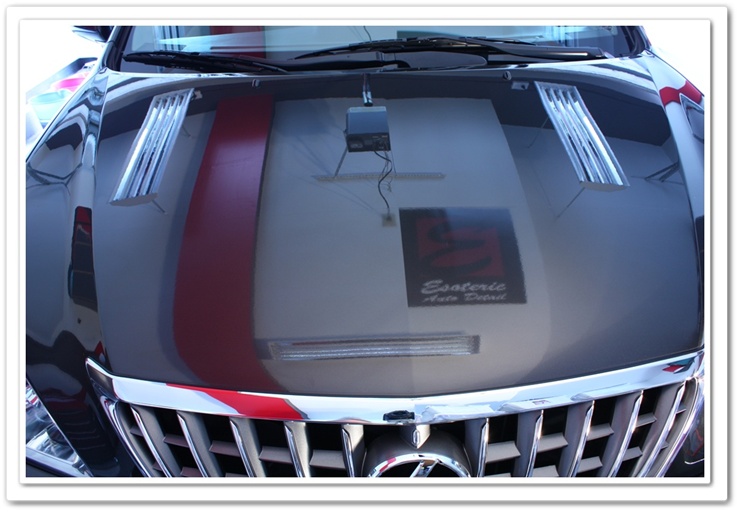
Final. You can see how the Clear Bra distorts the clarity a bit. Just compare the top of the red ceiling stripe to the bottom.
Total time: 7.5 hours (this one went quickly!!)
Thank you as always for checking out my work!
If you have any additional comments or questions, please submit your reply in the comment box below.







Todd, the RX look outstanding! I’m currently looking at an 09 Matador Red 350. Upon initial obsevations I thought there were water spots on the hood. It turns out the paint protectent is failing. The car fax indicated it had been applied and reapplied when new. Is there a way to correct this problem without damage to the paint?
Todd, Great job brother. 90% of my details are Lexus’. I love working with their paint. Thank you for the details provided on each area of the job. I just finished my first detail using the Optimum Hyper Polish and loved the product. Now about that 7.5 hours?, lol. I must be getting slow in my old age. Great work Todd.