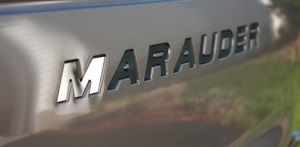
This mean and nasty vehicle belongs to the person who built my website. I’ve detailed his daily driver before, and did a quick cleanup on this one last fall before he put it away for the winter.
This is a highly modified car, and unless you have an equally modified (and lighter weight) vehicle, you do not want to line up against it. It’s got a different block, crank, rods, pistons, cams, supercharger, suspension components, transmission mods, ported and polished head, etc, etc, etc. At the wheels on pump gas he’s putting out 542hp and 522lb/ft of torque! You definitely need power like this to propel such a large vehicle (almost 4800lbs with fuel, driver, and several hundred pounds of sound deadener installed) to an 11.6 second quarter mile.
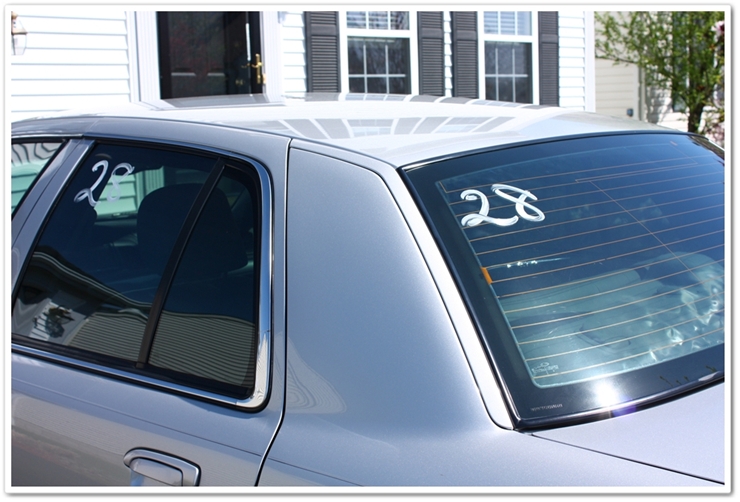
This car is BIG, really big! There was by far more surface area on this car than any other I’ve worked on. The trunk lid was bigger than most hoods!
He had just taken the car to the drag strip the day before the detail.
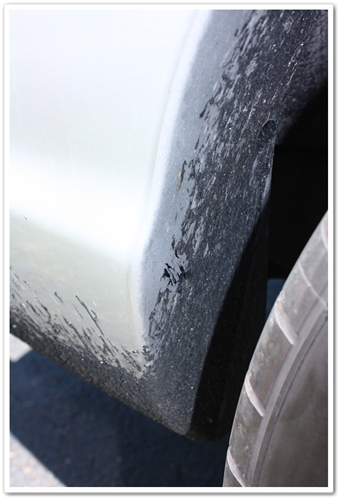
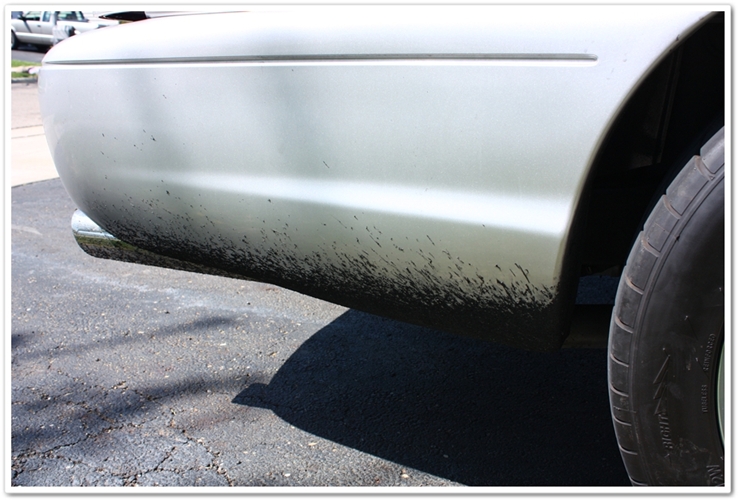
Those pre-staging smoky burnouts sure look cool, but they leave an awful mess. He sprayed down the back end of the car with a product designed to help the rubber come off easier, but I have to say that it failed! More on that in a bit…
Rubber (more like tar) was on the body, all over the exhaust, in the wheel well, on the suspension components, etc.
The owner does a fantastic job taking care of this car, so it was in pretty good condition. It had its share of swirls and RIDS since it had been 2 years since the car had been polished, but not bad at all.
When the car arrived, right off the track!
First up were the wheels. As always, I start off by spraying down the wheels (one side of the vehicle at a time) with P21S Wheel Gel. As it is dwelling to break down the grime, I spray P21S Total Auto Wash on the wheel wells and tires.
Now take your brush and bend it so you can access the backside of the spokes.
I have the new smaller E-Z Detail brush to get into the tighter areas:
Now for the fun part! Like I said before, the rubber was everywhere. I used a variety of cleaners and tools to remove it, and found that a plastic razor blade was the best for getting it off of the rear quarter panel. Here’s a pic while I was still in process…P21S TAW is being used here to clean up the frame and suspension components.
The tar-like rubber came off in small chunks, and because it was so sticky, it ended up everywhere…my face, arms, legs, clothes (ruined!), on my shoes, on every cleaner bottle, the hose, my tripod, and then tracked into the garage and subsequently into the house (my wife was pumped about that!). I still have a date with some solvent to clean up the floors. For his next track day he’s going to tape everything up with blue painter’s tape so the removal process will be much easier.
Now that the wheels were done, I foamed the car with Chemical Guys Wash & Clear at paint prep ratio to remove any wax on the surface. I then clayed with Clay Magic using Optimum No Rinse as lube.
All taped up and ready for polishing.
I used a wide variety of polishes, pads, and tools on this car depending on the needs, including Menzerna SIP and Menzerna 106FA on the rotary. After I finished the car, I went back over it with Optimum Poli-Seal on a Porter Cable 7424.
Here I’m using a 4″ orange LC spot buff pad on the Makita rotary on the bumpers. These smaller pads are perfect for the areas that are hard to reach or manage with the larger 6.5″ pads.
Polishing dust gets everywhere and here is a place it likes to hide (along with dirt and grime). A little Optimum No Rinse (ONR) and a MF towel cleans it up nicely.
I finished up the painted surfaces with Optimum Opti-Seal, and then wiped that down with Optimum Car Wax (OCW). The Poli-seal/Opti-seal/OCW combination looks tremendous on silver and really gives a wet, glossy finish.
Now on to the testosterone-laced photos…the engine compartment! I cleaned this up with ONR, and then dressed the area with a combination of Chemical Guys Fade 2 Black and 303 Aerospace Protectant. I like to use the Fade 2 Black on hoses, wires, and hard to reach rubber or plastic, and then use the 303 Aerospace Protectant on the majority of plastic components.
The tail lights were polished…no swirls here!
This is a massive trunk!
The interior was pretty clean, so I just vacuumed, wiped down all of the surfaces, and cleaned the leather with Leatherique Prestine Clean. Glass was cleaned with Stoner’s Invisible Glass.
I think he means business!
And now for some after shots…first up from inside the garage:
Direct sunshine shots are pretty difficult on silver, so I didn’t bother trying to get a lot of them. When all was said and done, the car ended up about 95% defect free.
Remember all of that rubber that used to be here?
That is a big tire for a sedan. Tires were treated with Optimum Opti-Bond, and wheel wells were treated with Chemical Guys Fade 2 Black.
I really like this shot!
Exhaust tips, emblems, and wheels were all finished with Klasse All In One
And finally:
Total time: 12+ hours.
As always, thanks for taking the time to review the work!
If you have any additional comments or questions, please submit your reply in the comment box below.


