1999 Porsche 996: Paint Correction and 22ple HPC Coating
by Zach McGovernThis vehicle was brought to us for a complete overhaul of the exterior. The car has been through a lot, and it showed. It was covered in swirl marks, scratches, oxidation, and other surface defects that produced an aged look, which was expected… the car is 17 years old and has over 120,000 miles on it, after all.
Throughout its life, most of the car had been repainted with a base coat/clear coat system, but there were still a few panels that had original single stage paint. Regardless of the paint system, every panel needed extensive correction to bring back some of its lost luster. In the end, it was a tremendous turn around. While there were certainly many defects that remained, the overall enhancement of gloss and clarity made this car look at least 10 years younger. These types of jobs are our favorite!
As always, I started by thoroughly cleaning the exterior of the vehicle. We begin with the wheels and tires using dedicated chemicals and brushes to get the job done (remember I will share a complete product list with links at the very end!). The vehicle was then foamed with a strong concentration of shampoo prior to being hand washed. Once washed, I proceeded to remove the large amount of bonded surface contaminants with a clay towel. After a final rinse, the vehicle was dried with our master blaster and drying towels. Since I was too busy working to take any photos of that process, here is a pretty picture of the car covered in foam…

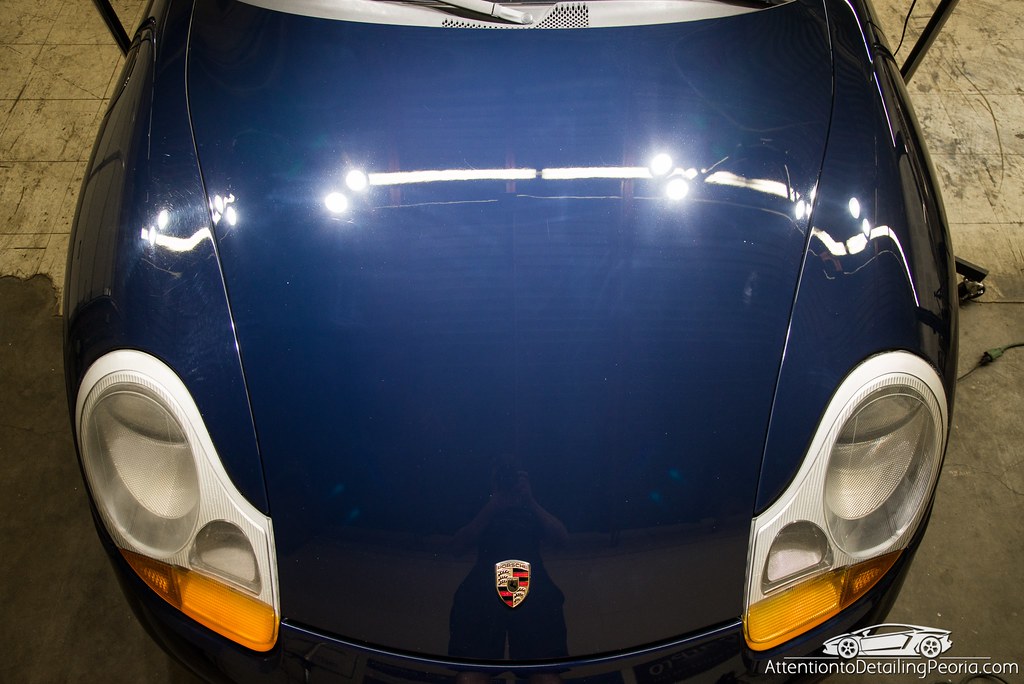
With the paint completely clean, our high powered inspection lights were used to highlight all of the defects in this aged paint. It is not hard to see that there was plenty of room for improvement.
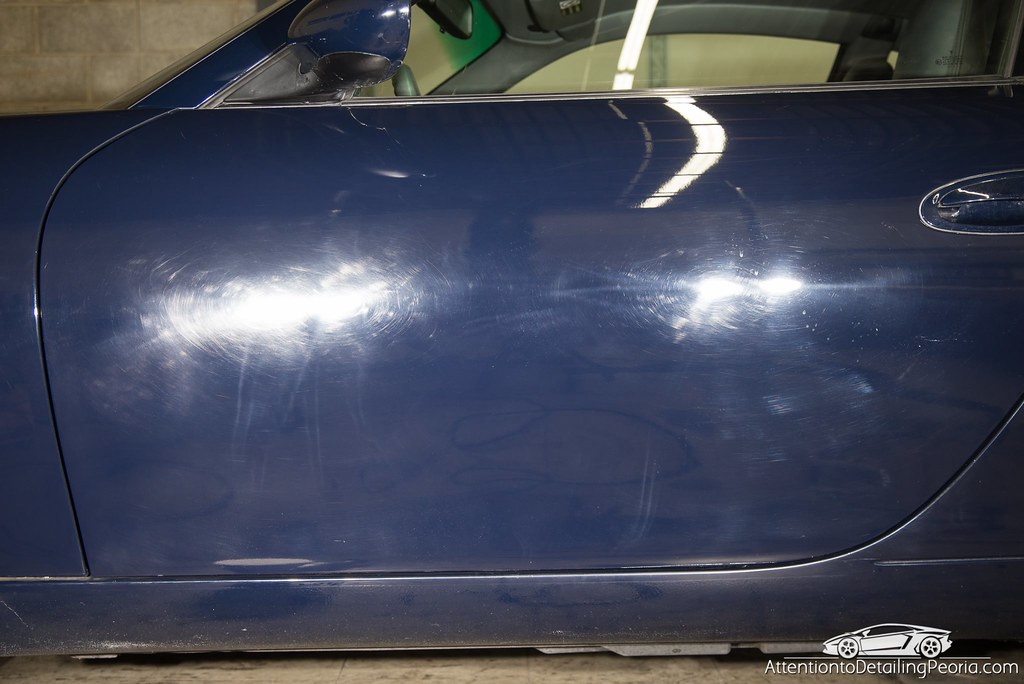
After a couple of test spots, it was determined that a microfiber cutting pad paired with our favorite cutting compound (Griot’s Garage Fast Correcting Cream) was going to work wonderfully! The defect removal was outstanding, and there was only a slight haze left behind that would be easy to clean up with a good finishing polish.
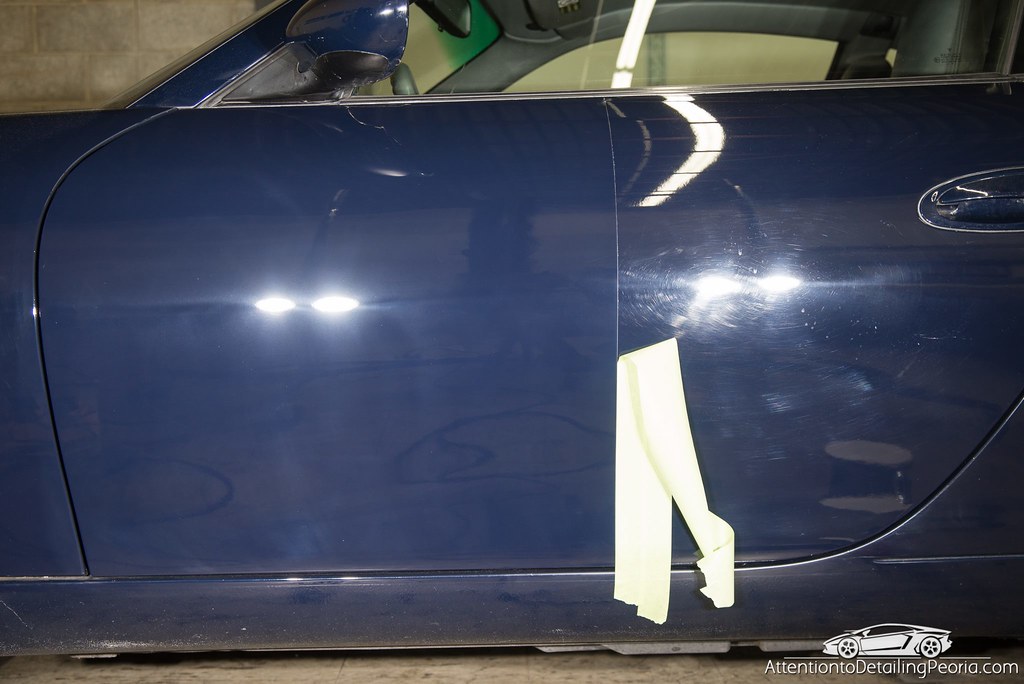
Continuing my testing, I determined that CarPro Essence paired with a Rupes Yellow Polishing pad was going to be the perfect choice for the final polishing process.
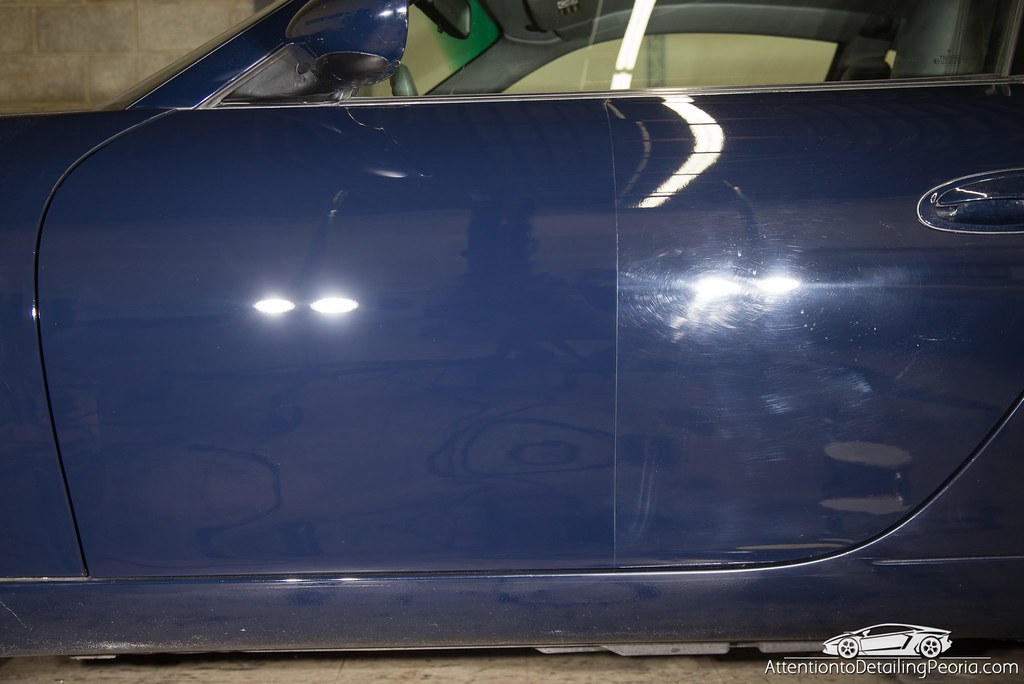
This combo easily removed the light compounding haze, revealing a crystal clear finish that honestly looked a bit better than I was expecting given the original condition of the paint.
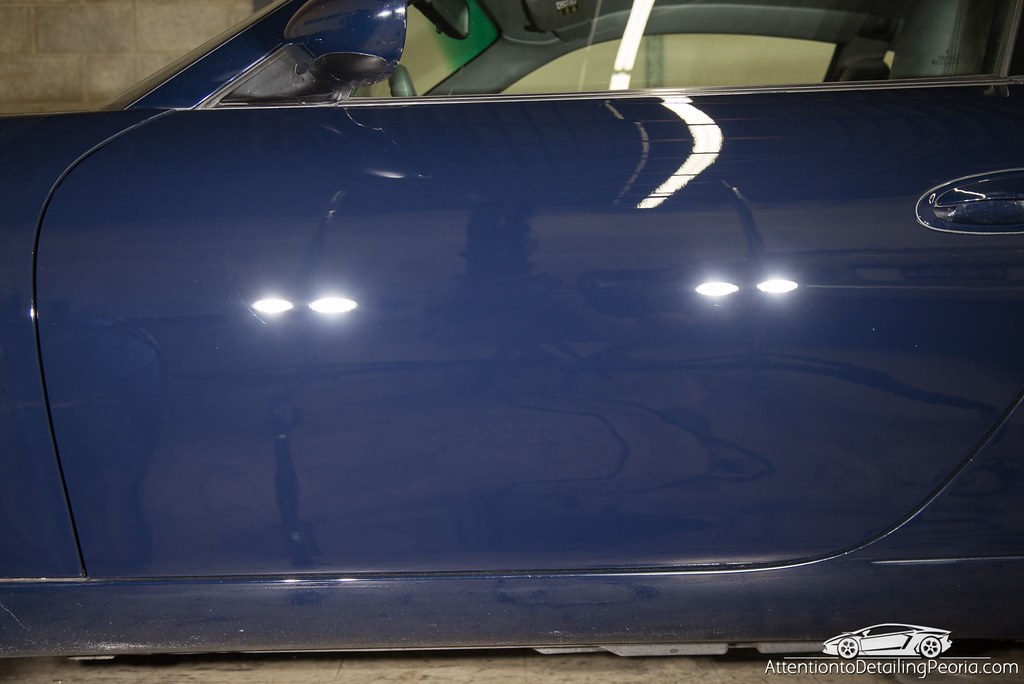
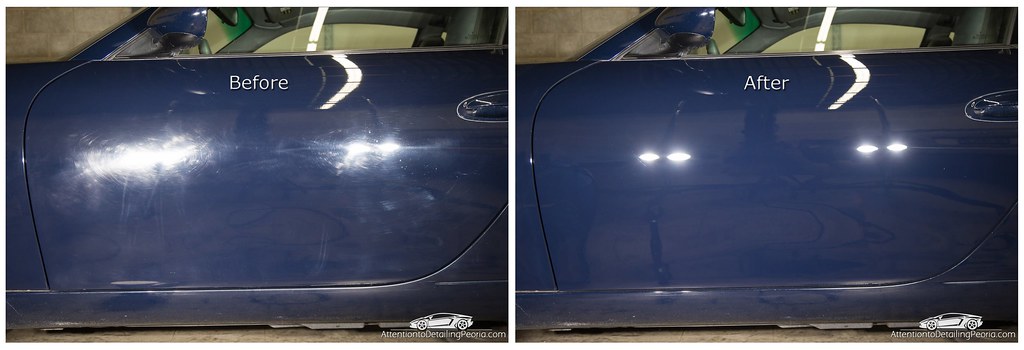
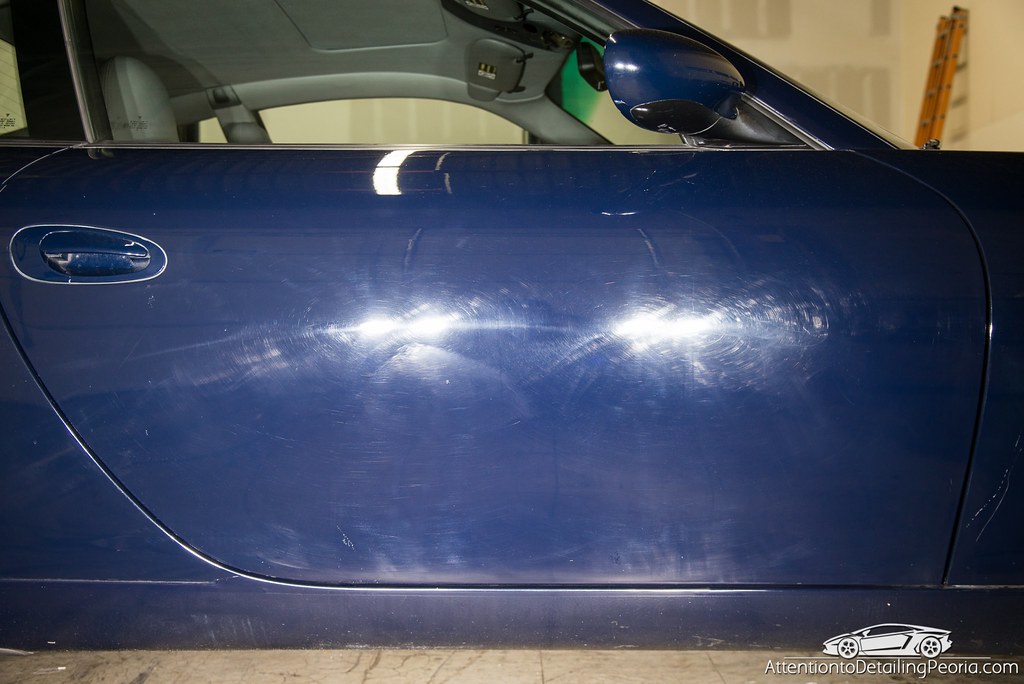
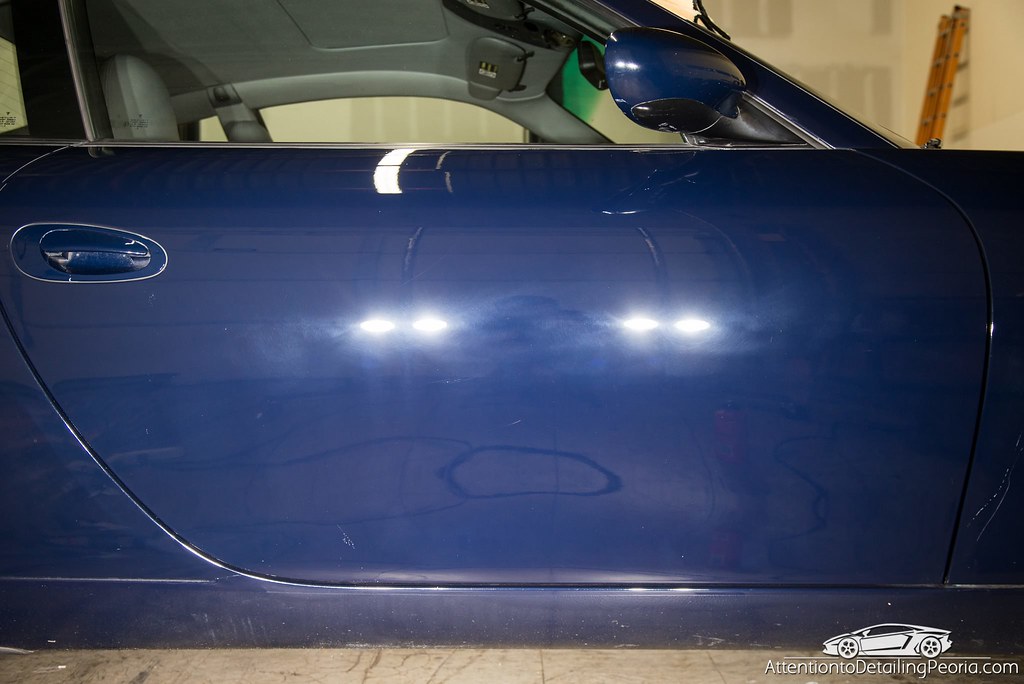
Here is a side by side of the door before correction and after the two step correction process. These results really got me pumped up to knock out the rest of the car!
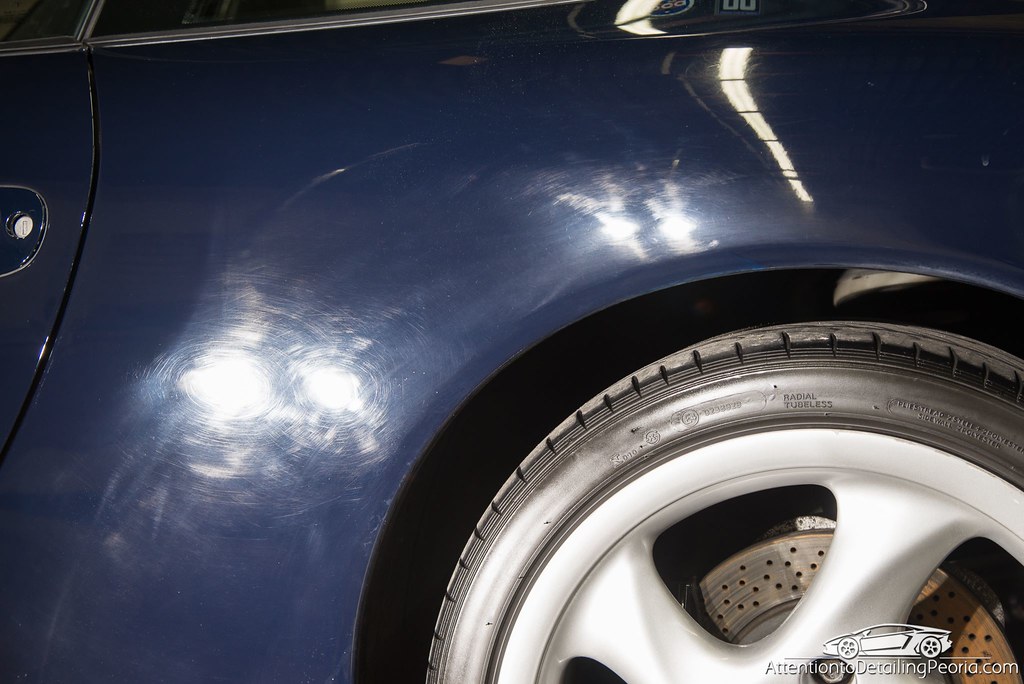
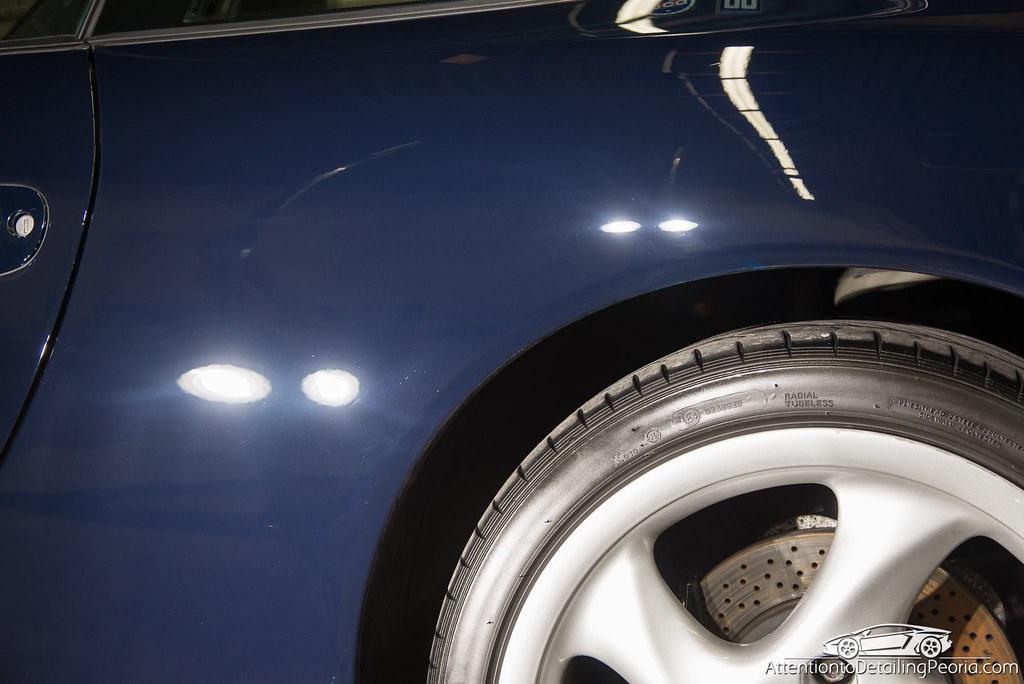
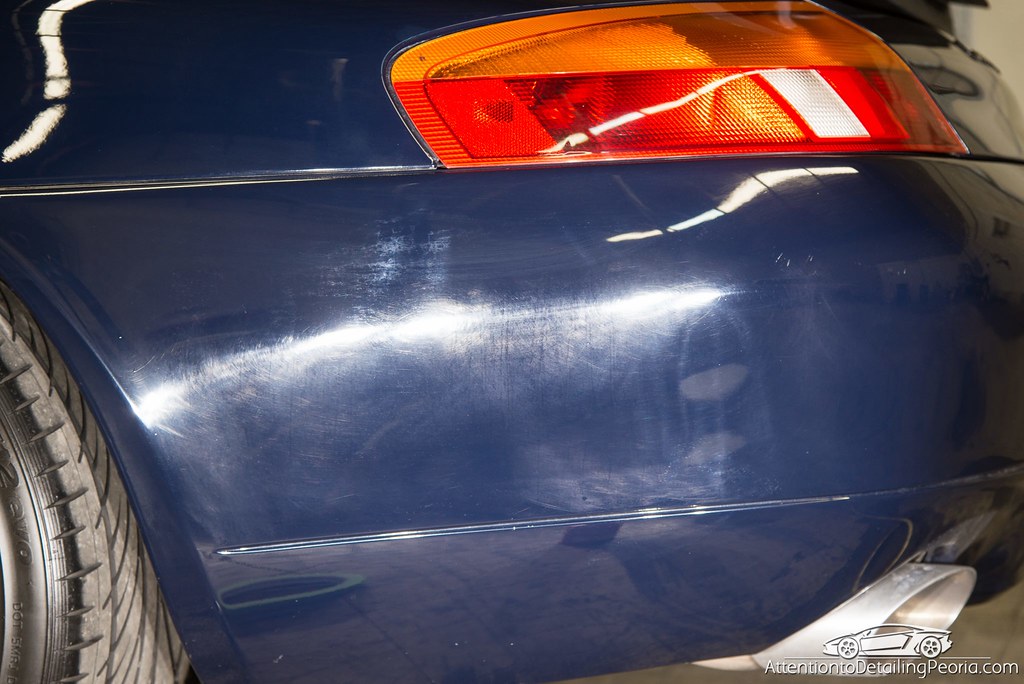
The following collection of shots show off the correction results we were seeing throughout the compounding process.
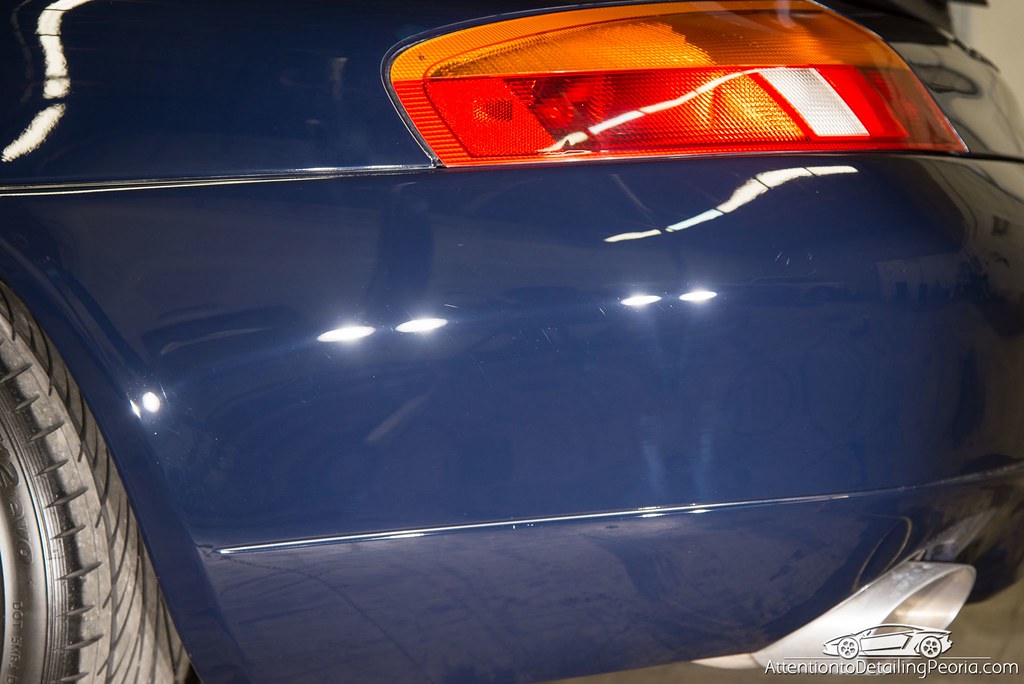
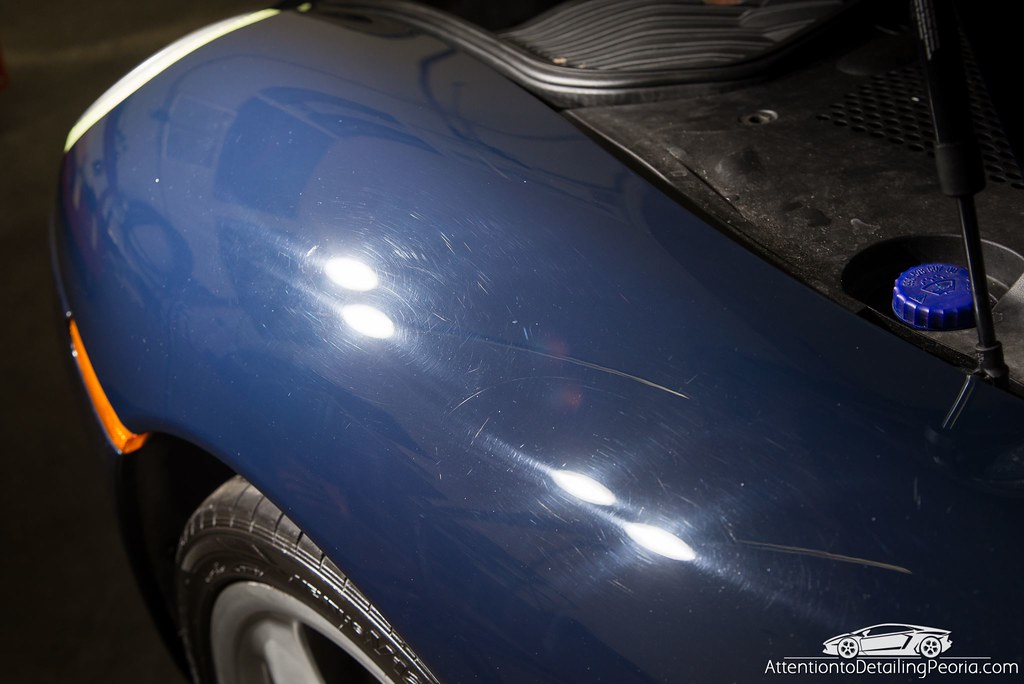
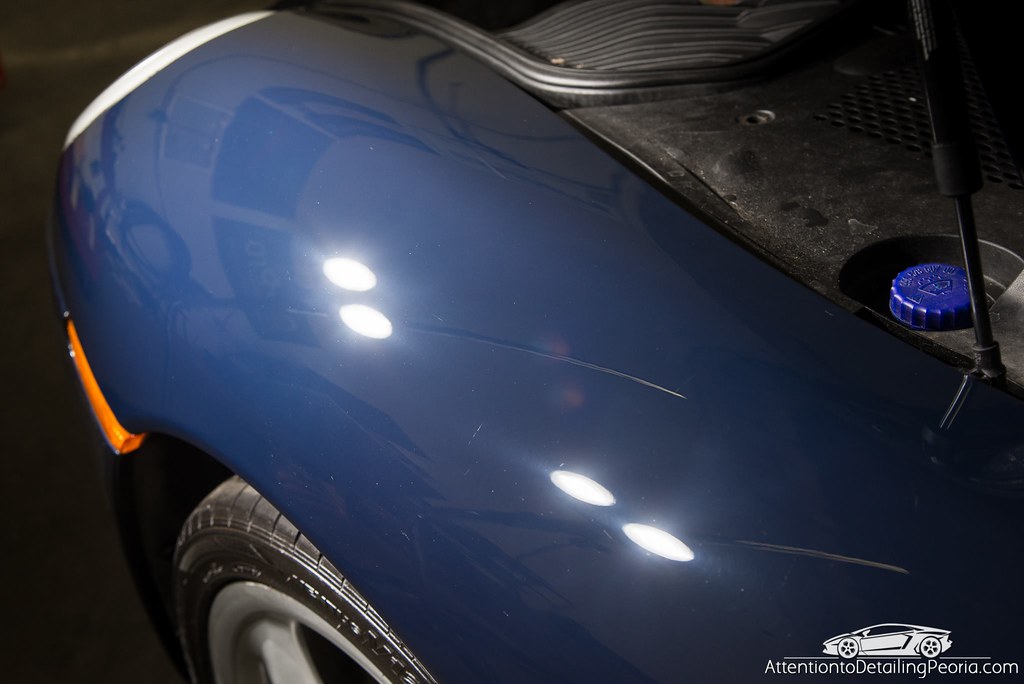
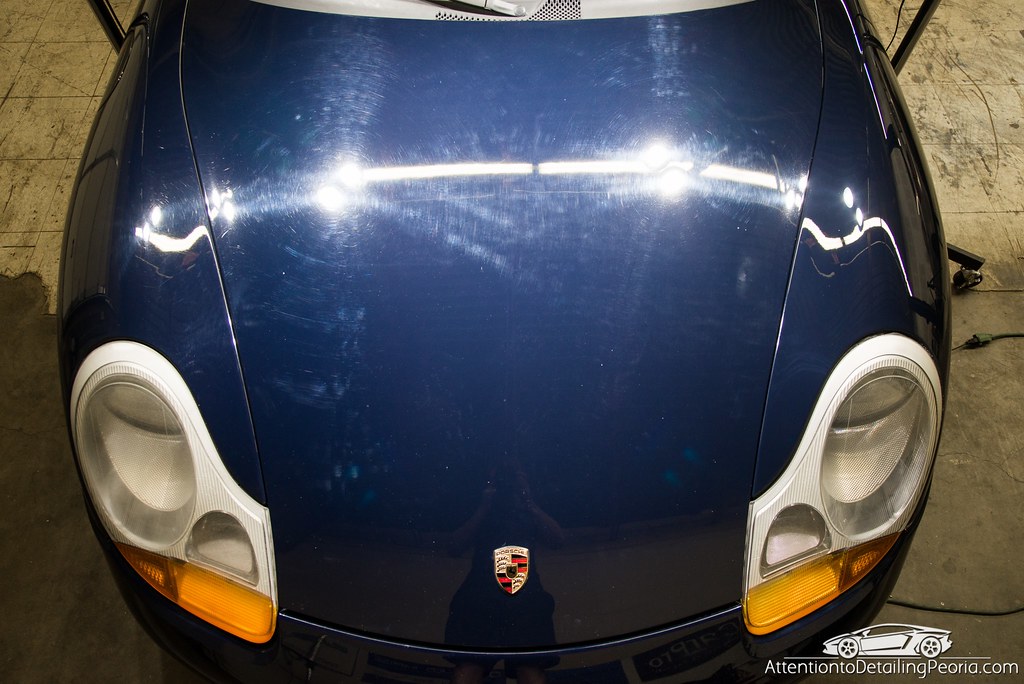
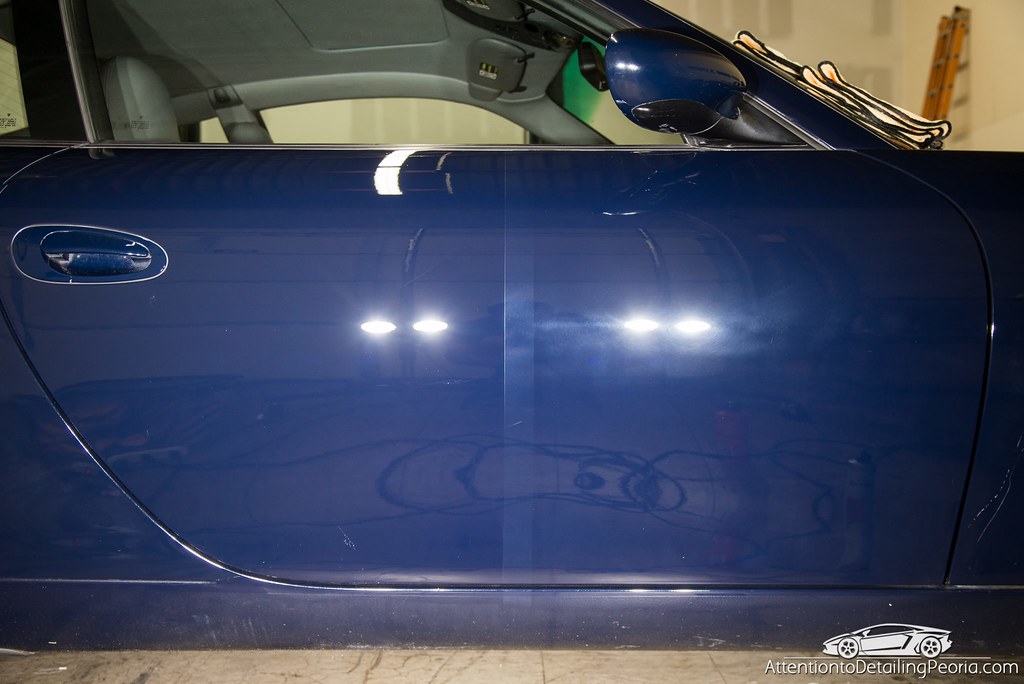
With compounding all wrapped up, we began the final polishing process on the remainder of the vehicle. This image shows how important this final step is in the overall result. The polished side on the left is far clearer and darker than the unfinished right side.
Once polishing was completed, the vehicle was coated with 22ple HPC to provide a durable layer of protection and to help preserve all of our hard work. We also tended to all the smaller tasks such as glass cleaning, exhaust tip polishing, basic interior cleaning, etc.
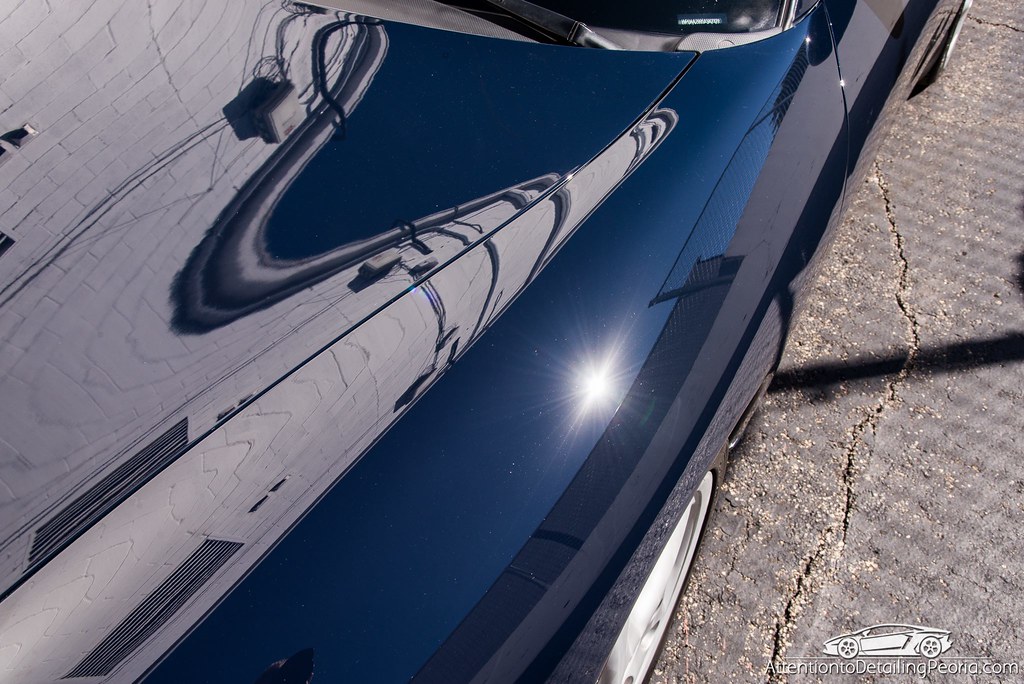
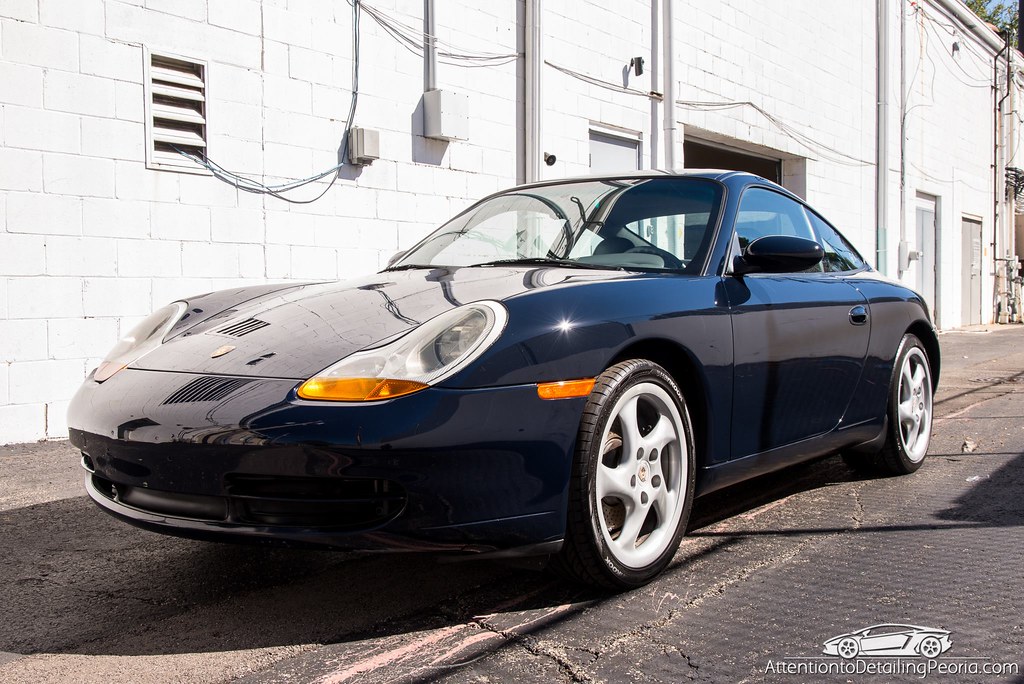
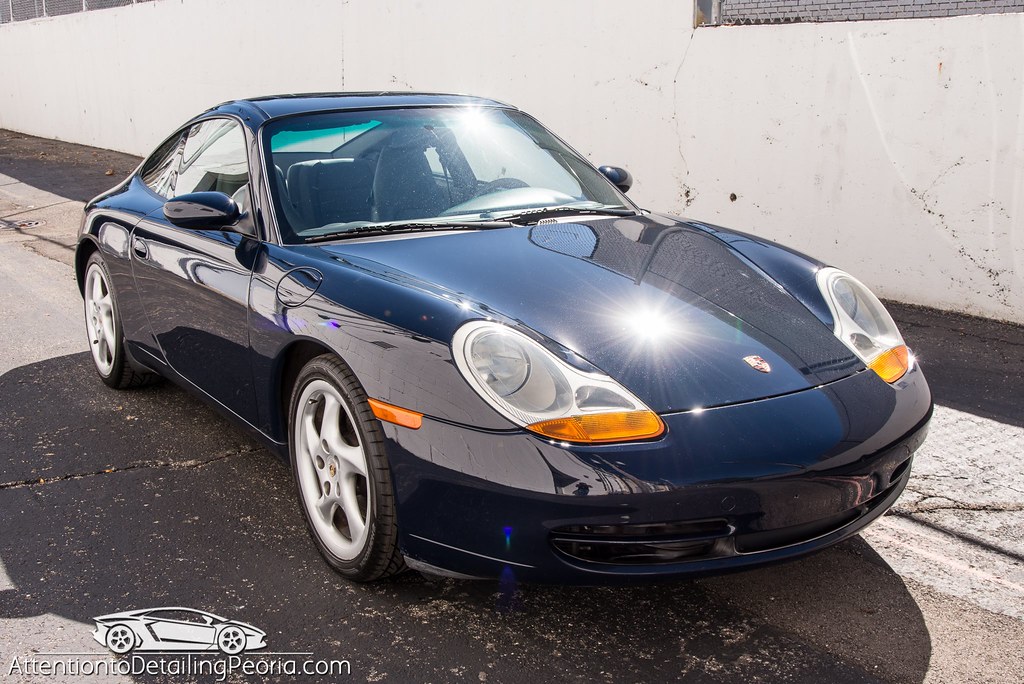
In the end, the sun is the true indicator of our accomplishments as it is the light source that the vehicle will be seen in most often. The finish is deep, glossy, and swirl free! One heck of a transformation.
As I mentioned before, the car truly looked 10 years younger. Upon arriving to pick up his car, the owner jokingly asked us if this was the same car.
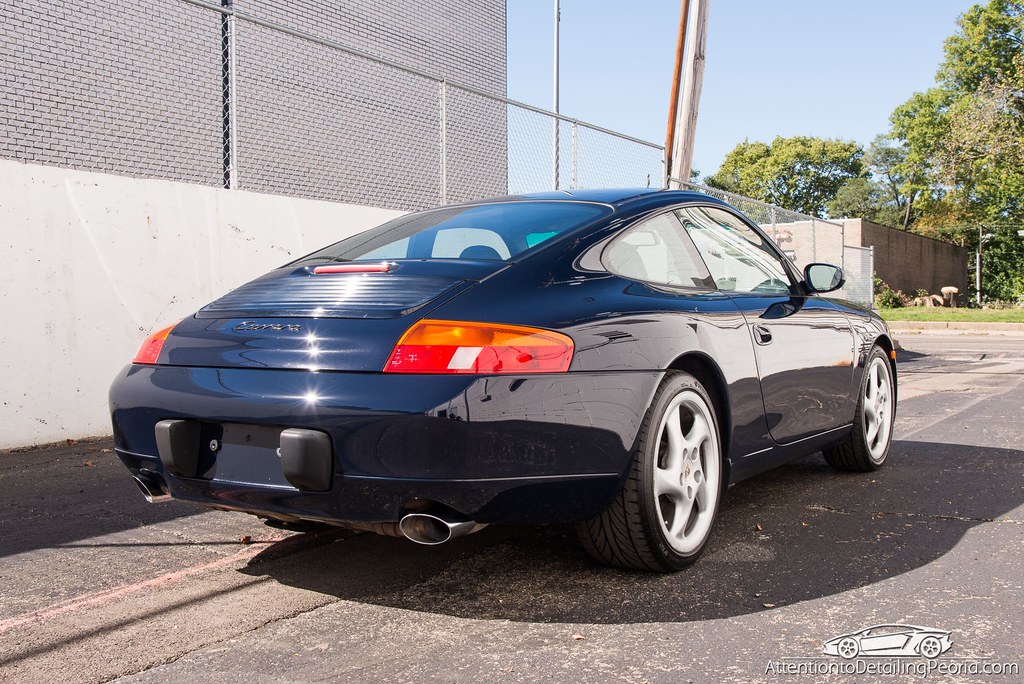
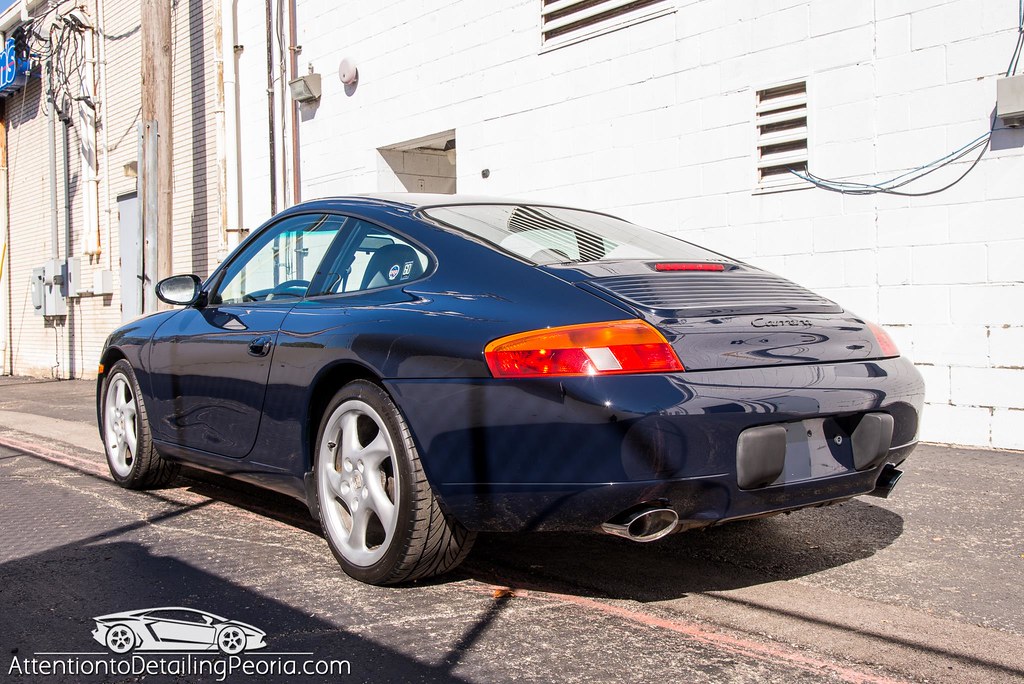
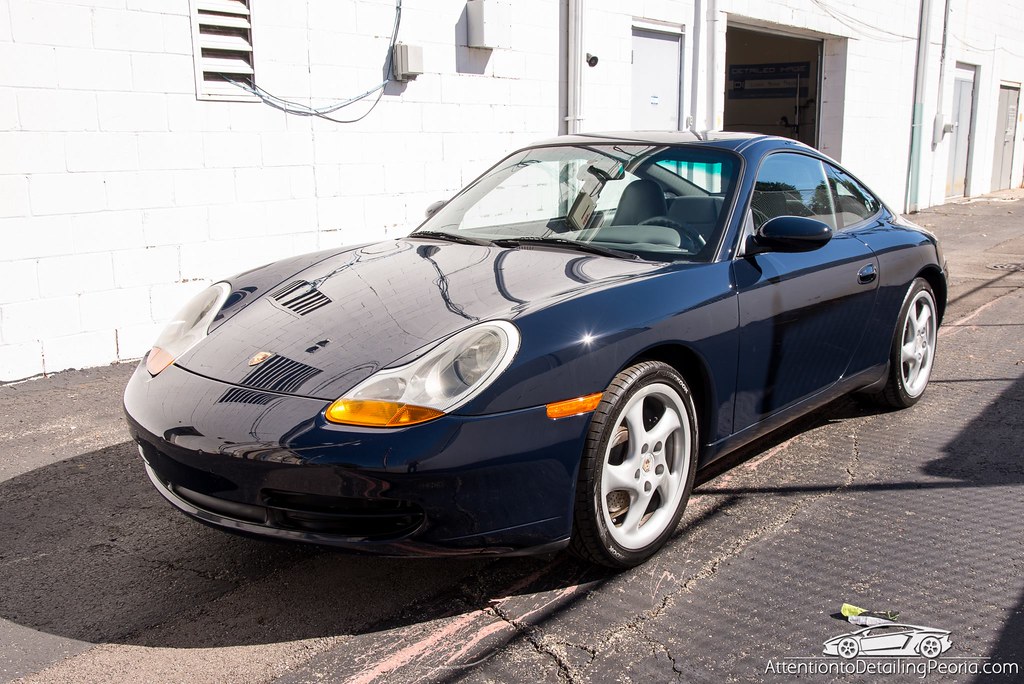
We will never complain about working on newer sports cars, but it is these kinds of jobs that keep me excited about detailing. Thanks for reading!
Product Overview
- Tire Cleaning: Tuf Shine Tire Cleaner, Tuf Shine Tire Brush
- Wheel Cleaning: Sonax Wheel Cleaner Plus, Hyper Wash, Bucket & Grit Guard, EZ Detail Brush, Wheel Woolies, Wheel Brush
- Washing: Meguiar’s Hyper Wash, DI Foam Lance, Buckets & Grit Guards, Microfiber Mitt, 1″ Boars Hair Brush
- Drying: DI Waffle Weave Towel, Metro Master Blaster
- Paint Decontamination: Nanoskin Fine Grade Mitt, Nanoskin Glide
- Paint Correction: Griot’s BOSS Fast Correcting Cream, Meguiar’s Microfiber Cutting Pad, Black & Yellow Microfiber Towels
- Paint Polishing: CarPro Essence, Rupes Yellow Polishing Pad, Black & Yellow Microfiber Towels
- Machines Used: Rupes LHR21ES Mark II, Rupes LHR15ES Mark II, Rupes 75e, Rupes iBrid Nano
- Paint Cleansing: CarPro Eraser, Double Thick Edgeless Towel
- Paint Protection: 22ple HPC
- Wheel Protection: Sonax Wheel Rim Shield
- Tire Dressing: Forma RVP, Tuf Shine Applicator
- Glass: Meguiar’s D120
- Metal: Chemical Guys Metal Polish
Buy Products From This Article
Related Posts
- 2016 BMW M4: Paint Correction Detail & 22ple Mistico Elemento Application
- Removing Car Wash Swirls and Scratches – 2016 Porsche Targa 4S
- 2015 Range Rover: Paint Correction and Gtechniq Crystal Serum Light Application
- Maserati Granturismo: Paint Correction and 22ple HPC Application
- 2008 CLS 63 AMG – Low Mileage Luxury Beast: Paint Correction & 22ple VX3 Application


Another work of art! Outstanding work Zach.
Thank you, Adam.
Outstanding. And holy smokes this car was swirled up …
Thanks John! More swirls = more fun.
As always…Great work!!!!
Thank you, Mark.
Zach,
I’m interested in hearing your opinion of the original paint and getting the final polish done. I have a 2002 996 and the paint is as hard as butter. When I was using the final polish via Merandez 4500 I always had little tiny swirl marks come in. I had to cut the polish with water and use a black pad.
thanks,
M
Hi Matt – the original paint on this one was quite easy to work with, however we had worked on a jet black 993 shortly after working on this 996 and the paint was incredibly soft.
Zach if there such thing as car resurrection u pull it off again?
Thank you, Jeff. We had a good time with this one.
Beautiful job on a beautiful car. Well Done!
Thank you!
What is your usual working cycle when using fast correction cream?
Hi Bob – I start my test spots with FCC by making 3 passes and evaluating my results. I typically end up working somewhere between 3-6 passes per working cycle depending on the amount of cut needed.
Great job Zach as that car needed some TLC! The cars that are less cared for end up being the best before and afters but just wish people would take care of their property.
Thanks!
Zach,
Beautiful Job. What lights are you using for correction. They look like they work great.
Thanks
Frank Opice
Hi Frank – thanks for the comments! Shoot me an email and I will send you all the info about how to make these lights on your own… attentiontodetailing.peoria@gmail.com
Zach,
True craftsmanship on that job. I see you used only Rupes machines. That’s like having an all star team.
Hi Stan – thank you. We do like our Rupes machines.
That has to be auto-wash damage. These cars are the ones that really show what a true detailer can accomplish. Night and day difference.
When you do your initial wash, do you ever mix any APC or other cleaner into your foam cannon or wash buckets? Or just stronger concentration of HW?
I don’t usually mix anything in the foam canon or wash buckets except the shampoo, but if needed I will spray APC or degreaser onto the vehicle to pre-treat areas before washing. To be honest I don’t do this very often at all though.
Thanks for the reply
Awsome work
Thanks!