1961 Ferrari GTE 2+2 Paint and Leather Enhancement
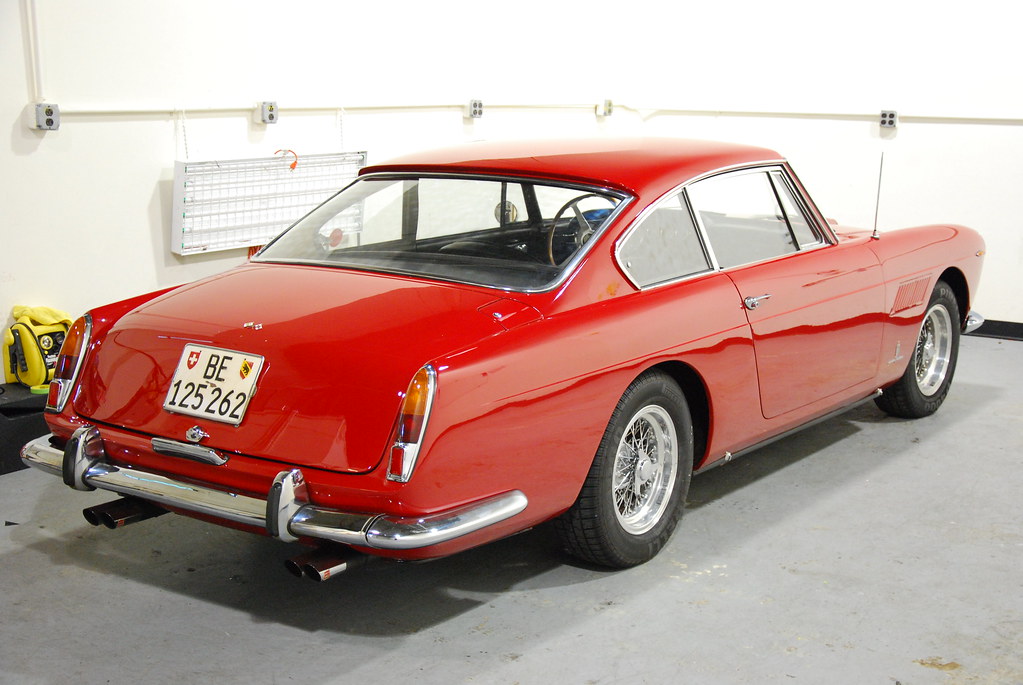
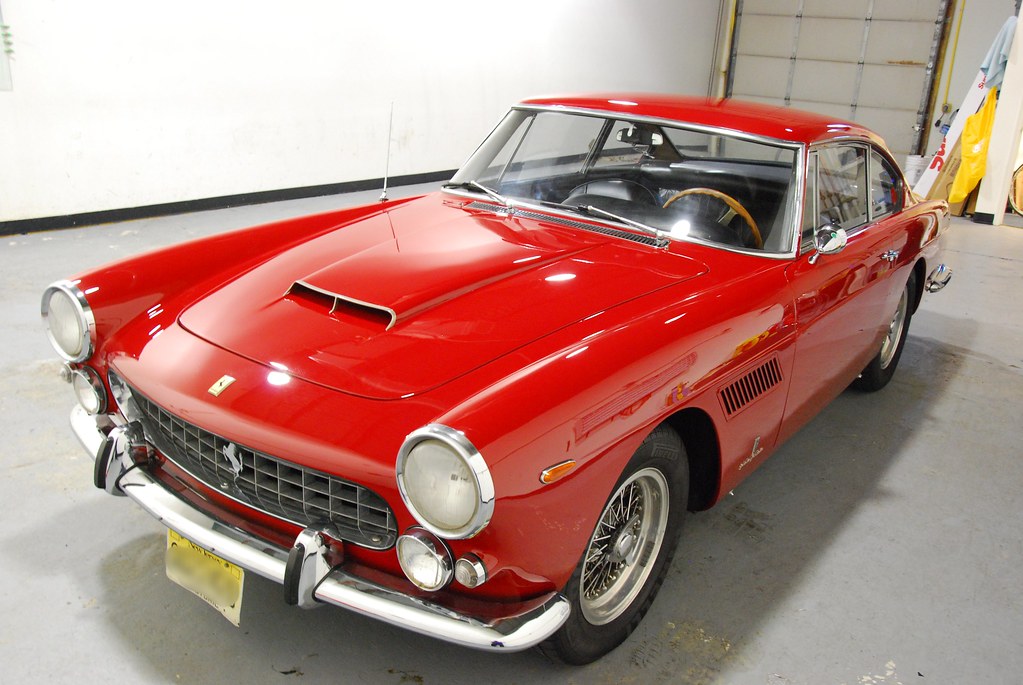
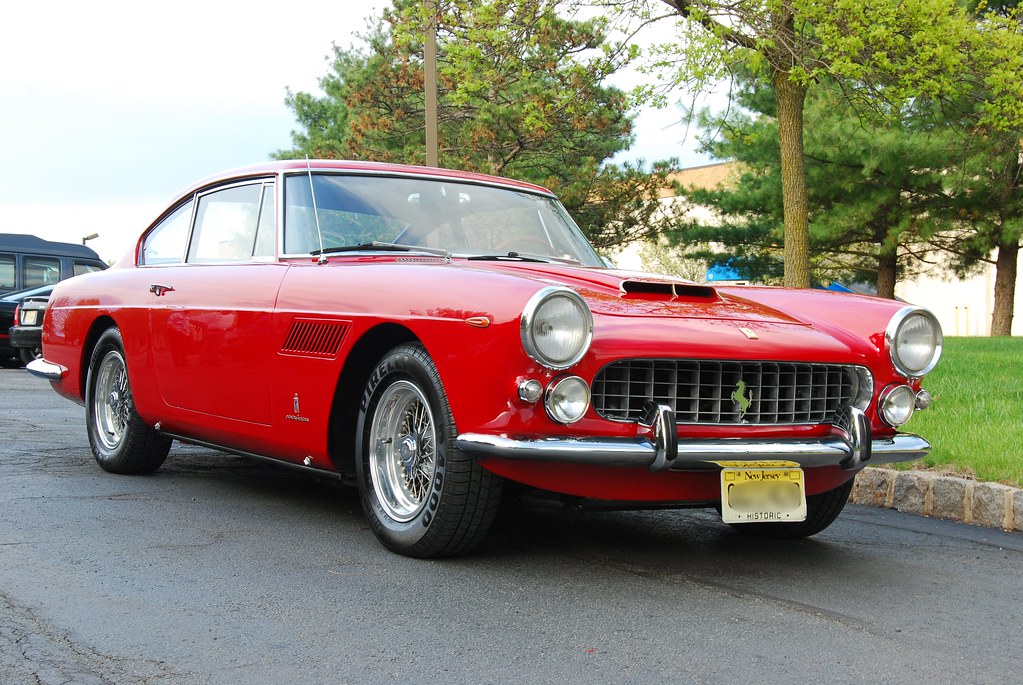
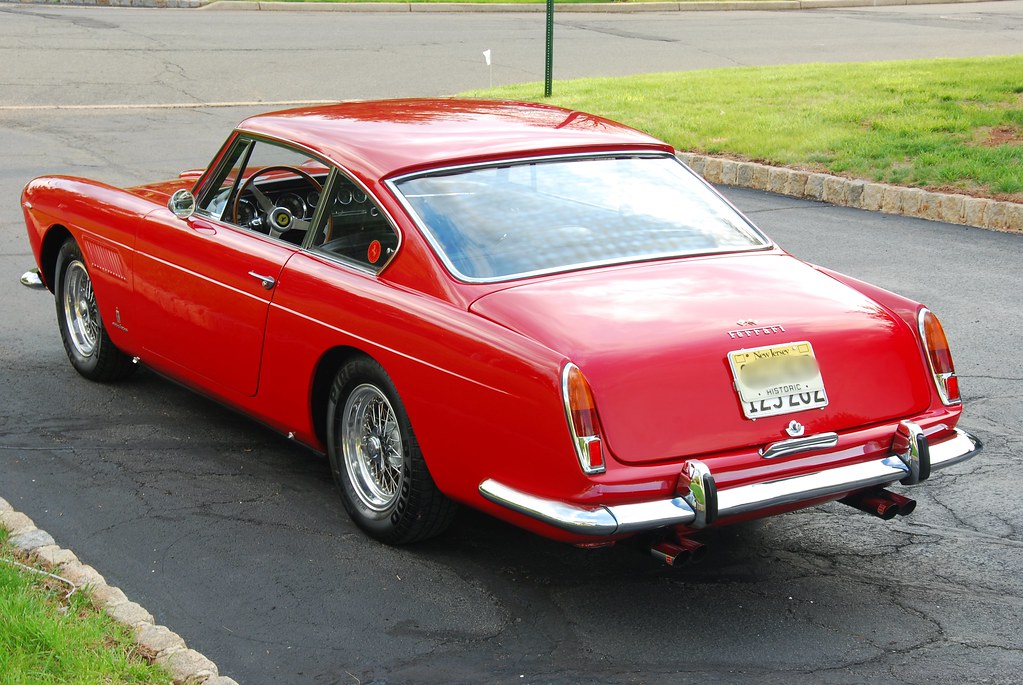
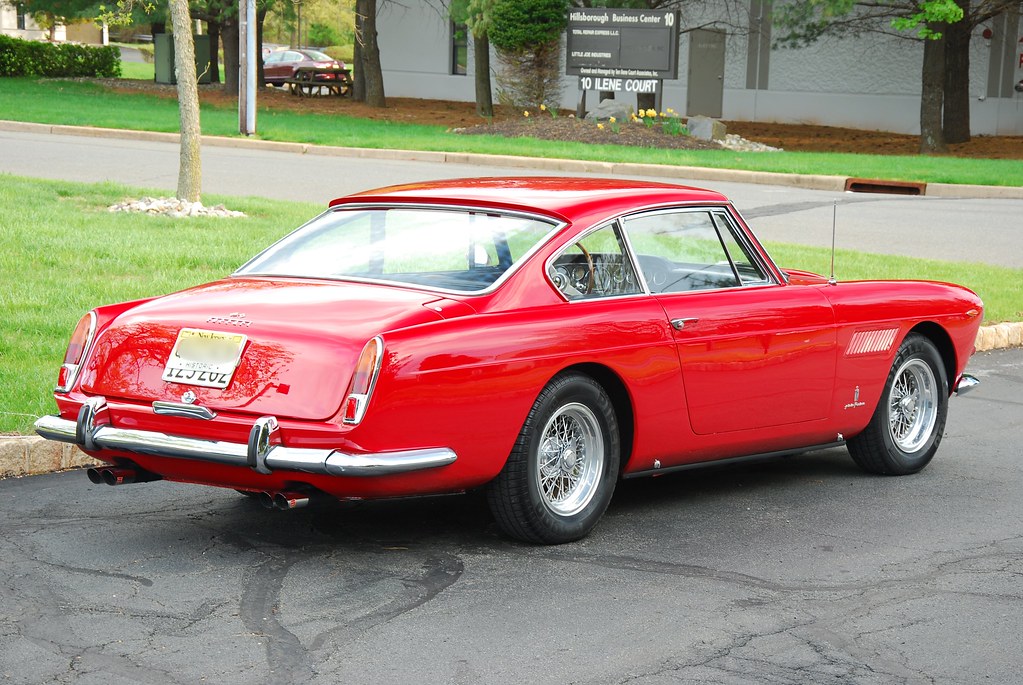
by Greg GellasI was contacted by a very nice gentleman who had a very cool car, a 1961 Ferrari GTE 2+2. This wasn’t a show car, as the owner drives this car a few thousand miles every year. While you may think that is strange, that is huge for a 1961 Ferrari. Most of these are sitting in a garage and are never driven.
I began with a 2 bucket wash, using Meguiar’s Hyper Wash. After the wash I went around and did a full Iron-X treatment. Using the Iron-X as lubricant, I followed up with the NanoSkin Autoscrub Fine Wash Mitt to clay the entire car. Following another wash to remove the Iron-X, we then dried the car and we were ready to begin.
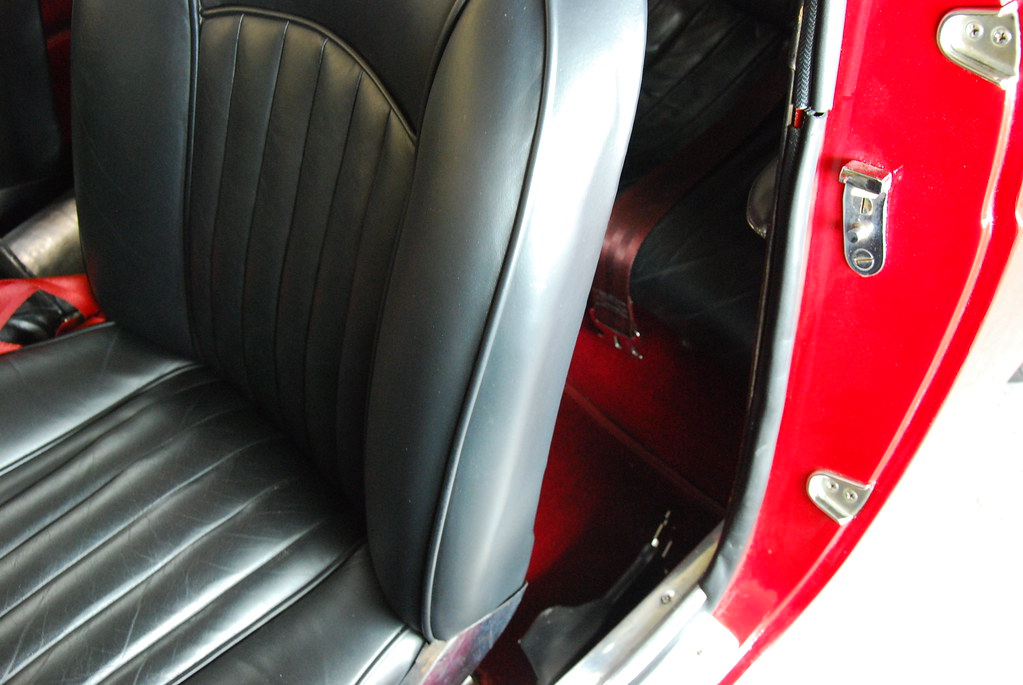
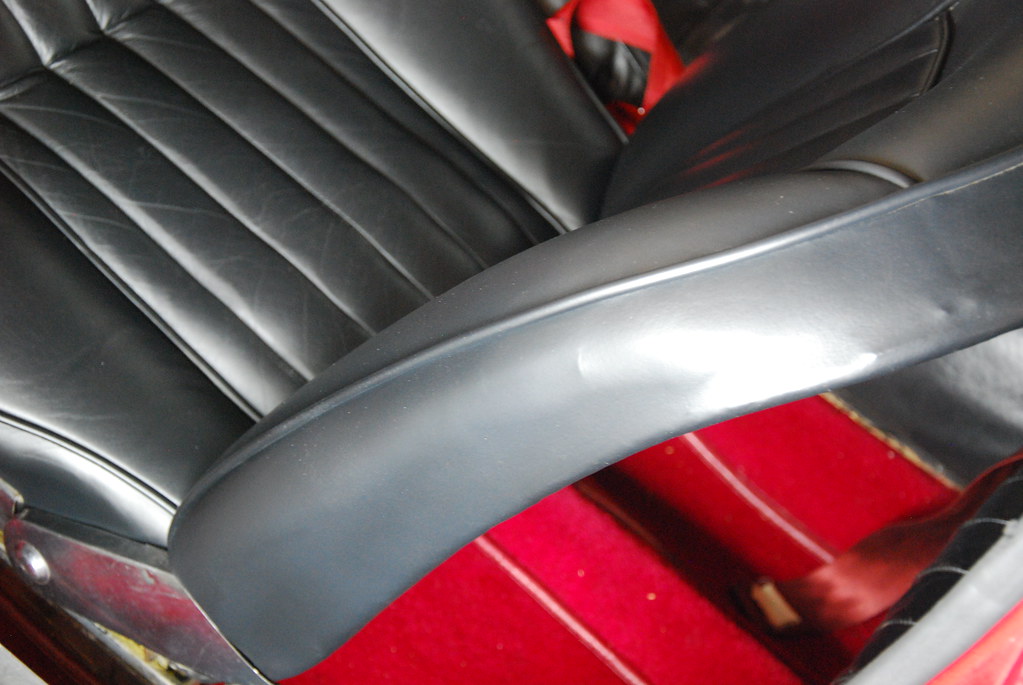
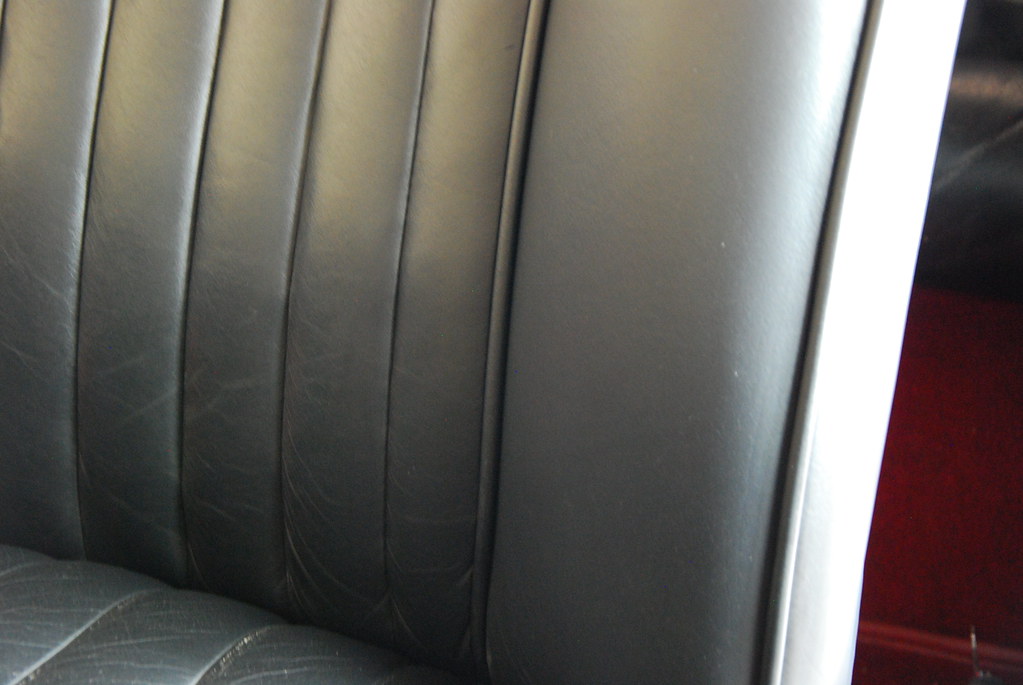
We started with the driver’s seat and as you can tell, it had some wear and was missing color.
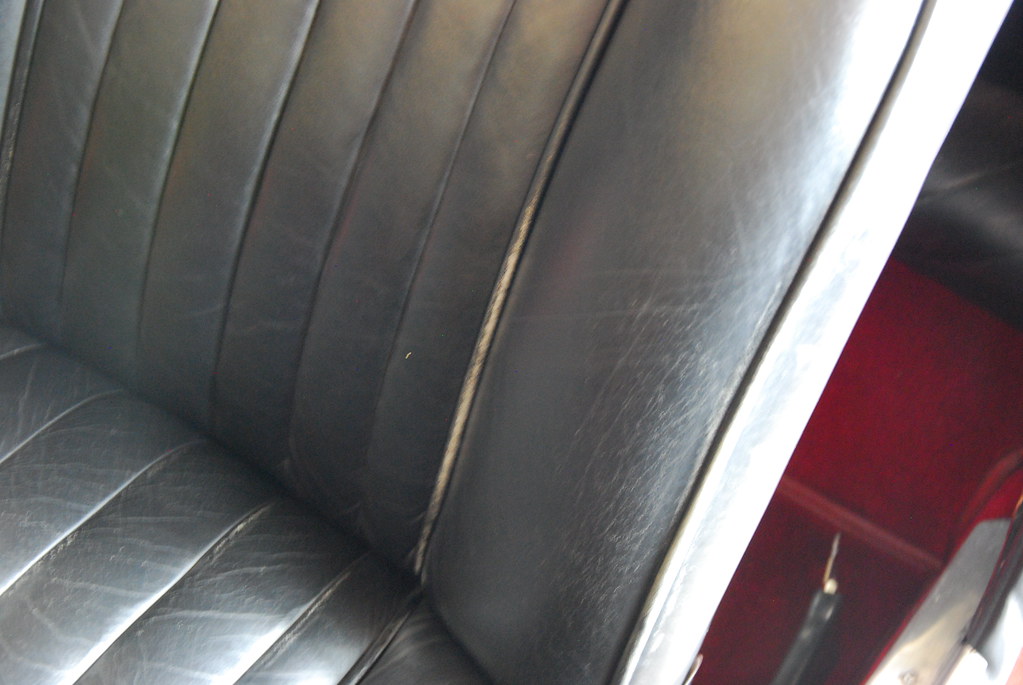
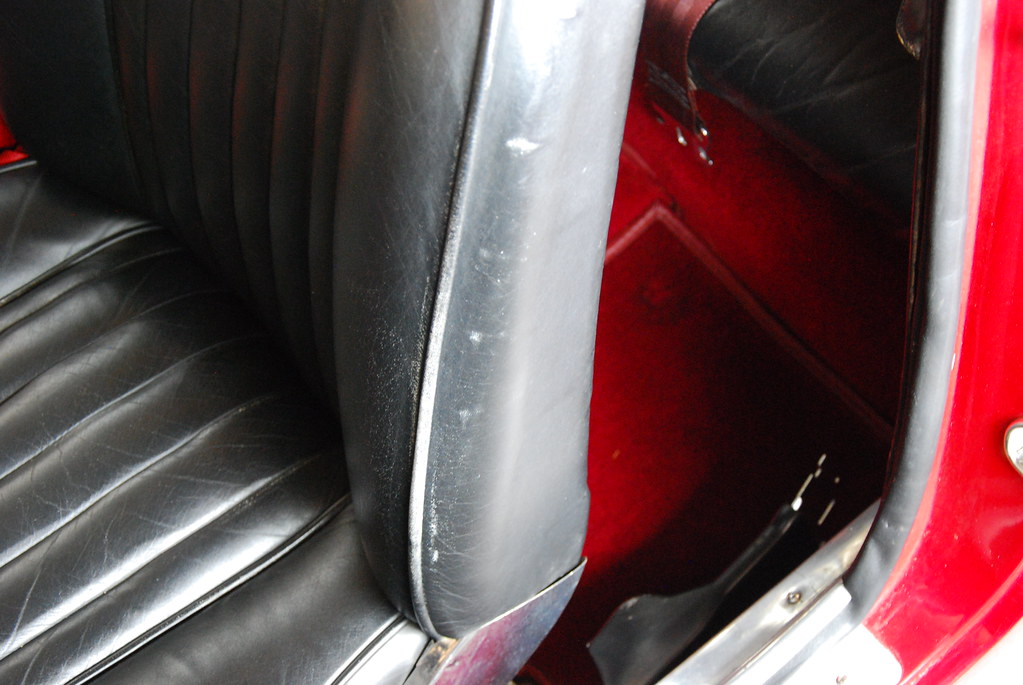
After the color is applied, a top coat is added. This will allow it to last for years to come. You couldn’t even tell that the seat has been repaired!
Now that we gotten that out of the way, let’s get moving on the paint! This car was re-painted quite a few years ago. It wasn’t done with a single stage paint, but it was very hard. An assortment of tools and products were used to correct the paint.
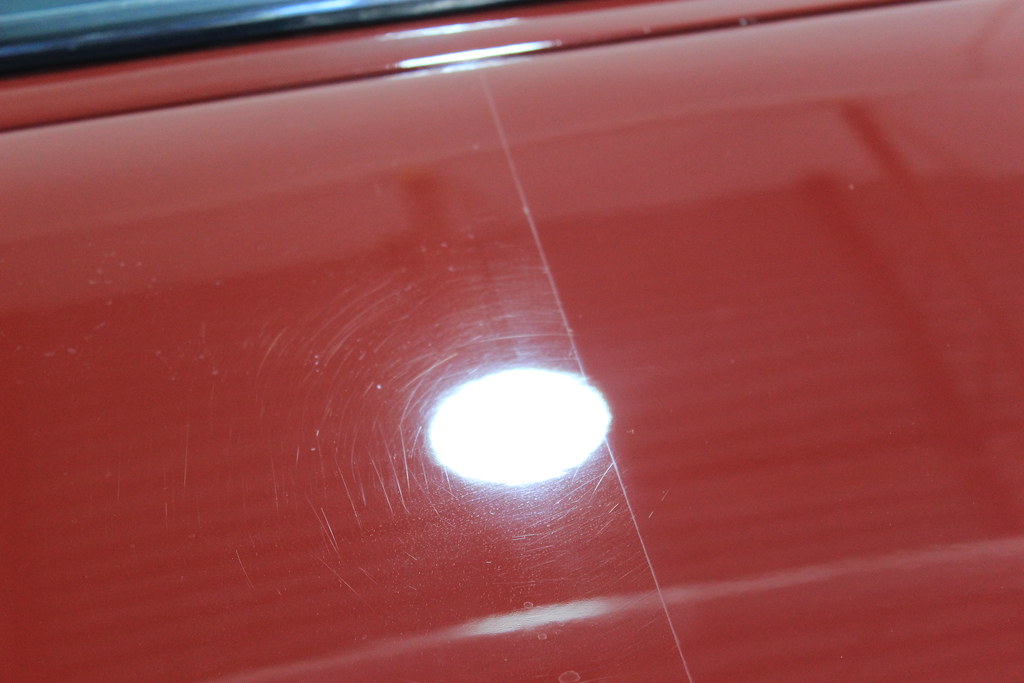
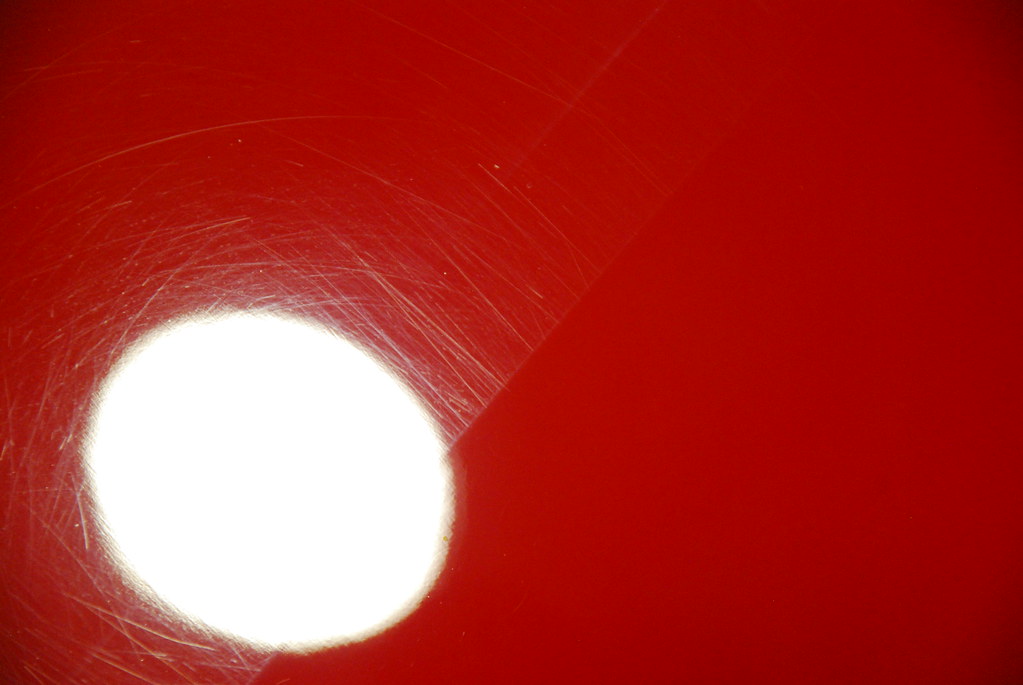
You can see the extent of the damage to the paint in the photograph below.
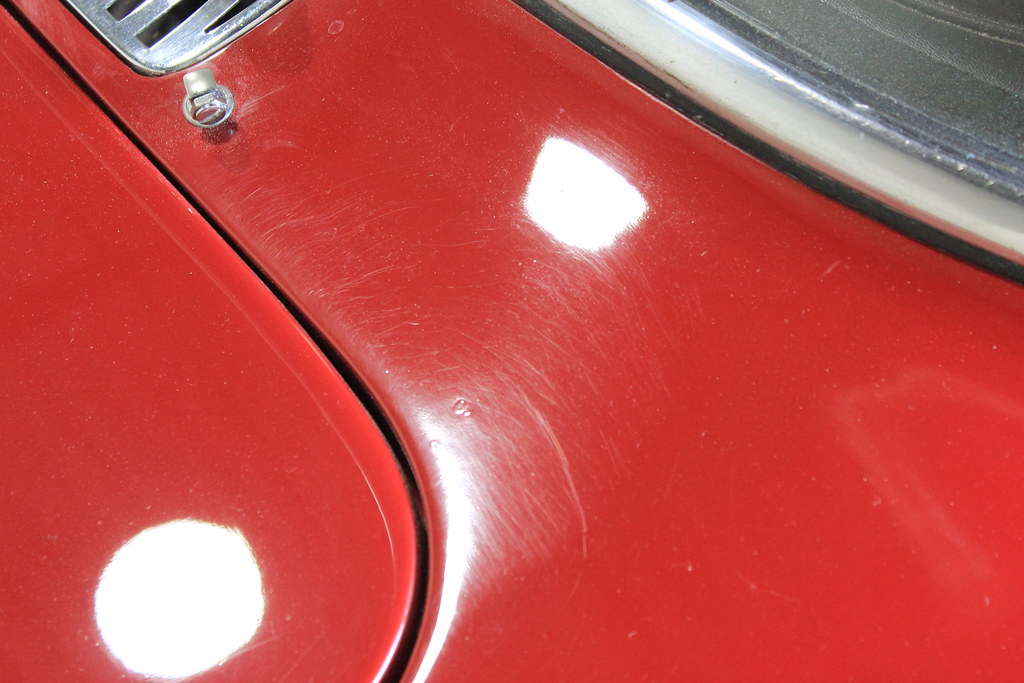
While we got great correction using a 3″ Meguiar’s MF and some M105, this area would need another pass to get the amount of correction we were going for on this car. Extra care was taken around the edges, exactly where more correction was needed. If you go through the paint on this car, you’re in big trouble.
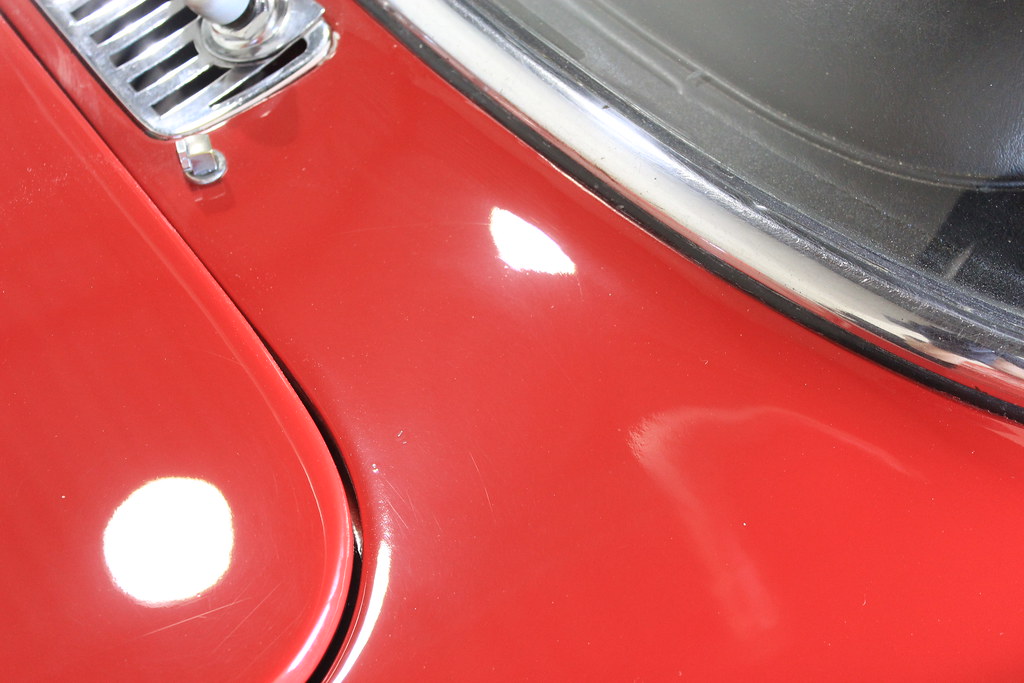
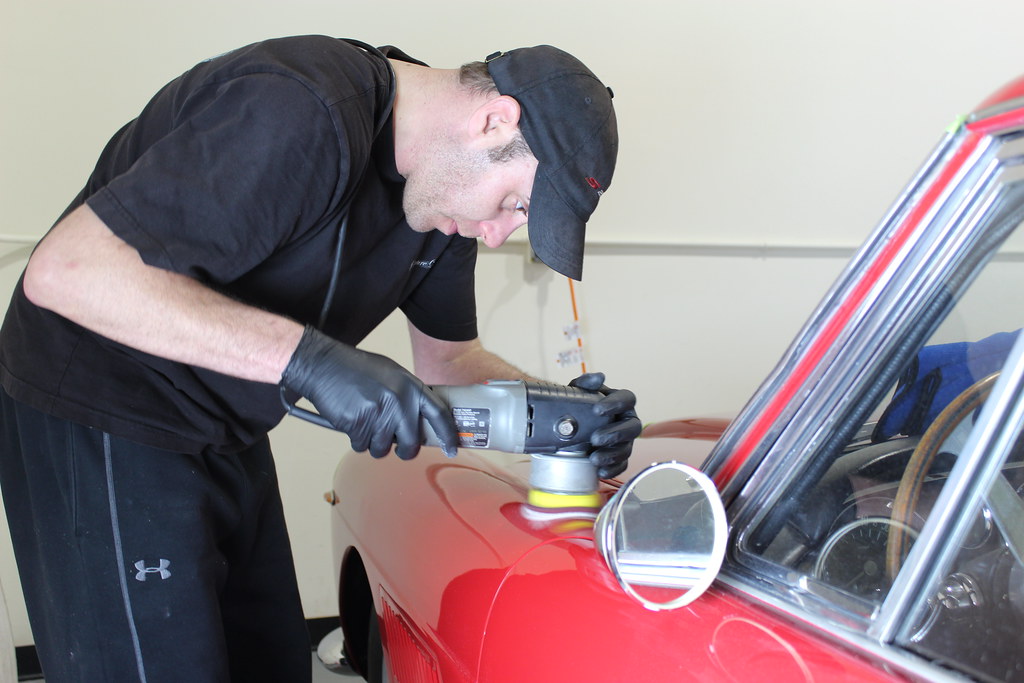
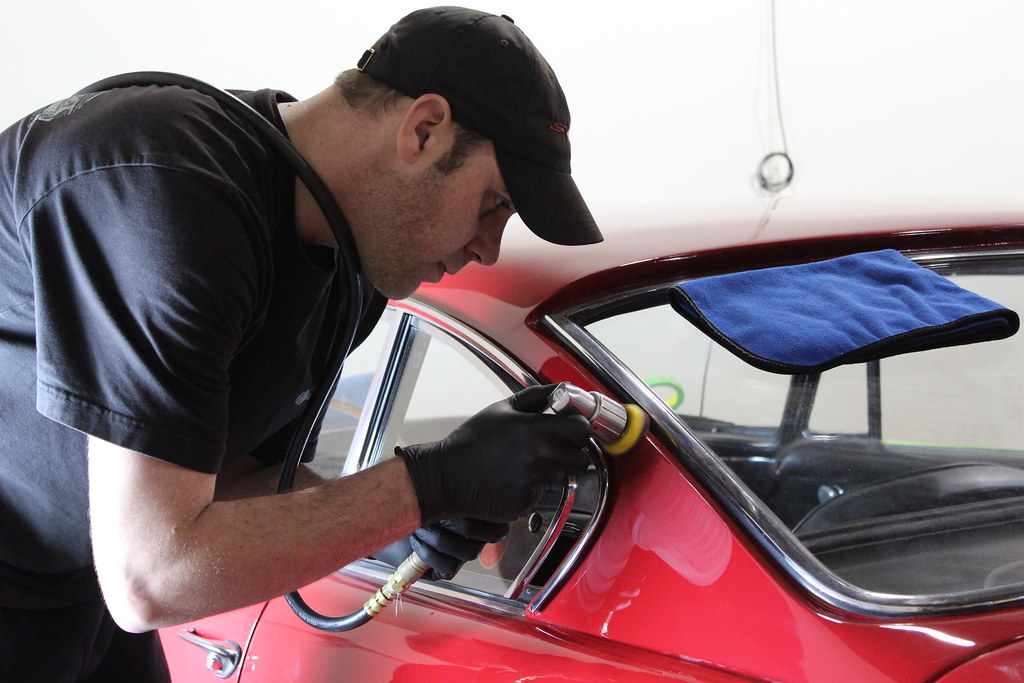
With the curves and tight areas we did a lot of 2″ and 3″ work. I reached for an old reliable friend, my PCXP, a LC 3″ backing plate, a 3″ Meguiar’s MF pad and some M105. While not the most powerful machine, with a 3″ MF pad it is a paint correcting monster.
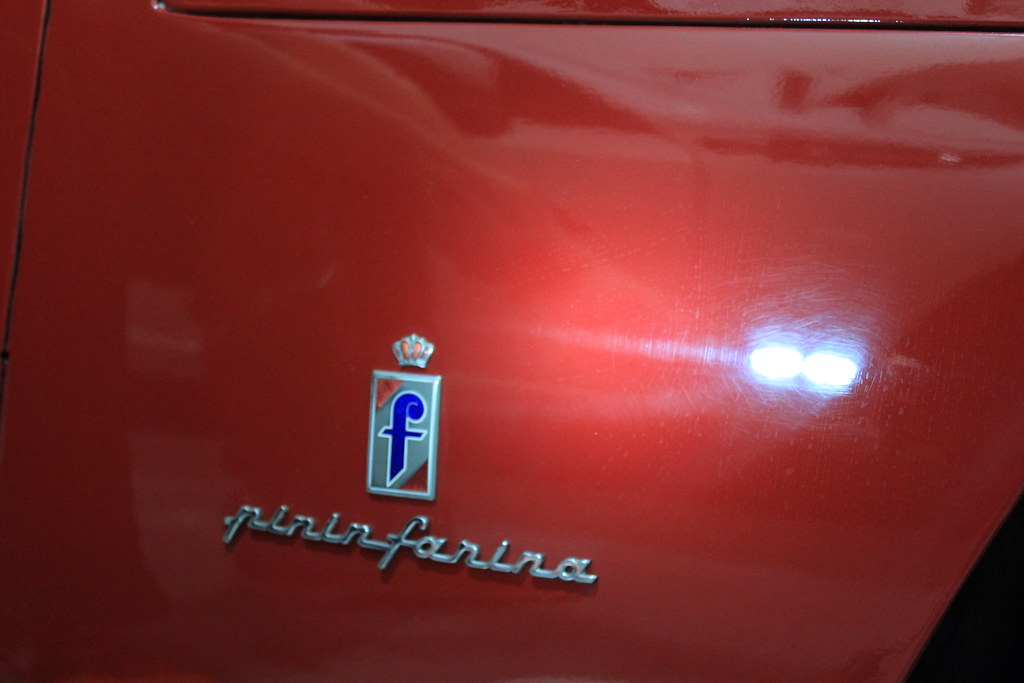
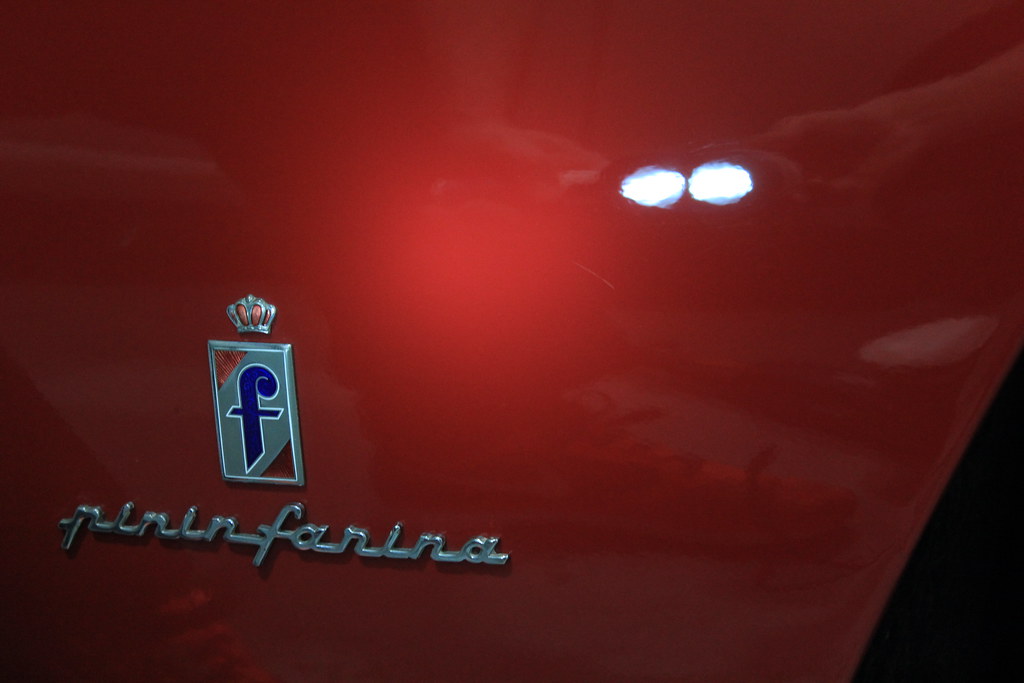
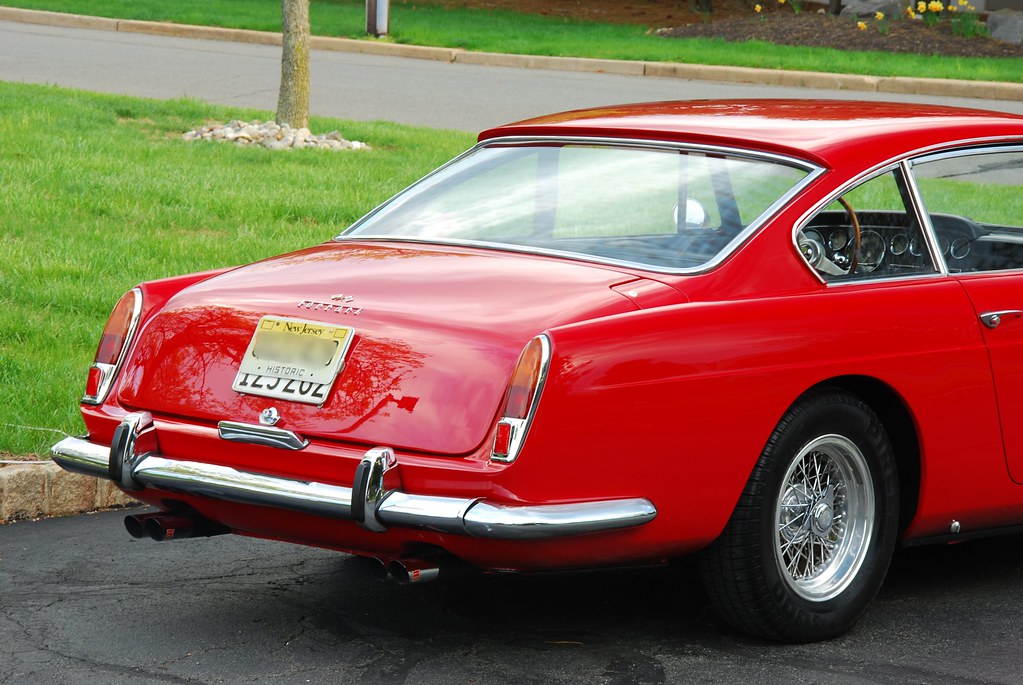
We were able to get some great clarity brought back to the rear tail lights as well.
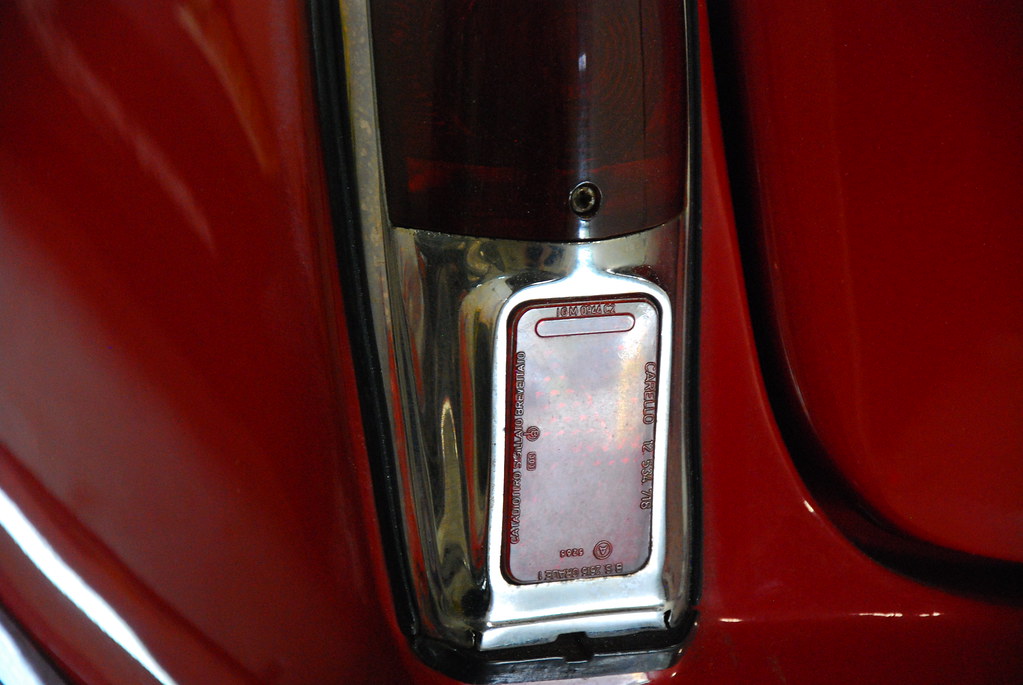
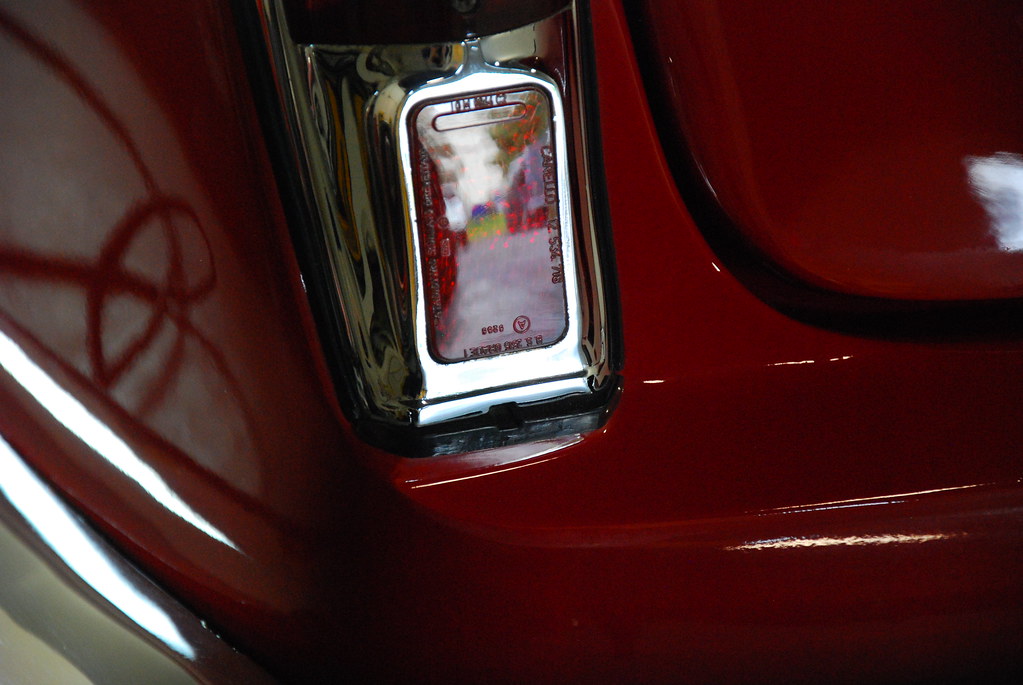
With lots of swirling and deeper scratches throughout the paint, slow arm speed was needed to get the amount of correction achieved.
Previously an area like this would have to be corrected by hand. With the advancement of machines and pads we can now get into this area with a 2″ pad.
After the heavier correction, we went around the entire car using M205 and a white Rupes pad. For protection to the paint we decided to coat this car with Cquartz Finest. Finest is a really amazing SI02 based coating that will provide years of protection and gloss. The end results were awesome and the owner was blown away.
Buy Products From This Article
Purchase the products used in this article individually or in one convenient package here!


Greg, another great paint correction !!!! would like to know where you purchase 2″ pads ?
Looks great Greg. Thanks for sharing.
Looks like a fun project. Nice work, Greg!
Very Cool Greg! What a great project. And most importantly you gave that car new life for years to come! Great Job as always!
Excellent article and beautiful work and pictures. Question: Where do you get the color for the seats and how do you apply it?
Thanks.
Bob
Kevin Brown at Buff Daddy has 2″ pads and Lake Country is coming out with 2″ soon
Check out the “Hernandez Polisher” via a Google search. It is an adaptation that can be used on many DA’s to create your own 2″ ELECTRIC polisher.
Very nice vintage Ferrari and you did a great job restoring the paint and leather. He made the correct choice when he engaged you.