Two Step Paint Correction Overview and Video Demo: 1937 Ford Coupe Hot Rod
by Zach McGovernWe have been fortunate to have had the opportunity to work on many very nice cars over the years, and this 1937 Ford Coupe replica was no exception. This vehicle was something a little different than what we normally see, and I could not wait to get my hands on it.
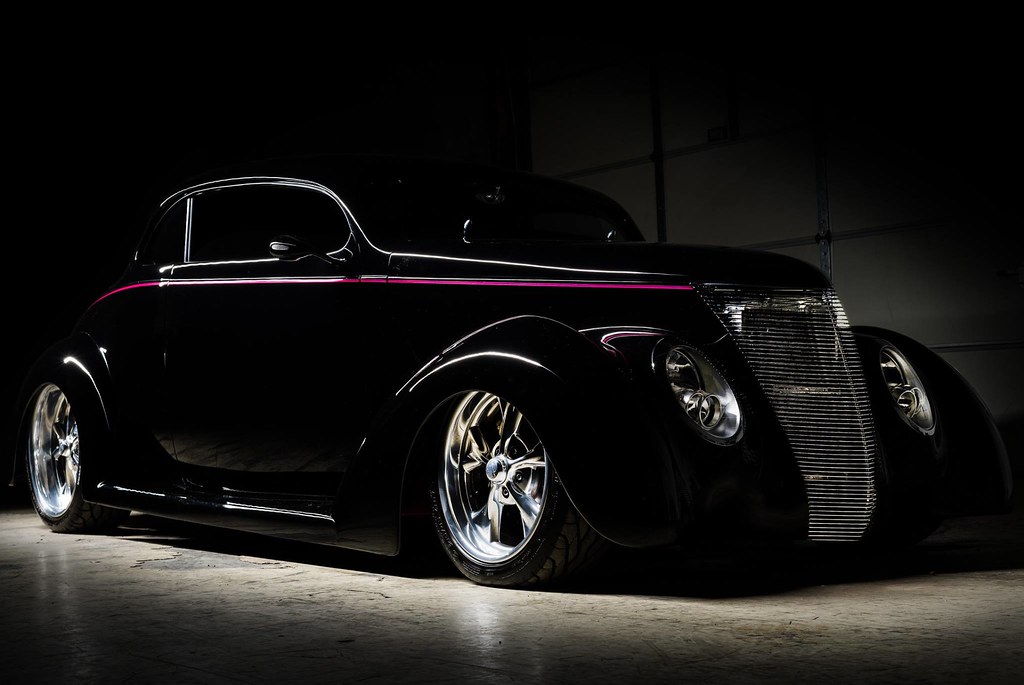
The owners contacted me because they could tell the paint was in need of some work. This vehicle lives the typical “show car lifestyle” which consists mostly of being wiped down with lower quality towels. Over time, the improper maintenance has taken a huge toll on the beautiful jet black paint and had left every panel covered in a tremendous amount of swirls and a lot of heavier scratches. We had decided on a two-step paint correction process to remove the majority of surface defects while drastically enhancing gloss.
The following video was shot while we were working on this vehicle. It will walk you through our exact correction process used and will also provide some general instruction that is applicable for any paint correction job, so please check it out!
As seen in the video above, this paint correction process consists of a heavier cutting step, followed by a fine finishing step… hence the term two-step correction process. The goal here is to first level the defects with a more aggressive cutting pad and cutting compound. This process should remove everything but the deepest defects, however it will likely leave the paint looking hazy and dull. This is why we then follow up with a fine polish to restore clarity and depth.
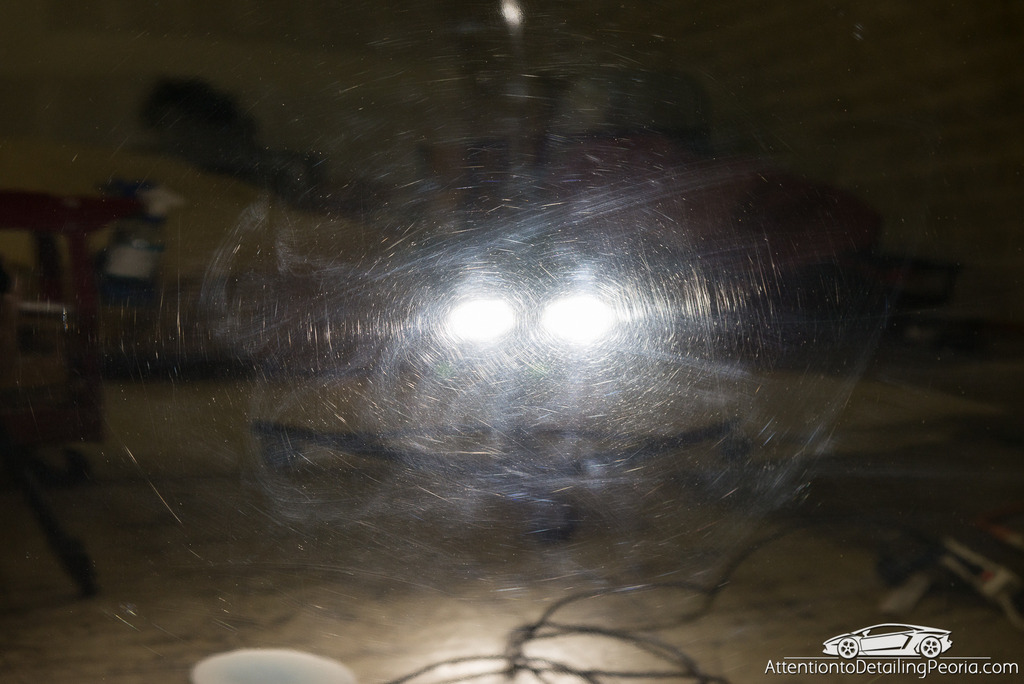
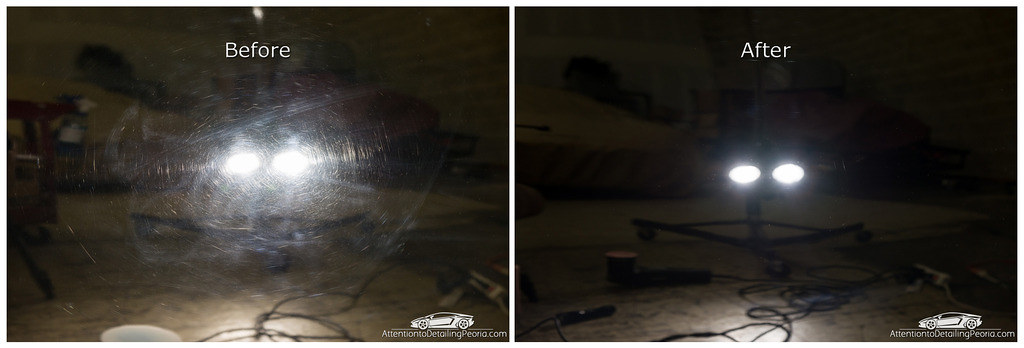
Notice the damaged finish with a dull reflection. Pay attention to the fact that you can barely see the outline of the light stand in the reflection.
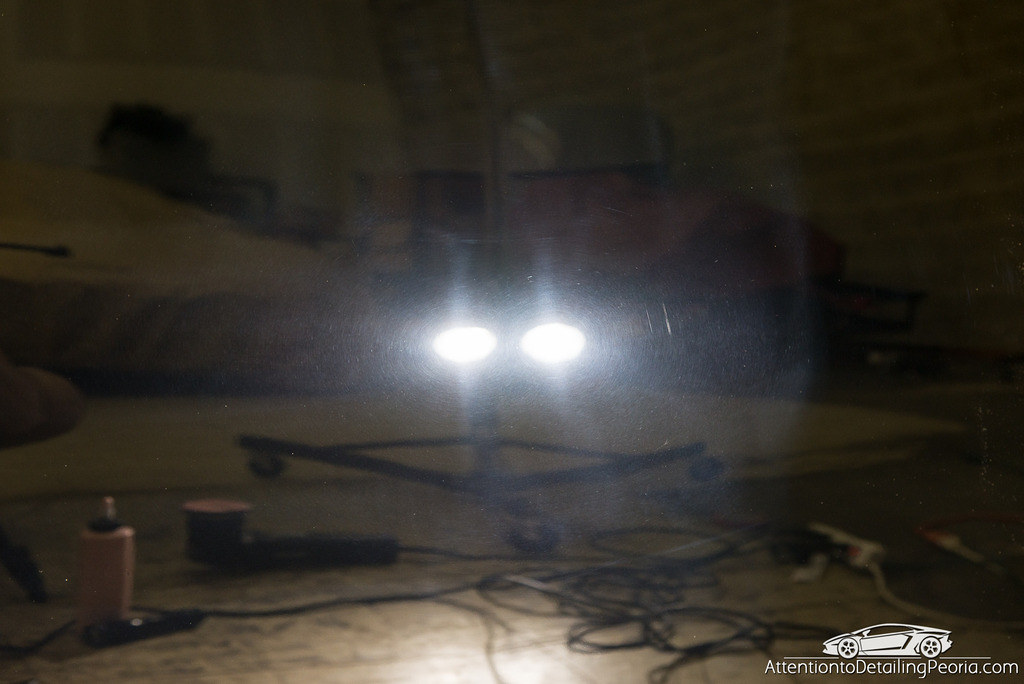
After compounding, it is easy to see that almost all of the original defects have been removed. The reflection is getting clearer, as you can now easily see the outline of the light stand, however the finish has a grayish appearance due to all of the marring/haze that is a result of the aggressive cutting process.
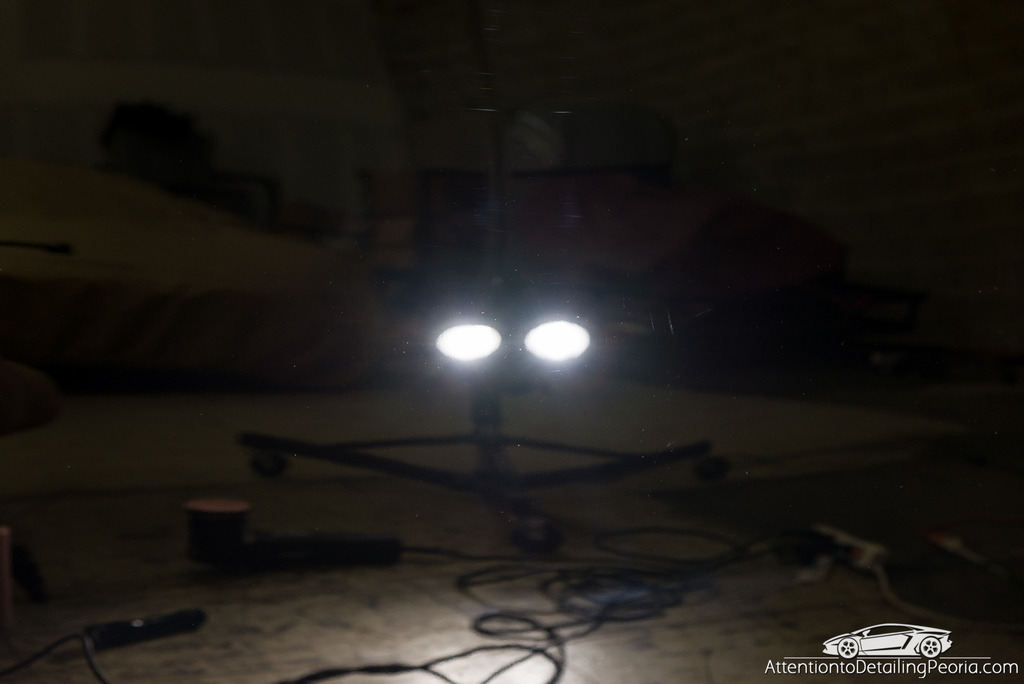
Finally, after polishing the haze is removed and a brilliant black finish is revealed. There are some deeper defects that remain, but the overall difference in optical clarity and color is dramatic.
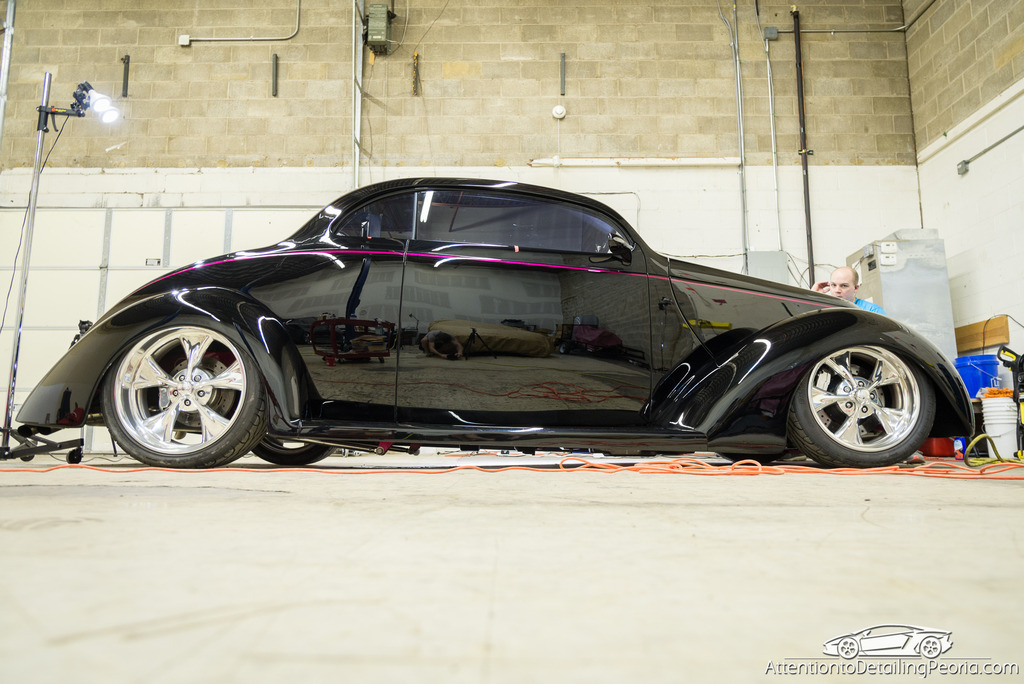
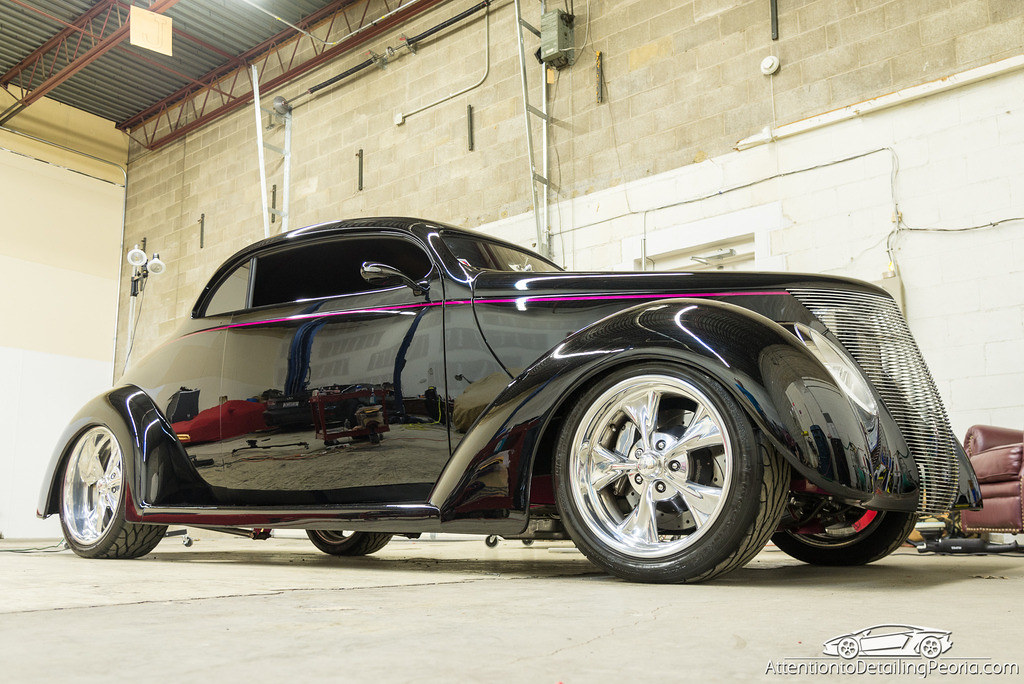
This time intensive process yields stunning results when done properly. The car now looked like a rolling mirror, and the owners were happy to see their prized possession looking so good. We demonstrated proper rinseless washing technique using Optimum No Rinse, and they purchased everything they need from Detailed Image to keep it looking great for years to come!
(If you found the video content in this article to be helpful, please share your feedback in the comments section below! We would love to try to do more videos if it is something our readers are interested in seeing.)
Buy Products From This Article
Related Posts
- 2008 CLS 63 AMG – Low Mileage Luxury Beast: Paint Correction & 22ple VX3 Application
- 2014 BMW 750 LI: Removing Dealership Holograms
- 1999 Porsche 996: Paint Correction and 22ple HPC Coating
- 2016 BMW M4: Paint Correction Detail & 22ple Mistico Elemento Application
- 2015 Range Rover: Paint Correction and Gtechniq Crystal Serum Light Application


I hope the owners stay consistent with your proper ONR wash technique. I’m guessing a lot of show car owners can’t resist wiping down/dusting while their car is displayed. I would probably have to do two or three rinseless washes during the course of a car show. By the way the car looks incredible. Nice work!
Thanks! You’re right, most owners cannot resist the urge to constantly wipe dust from the car. I try to explain that dust is much better than scratches… but most people still can’t resist.
Nice video! I liked how you mentioned which products you used in that particular example. I aways have a hard time deciding between polishes but there are multiple choices that can work I guess.
Thanks, John! There are tons of great products out there that can produce outstanding results. We have an entire shelf full of various compounds/polishes to use, and yes, sometimes the decision can be tough as to which one is the best choice.
Great work Zach…and what a nice ride! Thanks for a practical, step by step video that explains and shows how to get the job done. I’ll have to look up the Optimum No Rinse and see what it’s all about.
Thank you, Jon. I highly recommend Rinseless Washing with ONR rather than quick detailers when it comes to removing light dirt and dust from a vehicle! It may take a little longer, but the added lubrication makes it much safer in my opinion.
I have been doing ONR maintenance washes on my vehicles for a while now. I can ONR wash and dry my vehicles in half the time as the traditional hose and two bucket method.
Great article, as always!
Im a complete newb.
I’ve been reading about polishing. I’ll be working on a “softer” Toyota paint. I’ve borrowed a da polisher (Griot’s)
My question is regarding the final polishing/burnishing/jeweling. I have access to blue, crimson, and black pads for this step as well as menzerna’s 3800.
I was reading that a rotary is a must have for the mirror finish. Is this true, or is it doable with DA? I’ll be coating it with 22pie and wanted the best result I child get. TIA
Hi Harry – a rotary polisher is nearly an obsolete tool for the majority of paint correction/polishing work. You certainly do not need one, nor would I recommend a beginner use one. I personally have not used one in at least 4 years… and if you have followed our work at all, you’ve seen what can be achieved with dual action machines. Dual action machines are much safer, and produce outstanding results.
Cheers!
Harry – You can certainly bring out a mirror like finish with a DA polisher, having a rotary is not “necessary”. The 3800 you have used with a blue pad will work great, but it is a very mild polish that will help jewel the paint. You want to make sure you polish away any heavier imperfections first, before using this combo. Personally I like using the Menzerna 2500 with a white pad, followed by the 3800 and a blue pad for a nice two step combo. If you have any heavier imperfections, using the Menzerna 400 or 300 with an orange pad, followed by the 2500 (white pad) and the 3800 (blue pad) will bring you closer to perfection. After you polish, applying the 22ple will help enhance gloss and protect the paint. Just be sure to use a topper like the VS1 over the coating to help protect from pesky watermarks. Hopefully that helps and if you have any other questions please do not hesitate to contact us here: https://www.detailedimage.com/Contact/
Thank you! I can see I still have plenty of reading to do. I really want this car to be a show-stopper. She’s a humble Toyota, but she’s my Parents’ and I want to do this for them.
For determining the best process on any vehicle, search the blog for my article titled “Analyzing Your Test Spot”