Full Detail: Ferrari Challenge Stradale in Rosso Scuderia
by Todd CooperiderIntroduction:
First start off with the already potent 360 Modena as a solid base, increase output from the 3.6l V-8 engine, put it on a significant carbon fiber and titanium diet, make some significant upgrades to both brakes and suspension, and finally throw in a lot of different styling cues, and you’re left with one of my favorite Ferrari models of all time…the Challenge Stradale! Don’t mistake the Stradale for a mere makeover of the 360, because it is much more than that.
The Ferrari designers aimed to significantly increase the performance and handling characteristics in the Stradale to make it much more of a track-worthy car than the 360 (and the 360 was already great), and that is exactly what they accomplished. The V-8 motor produces 425hp that will accelerate the Stradale from 0-62mph in a mere 4.1 seconds, with a top end of approximately 190mph. To harness all of that raw power, Ferrari fitted the car with impressive carbon brakes and lightweight titanium suspension components. Although the Challenge Stradale is designed mostly for street use, it’s at the track where it really shines.
Although there were many great Ferraris built before this, and the body style has twice been superceded by the 430 and now the new 458 Italia, there’s just something about the 2004 (only year produced) Challenge Stradale that invokes a certain passion for the art and engineering of it that only true auto afficionados can understand. The beautiful styling, the aggressive stance, the made for track handling and brakes, and the raw sound that the motor produces…Ferrari engineers hit the nail on the head when they produced the Challenge Stradale. Can you tell that I really like these? 🙂
The Story:
The owner of this car is a tremendous guy, and is about as passionate about cars (Ferrari in particular) as they come. He’s had several Ferrari models prior to this one, but I could quickly tell that the Stradale is the one he’s been wanting for a while now!
This particular vehicle was purchased out of California, and shipped cross-country to Ohio. Since the owner hadn’t taken delivery of it yet, he had it shipped from the west coast directly to NJB Automotive here in Columbus. For those of you who haven’t read some of my previous Ferrari articles, NJB is an independent Ferrari (and Lamborghini) specialty service center, and I (Esoteric Auto Detail) manage all of their detailing and paint restoration needs within their facilities. It’s a great relationship for the two companies, and it’s a tremendous opportunity for our clients since they can get all of their mechanical and detailing needs taken care of in one visit.
Now that I’ve given a shameless plug for NJB, let me get back to the story…
When the car arrived from California, the owner made the 2 1/2 hour drive down to Columbus to see it come off of the truck, and to discuss wants and needs. It was to receive a belt service, have new tires and a custom carbon fiber steering wheel installed, as well as a full paint restoration, interior, engine, and suspension detail.
Here’s the Stradale being unloaded upon arrival from California.
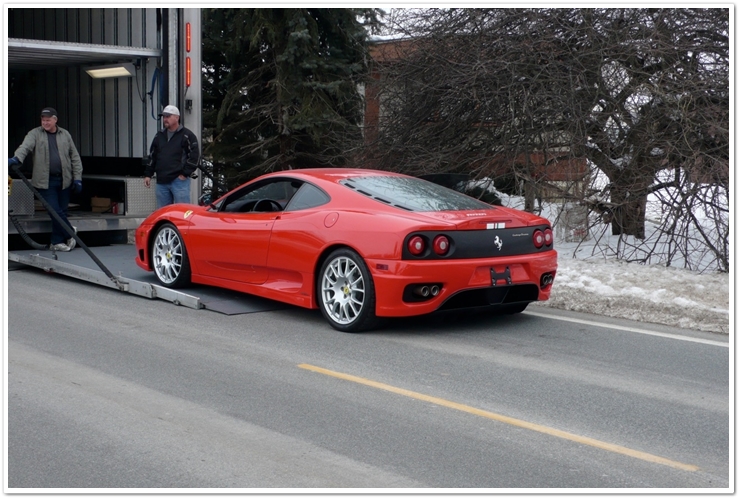
The car still had a decent amount of gloss, but upon close inspection I could quickly tell that the true color was being held back by years of swirls. I discussed options with the owner, and we decided to return the condition of this beauty to 90% – 95% of original. At that level, the only defects that would remain would be ones that are either too deep to safely and fully remove, or ones that are in precarious areas that could present potential problems (near edges or thin spots). Despite the swirls and defects, the owner thought that the car still looked pretty good (which it did), but I assured him that when he sees it afterwards, he wouldn’t recognize it as the same car. There is a huge difference between looking good, and looking great.
The Detail:
Now that you know a bit about the car, the owner, and the story behind it all, let’s get on to the detail itself.
As with all polishing and paint restoration jobs, the first order of business is to prep the car for polishing. This entails a thorough wash, claying to remove embedded contaminants, and taping. Now when speaking about washing in particular, not only do I take every precaution necessary to ensure that I’m not adding any swirls into the mix, I also do what I can to educate the owners of these cars how to do it properly themselves to maintain the finish afterwards. It’s usually one of the first things I get asked: “how do I maintain the car afterwards to keep it looking so good?”.
For those who may be reading one of my full detail articles for the first time, or for all of you who have come over from F-Chat to read this article, allow me to point out a few articles in particular that are absolutely must-reads if you want to properly maintain the finish of your car(s). I provide this information to all of my clients, and I’d like to share them with each and every one of you as well. Summer show-season is quickly approaching, so be sure to bookmark this article, or the links below individually.
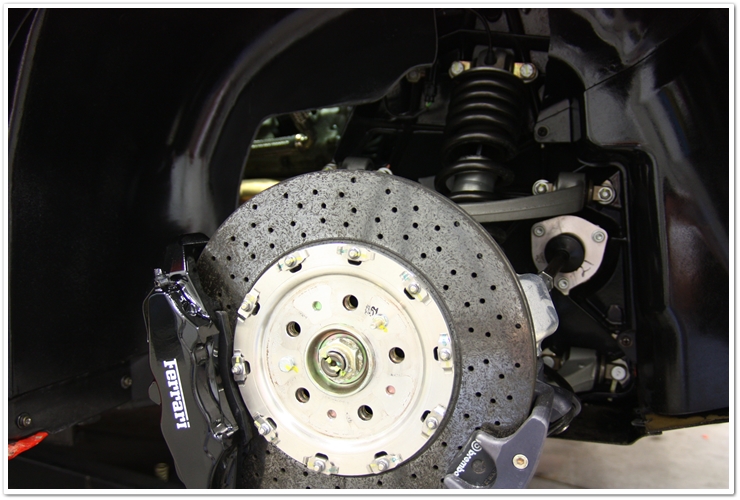
How to Properly Wash and Dry a Car (without causing swirls) The Grit Guard 2×4 Wash Method Proper Microfiber Care Sheepskin Wash Mitt CareWith the wheels removed, I proceeded to fully detail the undercarriage and all of the suspension and brake components. You need to be very careful when working around carbon brake rotors as some cleaners may damage them. Given this, I chose to work with the pH neutral P21S Wheel Gel around the calipers, and P21S TAW for all the rest of the areas. This task takes a while, and is a dirty job, but when doing a detail at this level you might as well fully clean, dress, and protect these areas at the same time. The photo below is after the suspension/brake detailing was completed.
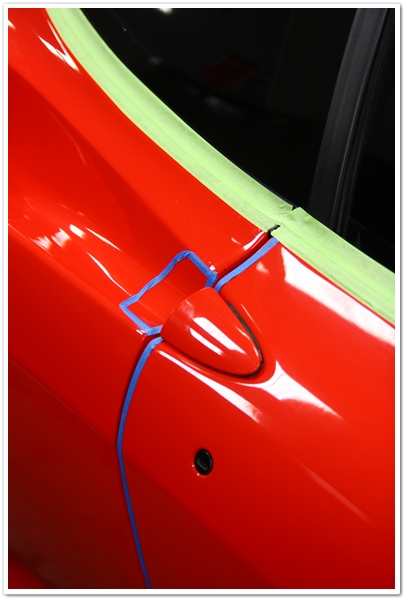
I’ve finished the washing and claying stages, and now I’m onto taping up the car to protect edges, seams, or other areas that could potentially get damaged if not protected. On this car in particular, it had a tremendous amount of clear protective film (3M Clear Bra or Venture Shield) on the entire front of the car including the a-pillars. You need to be very careful around the edges of the protective film otherwise you risk damaging it or peeling it up, or at the very least you’ll leave a lot of polish residue caked in. Because of this, it’s wise to invest the time into fully protecting them by applying 1/4″ tape around all of the edges. Sure it’s time-consuming, but it’s worth it. You can see the amount of taping that was required on this Stradale in the photos below.


In the interest of keeping an efficient workflow on the car, I’m jumping into the leather before starting the polishing stages. Upon inspection I noticed that the black leather had some shiny areas to it, indicating that it was in need of a deep cleaning and conditioning. Leather in its natural state has a matte finish, the when you see a shine to it (especially in the wear areas like bolsters), it’s because any oils, sweat, and dirt have clogged the surface and have actually become polished so to speak. To restore the natural luster and softness to the leather, a full application of Leatherique was on the menu. It’s a two-part system where the first stage (Rejuvenator Oil) is liberally applied and then massaged into the leather by hand. This deep conditioning and cleaning stage requires time (at least 8 hours…but I typically give it 24-48), so it’s best to start this early in the detailing process, and by the time you’re finished with the rest of the car you can come back and complete the treatment with Prestine Clean which is the second part of the system. Since Ferraris come with very nice leather owner’s manual covers, I also give these a full treatment as well to protect and preserve them. In the photo below, you can see the leather soaking in Leatherique Rejuvenator Oil.

Now that the leather is in the works, it’s finally time to start with polishing. Under the halogen inspection lights I could see the true condition of the Stradale’s 6 year old paint. When you look at the photos below, you’ll notice that there’s a moderate case of swirls and light scratches, which is not uncommon. Given my experience with Ferrari paint, I already had a good idea of what combinations of polishes, pads, and tools I would need to bring the finish back to life. It’s at this point when a professional detailer can really assess the level of damage and determine the proper course of action. The general rule of thumb is to go with the least aggressive method possible to achieve the desired results, as paint and clear coat preservation is always a high priority. With this level of defects, and the hardness of modern Ferrari paint however, I knew that it would require an aggressive approach in the compounding stage to get the paint to level out where I want it to be. I’m also continuously measuring paint thickness with my paint meter to ensure that each section has enough thickness to work with, and to monitor how much clear coat is being removed.
Here’s what the finish looked like under the halogen lights:
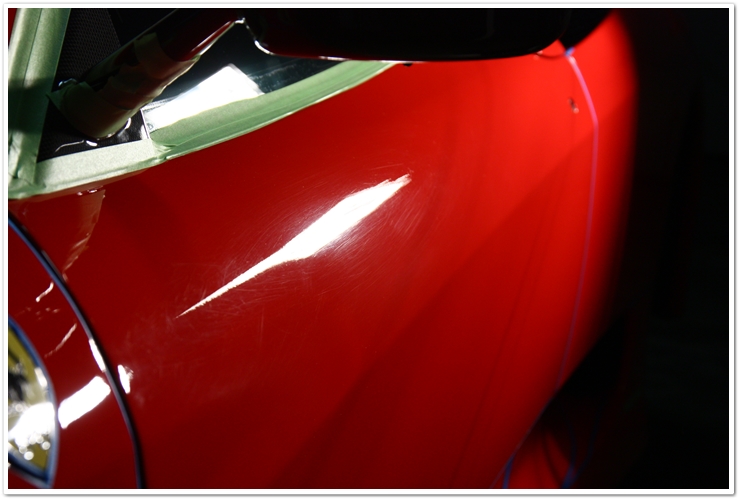
When you zoom in, you can get an ever better feel for the condition. If you had simply looked at the first photo when the car was being unloaded off of the truck, you would never have expected the finish to look like this.
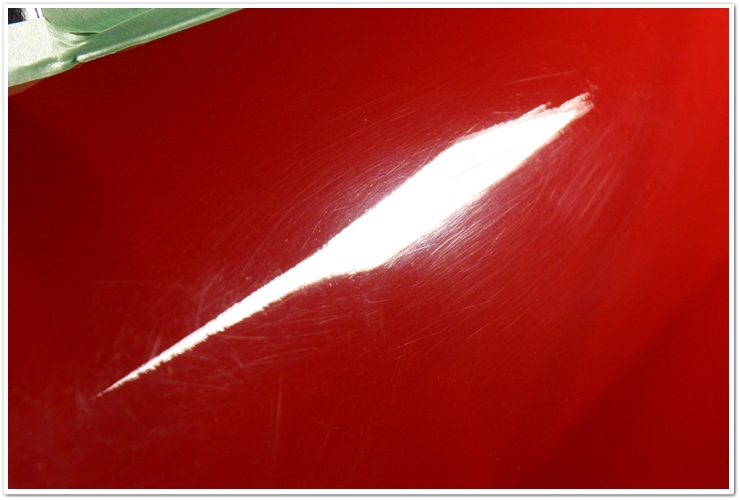
Most Ferraris that you see are a color called Rosso Corsa. This car however is Rosso Scuderia, which is a much brighter and more vibrant color. I also like to refer to it as “arrest me red”. When fully leveled and polished, this color is absolutely breathtaking. But when it’s covered in swirls and haze like in the photo above, it tames it down a couple of notches.
For the compounding stage, I chose to go with Meguiar’s M105 on a Lake Country Cyan Hydro-Tech pad, while using the Porter Cable 7424XP. For the heavy scratches I used the same compound and pad, but paired it with a Makita rotary on a 4″ spot pad. Now when you look at the photo below, you’ll notice that on the top part of the door the swirls and scratches have been completely removed, and the color has a different look to it. Later I would go back and further refine the paint with a finishing polish and pad that would bring out even more clarity. So for this shot, it’s only after compounding!

About this point in the detail is when the owner made the long trip back down to the shop to see how the car was coming along (it had been a week or so since it was delivered). He brought some friends / family with him, and I had everybody look at the car under the halogen lights…one panel had been compounded, and the other right beside it was still in a swirly condition. They went back and forth looking at the before and after, and simply couldn’t believe the difference already. I told them to wait before making any conclusions, because they hadn’t seen anything yet! The car still had a tremendous amount of transformation to go through before any critical inspections could be made.
Most Ferraris are quite challenging during paint correction simply because all of the curves, angles, seams, and general shape of the vehicle. They require a lot more time than a “traditional” car for these reasons. When machine polishing on a Ferrari, you need to take your time because there are plenty of dangerous curves to maneuver around.
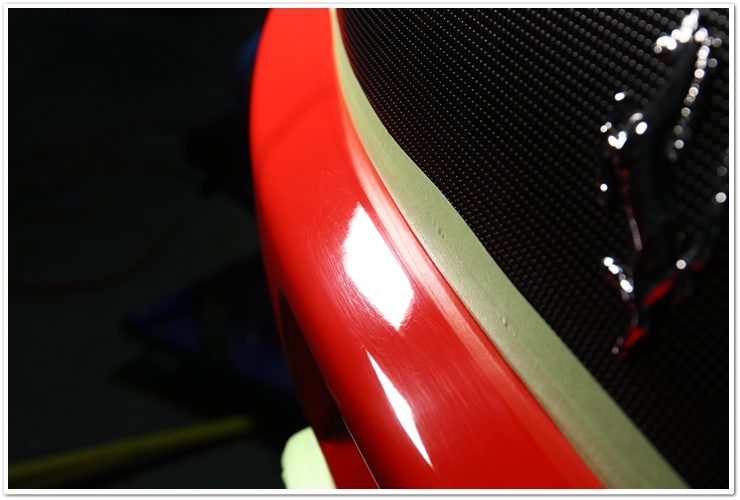
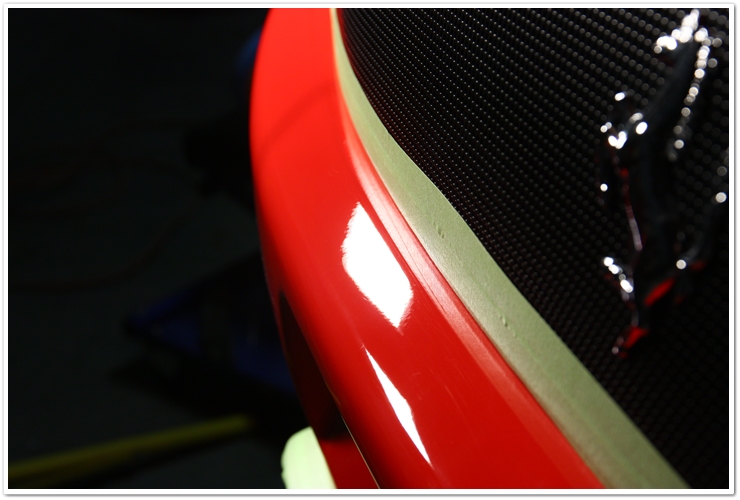
OK, important safety tip…so let’s move on. Here’s another before and after shot; this time from the rear bumper. Because people have a tendency to rub these areas in an aggressive manner during washing and drying to follow the shape of the bumper, there are almost always heavier scratches that run longways from side to side. Many times these scratches are too deep to safely remove, but if we can clean up the majority of the issues, they end up looking much, much better afterwards.
Before:
After:
I found some heavier defects on the roof of the car, so I had to go with some even more aggressive methods and combinations to get the finish to the level that I was happy with. Most of the work was done on the Makita rotary as I started out with Megs 105/Cyan pad, Menzerna SIP/orange pad, Megs 205/Tangerine pad, then finished it on the PC/Megs 205/Tangerine pad.
Personally I think this photo is a prime candidate for the poster shot for sufferers of Obsessive Compulsive Disorder (I know I can get this finish just a little better!). But then again when I look at the form I’ve got going on here, I’m wondering where I got it from. Controlled breathing, line of site, gentle squeeze of the trigger…I know, it’s from Basic Training at Fort Sill, Oklahoma! Who knew that the time I spent at the firing range would prepare me for perfecting Ferrari finishes later in life. 🙂

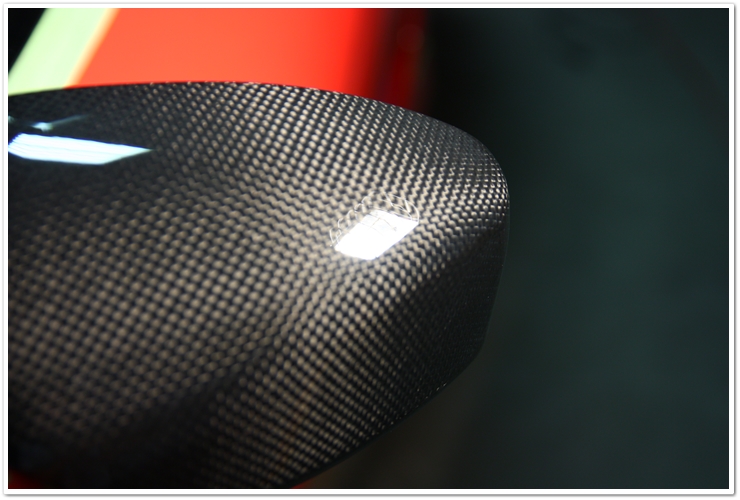
The carbon fiber mirrors got polished to remove swirls and light defects as well. Here I am using the PC with a 4″ white spot pad, and Meguiars M205. Also notice how I am cupping the top of the buffer to use my hand as a barrier between the machine and the a-pillar. In tight areas like this, you want to be sure that you don’t bump any scratch-able surfaces with the machine.

No more swirls on the carbon fiber mirrors:
The carbon fiber door panels get swirled up just the same as the paint, so they get polished as well with the same combination as the mirrors.

After:

Now I’m going to fast forward a bit through the rest of the polishing. For the final polish, I used the Porter Cable with a Tangerine Hydro Tech pad, and Meguiars M205 finishing polish. This did a great job of cleaning up any haze leftover from the compounding stage, and it restored a tremendous amount of clarity and gloss.
To further clean the surface from any polishing oils or residue, and to ensure the best bond of my sealant for greater durability, I used Chemical Guys Vertua Bond 408. The whole process only takes 20-30 minutes when applied with the PC on a black pad (speed 5), and it does make a difference in how well your sealant or wax of choice bonds to the surface.
After using 408, I applied a durable coat of Optimum Opti-Seal sealant by hand. This crystal clear polymer sealant will look good and protect the finish from the elements for 4-6 months. Unless the customer likes to apply a high-quality paste wax on a monthly basis, I will typically use a durable sealant.
Now that the painted surfaces were finished, I moved on to the wheels to make sure they were cleaned and protected as well. After thoroughly cleaning the wheels with P21S Wheel Gel, I inspected them to find the typical build-up of tar, rubber, and the occasional residue from previous wheel weights.

The way I clean heavier contaminants like this off of wheels is to use a simple plastic razor blade. It safely removes at least the majority of the stuck-on debris without marring the finish of the wheels.

With the residue that is leftover, I will spray it down with Stoner’s Tarminator and give it a few moments to break down the rubber/tar/adhesive before wiping it down. Afterwards, I’ll then spray the wheels with P21S TAW to remove any residue from the Tarminator, and to prep the surface for sealing.
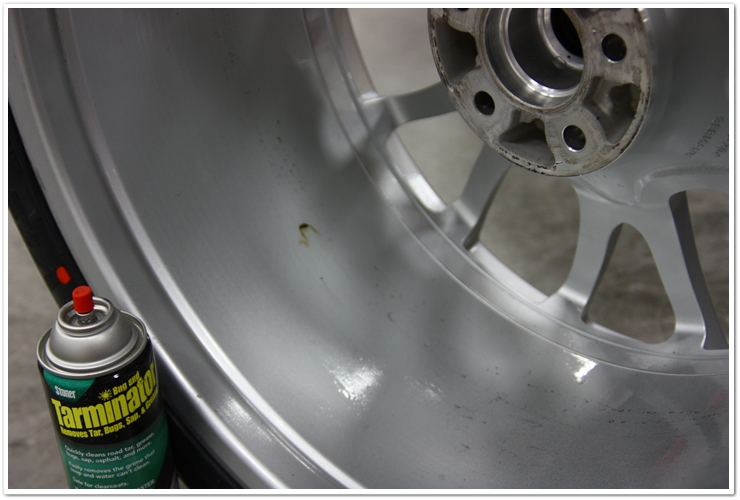
And finally I apply a coat or Optimum Opti-Seal to protect the wheels, and to make them easier to clean in the future.

And the front of the wheels get sealed as well.

Before putting the wheels back on, it was time to dress the wheel wells. Once again with the carbon rotors, you need to be very careful with your products. Notice I have taken the precaution of covering the rotors while I spray Fade 2 Black into the wheel wells.

We’re getting close now! Just a few more areas to tidy up and then we can get to some after-shots.
Now back to the interior. I finished up the leather by cleaning off the Rejuvenator Oil residue with Prestine Clean. I wiped down all of the hard surfaces with Meguiars Quik Interior Detailer, I cleaned the Alcantara-covered dashboard with compressed air, and sealed the carbon fiber door panels with Optimum Opti-Seal. The windows were cleaned with Stoner’s Invisible Glass and a DI Accessories Mini Mop to reach the lower part of the windshield, and the pedals were cleaned with Meguiars APC+.
Interior after:
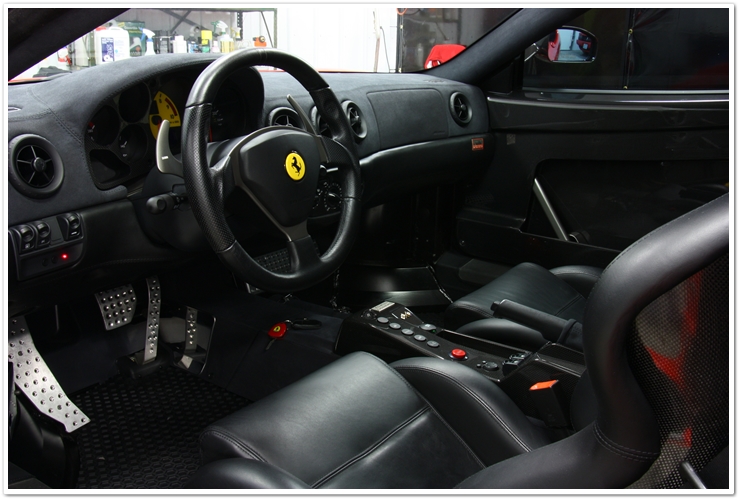
Polished and sealed carbon fiber door panels (high gloss and reflectivity now!):
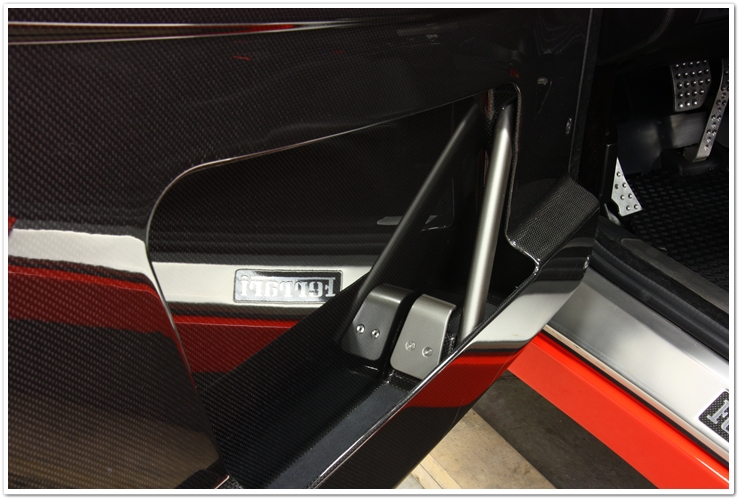
Leather owner’s manual cover treated with Leatherique:

Final Ferrari Challenge Stradale Images:
OK, are you ready for some after photos now that this lengthy detail is complete? I’ve kept you waiting long enough, so here we go…
Remember how the finish looked in the first shots under the halogen lights? How about this for comparison:
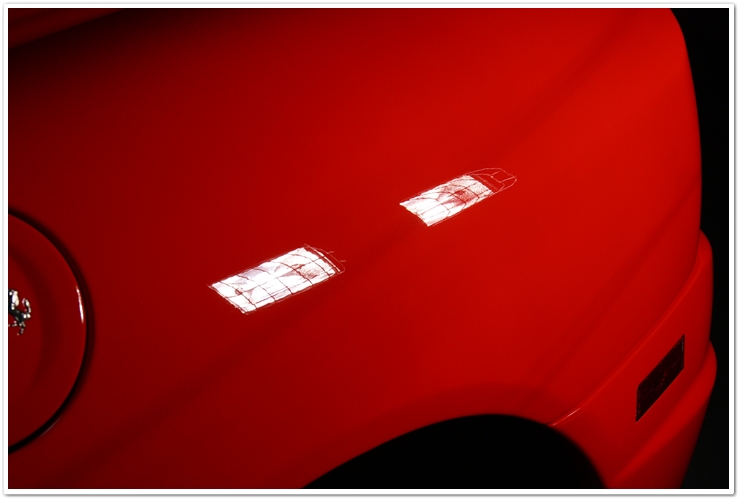
These scoops require hand-polishing, but they still turn out looking very nice!
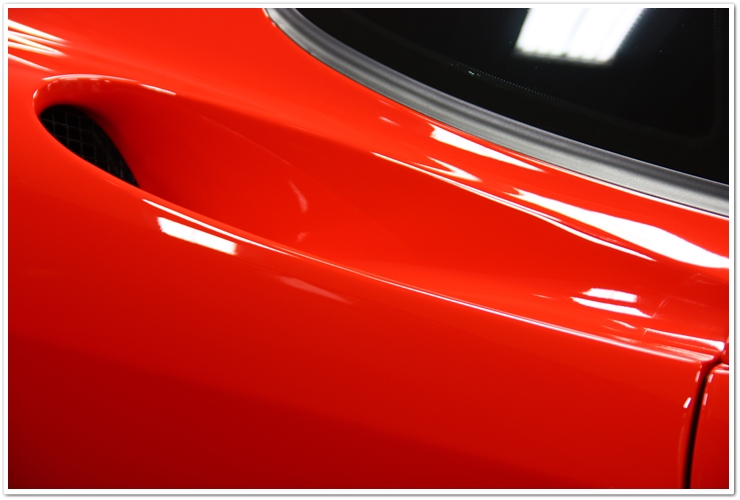
Even though the front end is covered in protective film, we were still able to get a good correction on it and bring out some gloss.
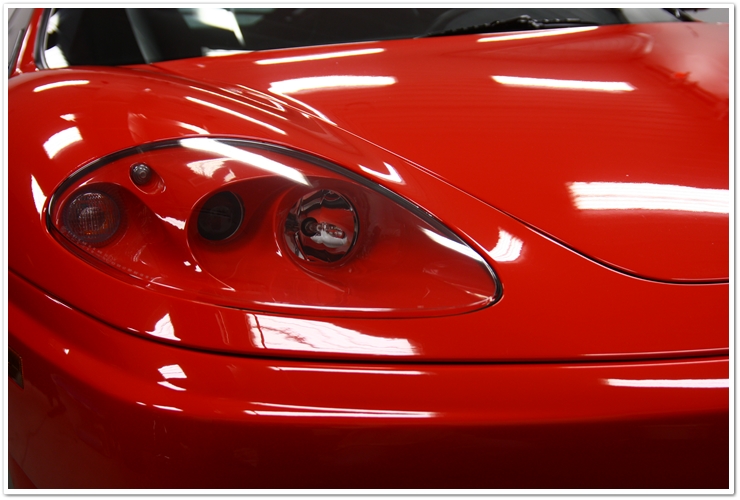
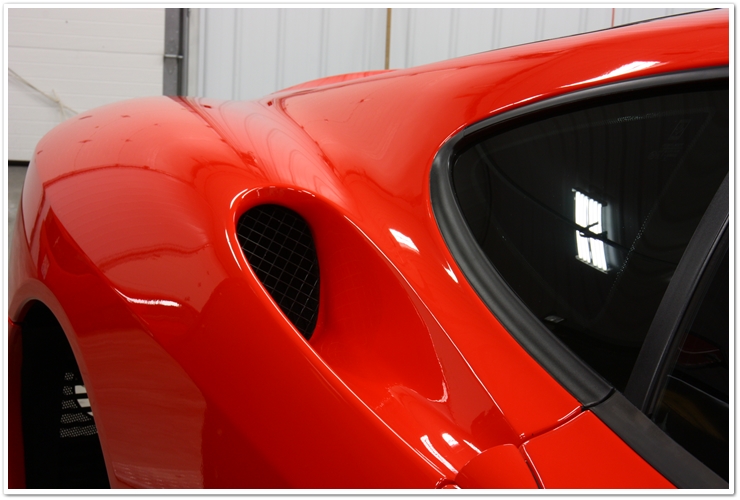
How’s that for gloss, depth, and clarity?

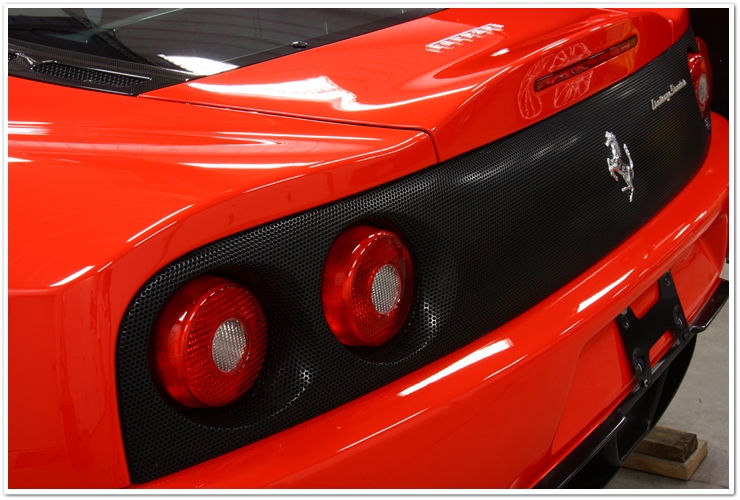
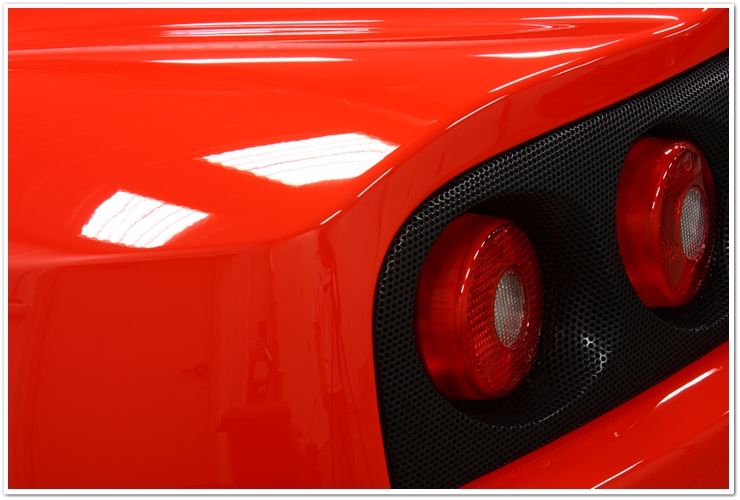
I like the added touch of the prancing horse emblem on the fuel cap.


Fortunately I was able to come back a few days later when the sun was out so I could snap some shots outside. Some of these will really give you the appreciation for how good this Stradale looked.
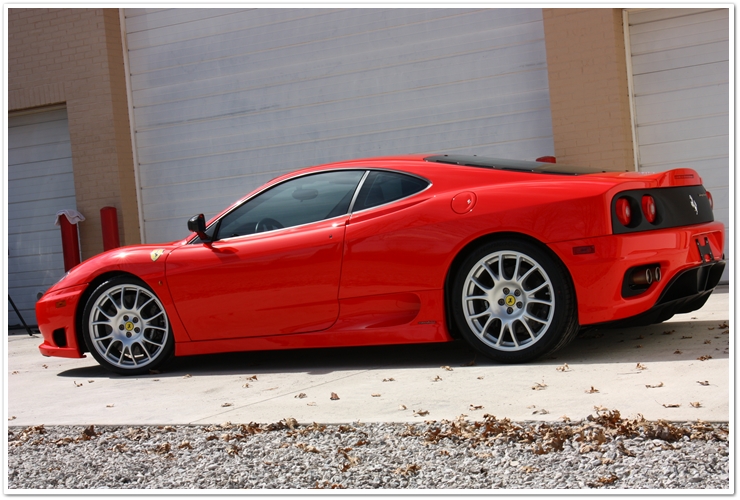
I actually have a full-sized version of this shot as my desktop background. 🙂 Now do you know what I mean by “arrest me red”? It looks like it’s speeding when sitting still…
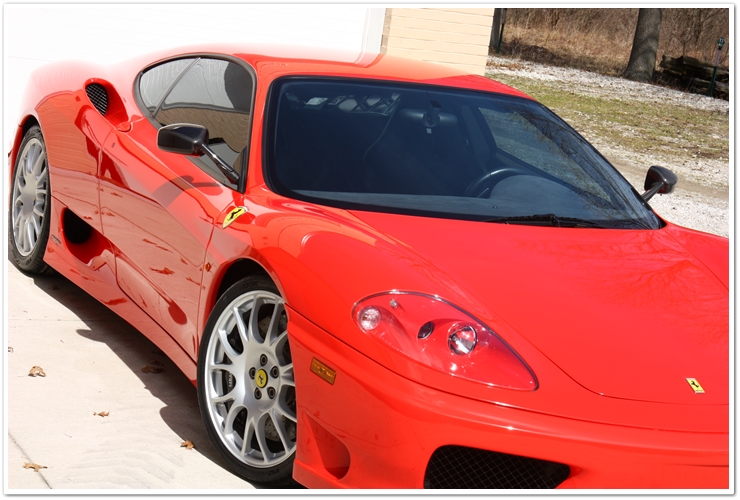
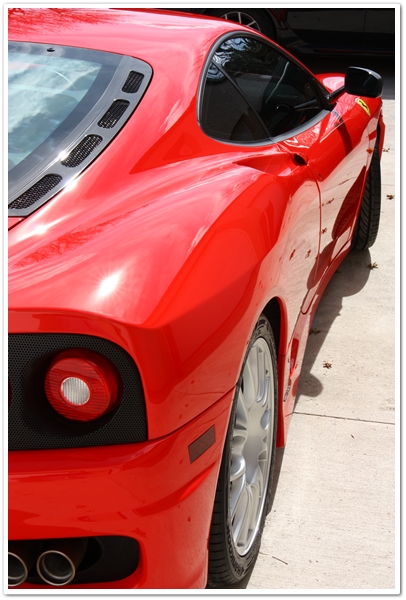
The sun tells no lies when it comes to paint defects…and there are none here!

Once again, there’s still an awful lot of clarity in the front end despite the fact that it’s completely wrapped in clear bra.


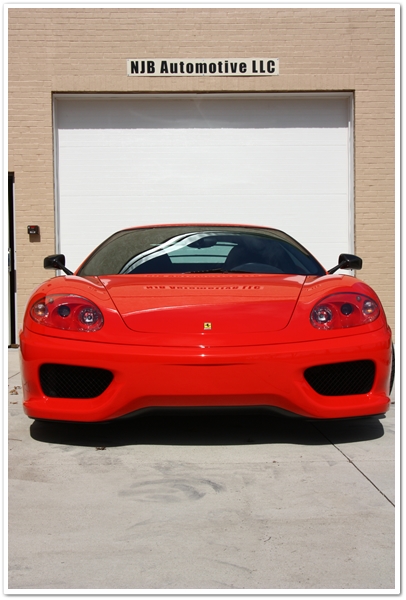


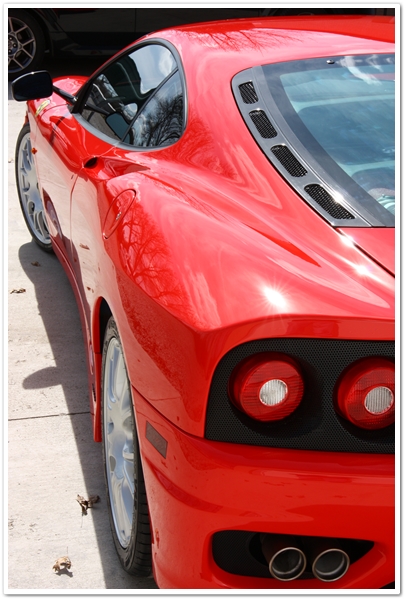

And finally…

Thank you all for taking the time to read through this article, as well as the other articles that are linked to it. Especially for the Ferrari owners following along, I hope that you learned some insight on what goes into a paint restoration detail like this, as well as what is required to keep it looking good afterwards.
I don’t want to speak for the owner directly, but I can say that he was absolutely thrilled with everything that we did both on the mechanical side with NJB Automotive and the detailing side with Esoteric Auto Detail. Perhaps he’ll step in and post a comment below.
As for the rest of you, please don’t hesitate to post up questions or comments as well…


My hats off to NJB and Esoteric……
They have taken care of my Ferraris for years. Todd did a fantastic job on my Stradale, he is super meticulous and incredibly talented in what he does. I would highly recommend their services to anybody.
Thank you Charles…it was a pleasure working on your car!
Todd
Todd,
I always love reading all your articles and write ups of your details. And even though the processes are seemingly similar, its still enjoyable to read each and every one of them. This beautiful car was transformed into an even more beautiful car. You are truely very skilled at what you do. Thanks for sharing.
Thank you kindly Mo! I put a lot of effort into the writeup as well as the detail itself, and it’s always great to hear such positive feedback on both aspects.
Todd
Exceptional work as always Todd!
I’ve always been envious of your ability in creating such entertaining and detailed write ups which seem to draw you in…much like a good book! 😉
Cheers,
Rasky
Thank you Rasky, and we all enjoy reading through your threads showcasing insane abilities as well.
Todd
Fresh Ferrari : )
Outstanding! I absolutely love the 360 CS.
Great work Todd, massive improvement.
Thanks Justin. Yes, the 360CS is a stunning car and one of my favorites!
Todd, great work again! Taping off the 3m Clear Bra / Venture Sheild is time consuming but not as time consuming as it was to remove the wax from the edges of the 3m Clear Bra / Venture Sheild. Been there done that, previous detailer left all kinds of residue for me to clean up. Again awesome job!
Thank Erik! Yes the taping is a bit time consuming, but as you said it both protects the film, and prevents polish and other residue from building up at the edges.
Great work on a great car.
Thank you Rich.
I think this is my first comment to you, You have always done a great job posting thorough detailing articles. Thank you for your time and hard work it has made a huge impact on me and my work!
Thank you kindly for the positive feedback Brian. It’s great to hear that my work has helped yours!
Best regards,
Todd
Simply stunning! Your articles continue to inspire me to improve my detailing skills on my own vehicles. Can I ask how many hours you had into this detail?
Thank you Dave! If I remember correctly, I had around 18 hours or so on this one.
Todd
Fabulous restoration and detail. It would be impractical to send a car to you but am tempted. Do you know of
anyone in the Denver with the the skill and integrity you displayed on the Stradale. I would settle for 50% of
the skill and integrity.
Regards
Thank you Rhett!
Well, actually I do have another Challenge Stradale being shipped to me all the way from San Antonio this month, so…
Unfortunately I do not have a contact in the Denver area, however I will ask around to some of the other Pros here on DI to see if they may.
Thanks,
Todd
Todd, amazing job with the CS! I looked serious at purchasing this car for Chas. I just made a deal on another car here in Southern California. Just curious if you know anyone that does your art here in the LA area?
Thank you Rick.
Yes, you want to get in touch with Eric Schuster of Envious Auto Detail.
WOW! Your work is art. It is refreshing to see someone take such great care and spend so much attention to detail in his work. I live in Monmouth County New Jersey can you recommend anyone in my area? I would imagine a novice such as myself who has never even used a buffer attached to a drill take this project on myself.
That is an amazing job! I have to ask your recomendations for my car. I have a SLR in sliver with 300sl red interior.
What information / recommendation would you like for your car?